


+15 More
Digital Aura Portal - FZCO
Building A1, Dubai Digital Park, Dubai Silicon Oasis, Dubai, United Arab Emirates Premises Number 72647 - 001
Business registration number: 70647
gamer-choice.com © 2026
Digital Aura Portal - FZCO
Building A1, Dubai Digital Park, Dubai Silicon Oasis, Dubai, United Arab Emirates Premises Number 72647 - 001
Business registration number: 70647
If you’ve been looting for a while, chances are you’re sitting on a stash full of weapons covered in attachments. But here’s the catch: not every attachment actually makes your weapon better. Many players simply slot every attachment they find and assume the gun improves automatically. That logic works for lower-rarity attachments, but once you reach Rare-tier and above, attachments begin to fundamentally change how a weapon behaves. These higher-tier attachments come with meaningful trade-offs, forcing you to make deliberate choices instead of blindly stacking stats.
In this article, we’ll break down the best ARC Raiders attachments for each weapon type, explain how to use them effectively, and clarify how attachment stats influence gun performance. All attachment information is presented in table format so you can quickly reference it while fitting out your weapons. Understanding attachments properly will dramatically improve how your guns perform in real combat.
Attachments can be difficult to obtain, and losing high-tier ones can be incredibly frustrating. To reduce that pressure, we offer ARC Raiders Blueprints through Gamer Choice, allowing you to craft powerful attachments without relying entirely on luck.

Buy ARC Raiders Items
Get Weapons, Blueprints, and Keys in ARC Raiders

The first thing you need to understand is simple: Common and Uncommon attachments only provide upsides. They do not introduce any negative effects. If your goal is to improve a gun without changing your playstyle, these attachments are always safe to use. Once you move into Rare attachments and higher, downsides start appearing. These may include increased recoil, faster durability loss, or slower handling.
From Rare rarity onward, attachments require you to think carefully about your weapon’s strengths and weaknesses. You’ll need to decide whether the trade-offs are worth it for your specific build. At the end of this article, we’ll explain how attachment stats influence gun behavior in detail. If you want a deeper understanding, scroll to that section. Below, we’ll go through weapons by firing type and highlight which attachments work best for each category.
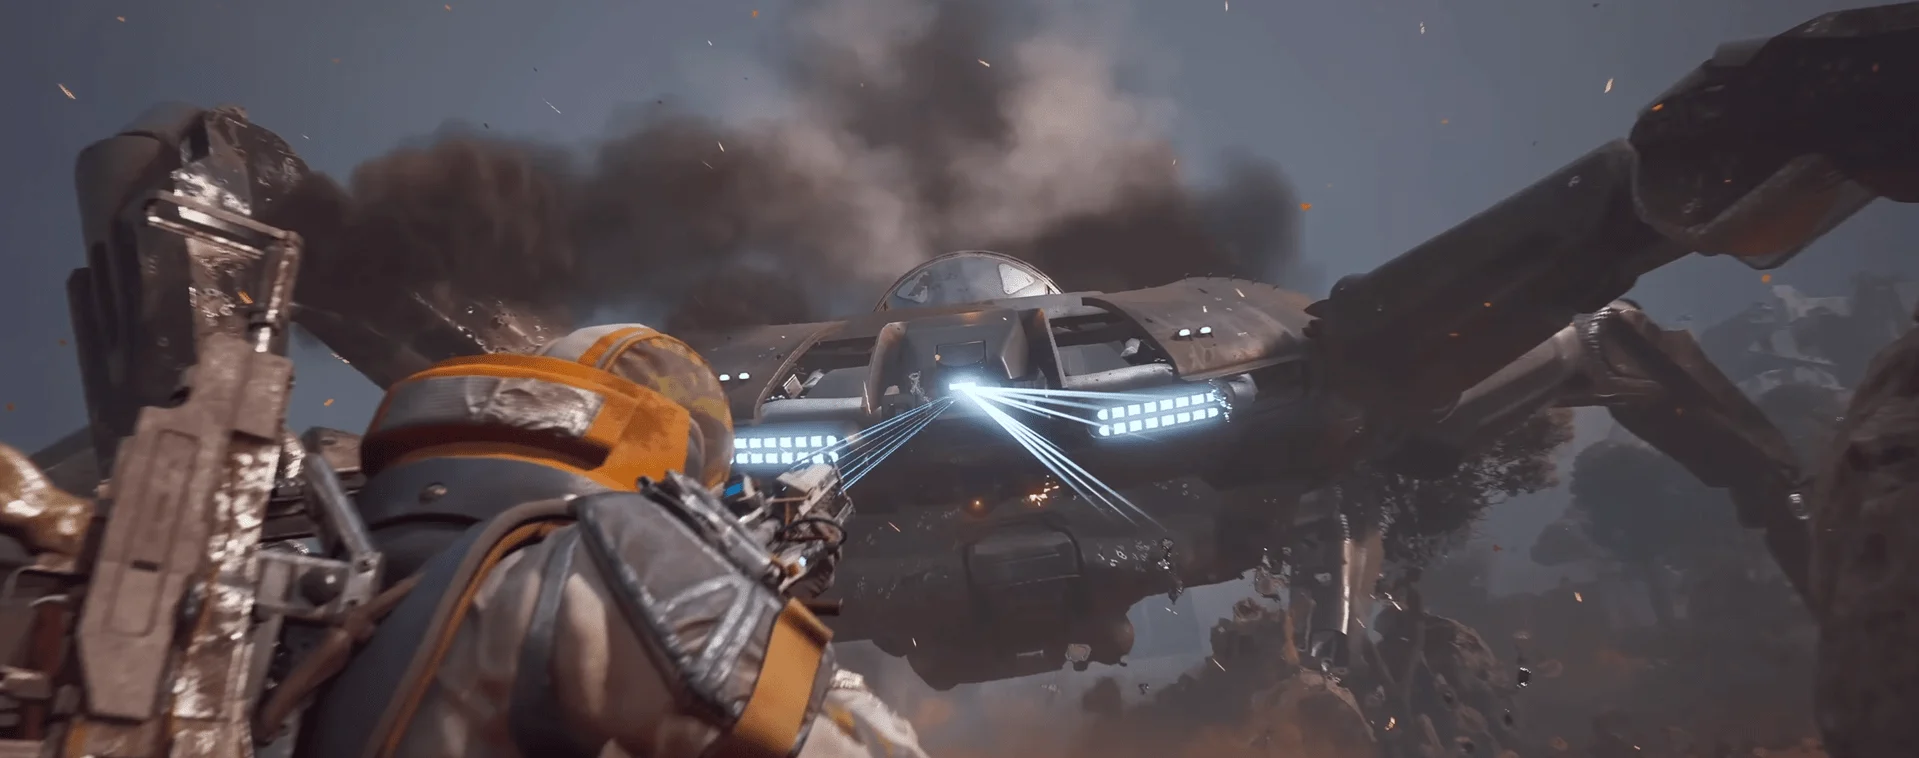
In this first section, we’ll cover weapons that fire continuously while holding the trigger. These autofire weapons typically excel at close to medium range, though some perform surprisingly well at longer distances with the right attachments. Weapons in this category include Rattler, Tempest, Bettina, Stitcher, Bobcat, and Torrente. While the Equalizer is also fully automatic, it cannot equip attachments and is excluded from this section.
The attachments recommended here are not always the highest rarity available. Our goal is to balance cost-effectiveness with real in-game performance. Below are the top ARC Raiders weapon attachments for autofire guns:
| Gun | Attachments | Description |
|---|---|---|
| Rattler | Muzzle: Compensator I / II Underbarrel: Angled Grip I Stock: Stable Stock II | This gun could’ve benefited from a mag attachment slot, but it doesn’t have one. It’s pretty slow, so you won’t need any superb recoil reducers. The most important attachment on it is a stock. Don’t waste your attachments on it; nothing can save it in its current state. |
| Tempest | Muzzle: Compensator II / III Underbarrel: Angled Grip II / III Mag: Extended Medium Mag III | Use Compensator III if you have the resources to fix your gun frequently. Angled Grip II is more than enough, since Tempest doesn’t kick that hard. Angled Grip III further decreases the horizontal recoil, but it also slows your ADS time. If you don’t plan on using Tempest really close, it’s a good option. |
| Bettina | Muzzle: Muzzle Brake II / III Underbarrel: Angled Grip III Stock: Padded Stock | With this gun, you’re not really improving it, much as you're mitigating its flaws. Use it only if well upgraded, but we don’t recommend doing that. This gun kicks like a mule, so Muzzle Brake III really helps, while creating another problem, as this gun breaks really fast. Angled Grip III and Padded Stock seem like good options only if you run this gun as your primary, as switching to it will take a long time. |
| Stitcher | Muzzle: Compensator III Underbarrel: Vertical Grip III Mag: Extended Light Mag III Stock: Kinetic Converter / Lightweight Stock / Stable Stock II | Fun run-and-gun gun. It’s really solid at close range and can be used at mid-range somewhat well. Upgrade it to the max and make it more efficient than most blue and purple weapons. Here, the stock is the key to your playstyle. Kinetic Converter turns it into a mag spitter, Lightweight Stock is best if you use Stitcher as a secondary gun, and Stable Stock II if you want a balanced build. |
| Bobcat | Muzzle: Compensator III Underbarrel: Vertical Grip III Mag: Extended Light Mag III Stock: Kinetic Converter / Lightweight Stock / Stable Stock II | Stitcher, but on steroids. The most significant upgrade is the fire rate, so running it with Kinetic Converter feels logical. Combined with low horizontal recoil and shot dispersion when fully upgraded, this gun is a monster. Other stock recommendations are similar to Stitcher’s. |
| Torrente | Muzzle: Compensator III / Muzzle Brake III Mag: Extended Medium Mag III Stock: Padded Stock / Kinetic Converter | Torrente has a very large shot dispersion by default, so Compensator III is essential for it. If you plan to use it close, as it was intended, you can put a Muzzle Brake on it. Kinetic Converter fits it the best, as it will melt the foes before they make a second shot. Padded Stock further decreases the recoil. |
This list covers all autofire weapons. In most cases, we recommend using a Compensator instead of a Muzzle Brake. Recoil can usually be managed through stocks or grips, but dispersion can only be reduced through Compensators. Another solid option is equipping gray or green attachments, since they have no drawbacks at all. Many players even consider these low-tier attachments to be the meta because of their consistency.
That said, optimizing attachments around a weapon’s natural strengths is always the better long-term approach. With the right setup, you can push a gun far beyond its default limits. Let’s move on to the next category.
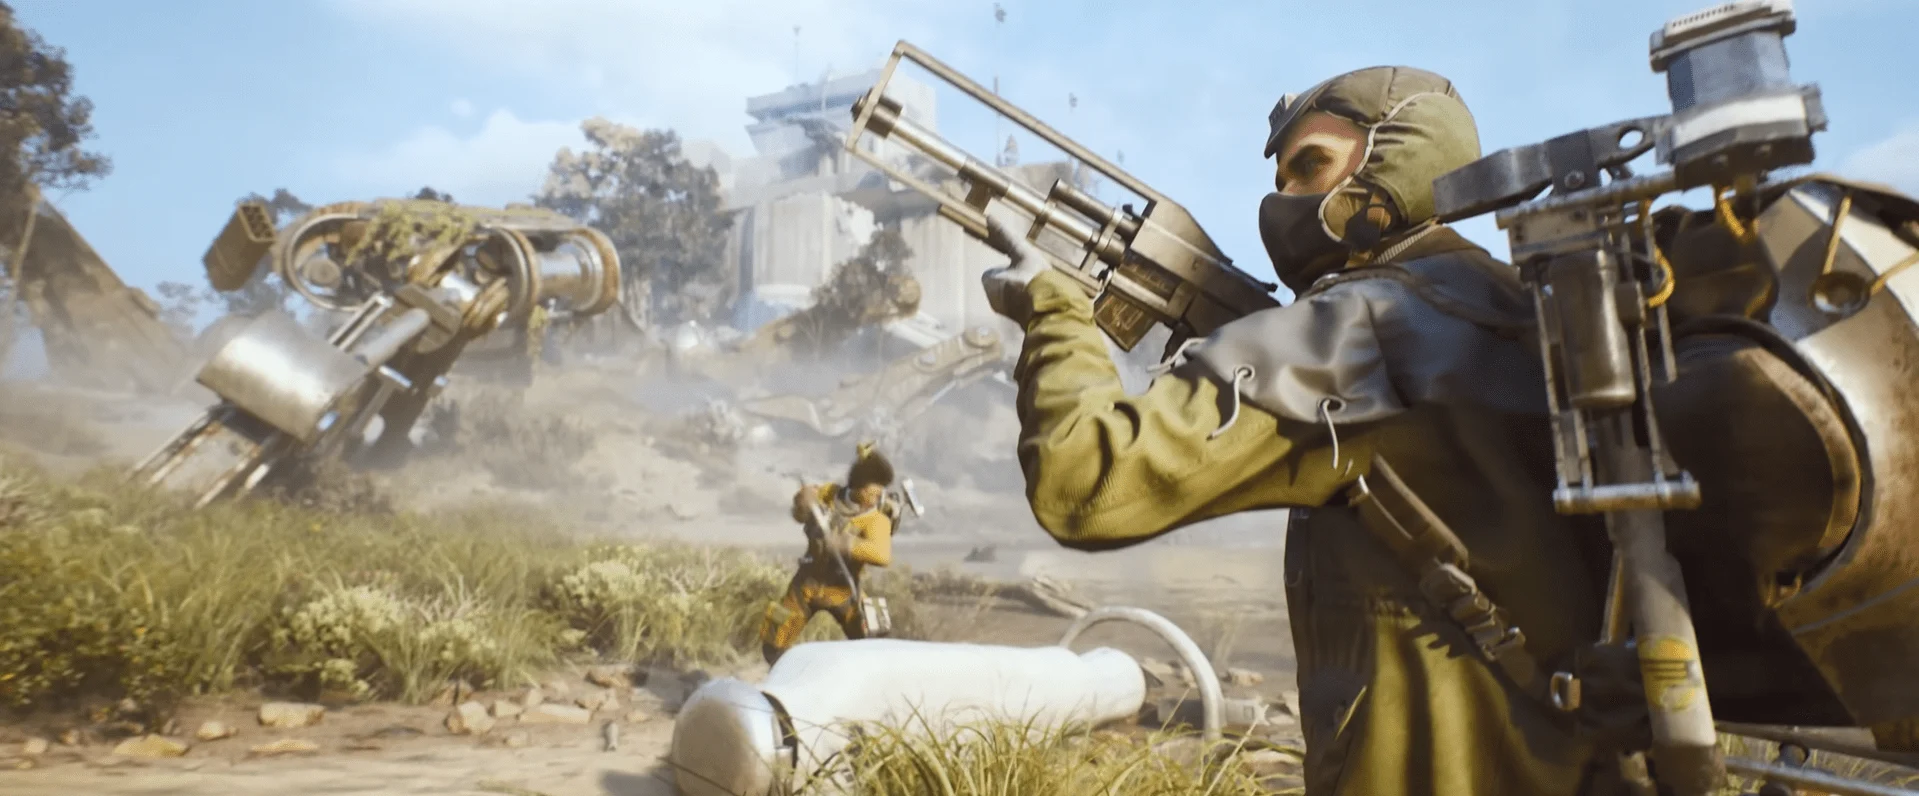
This section combines semi-automatic and burst-fire weapons, as both require individual trigger pulls to fire. Even though burst weapons release multiple shots per pull, they behave much closer to semi-auto weapons than full-auto ones. The weapons included here are Kettle, Arpeggio, Ferro, Renegade, Aphelion, Il Toro, Vulcano, Hairpin, Burletta, Anvil, Venator, Osprey, and Hullcracker.
Most ARC Raiders weapons fall into this category. While attachment logic is similar to autofire guns, semi-auto and burst weapons benefit from certain attachments for different reasons. Below are the best ARC Raiders attachments for semi-auto and burst weapons:
| Gun | Attachments | Description |
|---|---|---|
| Kettle | Muzzle: Compensator II / Muzzle Brake II / Silencer (any) Underbarrel: Angled Grip II / III Mag: Extended Light Mag II Stock: Stable Stock II / III | A budget PvP king that does well both close and at a distance when upgraded. A fire rate is relatively high, making it a middle ground between Assault and Battle rifles. You can put nearly anything on its muzzle, and the best attachments for it are green ones. For extra fun, use a silencer. Still, if you want better performance, use something that reduces horizontal recoil. This gun moves unpredictably the longer you shoot. |
| Arpeggio | Muzzle: Compensator II / III Underbarrel: Angled Grip I / II Mag: Extended Medium Mag III Stock: Stable Stock III Barely usable when not upgraded, but turning into one of the craziest guns in the game when leveled to the max. It has really low recoil, so focus on lowering the dispersion. You can run super budget build using just Stable Stock | Barely usable when not upgraded, but turning into one of the craziest guns in the game when leveled to the max. It has really low recoil, so focus on lowering the dispersion. You can run super budget build using just Stable Stock III as it drastically improves the gun. |
| Ferro | Muzzle: Silencer (any) Underbarrel: No need Stock: Stable Stock I / II | This gun doesn’t need any attachments because of how it works. No point in lowering the recoil if you have to reload between every shot. Putting on a stock is what you need; the rest of it is a waste of resources. |
| Renegade | Muzzle: Muzzle Brake II / III or Compensator II / III Mag: Extended Medium Mag II / III Stock: Stable Stock III / Padded Stock | One of the best guns in the game with a fast fire rate and massive damage. Quite useful both at a distance and close by if not ADSing. Stocks are game changers on it. Don’t forget to upgrade it as it offers some serious advantages, but it’s completely fine as is. |
| Aphelion | Underbarrel: Angled Grip III / Horizontal Grip Stock: Stable Stock III | Quite a difficult weapon to kit, as it’s very situational. It’s great against ARCs and people alike, but only as a secondary weapon. It melts people at middle distances, but is really weak far away and close. It has huge dispersion, which decreases as soon as you aim the gun. We recommend lowering it as much as possible with Stable Stock III. |
| Il Toro | Muzzle: Shotgun Choke II Underbarrel: Vertical Grip II / III Mag: Extended Shotgun Mag II Stock: Lightweight Stock / Kinetic Converter | Technically speaking, the higher the choke, the better, but it’s not worth the increased damage the weapon receives. You will be using it in close proximity anyway. Lightweight Stock is a god-given on it as you can damage the shields with any other weapon and then rush in with Il Toro equipped to finish the job. |
| Vulcano | Muzzle: Shotgun Choke III Underbarrel: Vertical Grip III Mag: Extended Shotgun Mag III Stock: Kinetic Converter | Turning people into mush has never been this fun before. With twice the fire rate of Il Toro, it begs for a Kinetic Converter. This gun isn’t to be used as a secondary, unlike Il Toro. It requires extremely narrow spaces to really show you what it has. Try it on Stella Montis. |
| Hairpin | Mag: Extended Light Mag I | Uhhh… Do you really use it to shoot enemies? It’s a camera breaker if you can’t reach it using a blind spot. Nuff said. |
| Burletta | Muzzle: Silencer (any) Light Mag: Extended Light Mag III | Actual hidden gem. It’s so good in PvP and to deal with light ARCs that you won’t believe it. Much better as a stealth weapon compared to Hairpin. You don’t need any dispersion/recoil muzzles, just put on a silencer and be a stealthy menace. |
| Anvil | Muzzle: Compensator II / III or Silencer II / III Tech-Mod: Anvil Splitter / No mod | This one is pretty interesting. It’s a jack-of-all-trades that works quite well against ARCs and people. If you plan to use it against people, try a Compensator, as it has a pretty big default dispersion. If you want to use it to kill ARCs, put on a Silencer and an Anvil Splitter. You can still use it to kill people, just don’t expect it to shoot far. Anvil Splitter essentially turns the gun into a mid-range shotty hybrid by reducing damage per bullet and giving you a 4-projectile shot. |
| Venator | Underbarrel: Vertical Grip II / III Mag: Extended Medium Mag II / III | Even without any attachments, this weapon is a monster. Nerfs balanced it a bit more, but it’s still an S-Tier weapon. To run it efficiently, it’s enough just to upgrade it. The attachments on it are just an icing on the cake. |
| Osprey | Muzzle: Extended Barrel Underbarrel: Any Grip or None Mag: Extended Medium Mag II Stock: Lightweight Stock / Stable Stock II | The only sniper rifle in the game doesn’t need much to shine. The Extended Barrel makes it extra deadly and removes the need to calculate where your bullet will land. The Lightweight Stock makes it a quick scoping machine. Combine both and get a universal monster that has some serious damage. |
| Hullcracker | Underbarrel: Vertical Grip II Stock: Lightweight Stock / Kinetic Converter | Stocks will change the way you play the weapon. With Lightweight Stock, you can quickly get it out and shoot an ARC. Kinetic Converter allows for a quicker fire rate, and if you've ever used Hullcracker, you know it can be really slow. Underbarrel is completely optional. |
This wraps up the best weapon attachments across all guns currently available. You’ll notice clear patterns, with some attachments outperforming others in most situations. Certain attachments are highly situational, like the Lightweight Stock, while others—such as Compensators—are consistently useful. Next, we’ll explain how you can evaluate attachments on your own.
Most attachments exist to improve weapon performance. As mentioned earlier, Common and Uncommon attachments are always beneficial and never introduce downsides. If you’re unsure whether a Rare or higher attachment is worth equipping, sticking with a lower-rarity option is often the safer choice. Silencers and Magazines are the only attachment types that never have drawbacks, regardless of rarity.
Below is a detailed breakdown of each attachment type and how it affects your weapon:
The Anvil Splitter stands apart from other attachments. It completely changes how the weapon functions and does not fit neatly into any category. Whether similar attachments will appear in the future remains to be seen, but for now, this guide covers all available attachment options.
Buy ARC Raiders Boosts
Get gear, XP, and progression fast with ARC Raiders boosts!
Muzzle Brake III provides the strongest recoil reduction available, but it comes with a trade-off by significantly increasing the weapon’s durability loss over time.
Yes. Extended magazines have no negative effects, and the extra ammunition allows you to stay in fights longer and win engagements without reloading as often.
Stocks and grips should be your top priority, as they have the greatest influence on recoil control, handling, and overall firing consistency.
Yes. You can remove or swap attachments at any time without paying any resources or penalties.
Absolutely. Low-tier attachments are often very effective because they only provide positive stat bonuses without introducing any drawbacks.
Attachments are essential for unlocking your weapon’s full potential. Now that you understand how attachments work and how their stats affect gun behavior, you’ll consistently outperform players who attach gear without thinking. Apply these principles when building your weapons, and you’ll gain a clear edge in every fight. Enjoy experimenting with your attachments, and we’ll see you Topside, raiders!