


+15 More
Digital Aura Portal - FZCO
Building A1, Dubai Digital Park, Dubai Silicon Oasis, Dubai, United Arab Emirates Premises Number 72647 - 001
Business registration number: 70647
gamer-choice.com © 2026
Digital Aura Portal - FZCO
Building A1, Dubai Digital Park, Dubai Silicon Oasis, Dubai, United Arab Emirates Premises Number 72647 - 001
Business registration number: 70647
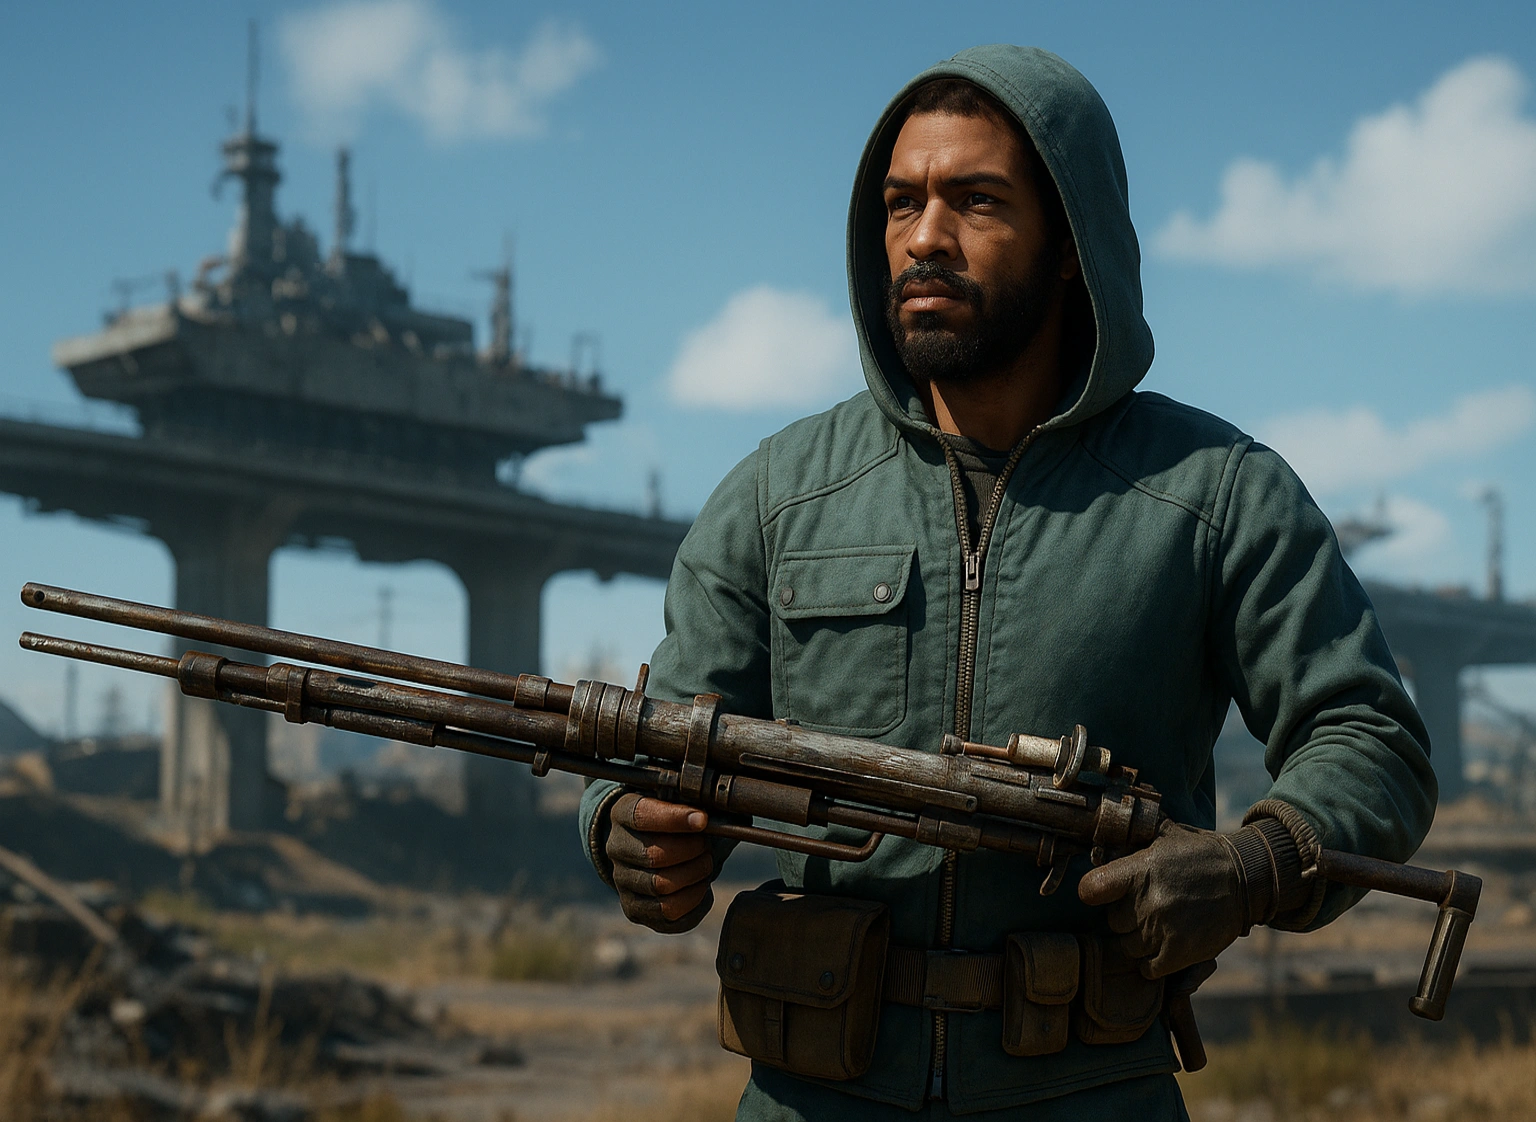
If you’re looking to embody pure destructive power in Arc Raiders, the Ferro is the weapon that delivers. This heavy break-action rifle slams harder than almost anything else in the game, but it’s not built for careless spraying. Mastering the Ferro means understanding timing, positioning, and precision — every shot should feel intentional and devastating.
That’s why having a well-crafted build matters so much. The right loadout — from weapons and gear to healing options and augments — ensures you stay alive long enough to unleash the Ferro’s full potential while maximizing the value of every shell fired. This rewritten guide breaks down a fully optimized setup designed to complement the Ferro’s strengths and mitigate its weaknesses. By the end, you’ll be landing shots that feel like miniature boss encounters all on their own.

Buy ARC Raiders Items
Grab rare ARC Raiders items and boost your power!

Below you’ll find the best Ferro loadout, complete with ideal secondary weapons, recommended gear pieces, efficient healing options, and the strongest augments to enhance your overall playstyle.
| Item | Why It's Good | Playstyle Strengths |
|---|---|---|
| Ferro | Massive single-shot damage; reliable for high-value targets | Ideal for long-range pickoffs and burst damage; punishes poor enemy positioning |
| Renegade | Pair with for faster follow-up shots than the Ferro | Covers Ferro’s slow reload; versatile mid-range option |
| Venator | High firing rate; decent damage | Good for clearing multiple targets when precision is less critical |
| Osprey | Long-range sniper-style damage | Excellent for overwatch and scouting; complements Ferro’s single-shot engagements |
| Hullcracker | Explosive heavy damage; clears groups | Situational weapon for crowd control; ideal for forcing enemies out of cover |
| Item | Why It's Good | Playstyle Strengths |
|---|---|---|
| Barricade Kit | Deployable cover with 500 health | Protects you while reloading or lining up Ferro shots |
| Remote Raider Flare | Attracts enemies to a specific location | Allows you to control engagements and create safer kill zones |
| Snap Hook | Scale structures and cover distances | Improves mobility; ideal for adjusting positions to maximize Ferro effectiveness |
| Binoculars | Scout enemies and plan shots from afar | Supports long-range playstyle and target prioritization |
| Seeker Grenade | Homing explosive targets | Perfect for finishing off enemies before lining up Ferro shots |
| Blaze Grenade | Deals AoE damage over time | Forces enemies into chokepoints for safer, high-damage shots |
| Showstopper | Stuns enemies | Provides a window to reload or reposition without taking damage |
| Item | Why It's Good | Playstyle Strengths |
|---|---|---|
| Combat Mk. 3 | 2 grenade slots for extra utility | Enhances offensive versatility; complements Ferro’s slow firing with grenades |
| Tactical Mk. 3 | 3 healing slots | Increases survivability; keeps you in fights despite Ferro’s downtime |