


+15 More
Digital Aura Portal - FZCO
Building A1, Dubai Digital Park, Dubai Silicon Oasis, Dubai, United Arab Emirates Premises Number 72647 - 001
Business registration number: 70647
gamer-choice.com © 2026
Digital Aura Portal - FZCO
Building A1, Dubai Digital Park, Dubai Silicon Oasis, Dubai, United Arab Emirates Premises Number 72647 - 001
Business registration number: 70647
Blueprints play a central role in long-term progression in ARC Raiders. They unlock which weapons, armor pieces, explosives, and utility items you’re able to craft once your workstations are upgraded. Every new blueprint you extract permanently expands your future loadout options, which is why farming them efficiently becomes one of the most important parts of endgame growth. Since each blueprint is tied to specific containers and high-value loot areas, the fastest way to build a strong collection is by running deliberate looting routes instead of relying on pure randomness.
The core of this ARC Raiders Blueprint farming guide focuses on highlighting notable and relatively safe locations across every map. These spots are chosen specifically for lower player traffic while still offering strong blueprint potential. In addition, we’ll go over the most recent update and explain how it affected blueprint drop chances. We’ll also clear up several common myths surrounding blueprints and how they actually work. With that covered, let’s dive in.
The easiest way to get blueprints is and always will be buying them at Gamer Choice. Check out ARC Raiders Blueprints that can be used to get any specific blueprint or any amount of random ones without having to risk your own gear.

Buy ARC Raiders Items
Get Weapons, Blueprints, and Keys in ARC Raiders

The North Line update introduced a number of changes that directly impact blueprint farming. Many players initially believed blueprint drop rates were heavily buffed or that certain blueprints became exclusive to Stella Montis, but the reality is more nuanced. The update primarily adjusted how Raider Containers function, which subtly shifts where your farming efforts should be focused.
Below are the most important blueprint-related changes added in Update 1.2.0:
Since then, the December patch did not introduce any additional changes to loot distribution, meaning these adjustments remain fully relevant today.
Overall, these updates established a more consistent baseline for blueprint farming. At the same time, they fueled misinformation around supposed blueprint “buffs,” Stella Montis-only drops, and container exclusivity. The following section focuses entirely on optimal locations, why these spots are worth your time, and how the adjusted drop rates affect real raid efficiency.
Players searching for ARC Raiders how to get blueprints eventually discover that the most reliable method is targeting breach rooms and weapon case spawns rather than gambling on random containers. Here’s why that approach works so well.
Blueprint farming is most effective when you prioritize areas that reliably spawn high-tier containers. These include weapon cases, medical duffel bags, grenade tubes, ammo crates, and the black Raider Containers commonly referred to as blueprint boxes. Any room locked behind a breachable door is treated by the game as a higher-quality loot zone, even if it doesn’t always spawn special containers. That classification alone improves blueprint odds with every container you check.
Your routes will take you through a combination of hidden rooms, low-traffic side areas, and compact spaces packed with multiple containers. These locations stand out because they consistently produce the container types most likely to drop blueprints.
With that context in mind, the sections below break down the most effective ARC Raiders blueprint locations across all maps, one spot at a time.
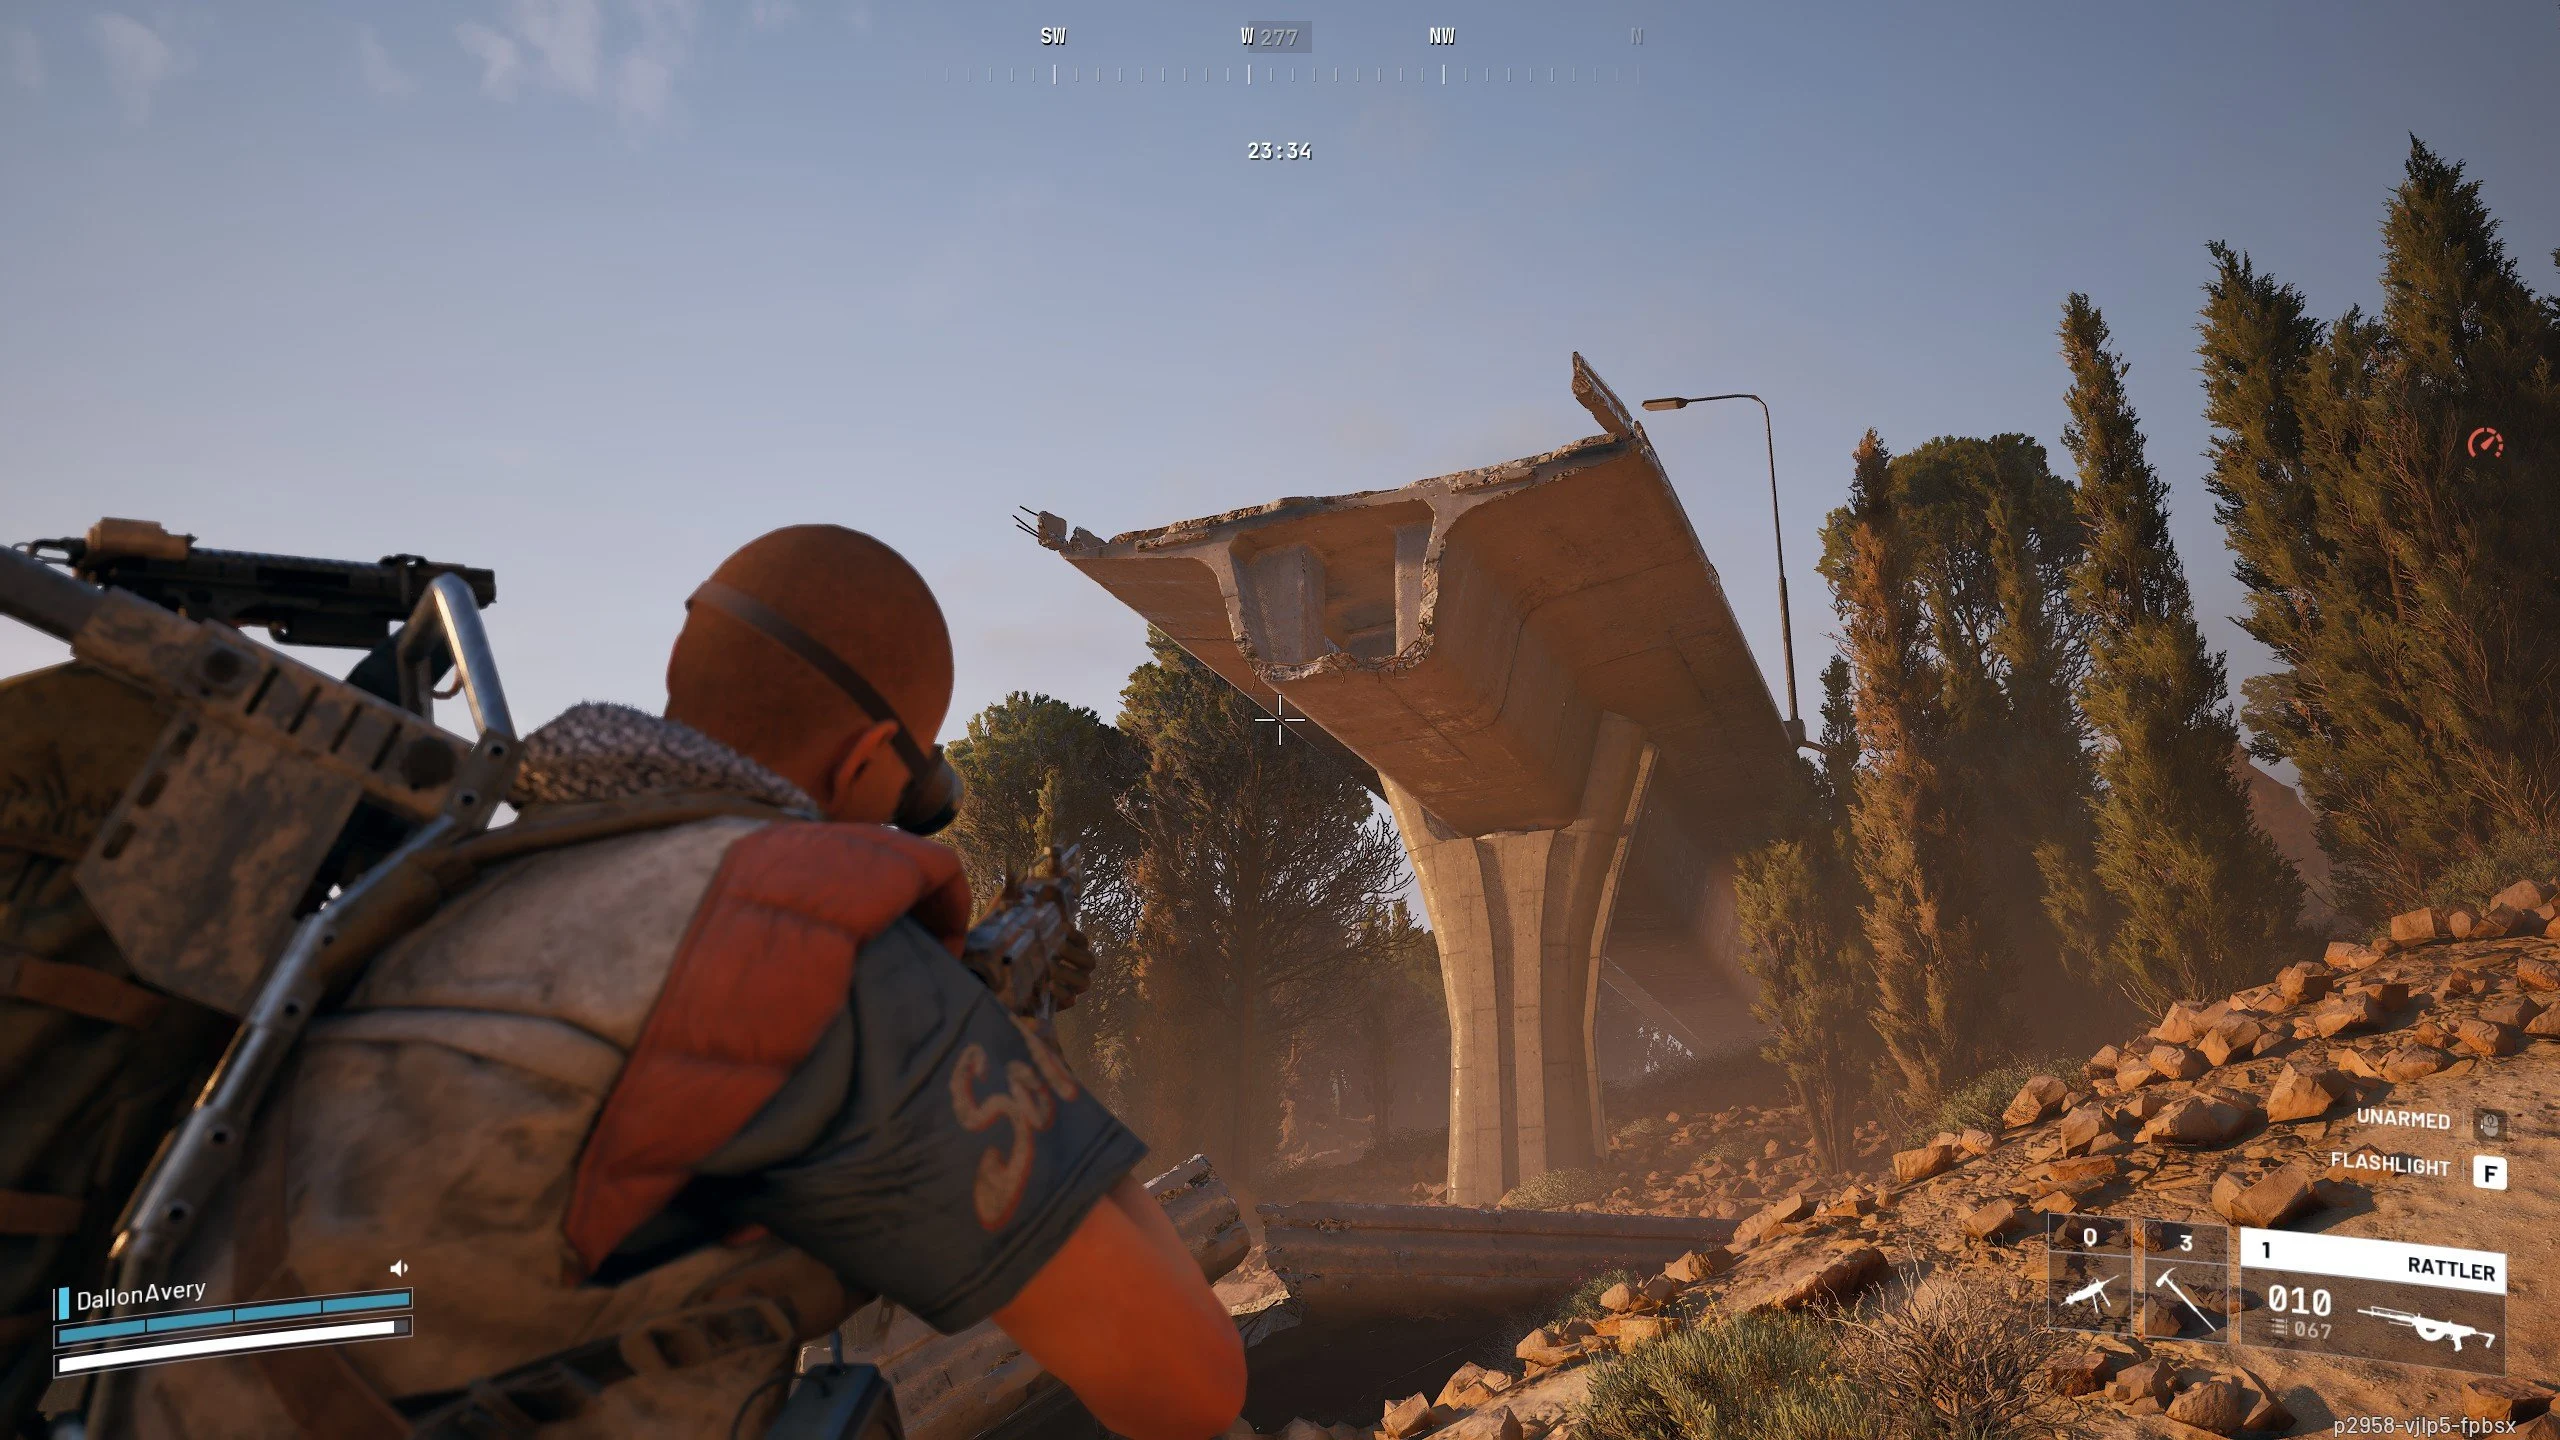
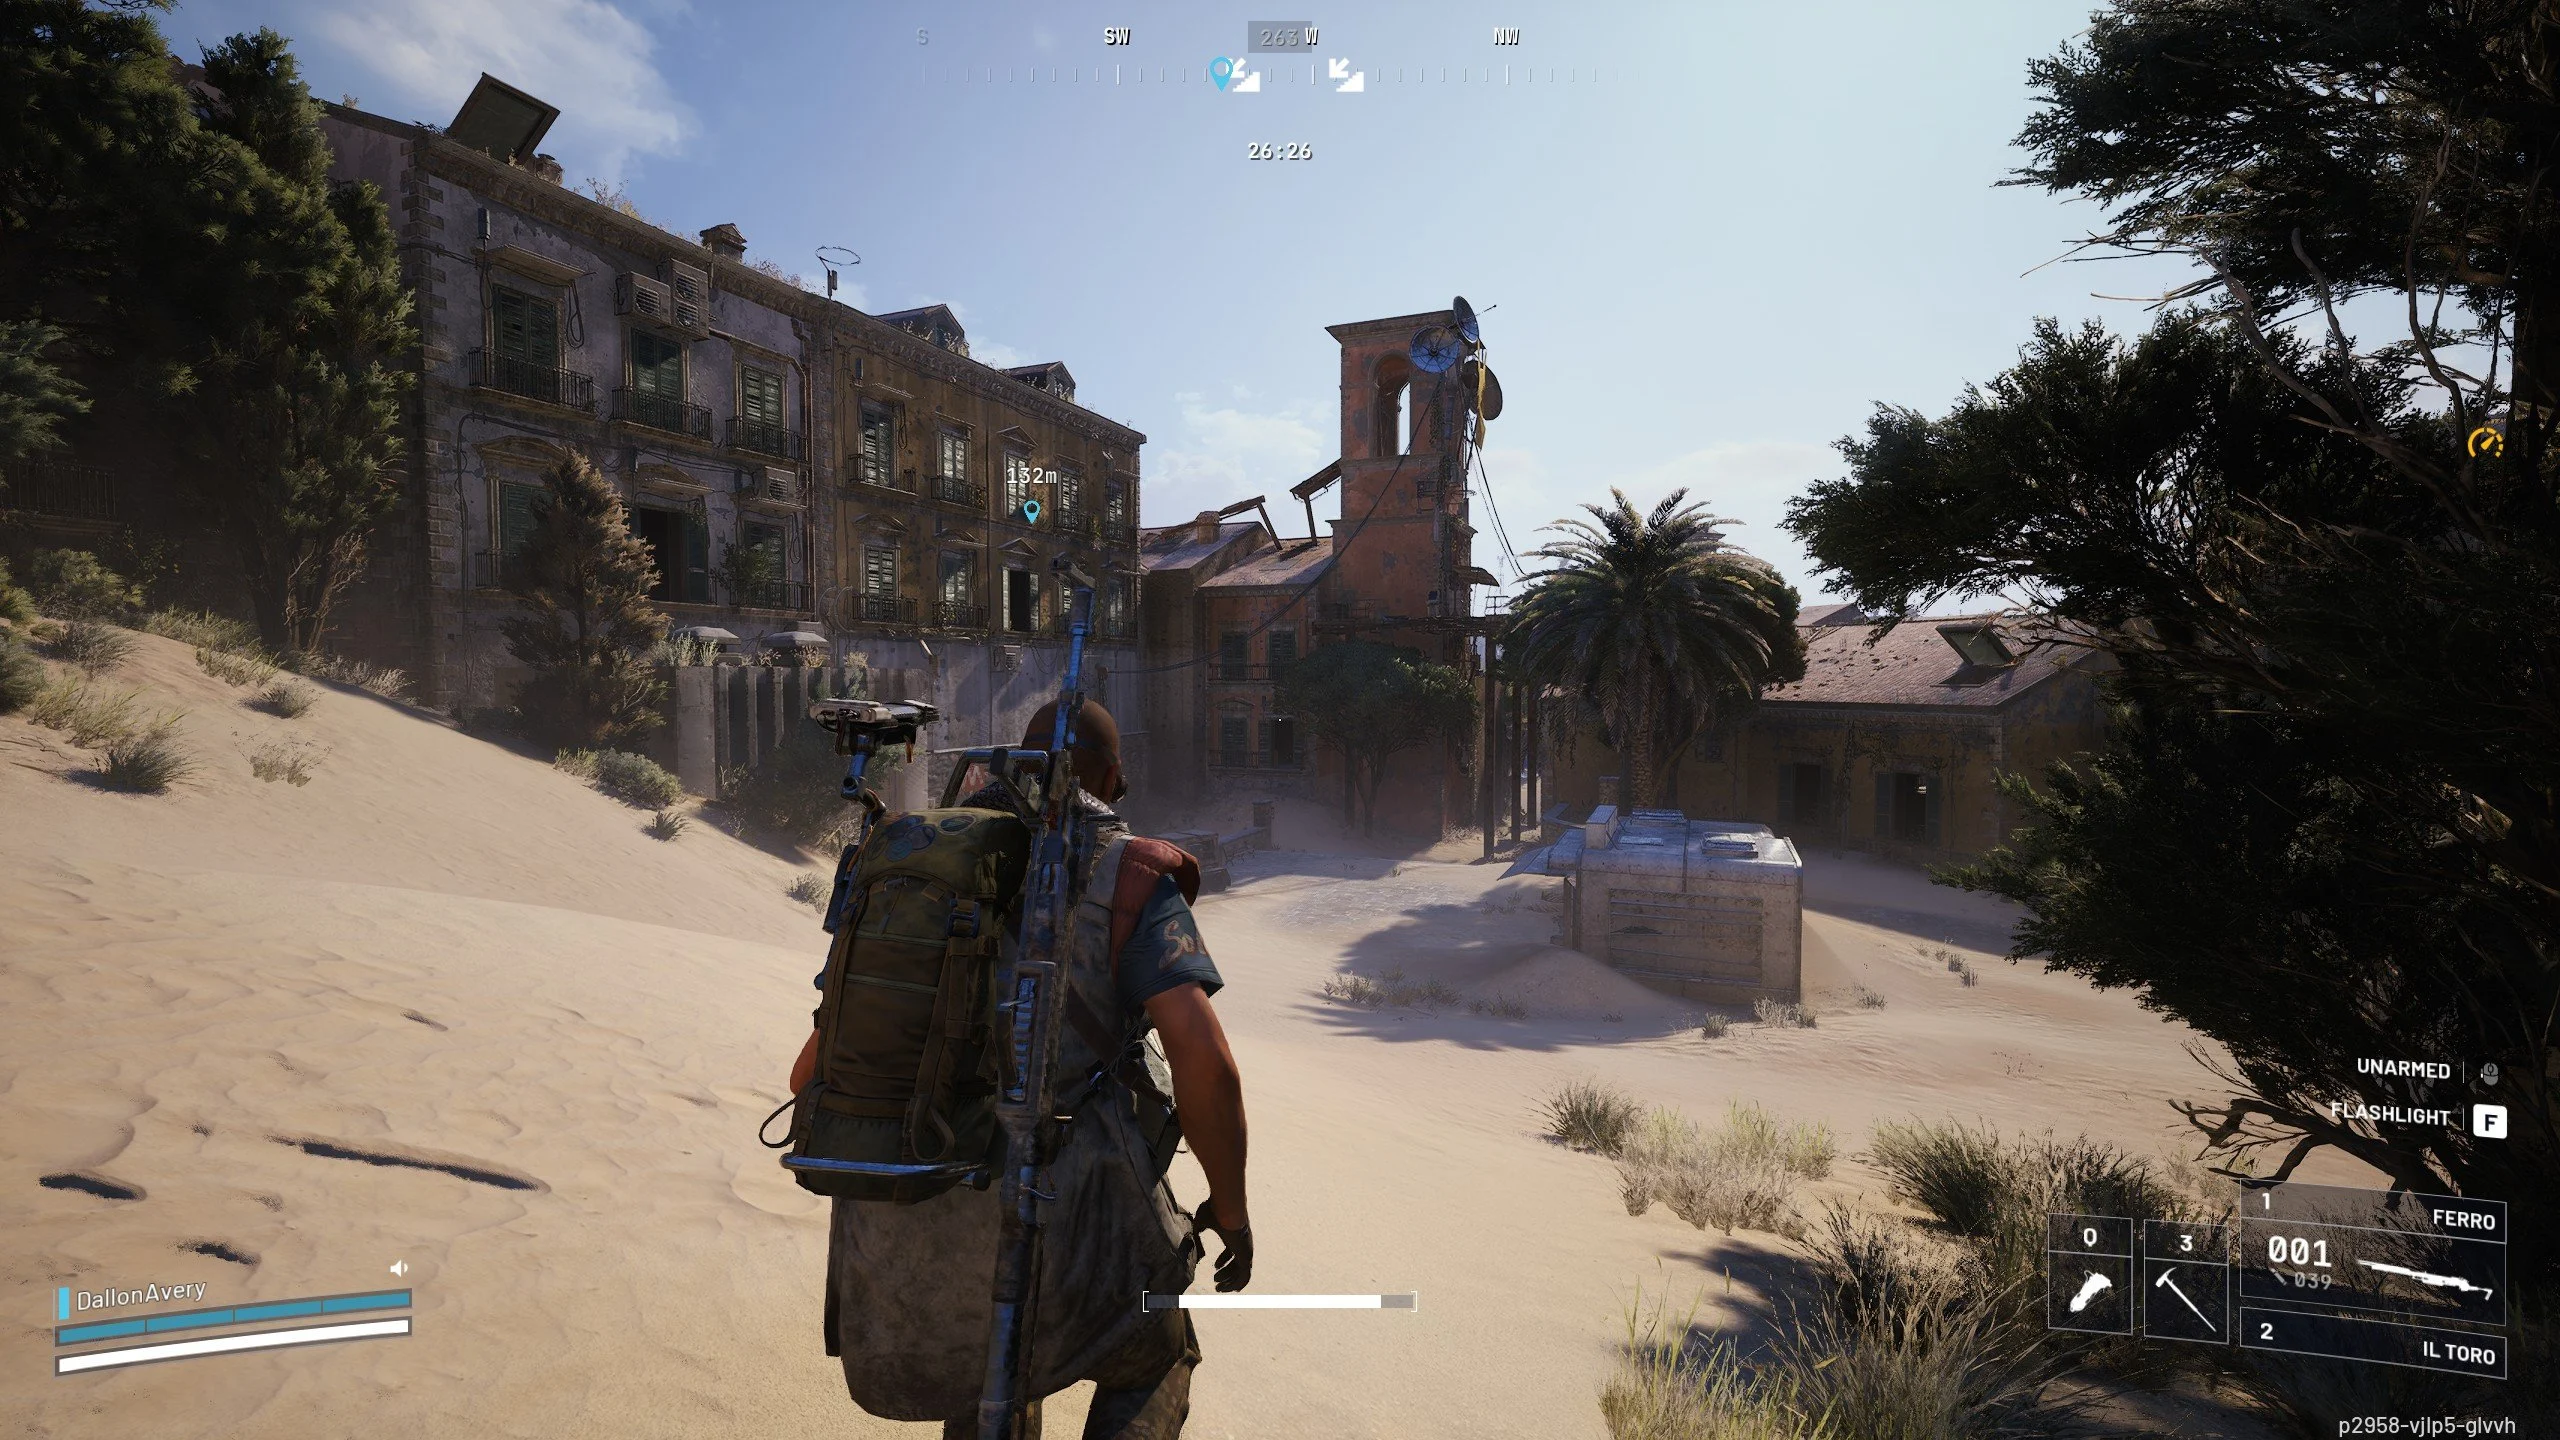
This location is widely considered one of the best blueprint spots in Dam Battlegrounds. Positioned at the end of a collapsed bridge, it offers one of the easiest high-value container checks in the game. The vault is isolated, rarely contested, and allows you to inspect premium loot without committing to a long or dangerous run.
Reaching the vault requires a simple movement sequence:
Inside the hidden chamber, a weapon case can spawn at a surprisingly high rate, alongside other valuable container types. Medical bags, grenade cases, and black Raider Containers frequently appear here, all of which carry solid blueprint potential.
This setup makes the hidden vault perfect for quick smash-and-grab runs. You can drop in with minimal gear, sprint straight to the bridge, check the containers, and extract immediately if you hit a blueprint. Even unsuccessful runs cost very little, making this one of the most efficient early blueprint farms in Dam Battlegrounds.

Another strong blueprint location in Dam Battlegrounds sits beneath the main concrete bridge. These rooms are accessed by lowering the metal support platforms using nearby switches. While they may look unremarkable at first glance, they consistently spawn high-value containers and are frequently ignored by players who never look below the bridge.
Because this area is classified as a controlled-access structure, the loot quality inside is noticeably higher than the surrounding surface-level zones.
To access the rooms:
Within the support rooms, you’ll commonly find weapon cases, med bags, ammo crates, and black Raider Containers. The enclosed layout and minimal ARC presence make it a safe place to secure a blueprint before pushing deeper into the map.
There are plenty of other special container locations scattered throughout Dam Battlegrounds, but these two stand out as some of the least contested while still offering excellent blueprint value.
The first major Buried City blueprint location is a breach room on the northern side of Marano Station. It remains one of the most reliable blueprint checks on the map. Positioned far from the central hotspots, it usually sees minimal player traffic, allowing you to loot it uncontested in most raids.
Since the only entry point is a breachable door, the entire interior is flagged as a high-value loot zone, boosting the quality of all containers inside.
Once you arrive at Marano Station:
Even if the weapon case doesn’t spawn, the breach boxes alone make this room consistently worthwhile. Its isolated position makes it an excellent early stop when spawning near the western side of Buried City.

These two connected rooms are located on the eastern side of Buried City, just south of the Piazza Roma metro exit. Together, they form one of the fastest double-check blueprint routes available. The attic room offers an elevated, low-risk weapon case spawn, while the street-level room across the road provides a second quick container check.
Because both rooms sit slightly off the main travel routes, they are rarely contested.
To clear both efficiently:
Together, these rooms provide fast, low-risk blueprint opportunities with almost no downtime. Their proximity to Piazza Roma makes them easy to integrate into eastern Buried City routes.
This interior room is located just south of the East Housing Windows and serves as a natural third stop along the same route. It’s quick to access, easy to clear, and includes a kitchen area with a reliable weapon case spawn on the counter.
A rope inside the room allows instant access to the upper floor, letting you bypass the staircase entirely.
The typical flow looks like this:
Because of its close proximity to the previous two stops, this room completes a tight trio of blueprint checks with minimal travel time and safe exit options.

This blueprint room sits above the Grandioso Apartments and is accessed via the zipline starting in West Village Piazza Roma. The zipline runs between two tall buildings, and the target platform is located on the right-hand structure just below the zipline’s endpoint.
To reach it:
This room offers exceptional blueprint odds due to its high-tier classification and container density. While it can attract players later in raids, early access often makes it one of the strongest blueprint checks in Buried City.
The rooftops of the two Grandioso Apartment buildings each feature a weapon case spawn, but they carry higher risk due to player traffic. These rooftops sit along a popular vertical rotation route connecting ziplines, housing blocks, and nearby high-value interiors.
If you decide to check both:
These rooftops are best treated as opportunistic stops. If the area feels calm, they provide quick blueprint rolls. If activity is high, skipping them is often the safer choice.
This small outdoor spot lies southwest of the Grandioso Apartments, hidden in bushes near a parked vehicle. While easy to overlook, it frequently spawns a Raider Cache, which offers some of the strongest single-container blueprint odds.
Most players run past without stopping, making it extremely low-risk.
When passing through:
This spot adds virtually no time to your route while offering excellent blueprint potential.
This breach room is located on the right side of the Abandoned Highway Camp, between the Grandioso Apartments and Santa Maria Houses. It’s a quiet, high-value interior that works well as a mid-route blueprint check.
To clear it:
Its location and controlled access make it a reliable stop without forcing you into exposed streets.
This high-value interior is tucked between two facing buildings south of the Western Breach Room. You access it by jumping through a rooftop window and immediately vaulting into the opposite building’s upper window.
The unusual entry keeps traffic low despite its proximity to major routes.
To clear the room:
Its compact layout and high-value classification make it one of the most efficient blueprint checks on west-to-east Buried City routes.
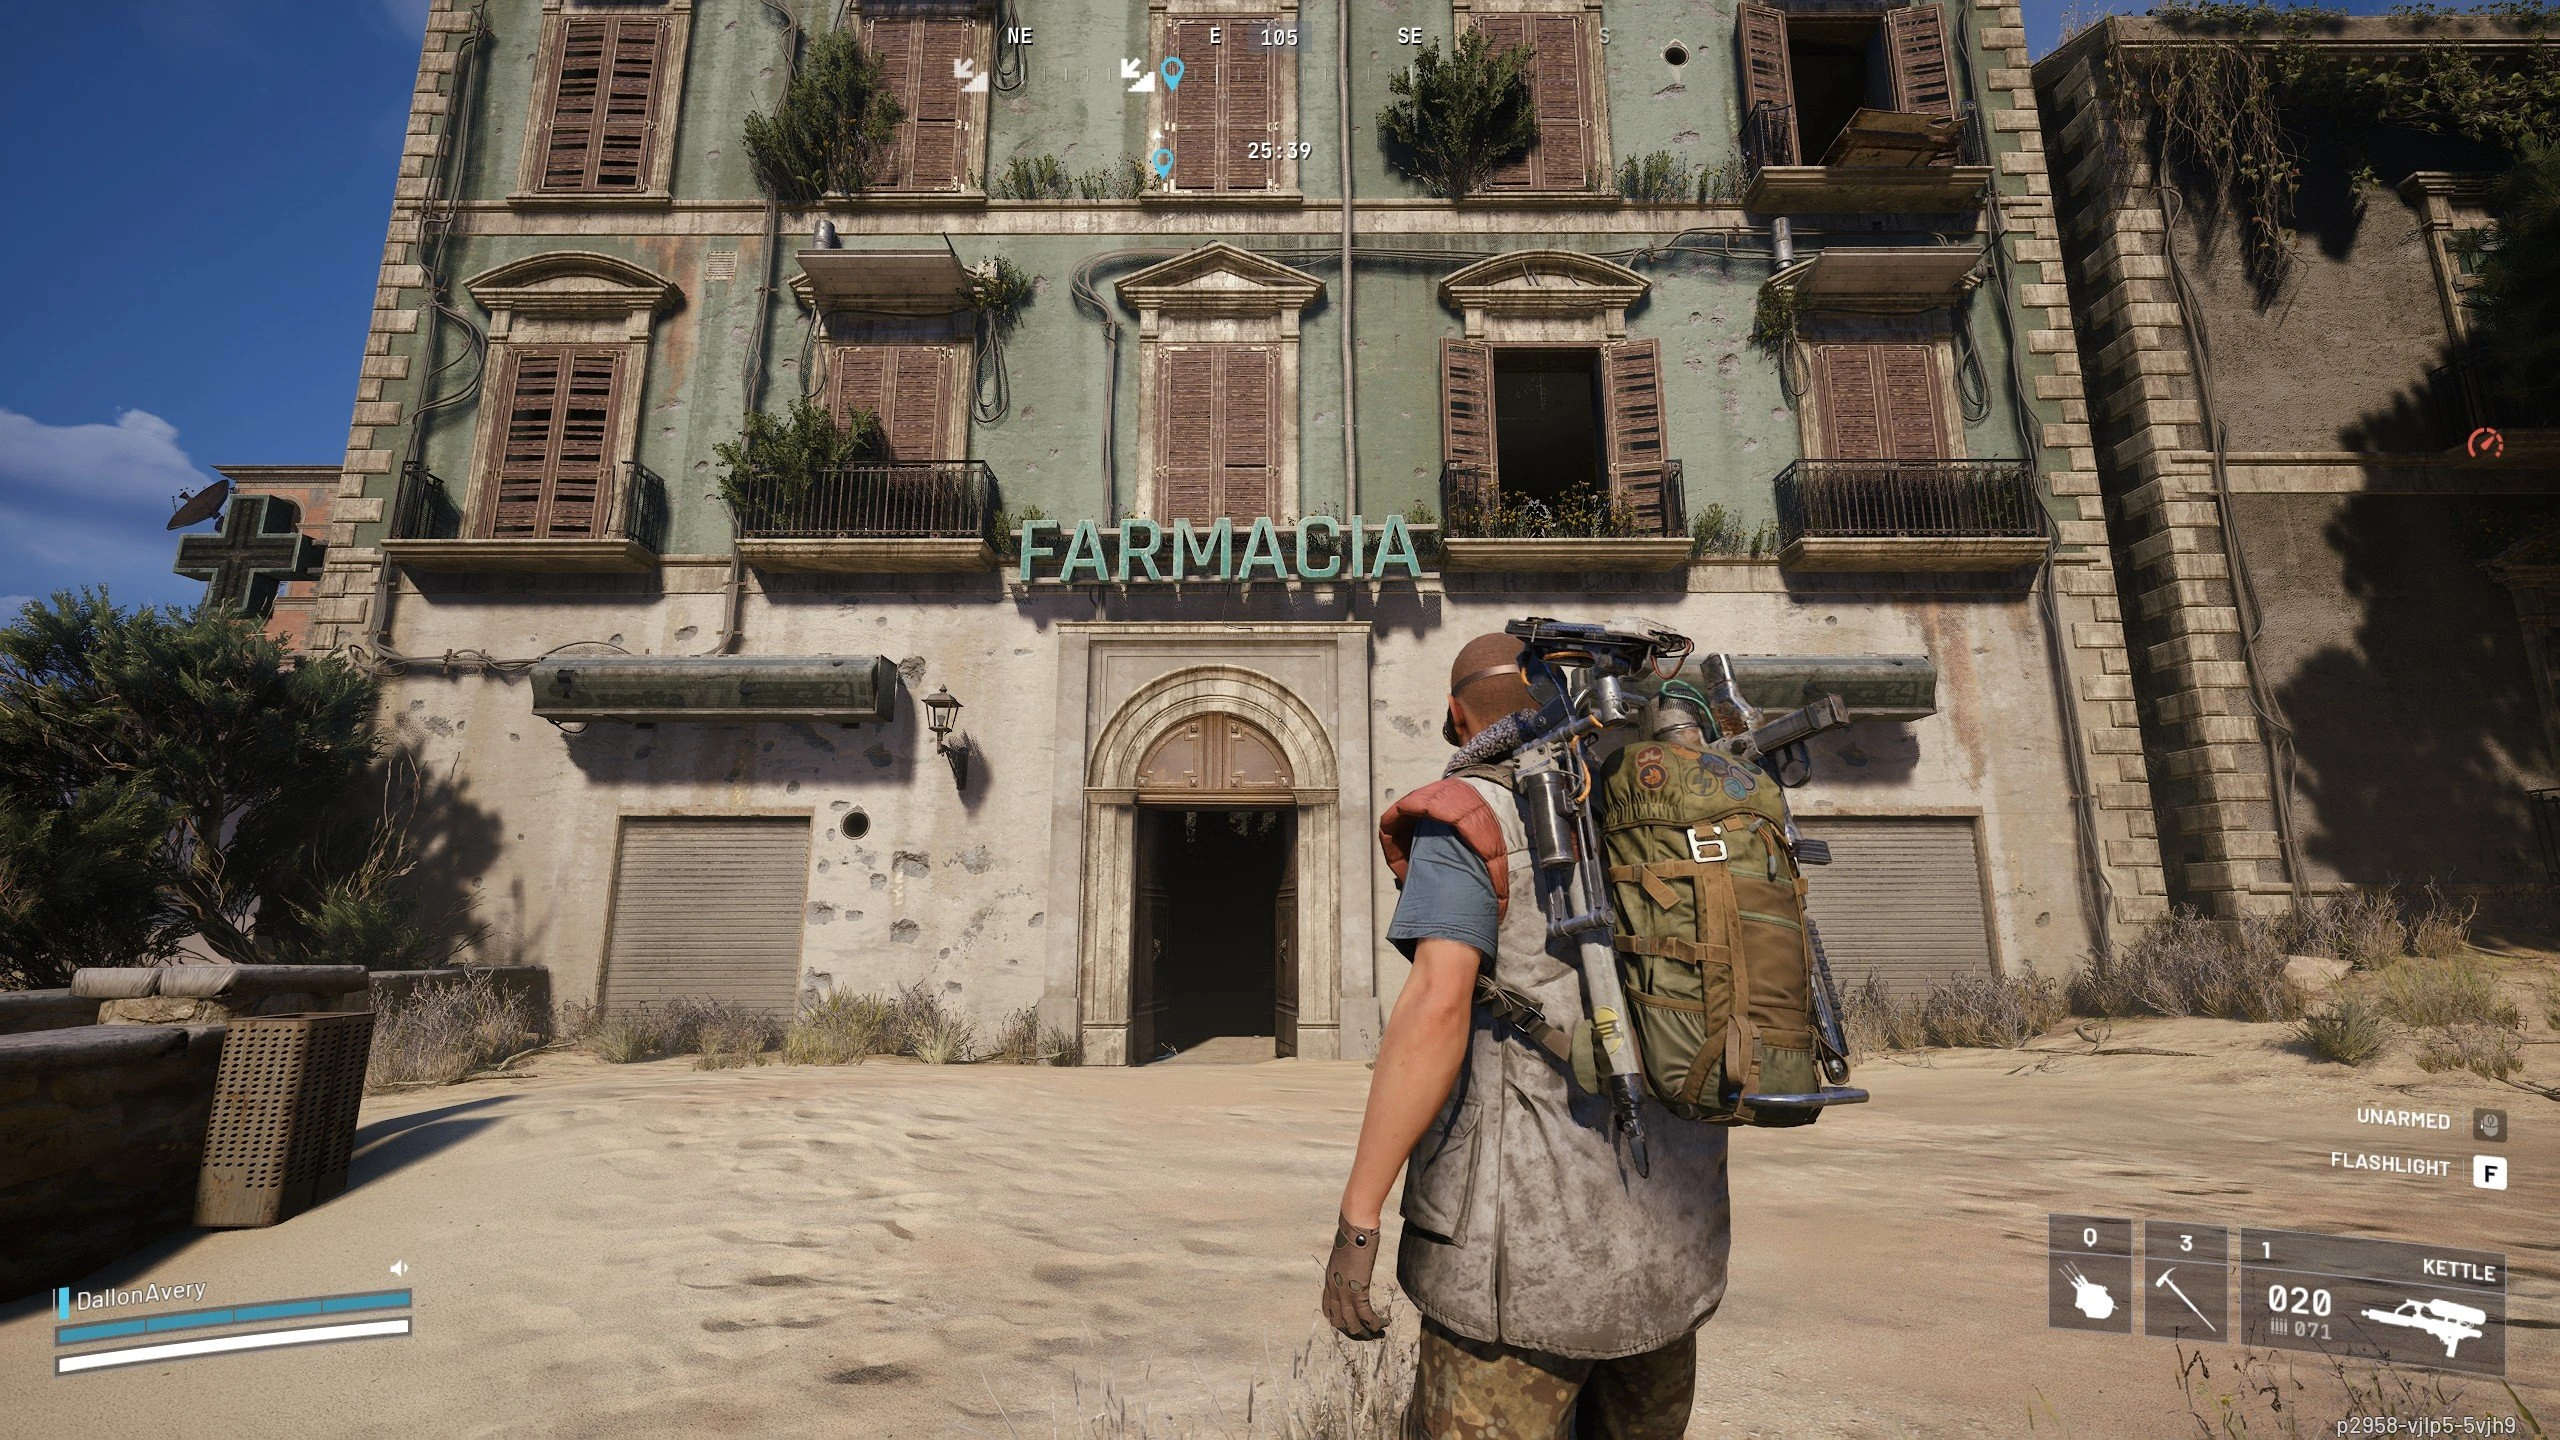
The Plaza Rosa Pharmacy remains one of the most container-dense blueprint locations on the map. Pharmacies are treated as full high-value zones, meaning nearly every container inside carries boosted blueprint odds.
While it draws more traffic, its multi-floor layout allows for quick looting and repositioning.
A clean sweep involves:
When managed properly, this pharmacy offers some of the most consistent blueprint returns in Buried City.
The Red Tower northeast of Plaza Rosa is a narrow vertical structure with multiple stacked high-value rooms. Each floor can spawn med bags, red lockers, and weapon cases.
A typical route includes:
The tower is tied to a generator reboot quest, so expect occasional player presence.
This room is located inside an L-shaped apartment building south of Piazza Arbusto. You access it through a broken rooftop wall, which keeps it largely uncontested.
To clear it:
Its elevated position and reliable spawns make it an excellent final blueprint stop before moving deeper into Buried City.
This pharmacy sits on the east side of Piazza Arbusto, and while it’s one of the stronger blueprint rooms in Buried City’s northeastern district, it also comes with more danger than the Plaza Rosa Pharmacy. The reason is straightforward: Lance’s questline routes players through this building, including the step where he asks for photos showing how people used to live in these halls. That quest traffic alone can turn the pharmacy into a mid-raid hotspot.
Even so, the building has a major edge over most interior loot rooms: there’s only one entrance, and you can seal it with a Door Blocker. That single choke point gives you full control over who gets in. If someone tries to breach the door, the noise is loud enough to give you time to reposition, prepare an ambush, or simply leave before you get boxed in. Once you’re inside and set up, the pharmacy becomes much safer than it looks from the outside.
The layout is excellent for blueprint farming:
Piazza Arbusto Pharmacy is a strong choice when you want a contained, defensible blueprint room with multi-floor loot density. If you understand the quest flow and time your visit properly, it becomes one of the safer high-value interiors on the north side of Buried City.

Buy ARC Raiders Coins
Secure ARC Raiders Coins fast and upgrade your loadout!
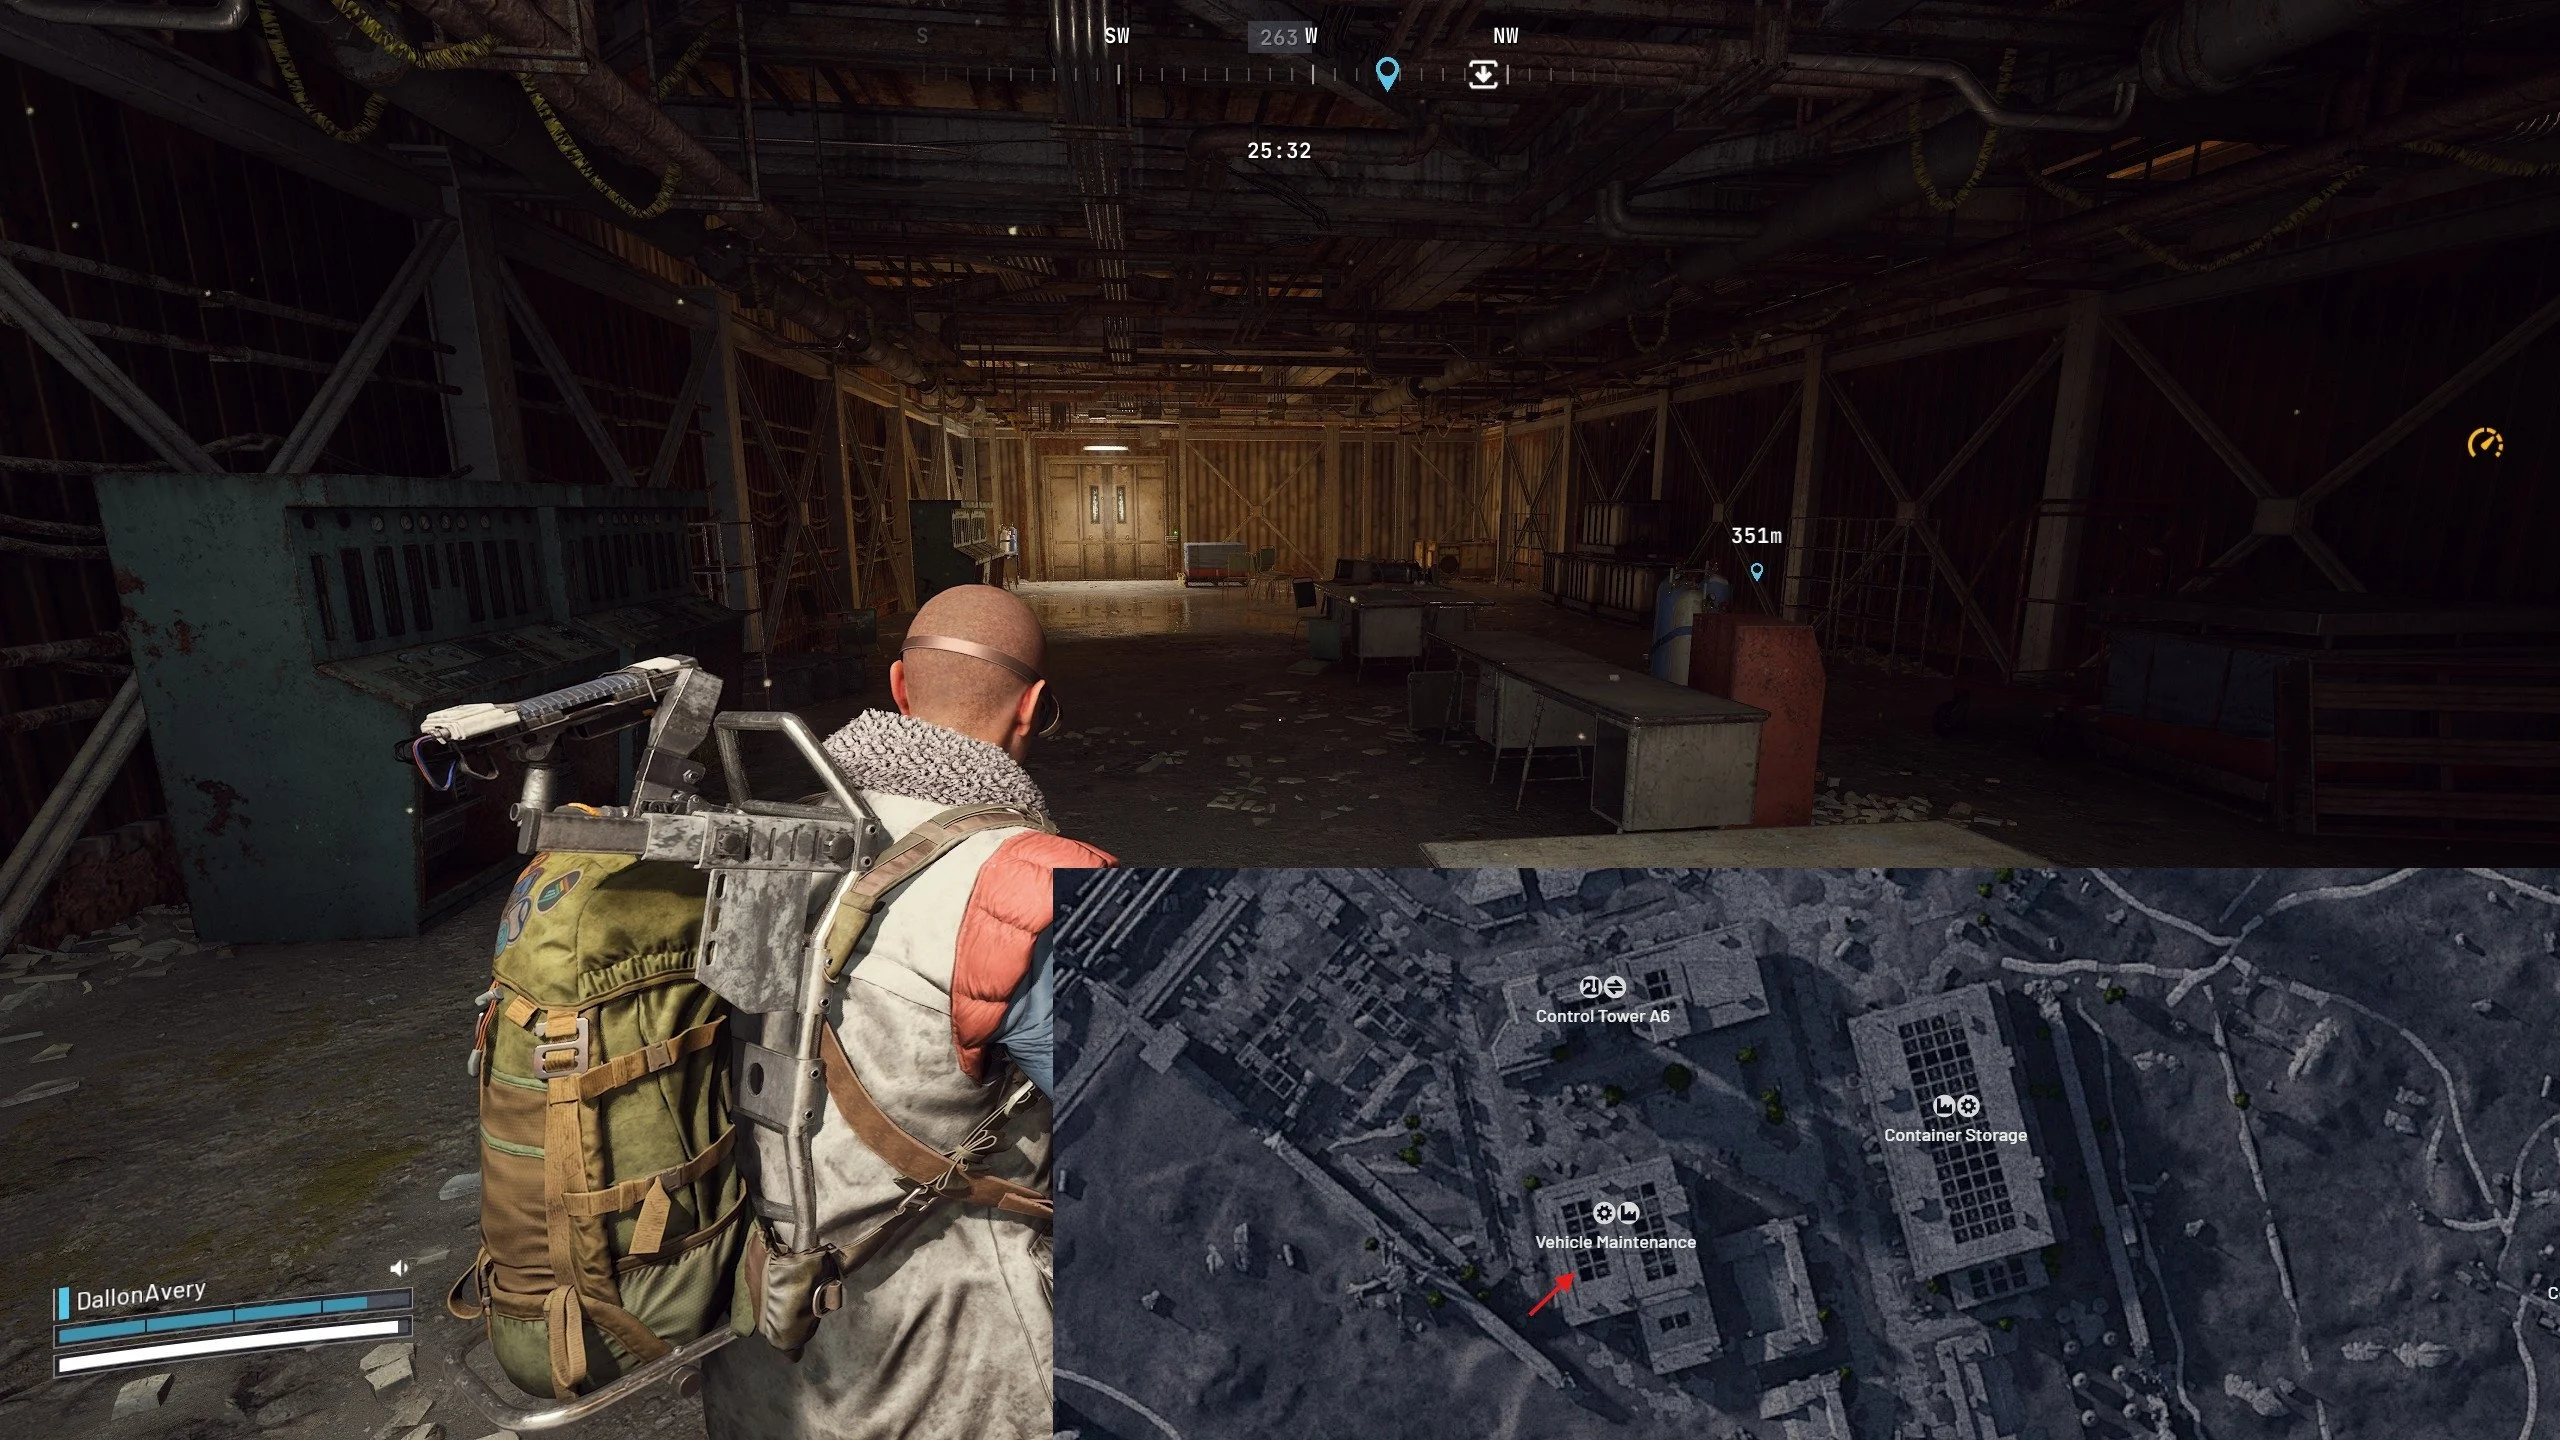
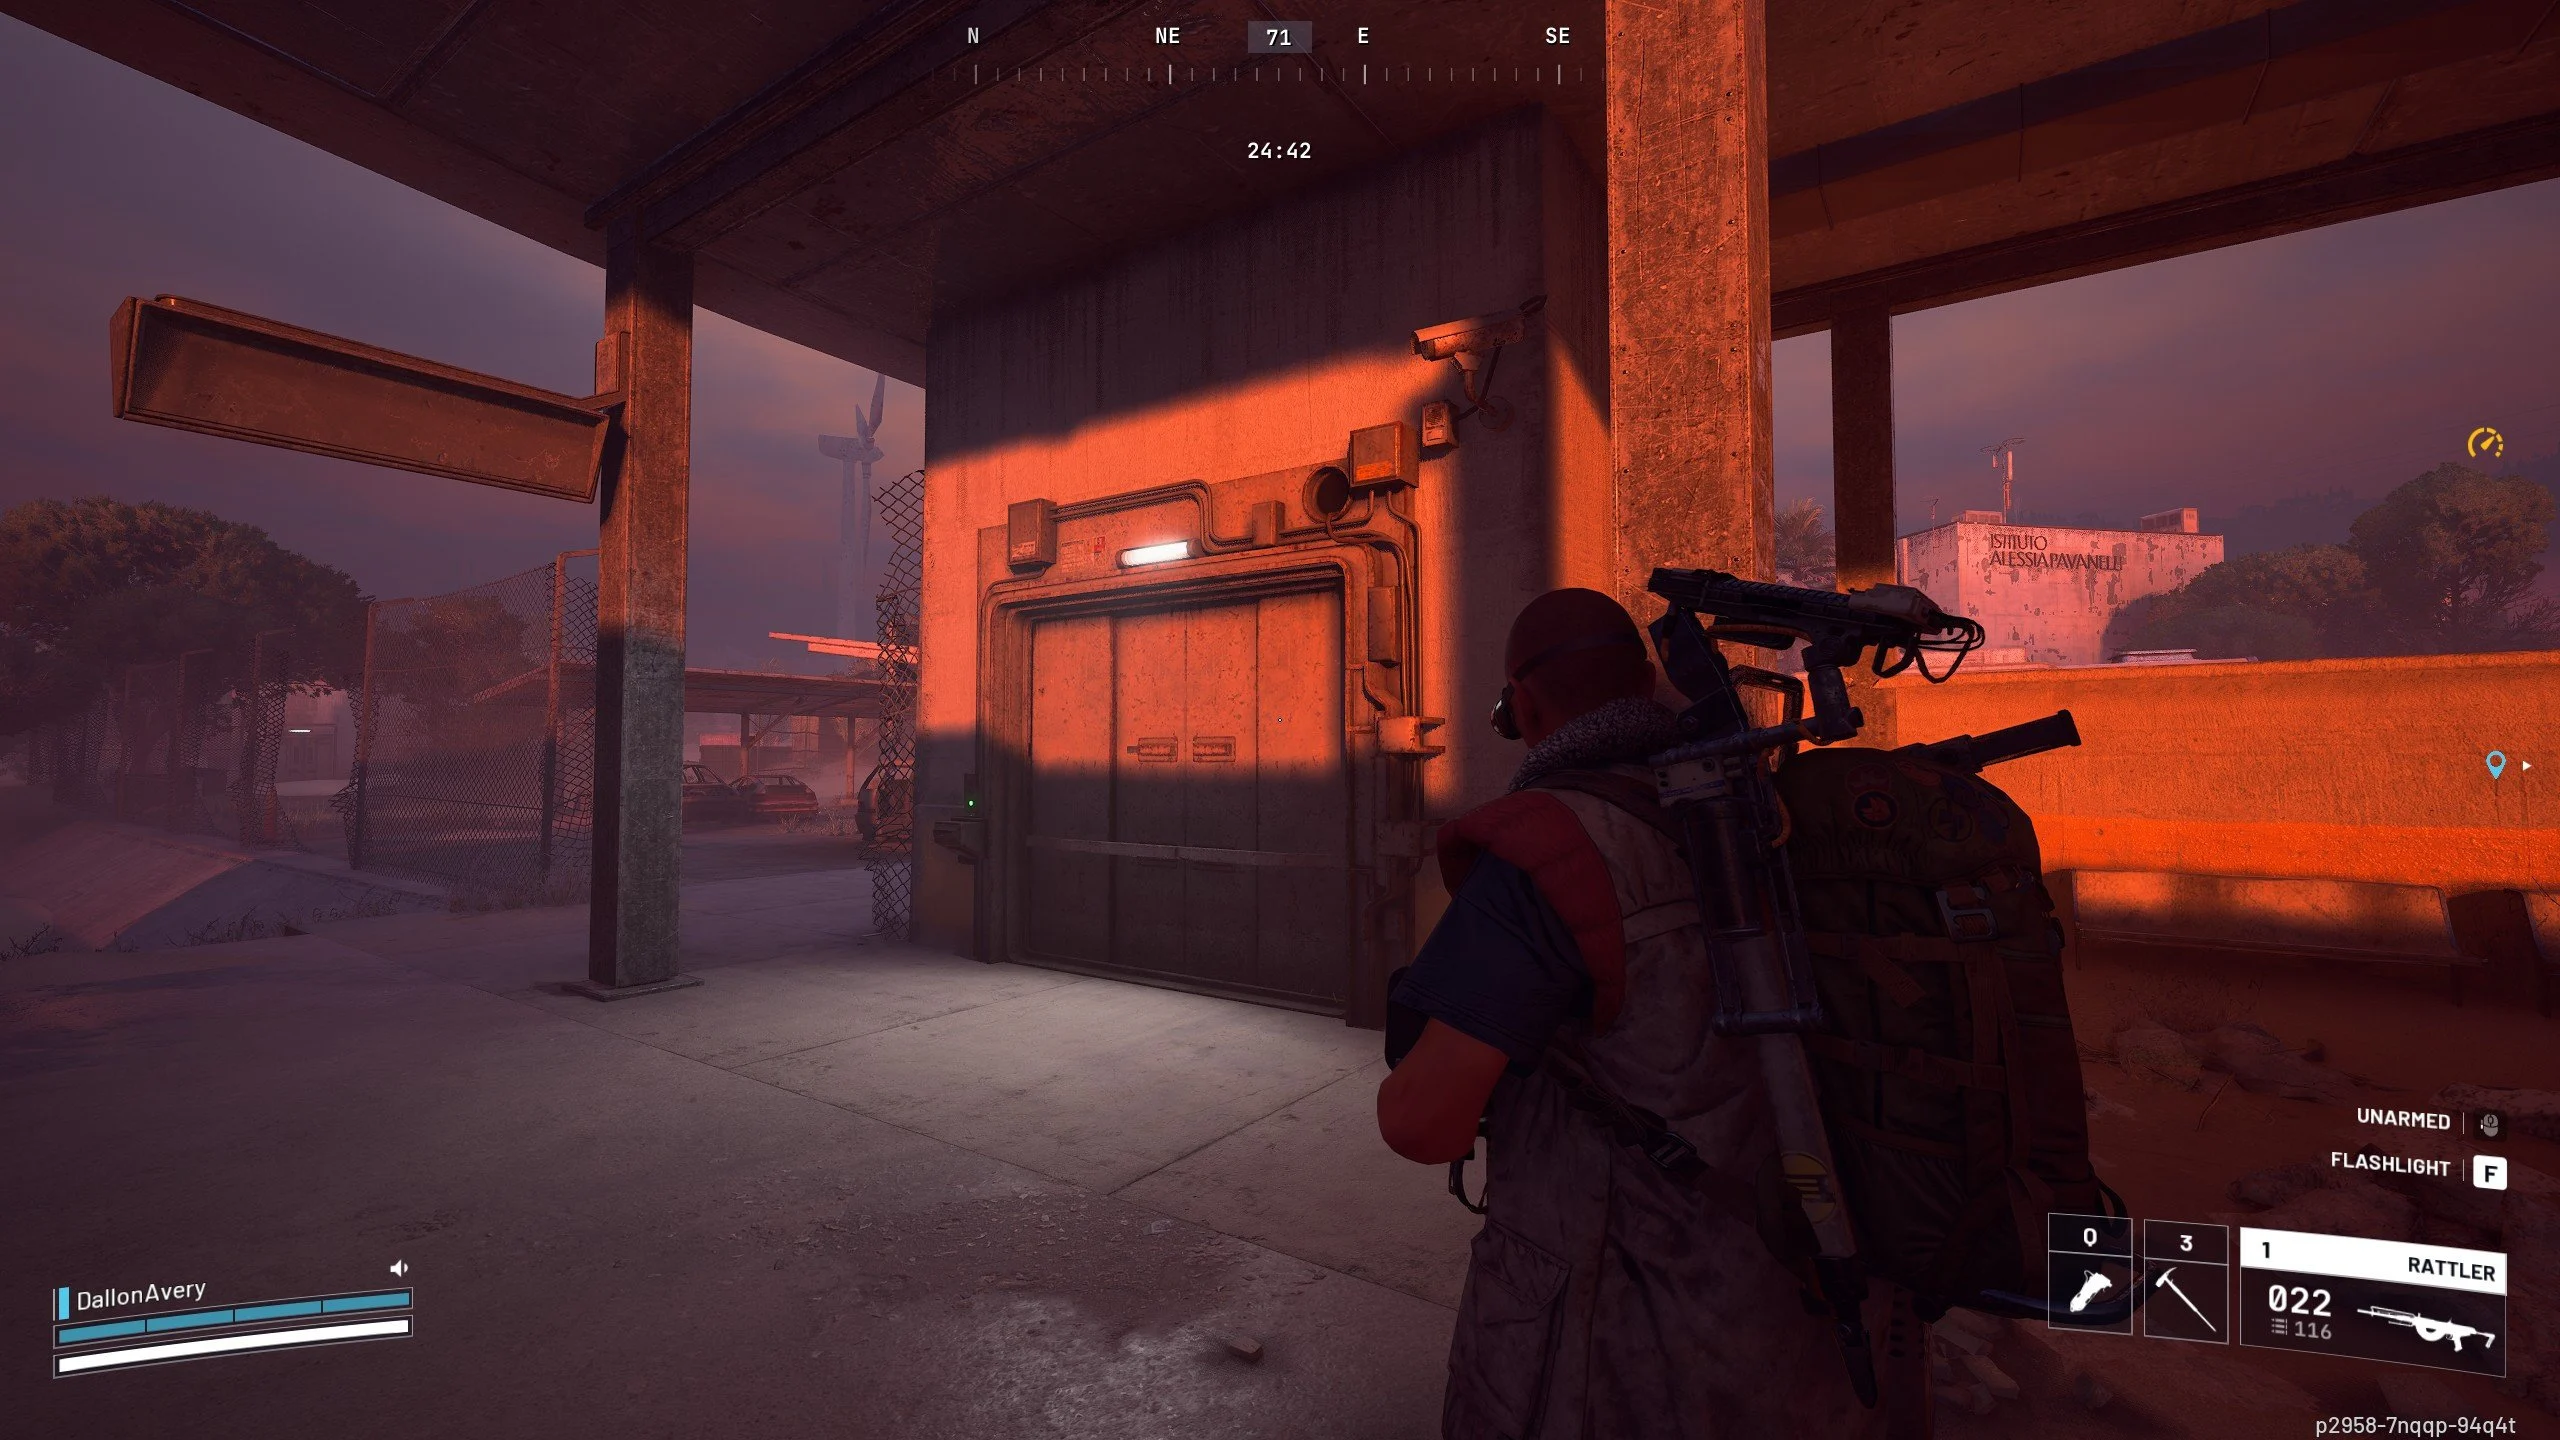
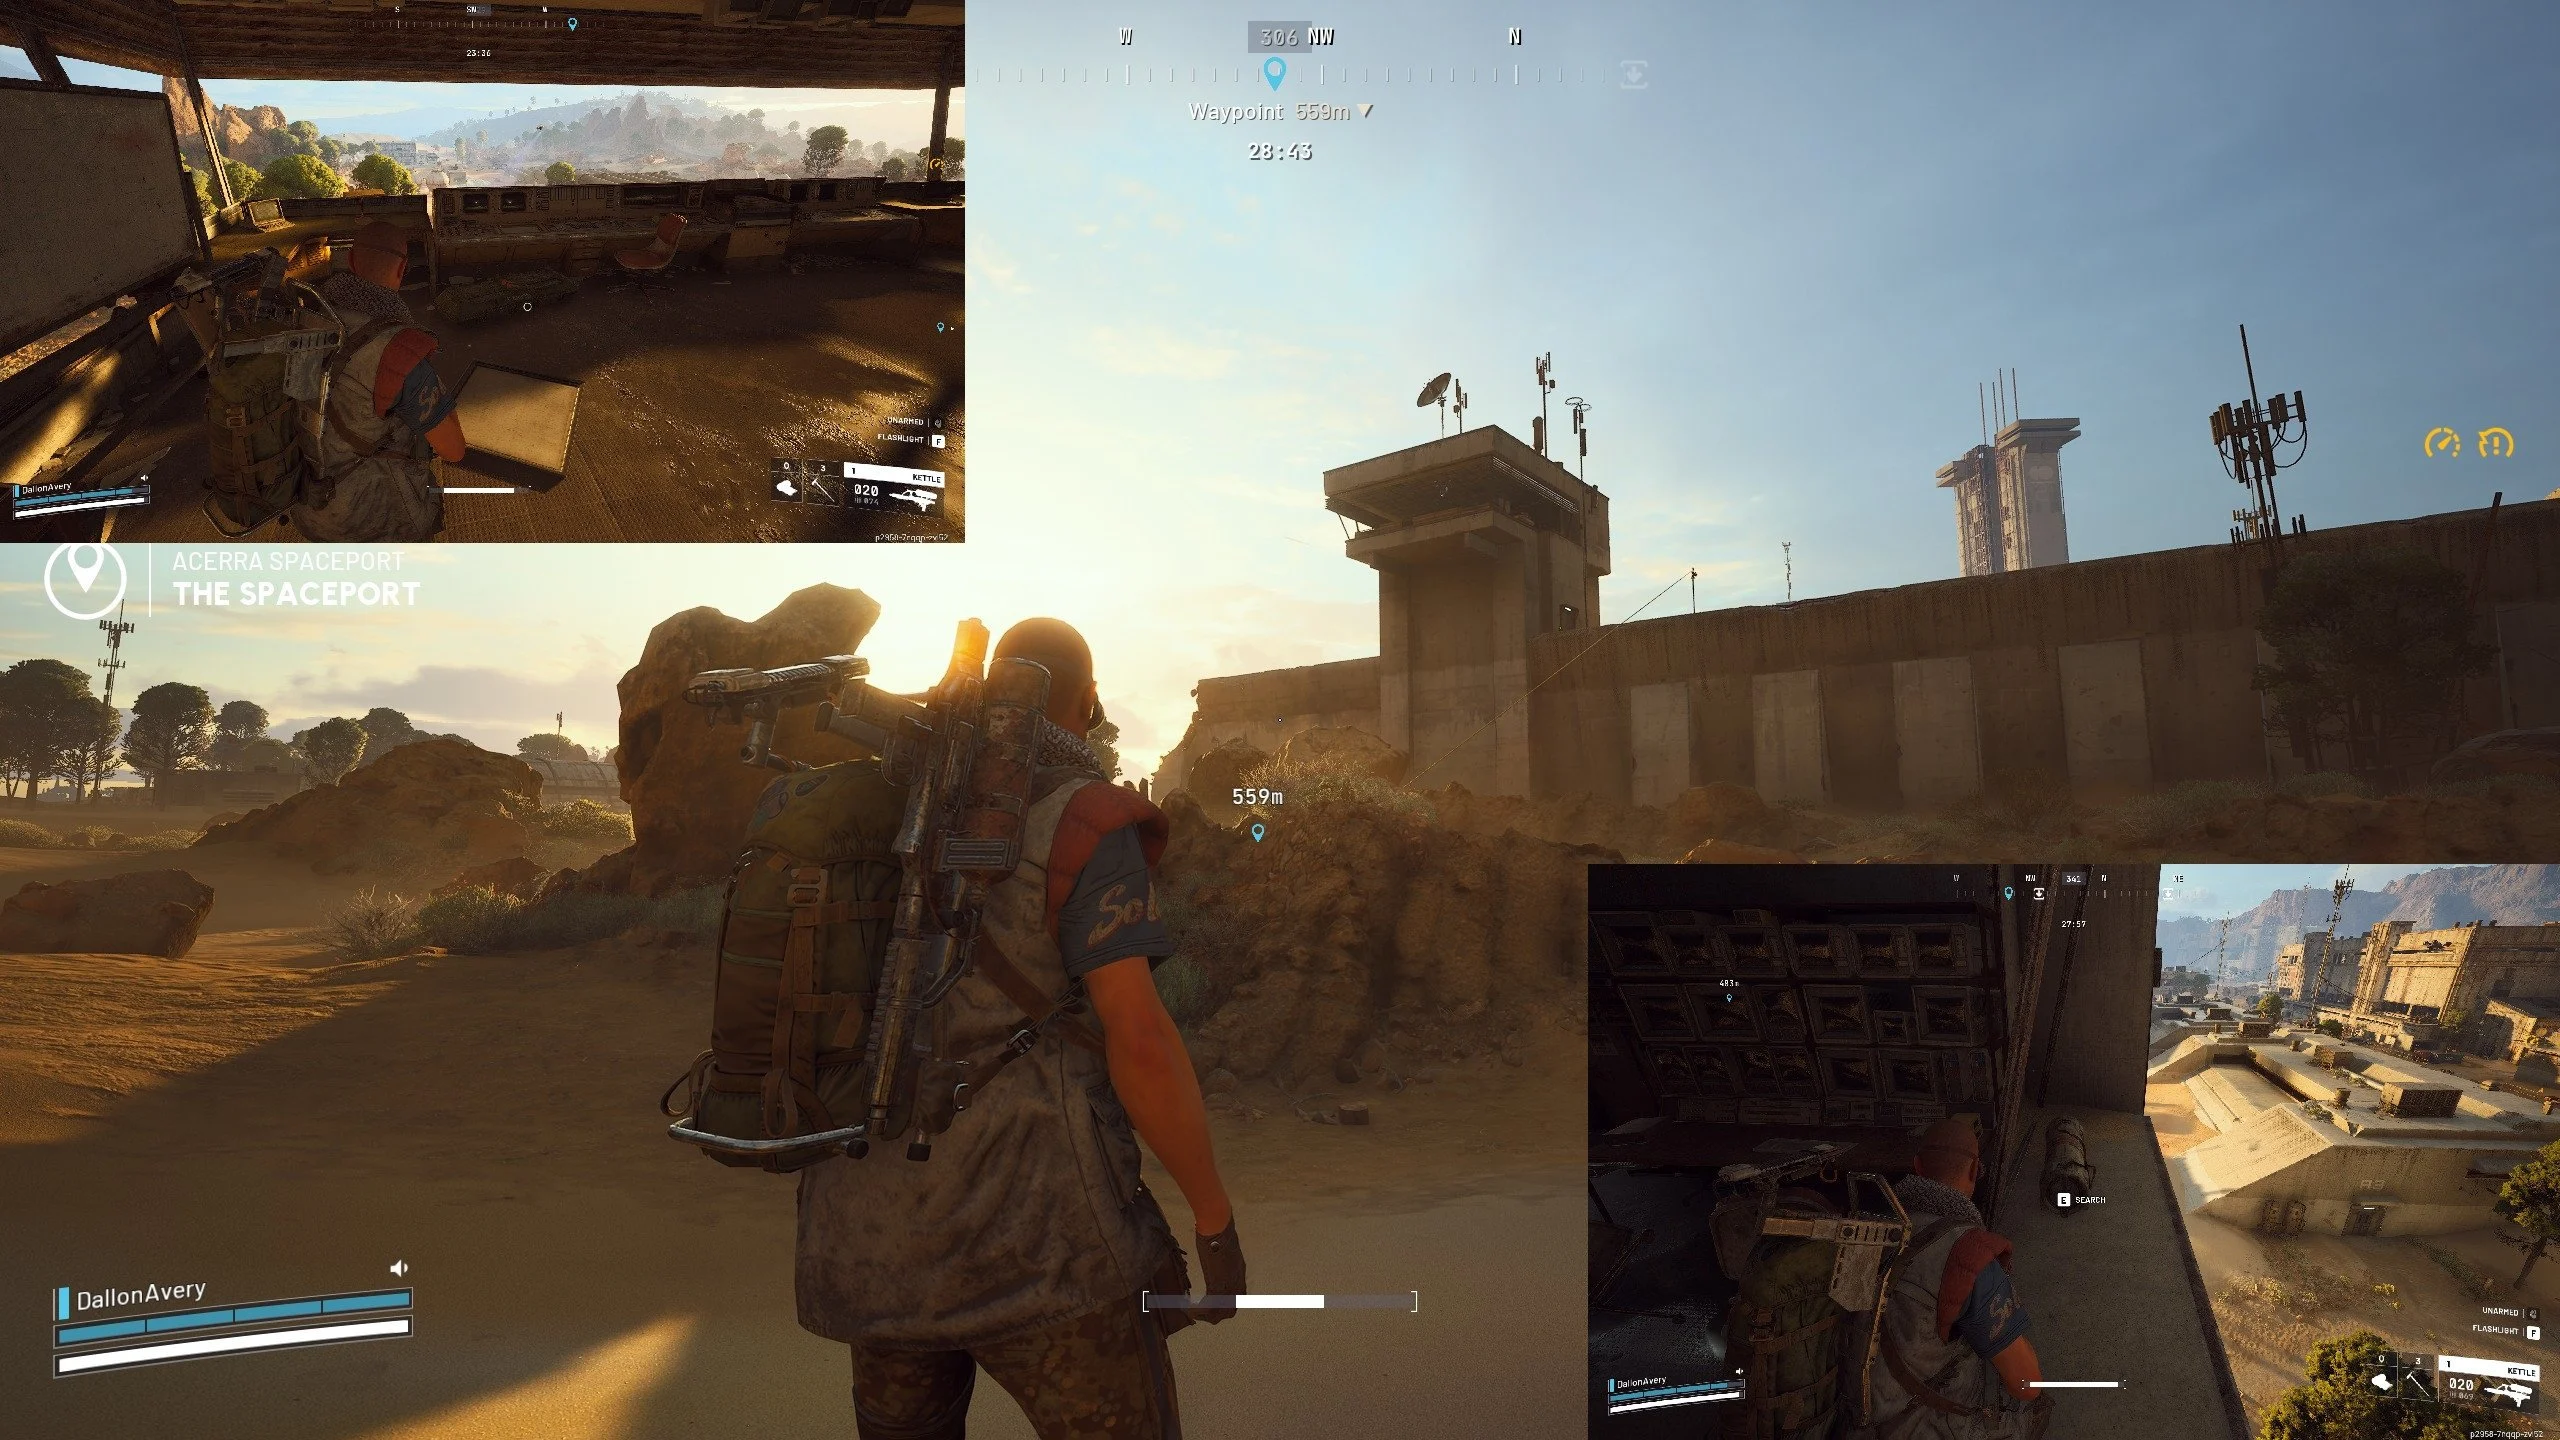
Vehicle Maintenance is located in the south-central portion of Spaceport, directly under Control Tower A6 and just west of the Container Storage block. Since it’s surrounded by open ground and doesn’t sit on a primary player rotation lane, the building is usually quiet early into a raid. The upper level holds a compact lounge area with couches and storage crates, and it has a reliable weapon case spawn that takes only seconds to check.
The route through the building is straightforward:
Because Vehicle Maintenance sits slightly off the high-traffic corridors, it’s one of the safest blueprint checks on Spaceport. It’s a strong opener if you spawn in the southern half of the map, and it also works well as a mid-route detour when moving between Fuel Lines and Control Tower A6.
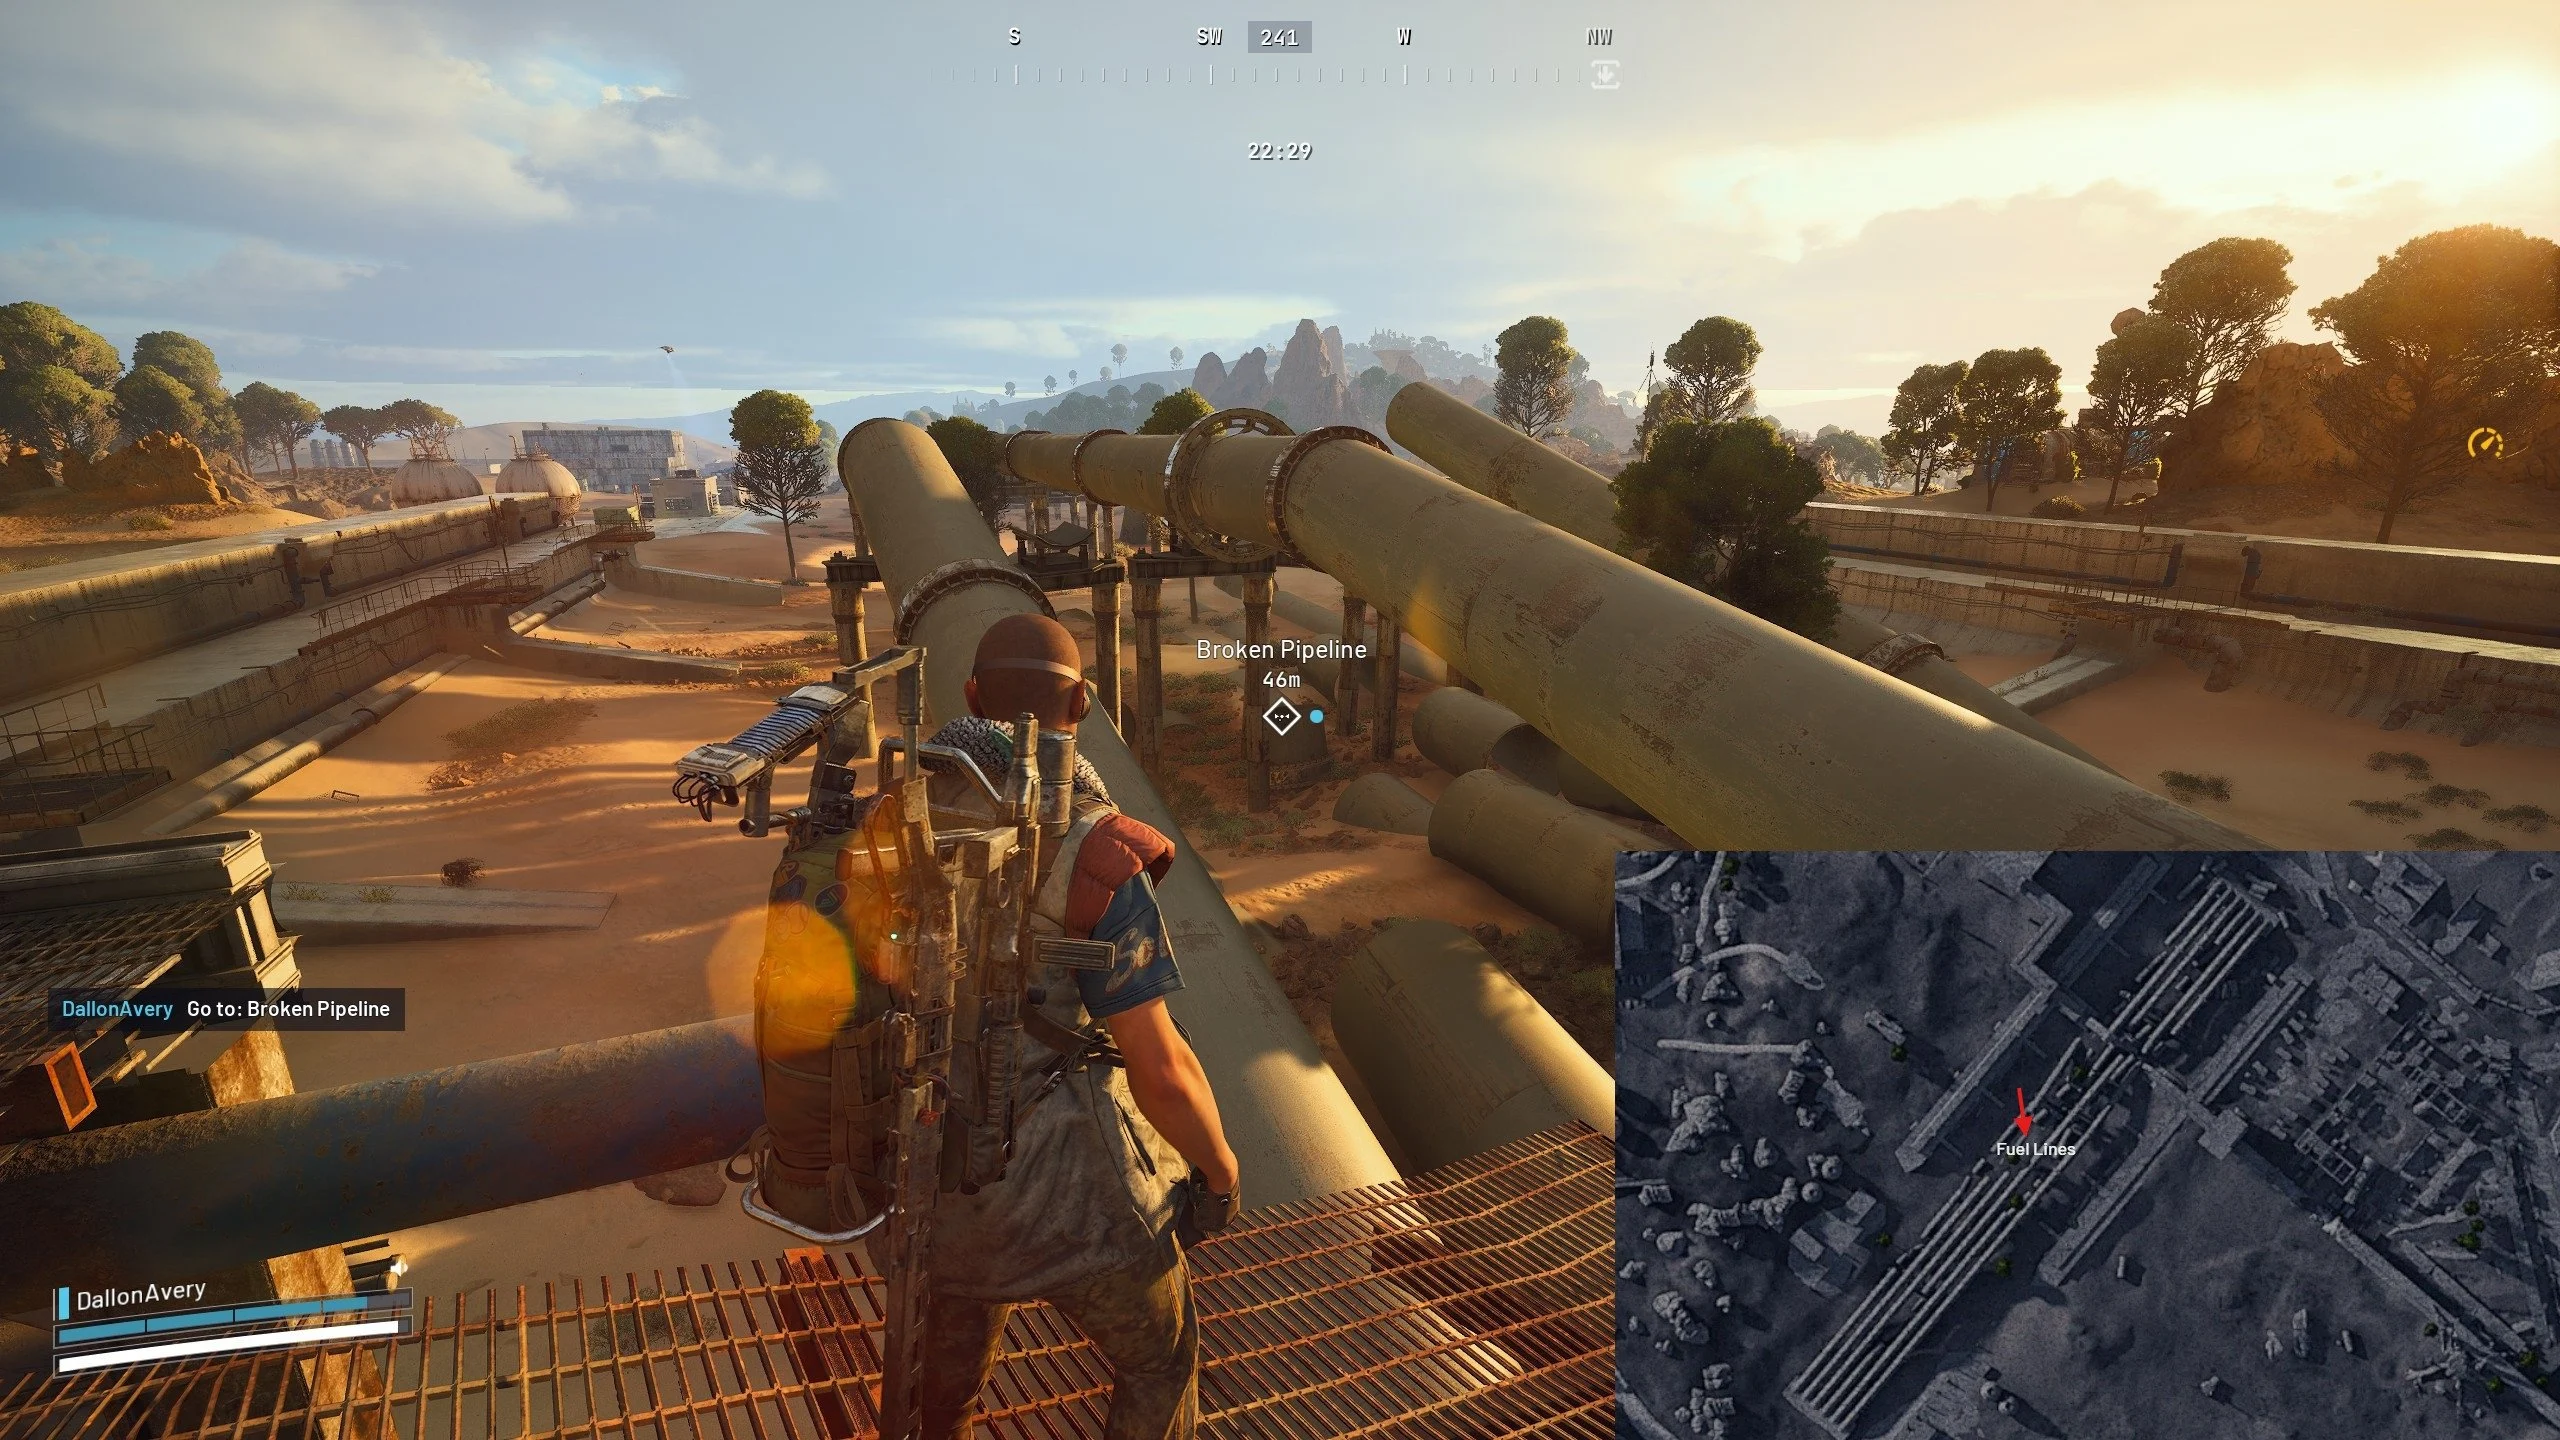
This ARC Raiders Spaceport blueprint location is one of the least-known checks on the map. Fuel Lines runs along the industrial trench west of the Launch Towers, and it hides an easy blueprint roll that most players never notice. Most pipes in the area are horizontal, but there’s one distinct vertical pipe standing upright near the center. The pipe is hollow, and a weapon case can spawn inside it, completely hidden unless you know to look.
Once you identify the right pipe, the check takes only seconds:
This is one of the most consistent blueprint rolls in Fuel Lines simply because it’s hidden in plain sight. If you’re rotating north–south through Fuel Lines or traveling between Vehicle Maintenance and Departure Building, the vertical pipe is a quick, low-risk stop that can hand you a blueprint before anyone else even realizes it exists.
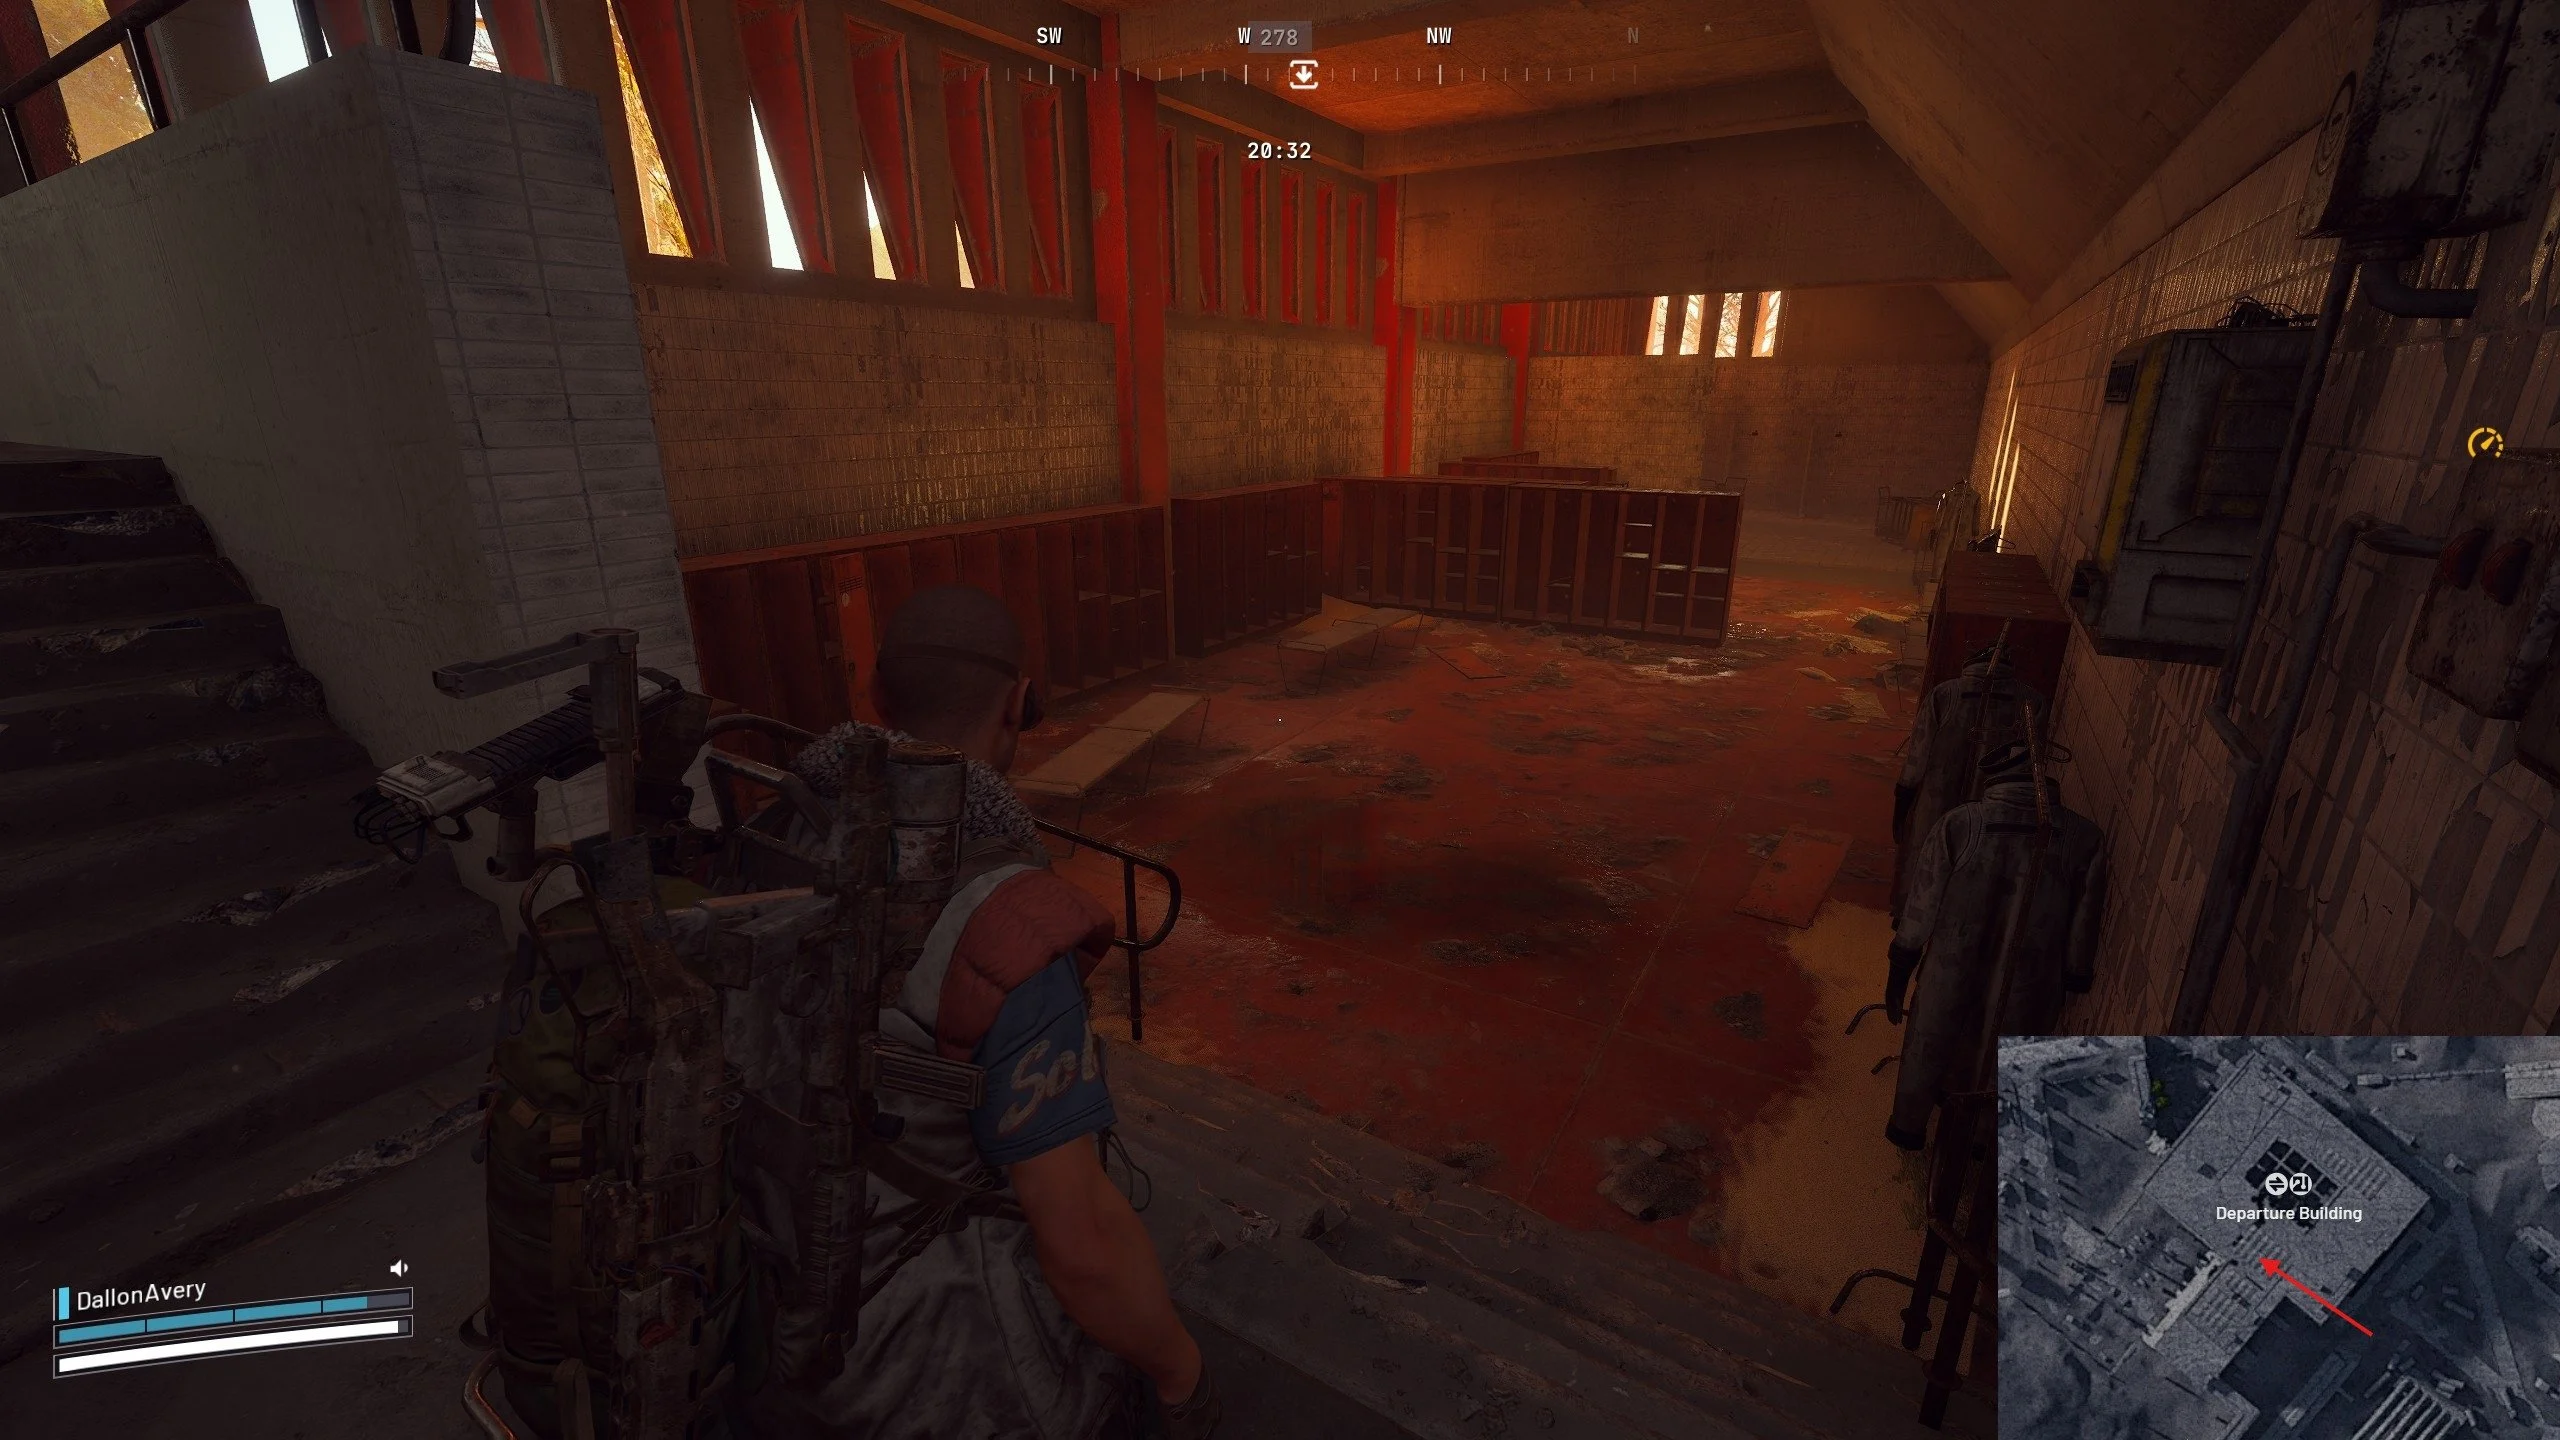
The Staff Bathroom inside the Departure Building is one of the more dangerous blueprint checks on Spaceport, mostly because of its location. The Departure Building is a massive multi-floor POI, and it attracts players running quests, looting lockers, and rotating toward Launch Towers. As a result, you’ll often hear footsteps, fights, or full squads moving nearby even early into a raid.
Before Patch 1.2.0, the bathroom door opened normally. After the update, it was changed into a breachable door, officially upgrading the room into a high-tier loot area. That change improved the loot table inside, making it a better blueprint farm — but also a more contested one.
Here’s how to run the spot cleanly:
The Staff Bathroom remains one of Spaceport’s best blueprint checks thanks to its strong weapon case spawn rate, but its placement inside a popular structure means you should only hit it when you’re confident, properly equipped, or sure the area is quiet. For low-risk smash-and-grab runs, this spot is high reward but significantly higher danger than most alternatives.
The Spaceport Loot Towers are built into the perimeter wall surrounding the central facility, forming elevated guard posts spaced evenly around the map. They aren’t labeled on the map, but they’re easy to recognize thanks to their height, boxy silhouette, and the way they interrupt the otherwise continuous wall. Every tower shares the exact same interior layout, which makes them predictable and efficient blueprint farms once you learn one.
Each Loot Tower has three key features:
Since the structure is identical across all towers, mastering one means you effectively know them all.
There are several ways to reach the top loot room:
Once you reach the top room, you’ll typically find:
If you want steady blueprint rolls with lower PvP risk on Spaceport, the perimeter Loot Towers are among the best locations on the entire map.
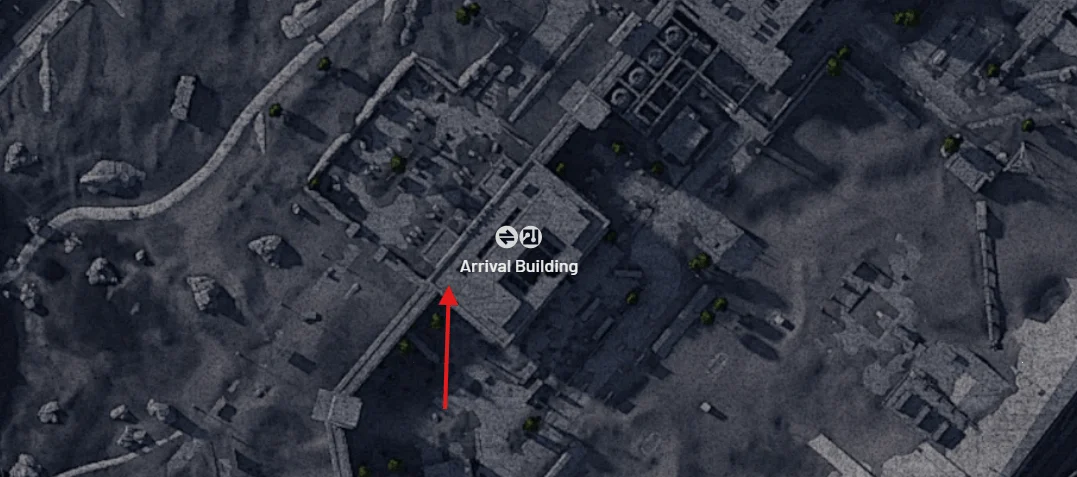
The Arrival Building is another high-traffic structure on Spaceport, and the South Breach Room sits right on the edge of that activity. The building is positioned beside one of the perimeter Loot Towers — the tower located between Departure and Arrival — which naturally creates a player rotation lane. On top of that, the Arrival Building roof is tied to one of the Hidden Bunker puzzle dishes, making it a known ambush point. Many players camp the roof or upper windows to catch people attempting the puzzle or rotating between these major POIs.
Inside the Arrival Building, the South Breach Room is the most reliable blueprint check. It sits along the outer western wall of the building, close to ground-level approaches, so you can hit it without pushing far into the interior. Because the door requires breaching, the entire room is treated as high-value loot, improving blueprint odds across all containers.
A clean run usually looks like this:
Because the Arrival Building sits between Departure and the puzzle rooftops, this room is usually riskier than the Loot Towers or the Fuel Lines pipe. Still, the loot quality is consistently high, and the weapon case spawn makes it worth checking when the exterior lane is quiet or when you’re already rotating through this side of the map.
This ARC Raiders Blue Gate blueprint location is one of several valuable checks inside the underground facility.
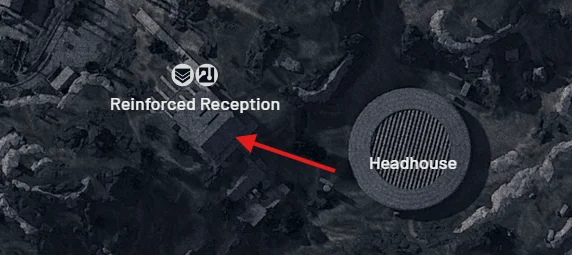
Reinforced Reception feeds directly into the central underground network, making it one of the busiest rotation points on Blue Gate. Even with that danger, the color-terminal puzzle here remains one of the most consistent high-value loot opportunities on the map. It’s fast, requires no special equipment, and can reward top-tier weapons or blueprints if your stash roll lands well.
Here’s how the puzzle works:
This is one of the best “spawn-and-go” checks on Blue Gate. The stash locations rotate, the puzzle is quick, and the reward pool makes it worth grabbing even in high-traffic raids.
Deeper inside Reinforced Reception is a compact breach room stacked with blueprint-capable containers. It’s a great early-raid target, but it’s also one of the first places other players check when rotating toward Checkpoint or Warehouse Complex. If you arrive first, the loot density is excellent.
Inside, you’ll usually find:
This room is ideal for smash-and-grab blueprint farming. The only issue is its placement on a major rotation lane, so speed and awareness matter more here than almost anywhere else.
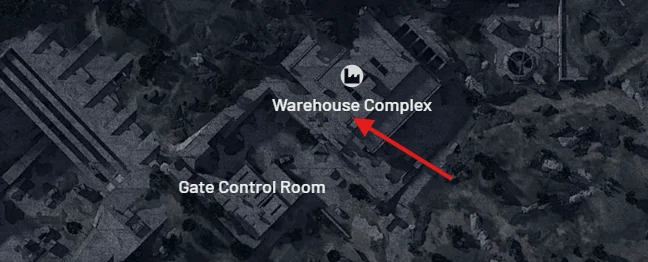
The vent stacks in Warehouse Complex sit slightly off the usual routes, making this a cleaner mid-map blueprint check than most people expect. With the right approach, you can land directly on the vents from a zipline, loot quickly, and avoid the chaos below.
To hit this spot:
Because this drop-in is fast and isolated, it’s an excellent low-risk pickup during early rotations, especially if you want to avoid the heavy traffic near the main Warehouse entrances.
There are a lot more locations and puzzles in Blue Gate, but we’re not covering them all today.

The Security Checkpoint is an ARC Raiders Stella Montis blueprint location on the east side of the Lobby, inside a yellow-tier loot zone. The structure is built vertically around a central staircase with four full floors of rooms, side chambers, and branching corridors. Since every entrance requires breaching, the entire area is flagged as high-value from top to bottom. That means better loot rolls on nearly every container and noticeably stronger blueprint odds than standard rooms.
This location shines because of its container density rather than one single spawn:
Even if each level only spawns a few containers, the combined four floors create one of the most blueprint-rich, compact areas anywhere in Stella Montis.
The most valuable part of the Checkpoint is on the lower floor, where a locked room is normally key-gated. Inside, you can find:
This room currently has a two-player clipping exploit that lets you enter without the key. One player sprints into the left corner of the door while the other repeatedly jumps into them. The collision can push the runner through the doorframe, after which they can open the door from the inside. Until it’s patched, this gives full access to the room’s blueprint-heavy loot.
Because Stella Montis is underground, enclosed, and maze-like, you can’t truly avoid players by rotating around the exterior. Eventually, you will run into squads in the corridors. The upside is that the Security Checkpoint’s vertical structure — with stairs, doors, and side rooms — gives you many ways to break line of sight and disengage if a fight goes bad. If you know the layout well, the layering can save your run.
Overall, the Security Checkpoint is one of the most efficient blueprint farms in Stella Montis. The combination of consistent high-value containers, predictable structure, and strong loot density makes it comparable to Buried City pharmacies or Spaceport’s best breach rooms. If you’re already in the Lobby or moving through the eastern wing, this should be one of the first places you check.
On the east side of the Lobby is a compact breach-only room that consistently produces high-quality loot. Both entrances require breaching, so every container inside benefits from elevated loot rolls. It’s small, dense, and fast to clear, making it one of the most time-efficient stops on any Stella Montis run.
Inside, you’ll commonly find:
This room doesn’t always spawn a weapon case, but its strength is consistency. Even standard lockers here can drop strong attachments or valuable crafting materials, and blueprint chances are noticeably better than in typical rooms.
Because it’s close to the Lobby and adjacent corridors, players can pass through while you loot — but the clear is quick. Breach, sweep, and move on. It’s a simple blueprint check that rarely wastes time and often pays off.
This locked room sits on the lower floor of the Security Checkpoint and is intended to require a key. Right now, it can be entered without one via a simple two-player clipping trick. Until it gets patched, it remains one of the highest-value blueprint locations in the entire map.
The room can contain:
The method is straightforward with two players: one sprints into the left corner of the locked door while the second repeatedly jumps into them, forcing the first player through the doorframe. Once inside, the door can be opened normally from within, allowing both players to loot freely. Solo players sometimes cooperate with others to get in, but the room is known enough that competition is common.
Because of its container density and the boosted loot table tied to locked interiors, this is one of the strongest blueprint checks you can make in Stella Montis. Just don’t build your entire route around it long-term — once it’s fixed, only players with the correct key will be able to enter.
Buy ARC Raiders Boosts
Get gear, XP, and progression fast with ARC Raiders boosts!

Blueprints are among the rarest items in ARC Raiders. Even when you’re opening the “good” containers, they still drop infrequently, and that long gap between hits is exactly why the community is full of myths and overconfident claims about how the system works. This section exists to make one thing clear: unless it comes from the developers or hard data, most “certainty” you hear is just pattern-reading layered on top of RNG.
What we can say with confidence is simple. Blueprints can come from almost any container, but the baseline chance is extremely low. The only reliable way to improve your odds is to open containers that roll on higher-tier loot tables. The game does that in a few consistent ways: rooms requiring a breach, a key, a puzzle solution, or awkward parkour access are treated as high-value, and everything inside them rolls better loot, including blueprints.
Within that system, some container types clearly perform better. Weapon cases are the most important. When they spawn, their blueprint odds are noticeably higher than standard lockers or crates. Raider-marked containers sit above normal containers as well. Raider Caches, black “blueprint boxes,” grenade canisters, and medical duffels all roll higher than standard loot containers. Raider Caches are especially worth hunting because they spawn at fixed points and can be identified by their ticking sound once you train your ear (Night Mode helps a lot for this).
Most confusion starts when players try to force hard rules onto the system. You’ll see statements like “this blueprint only drops on this map” or “this gun only drops from this container type.” The evidence doesn’t support it. Players have found the same blueprints in different containers across different maps. Hidden weighting might exist, but there is no consistent, community-verified rule proving that specific blueprints are locked to specific locations or container types.
There are only a few confirmed exceptions, and they’re tied to other systems rather than the general loot pool. For example:
Everything else is random. You can increase the quality of your rolls by targeting breach rooms, key rooms, puzzle interiors, weapon cases, and Raider containers, but you can’t force a specific blueprint to come out of a specific crate just because someone once got a lucky drop there.
Another common misunderstanding is map favoritism. Players love believing that a new map is “the blueprint map.” Current experience doesn’t really back that up. No region is secretly juiced — some maps simply let you access more high-value containers per minute. If you’re opening more breach rooms and weapon cases per run, your blueprint income goes up. That’s volume and efficiency, not a hidden drop-rate buff.

Blueprint farming gets much easier once you focus on habits that consistently create more high-value loot rolls. You can’t control which blueprint drops, but you can absolutely control how many strong containers you open per raid — and that’s what steadily improves your results over time.
Here are the ARC Raiders blueprint farming tips that matter most:
Blueprint farming is all about volume and efficiency. The more high-value containers you reach per raid, the more often you’ll see rare items appear. These habits keep you focused on the containers that matter and help you make steady progress without relying on luck alone.
Yes, they can. When the developers rebalance loot tables, blueprint odds may be adjusted alongside other high-value drops. In recent updates, the overall blueprint chance has been slightly higher than it used to be, especially when farming the right container types.
You generally can’t target a specific blueprint unless it’s tied to a confirmed quest or event reward. Even when you pull a blueprint from a high-value container, the exact blueprint is still randomized and can include duplicates you’ve already learned.
There are 75 total blueprints in the game, even though the in-game tracker shows 74. That mismatch happens because the Hullcracker and Launcher Ammo blueprints are counted together as a single entry in the UI.
Run routes that chain multiple high-value checks in one raid. Prioritize breach rooms, key rooms, puzzle rooms, weapon cases, and raider-marked containers, then extract quickly once you secure a blueprint you actually want to keep.
Duplicates can be sold for 5,000 Coins each. Other than selling them, there’s currently no system to recycle, combine, or convert learned blueprints into different rewards.
No. Vendors don’t offer blueprints for purchase. Blueprints come from loot containers, ARC Surveyors, quests, Trials rewards, and limited-time events.
Finding a blueprint is one of the best feelings you can get in this game, right after wiping a squad in a firefight or bringing down one of the larger ARCs. The important part is that blueprints matter even if you max out your crafting stations, which can look like the “true” endgame goal at first. Those upgrades don’t actually unlock that many new recipes on their own. You can’t even craft the Anvil revolver without a blueprint, and that’s before you even start talking about the Torrente machine gun or any of the tier-3 augments.
That’s why it’s worth memorizing these locations by running them a few times and turning them into a habit. Anytime you pass near one of these spots, check it — even if it means the world feels a little less mysterious over time. The trade-off is simple: fewer surprises, but a much faster blueprint collection and a smoother path to real long-term power growth.