


+15 More
Digital Aura Portal - FZCO
Building A1, Dubai Digital Park, Dubai Silicon Oasis, Dubai, United Arab Emirates Premises Number 72647 - 001
Business registration number: 70647
gamer-choice.com © 2026
Digital Aura Portal - FZCO
Building A1, Dubai Digital Park, Dubai Silicon Oasis, Dubai, United Arab Emirates Premises Number 72647 - 001
Business registration number: 70647
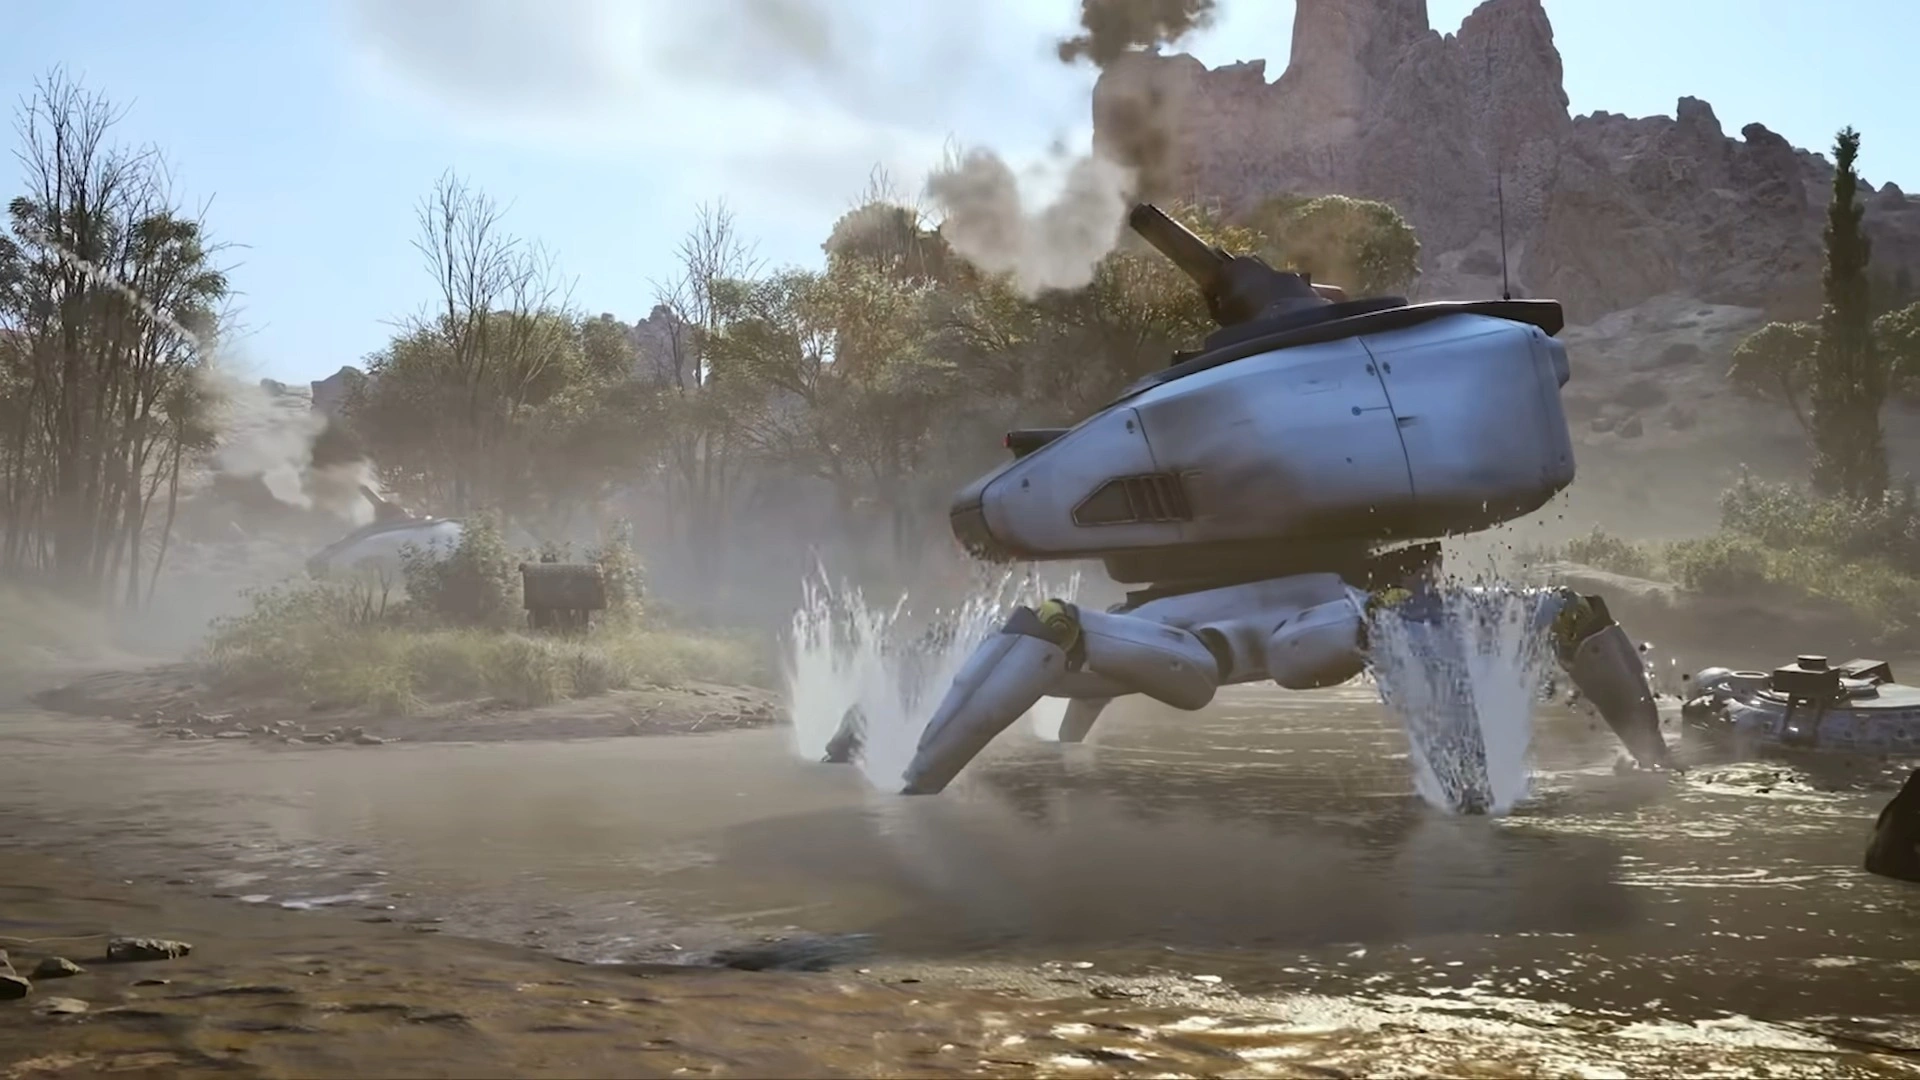
Arc Raiders is packed with massive, heavily armored ARC enemies, but very few are as downright terrifying as the Bombardier. With its erratic mortar barrages capable of dealing enormous damage in seconds, getting caught in the open against one of these machines is practically a death sentence. If you stumble into its line of fire without proper cover, you might as well prepare for a quick trip back to Speranza. That said, if you’ve picked up the Bombing Run quest and need to hunt one down to finish it, you’re in the right place. Below, we’ll break down where to find Bombardiers and the best ways to take them down.

Buy ARC Raiders Coins
Secure ARC Raiders Coins fast and upgrade your loadout!

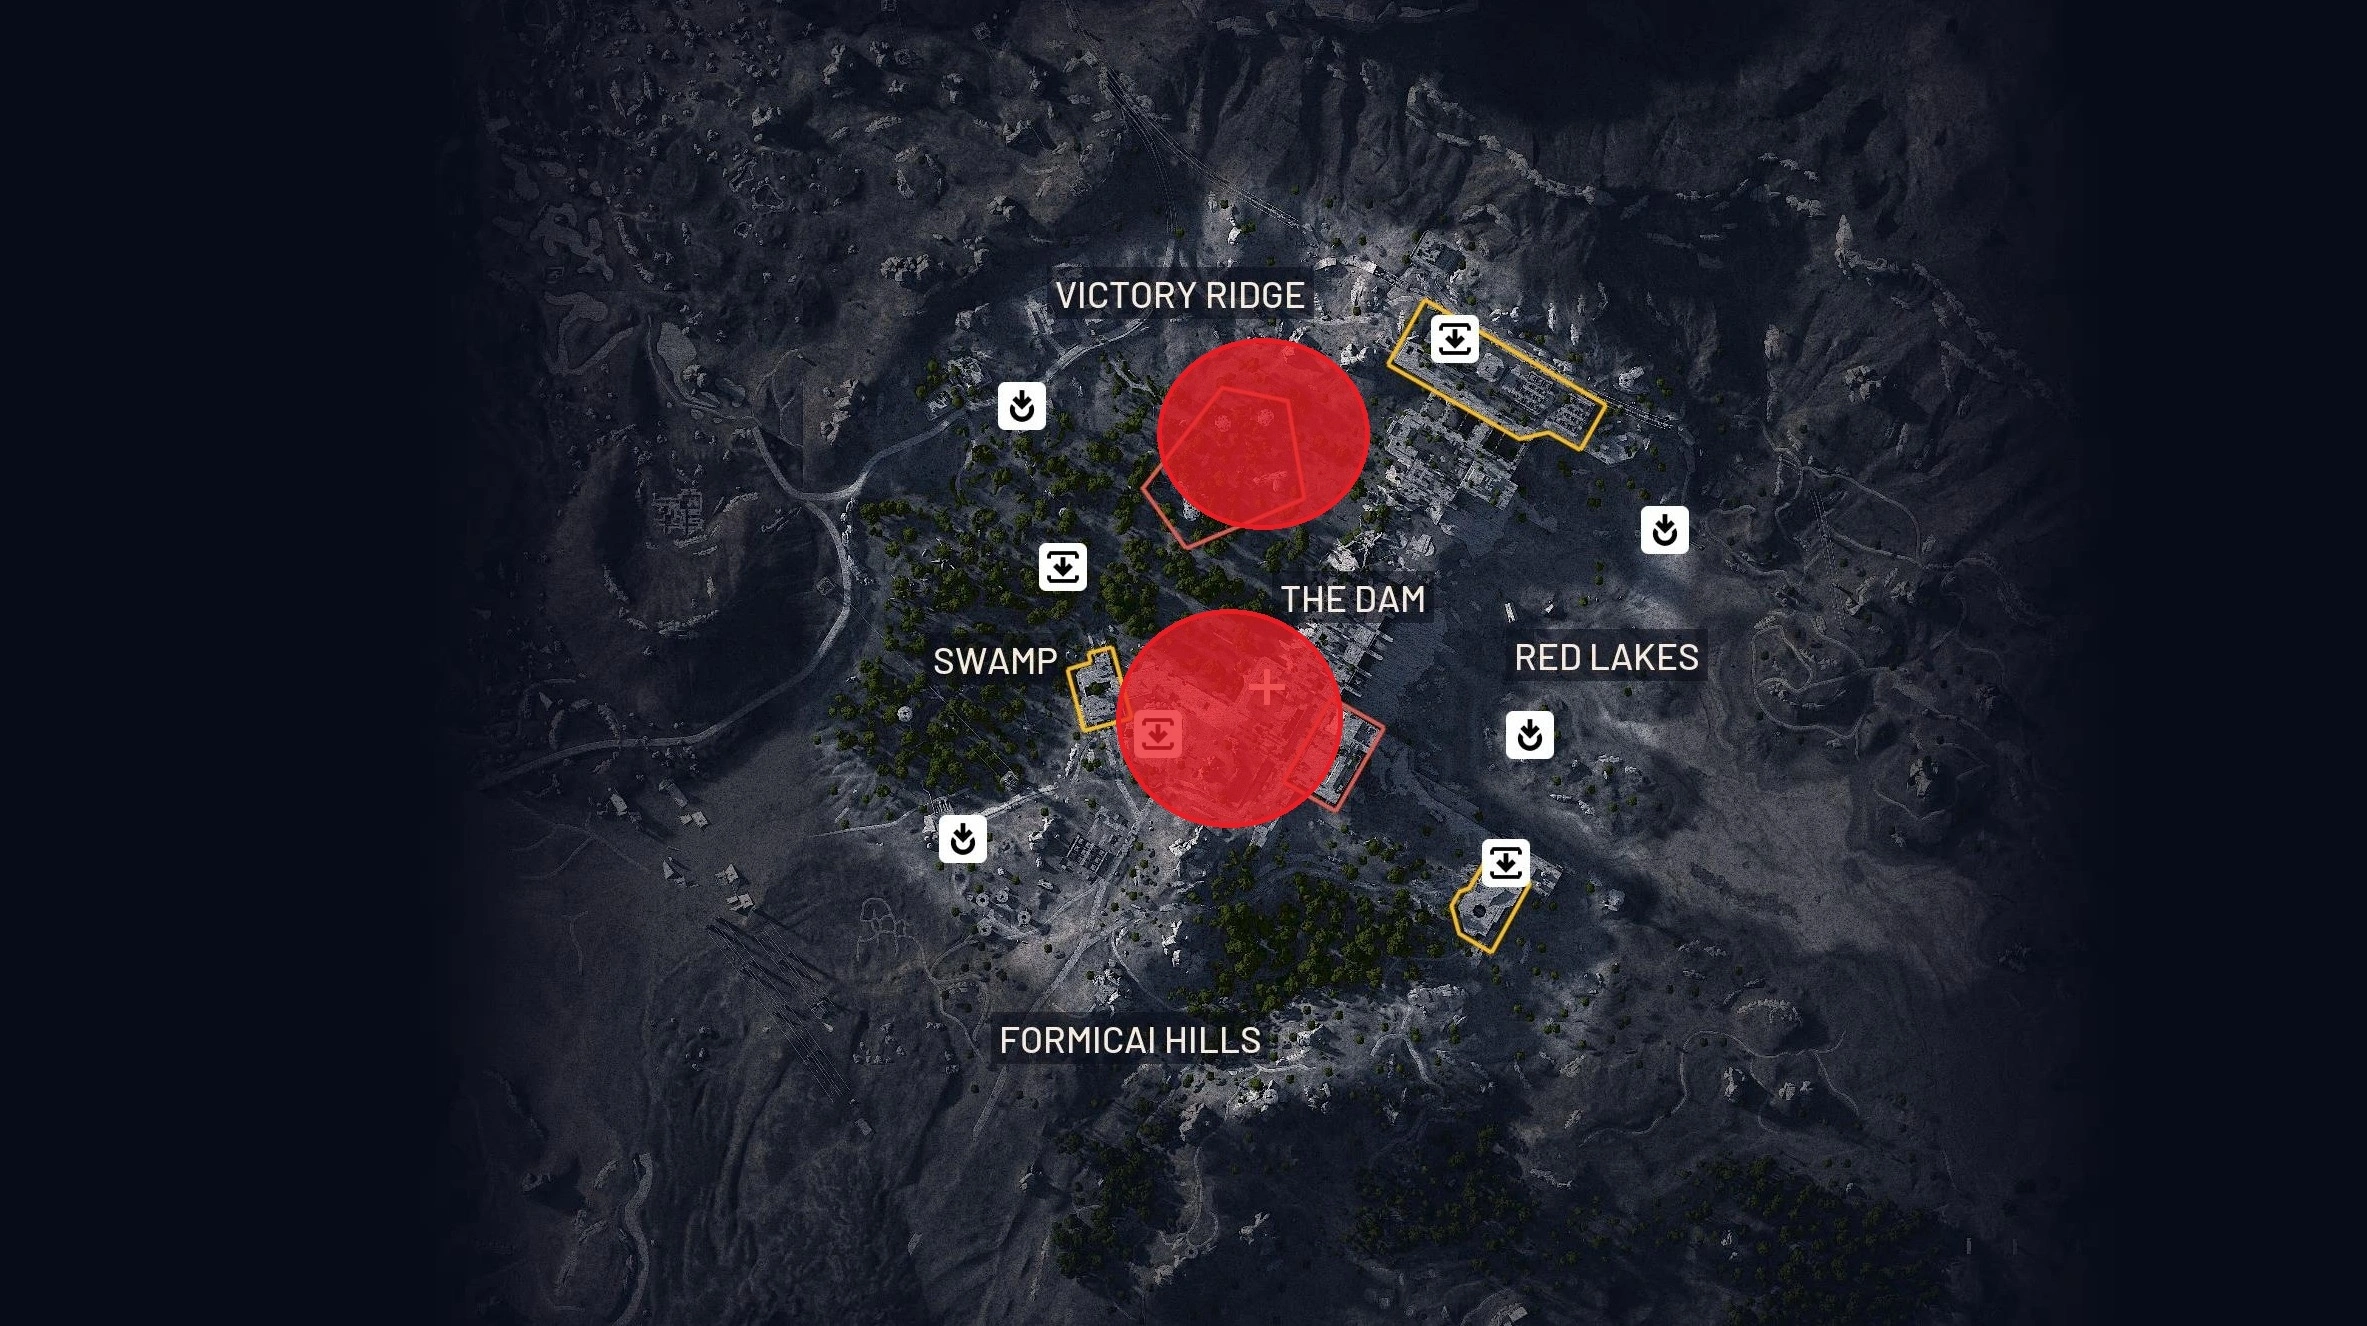
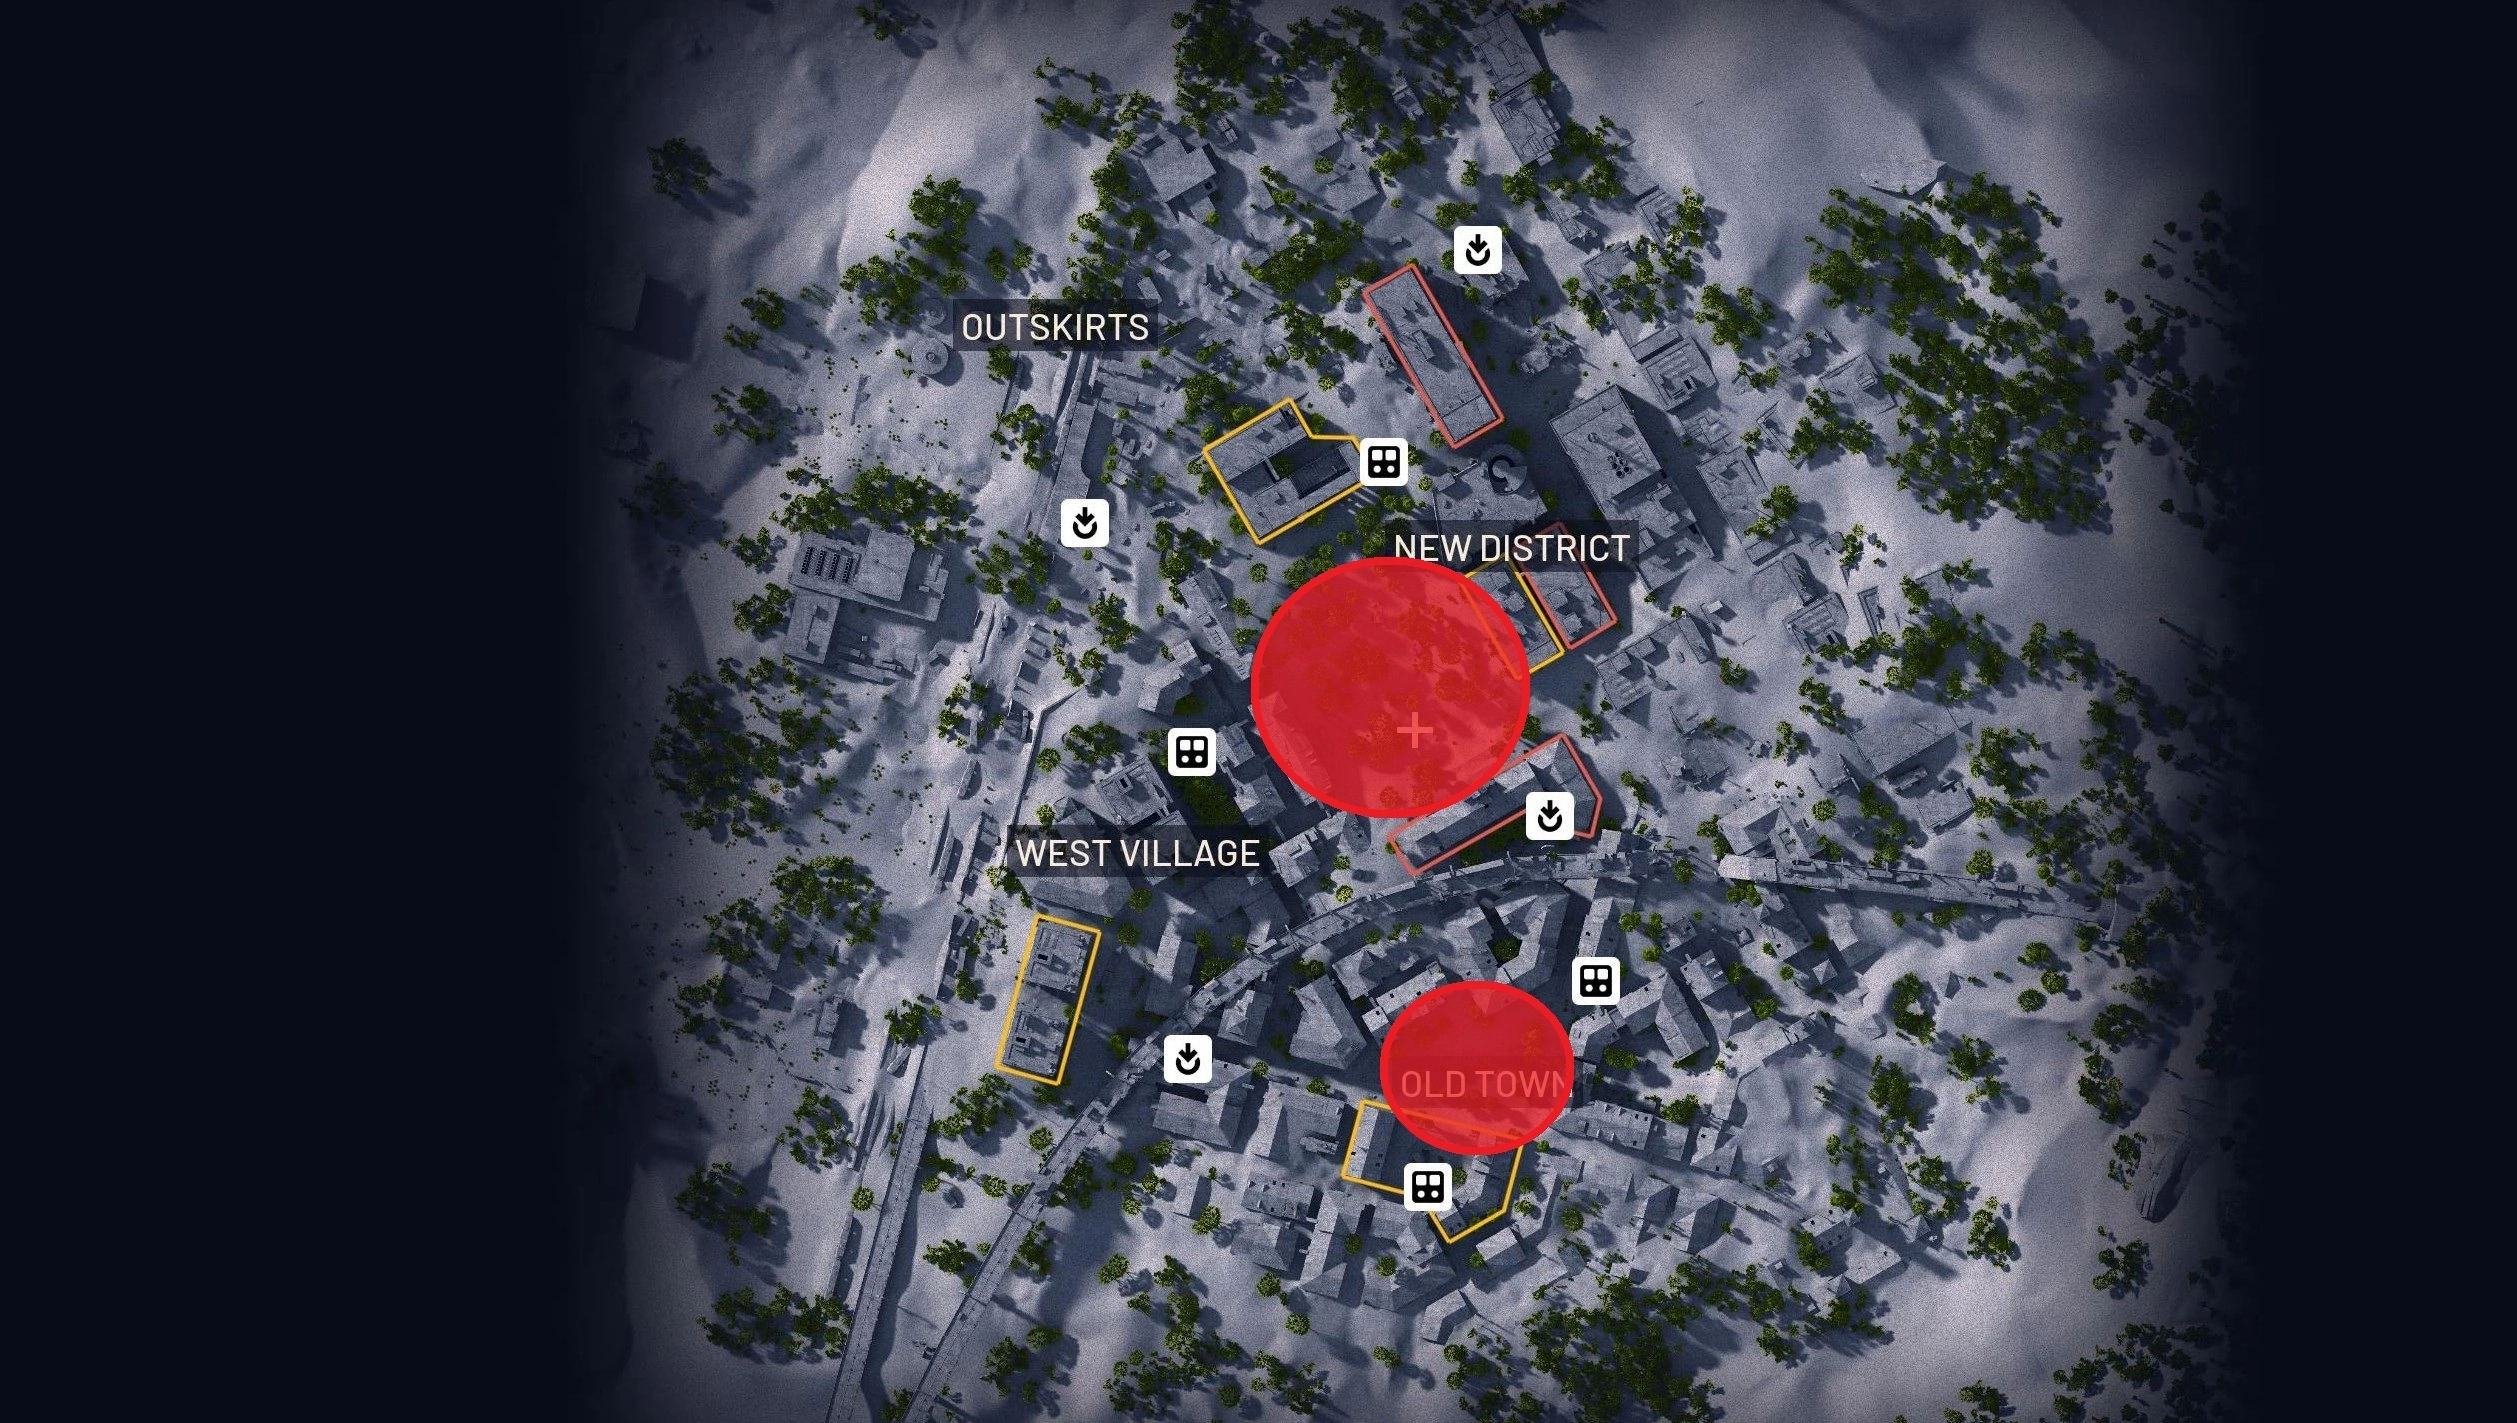
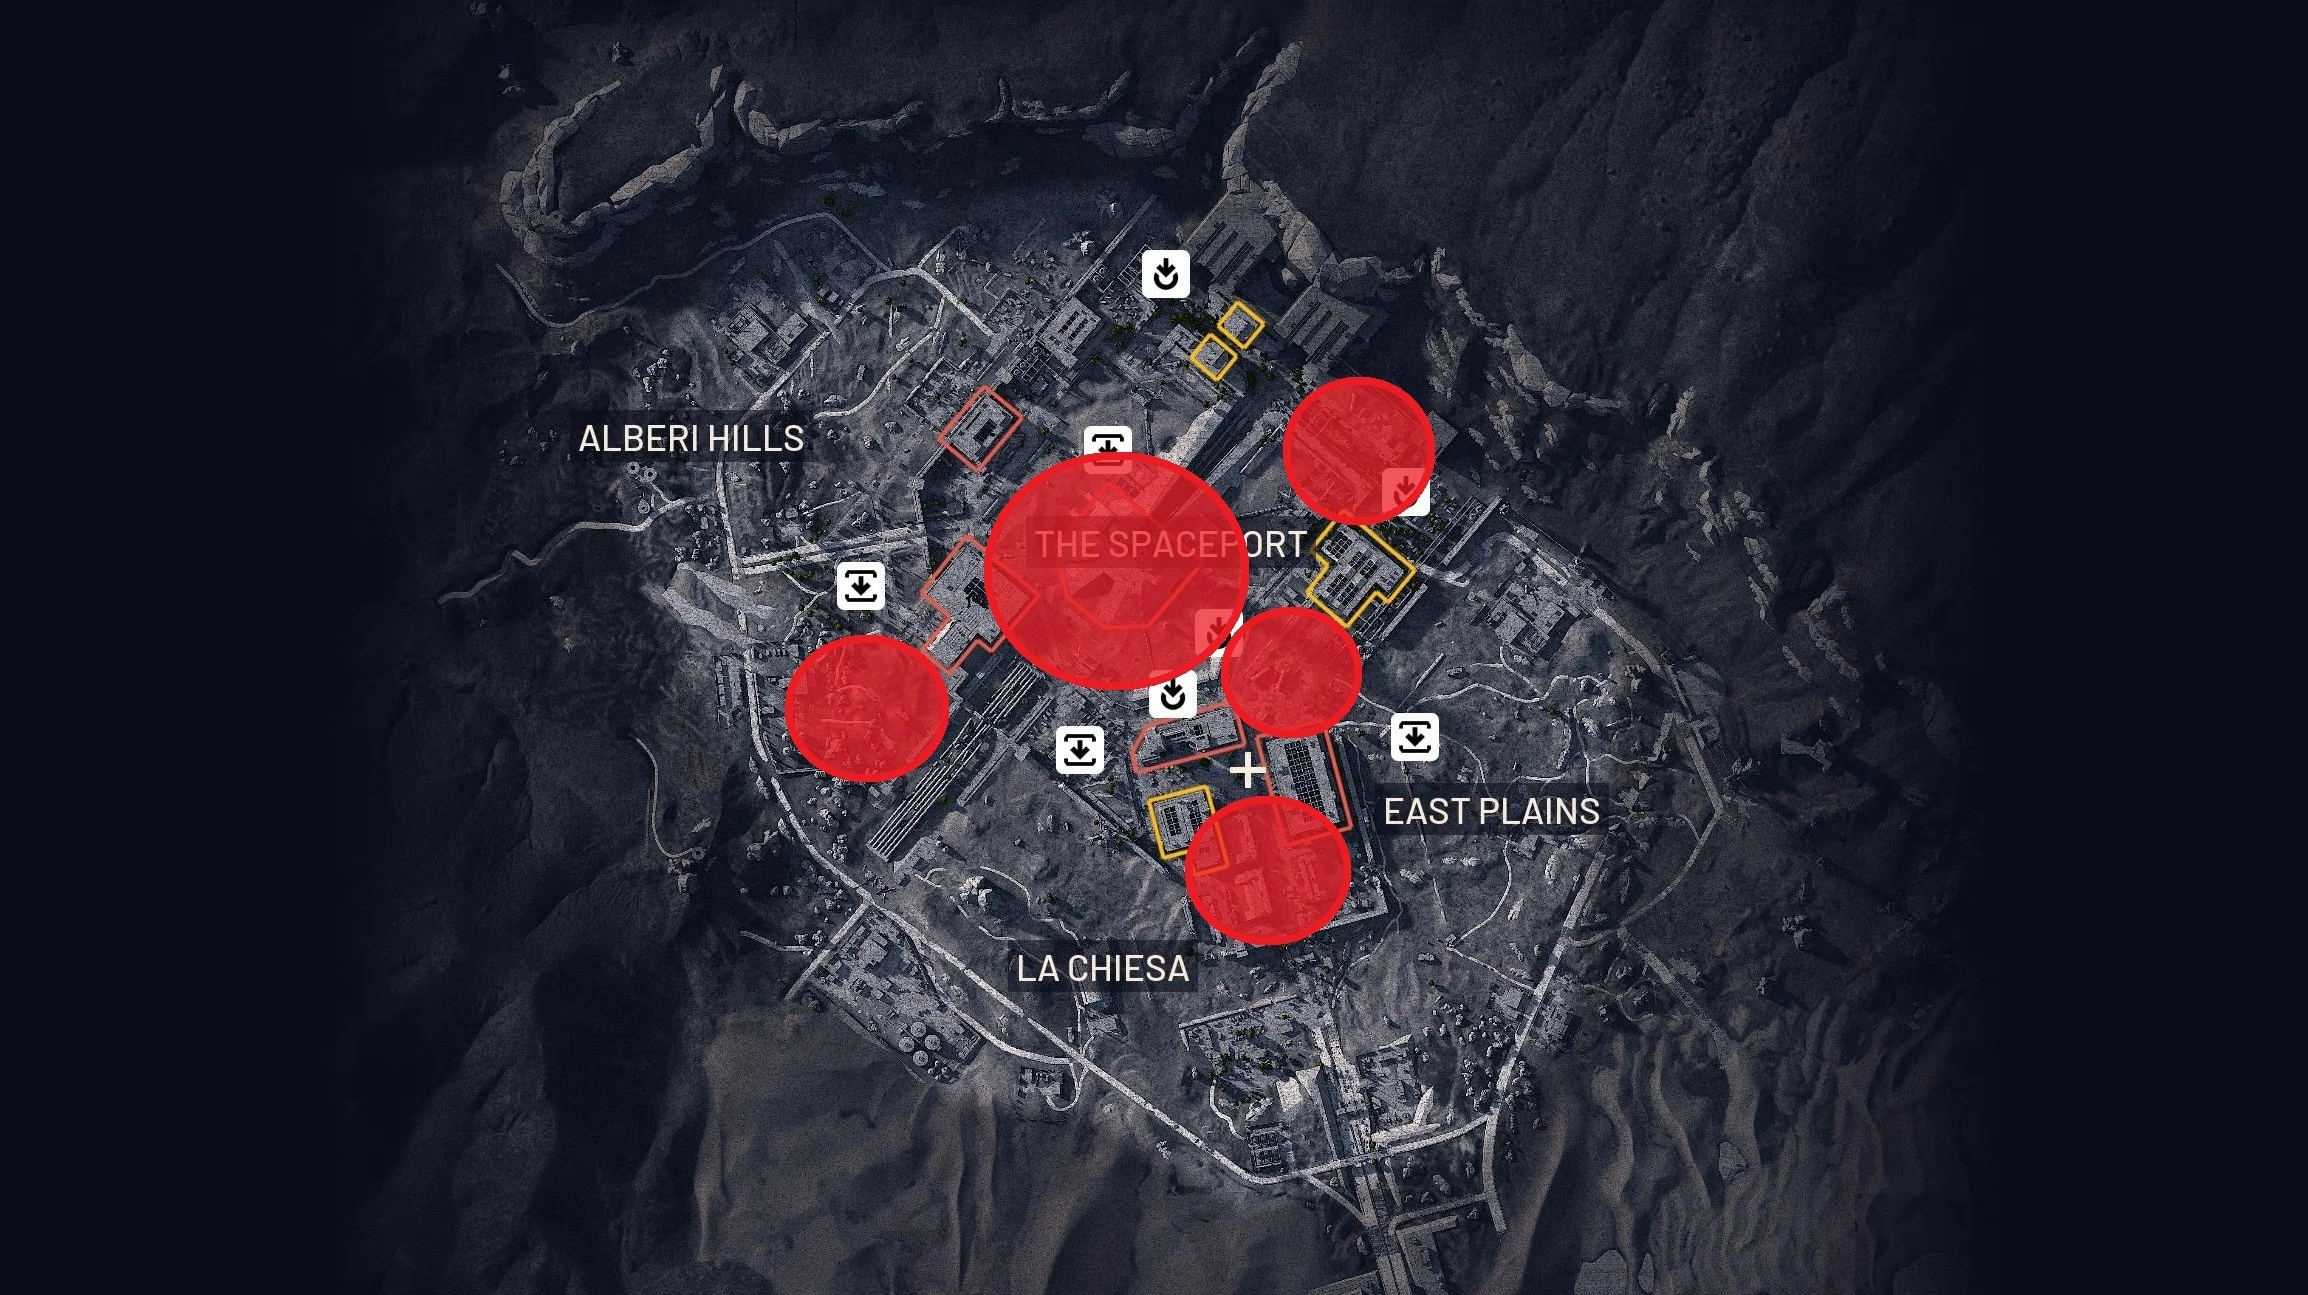
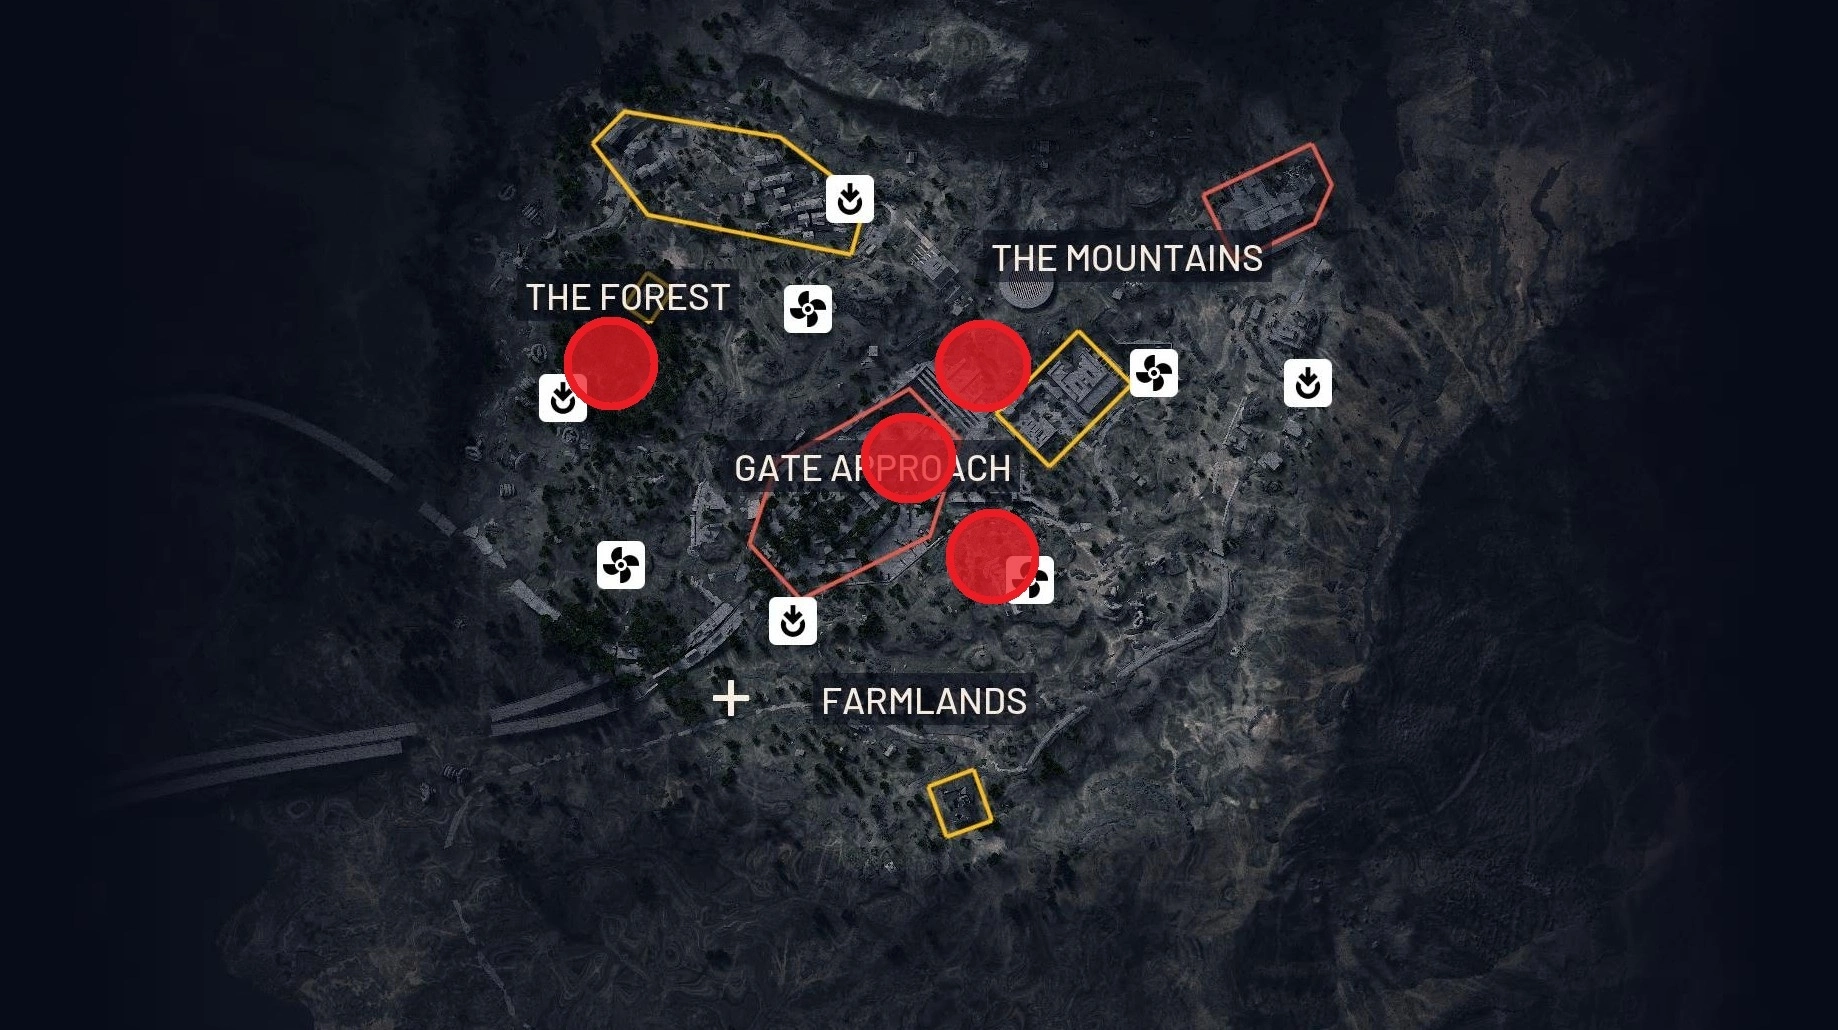
Bombardiers can spawn in multiple locations across nearly every map in Arc Raiders, with the exception of Stella Montis. While their exact positions can vary, there are several general areas on each map where they are most commonly seen. Keep in mind that Bombardiers are not stationary targets—they tend to patrol and roam—so you may need to carefully scan the surrounding area to spot one if it’s wandered away from its usual path.
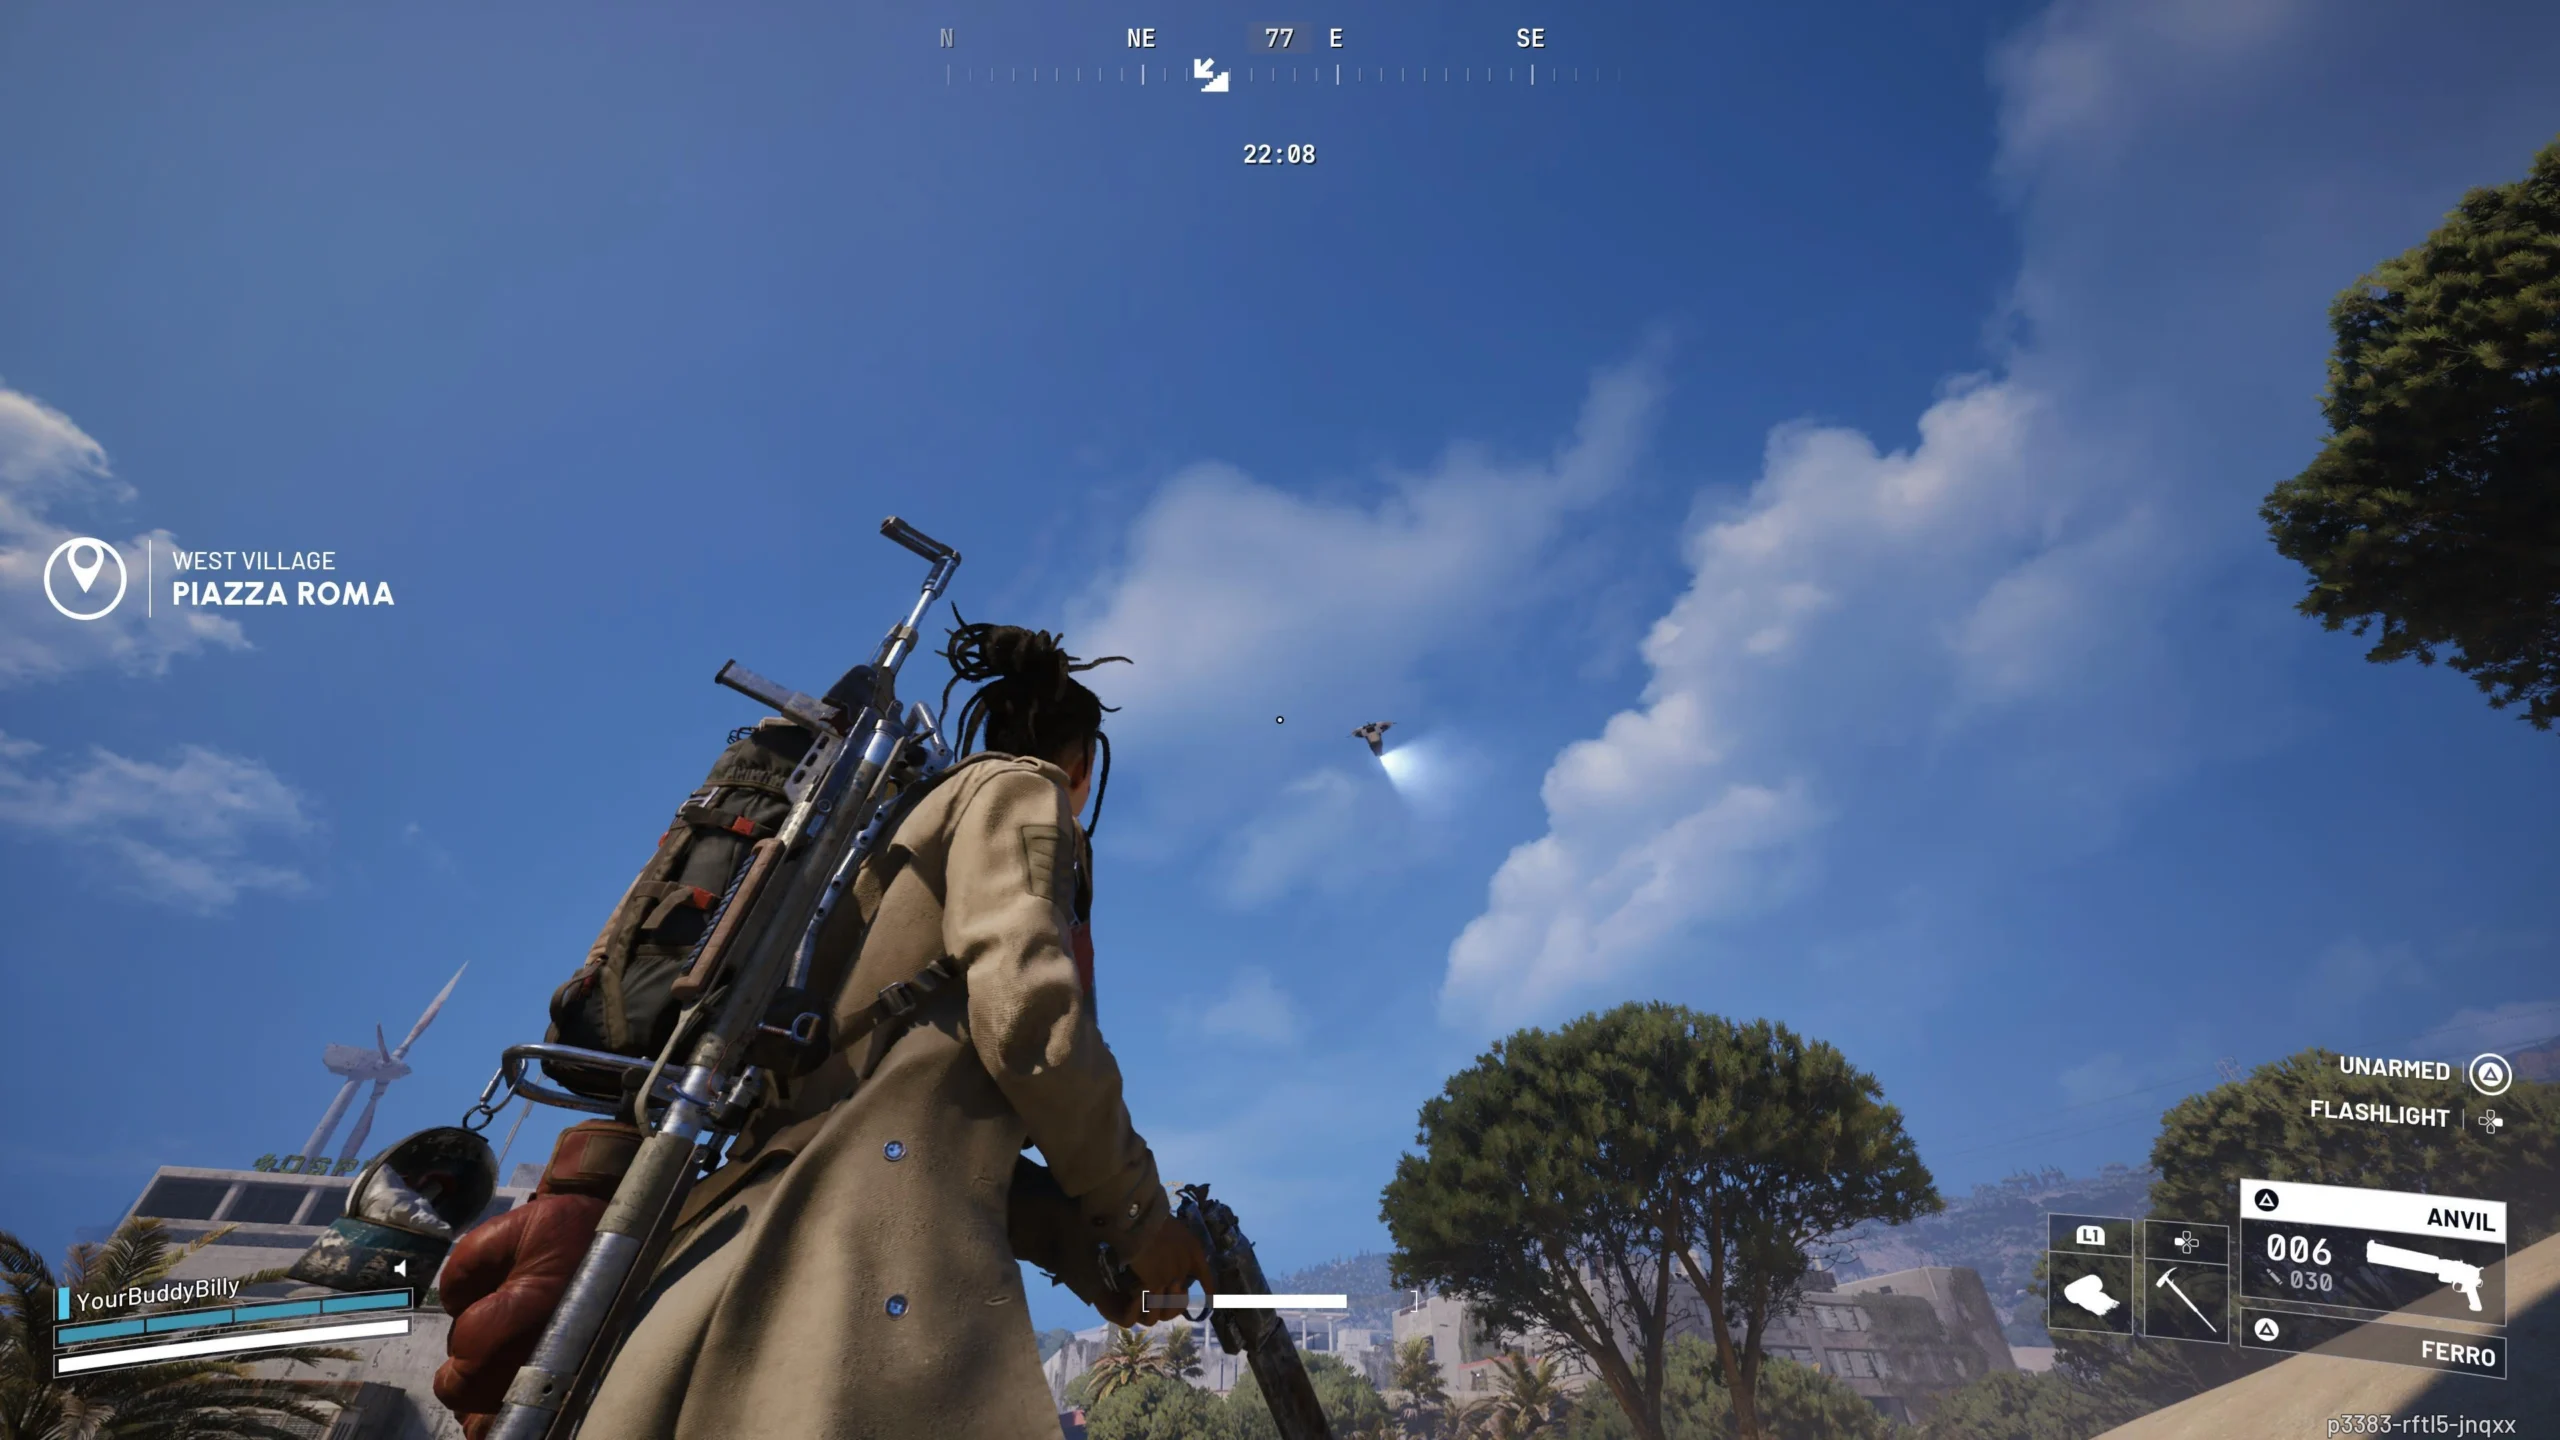
One of the easiest ways to identify a Bombardier from a distance is by looking for its Spotters. These smaller drones resemble Snitches, but they’re distinguished by the blue lights glowing underneath them as they sweep the area below. Spotters actively scan for raiders, and once they detect you, they’ll quickly alert the Bombardier. If that happens before you’ve secured solid cover, things can go south very fast.
Once you’ve successfully located a Bombardier, the real challenge begins—bringing it down.
The approach you take to killing a Bombardier largely depends on the gear and resources you have access to. Players with deep pockets or well-stocked stashes can opt for explosive-heavy strategies that end the fight quickly. On the other hand, if you’re running on a budget, you’ll need to rely on patience, positioning, and careful hit-and-run tactics to survive the encounter.
The fastest and most efficient way to eliminate a Bombardier is by using Wolfpack Grenades. In most cases, tossing around four of them will be enough to destroy the machine outright. Start by shooting down the Spotters with your weapon of choice, then lob the Wolfpacks high above the Bombardier and let them rain down. A few well-placed throws can end the fight almost instantly. Blaze Grenades can also be effective and achieve similar results, though the process is usually a bit slower.
If you’re running low on Wolfpacks or Blaze Grenades and can’t craft or purchase more, a Hullcracker loaded with plenty of ammo is another strong option. Pairing it with a small number of grenades can still bring the Bombardier down very quickly.
If high-end explosives aren’t an option, your best bet is to prepare for a longer fight. Stock up on healing items and bring a heavy weapon such as a Ferro or an Anvil. You’ll also want multiple stacks of heavy ammo, as this method relies on sustained damage over time.
Once you engage the Bombardier, prioritize taking out its Spotters first. After that, find solid interior cover to protect yourself from incoming mortar fire. Focus your shots on the yellow canisters located on its legs and rear. Dealing enough damage to one of the legs with a heavy weapon will cause the Bombardier to collapse temporarily, opening up a window to unload even more shots into the rear canister.
Any damage-focused grenades you have on hand can help speed things up, even if they aren’t Wolfpacks or Blaze Grenades. Every bit of damage counts in this fight. Most importantly, though, staying alive is key—avoid open areas, stay under cover, and be patient to avoid getting obliterated by mortar strikes.
Veteran raiders have discovered an even more advanced tactic: using a Lure Grenade to distract the Bombardier and then sneaking in to place a Deadline mine directly onto its back. When executed correctly, this strategy can kill the Bombardier instantly. However, the margin for error is extremely small, and a single mistake can result in immediate death.
An Electromagnetic Cloak can also be used to get close enough to plant a Deadline, but this method is even riskier. You’ll need to deactivate the cloak to place the mine, and if the Bombardier spots you—which happens more often than you’d like—the encounter can turn deadly in seconds.
Master these strategies, come prepared, and with enough patience or firepower, even the most fearsome Bombardier won’t stand in your way for long. For more Arc Raiders guides and tips, stay locked in with Gamer Choice.