


+15 More
Digital Aura Portal - FZCO
Building A1, Dubai Digital Park, Dubai Silicon Oasis, Dubai, United Arab Emirates Premises Number 72647 - 001
Business registration number: 70647
gamer-choice.com © 2026
Digital Aura Portal - FZCO
Building A1, Dubai Digital Park, Dubai Silicon Oasis, Dubai, United Arab Emirates Premises Number 72647 - 001
Business registration number: 70647
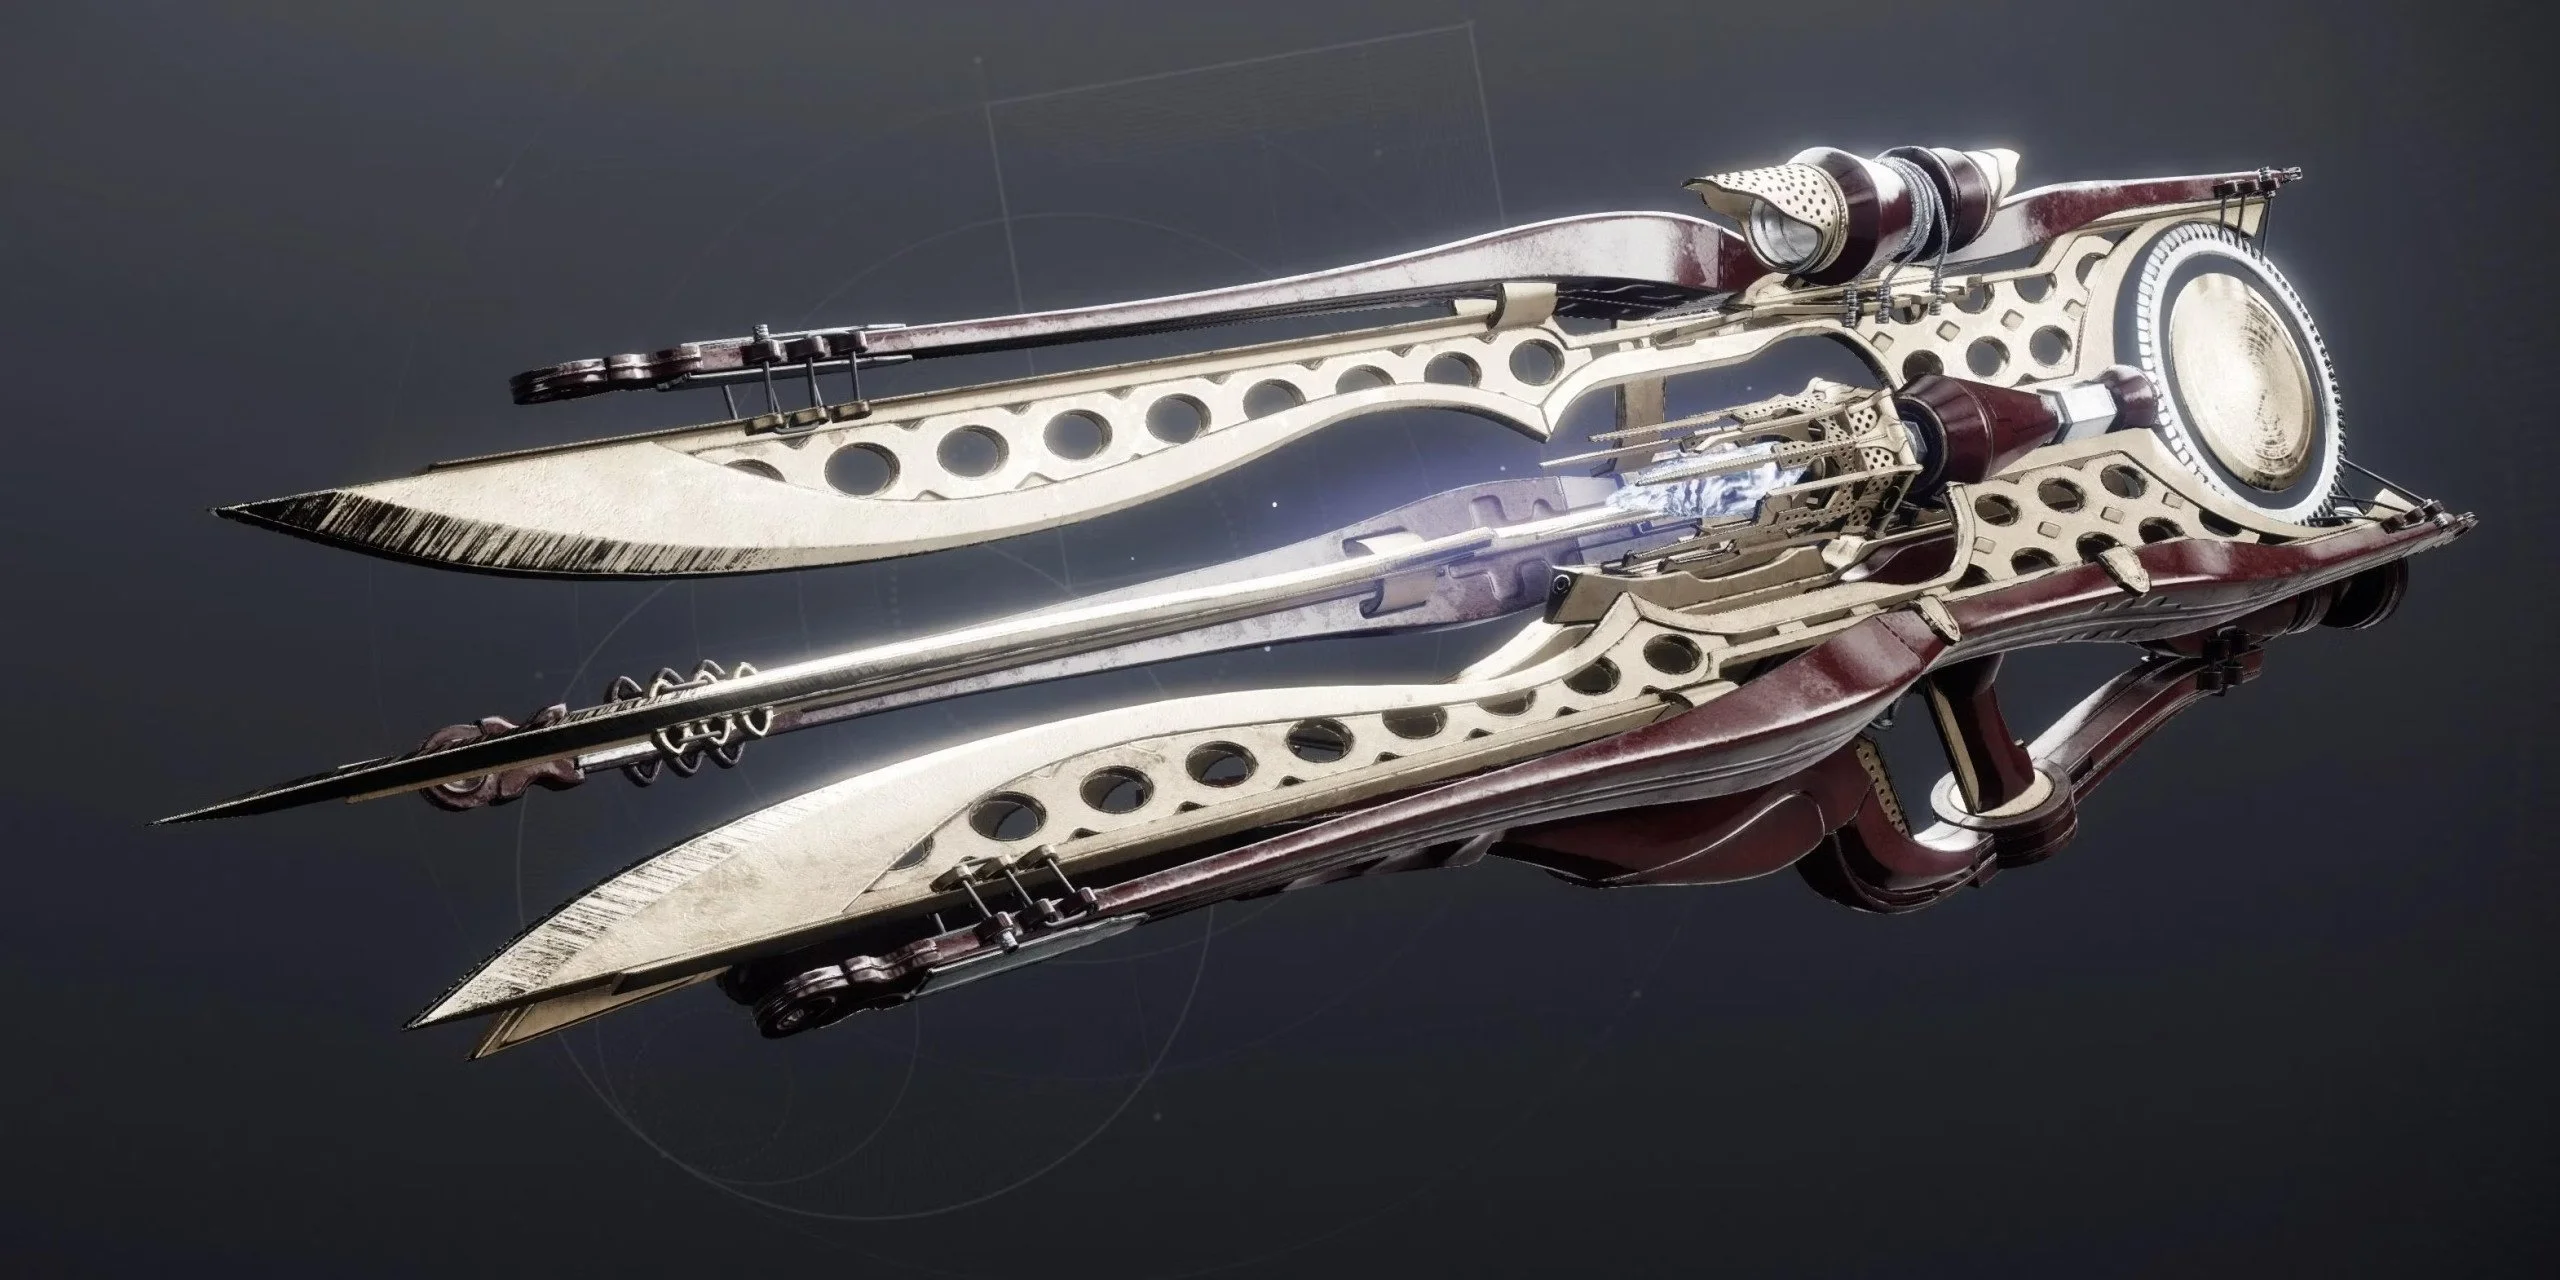
One of the standout exotic weapons introduced in The Final Shape expansion is the heavy Trace Rifle known as Microcosm. In this guide, we'll cover everything you need to know about how to get Microcosm in Destiny 2, including a breakdown of each quest step along the way.
Before we dive into the details, let’s talk about what makes Microcosm so exciting. This weapon emits a continuous beam that deals increased damage to enemy shields, thanks to its Exotic Perk, Paracasual Beam. Another perk, Paracausal Ibuement, grants Super Energy on final blows. Once your Super ends, Microcosm delivers bonus damage. If you enjoy team-based PvE or dabble in Crucible, this weapon could easily become a staple in your arsenal.
If you want to skip the grind and get Microcosm fast, consider buying it from Gamer Choice. Their experienced Destiny 2 players can acquire the weapon on your behalf quickly and safely. With great prices and reliable delivery, Gamer Choice is the best way to upgrade your loadout with Microcosm.

Buy Destiny 2 Boost
Get Destiny 2 boosts from trusted pros now!

To earn Microcosm, you’ll need to finish the final quest in the Convalescence questline. If this name sounds familiar, it’s because parts of the same questline are used to obtain other exotics like Khvostov and Ergo Sum.
For Microcosm, however, you’ll need to complete the entire set of four Convalescence quests:
Keep in mind, to access these quests, you must first complete The Final Shape campaign and also progress through the beginning of the Destined Heroes quest titled “Queens, part 1.”
You’ll begin your journey toward Microcosm by accepting the Destined Heroes questline, which ultimately grants the Ergo Sum exotic. For now, just focus on the first step: "Queens, part 1."
After finishing The Final Shape campaign, speak to your Ghost to begin the Destined Heroes quest. The description reads:
“The Vanguard radio frequency is being overridden by a Hive broadcast signal. Listen to the message and find out who is behind the comms disruption.”
Activate the radio device beside your Ghost and listen to the Hive message. Once that’s done, a marker will appear to start the next mission.
During the mission, descend to the lower levels and retrieve a Sword typically wielded by Hive Knights. You’ll soon encounter a Void-infused rune blocking your path. To clear it, use the Sword’s guard function to deflect enemy projectiles back at the rune. If done right, the rune will vanish, letting you proceed.
This mechanic continues throughout the mission. Later on, you’ll see orbs floating above runes with protective shields. Here, use the Sword’s heavy attack to launch an energy projectile at the orbs to drop the shield. Then, reflect enemy fire into the rune as before.
In the final fight, you’ll face Savathun. To damage her, toss energy cores at Hive runes matching the correct elemental type around the arena. Once her shield is down, lay on the damage. In the second phase, orbs will shield runes, so repeat the heavy sword attack, followed by projectile deflection to disable them.

Kick off your quest for Microcosm by interacting with Micah-10’s console. The quest description reads:
“Micah-10’s flock of unpartnered Ghosts have scattered through the Pale Heart, called by something no one else can hear... Follow the traces they have left to bring them home safely.”
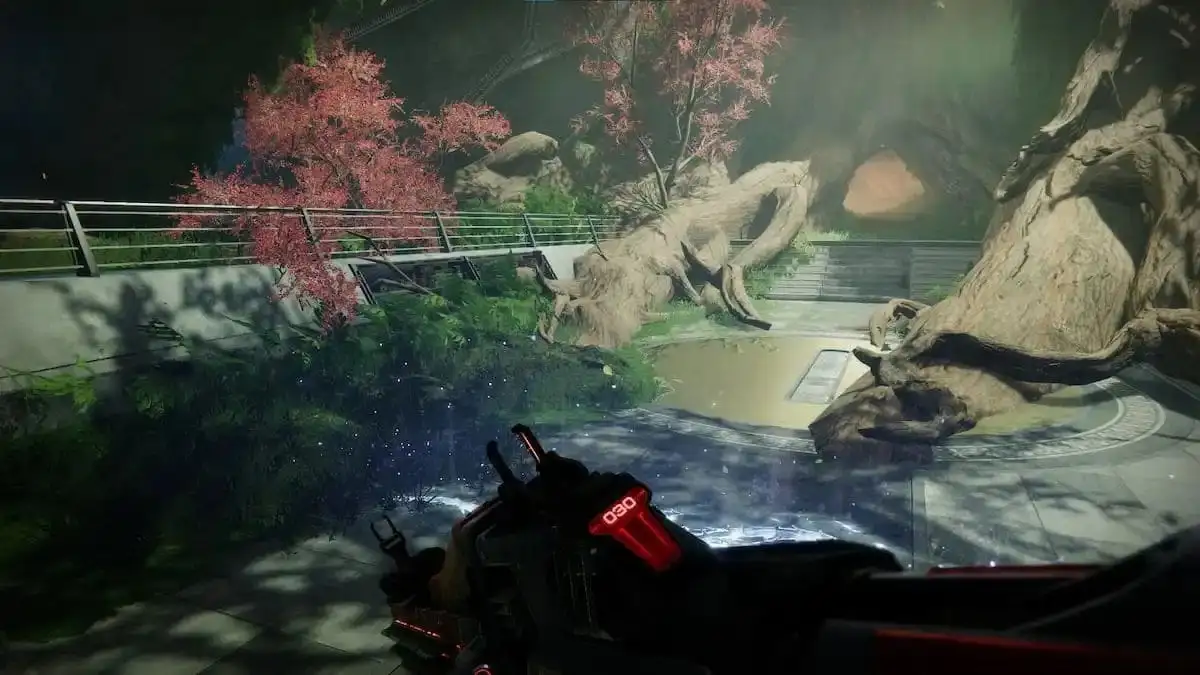
Travel to the Landing spawn point and follow the marker into the Forgotten Deep Lost Sector. Fight your way through Hive and Ogres. Once the enemies are cleared, shoot the Stasis-like crystal to continue.
Eventually, you’ll enter a room where your waypoint disappears. This signals that the target is nearby. Look around and you’ll spot the Ghost near the base of a large tree.
Next, head to the Arbor of Light in the Lost City. Interact with another Ghost there, then talk to Micah’s Conduit to complete the step and unlock the next quest.
This step requires you to collect two Traveler’s Blessing mods. These can be obtained by opening Pathfinder field assignment chests across the Pale Heart, which have a much higher chance of rewarding the mods.
Once acquired, you must equip the mods. They offer unique benefits, but only within the Pale Heart. To equip them, use the Traveler’s Blessings menu on the Pale Heart map.
Here are all the available Traveler’s Blessings:
| Name | Description |
|---|---|
| Traveler’s Animus | Defeating a combatant might drop an Orb of Power or a random elemental Orb. |
| Traveler’s Fervor | Sliding after a short sprint creates a burning line of fire ahead, causing Solar damage and Scorched. |
| Traveler’s Abundance | Defeating combatants with grenades may spawn Special ammo; using Super damage may spawn Heavy ammo. |
| Traveler’s Transference | Sprinting briefly grants Amplified; melee hits while Amplified release area-effect lightning bolts. |
| Traveler’s Multiplicity | Finisher kills convert your thrown grenade into an additional frag grenade. |
| Traveler’s Diffraction | Defeating combatants with Void damage might spawn Void seeker rounds that track, damage, and Suppress others. |
| Traveler’s Proliferation | Defeating combatants with Strand damage spawns Threadlings; defeating Powerful combatants spawns multiple Threadlings. |
| Traveler’s Sublimation | Quickly defeating combatants with Stasis damage spawns a Stasis mine that damages and Freezes nearby enemies. |
With two equipped, return once more to the Lost City and interact with the new growth. Then, check in with Micah’s Conduit to receive your reward and move on to the next step—Greenery.
This portion is a bit more grind-heavy. First, you’ll need to complete the Overthrow activity in the Landing. Opening chests here helps progress the quest. Each full Overthrow gives around 15-30% completion.
After this, follow the Light’s vision deeper into the Pale Heart to complete the Sword Dance Cyst mission.
Start at the Landing and follow the celestial bird through a locked door. You’ll need to shoot specific runes on the wall to unlock it.
Clear out enemies and summon a Sword at a statue. Smash crystals marked with sword icons to advance. Use the sword’s power to break through blockades as you continue forward.
The final encounter features shielded Hive enemies. Break their defenses using your Sword. If needed, summon a new one nearby. Once all threats are eliminated, return to the Lost City to turn in the quest.

Buy Destiny 2 Accounts
Grab your Destiny 2 account and start raiding today!
This is the last step needed to unlock Microcosm. You must replay three campaign missions in Cooperative Focus mode with at least one other player:
These missions don’t scale, so a full fireteam will speed up completion. Each mission introduces unique mechanics to test your teamwork.
Finish all three missions and return to the Lost City to speak with Micah-10 and claim your brand-new Microcosm.
To unlock Microcosm, you need to finish all four quests in the Convalescence storyline: Rootbound, Underbrush, Greenery, and Budding. Each must be completed in order after progressing through the main Final Shape campaign.
Not entirely. You must own and complete The Final Shape expansion to gain access to the Convalescence questline, which is required to obtain Microcosm.
A strong roll for Microcosm includes Paracausal Beam, Hammer-Forged Rifling, Enhanced Battery, Paracausal Imbuement, and Hand-Laid Stock. These perks enhance both damage output and consistency.
Yes, Microcosm excels at breaking shields, making it highly effective in both PvE and PvP scenarios. It’s a versatile choice for Guardians who frequently face shielded enemies.
Acquiring Microcosm involves a sequence of immersive story missions and gameplay challenges. While some parts are linear and easy to follow, others require grinding or multiplayer coordination. The final stretch—replaying campaign missions with new mechanics—is especially rewarding.
If you're a fan of the best exotic weapons in Destiny 2, then Microcosm definitely earns a place. Don’t hesitate to check out more guides like this, and happy hunting, Guardian!