


+15 More
Digital Aura Portal - FZCO
Building A1, Dubai Digital Park, Dubai Silicon Oasis, Dubai, United Arab Emirates Premises Number 72647 - 001
Business registration number: 70647
gamer-choice.com © 2026
Digital Aura Portal - FZCO
Building A1, Dubai Digital Park, Dubai Silicon Oasis, Dubai, United Arab Emirates Premises Number 72647 - 001
Business registration number: 70647
In this guide, we’ll explore Destiny 2 Warlords Ruin, the latest dungeon introduced in Season of the Wish, which launched on December 1. This walkthrough covers everything you need to know, including the mechanics for each encounter, locations of secret chests, recommended loadouts, and the rewards you can earn, such as Legendary weapons, Exotics, and a brand-new Armor Set. By the end of this guide, you’ll be fully prepared to conquer this challenging activity and claim its valuable loot.
We’ve gathered all available information about the loot drops, including four Legendary Weapons, one Exotic Weapon, and Armor sets tailored for each class.
| First Encounter Rathil | Second Encounter Locus of Wailing Grief | Final Encounter Hefn’s Vengeance |
|---|---|---|
| Vengeful Whisper Combat Bow | Kinetic | Vengeful Whisper Combat Bow | Kinetic | Dragoncult Sickle Sword | Strand |
| Dragoncult Sickle Sword | Strand | Naeem’s Lance Sniper Rifle | Strand | Naeem’s Lance Sniper Rifle | Strand |
| Indebted Kindness Sidearm | Arc | Indebted Kindness Sidearm | Arc | Indebted Kindness Sidearm | Arc |
| Buried Bloodline Sidearm | Void |
All Warlords weapons come with a unique Origin Trait exclusive to this dungeon: Sundering. This trait provides bonus reload speed and charge rate when destroying vehicles and constructs, making these weapons highly efficient in combat. If you’re eager to acquire the Exotic weapon right away, you can utilize Destiny 2 Buried Bloodline services from Gamer Choice.
When it comes to dungeon armor, this time players can earn one Dark Age-themed armor set per class.
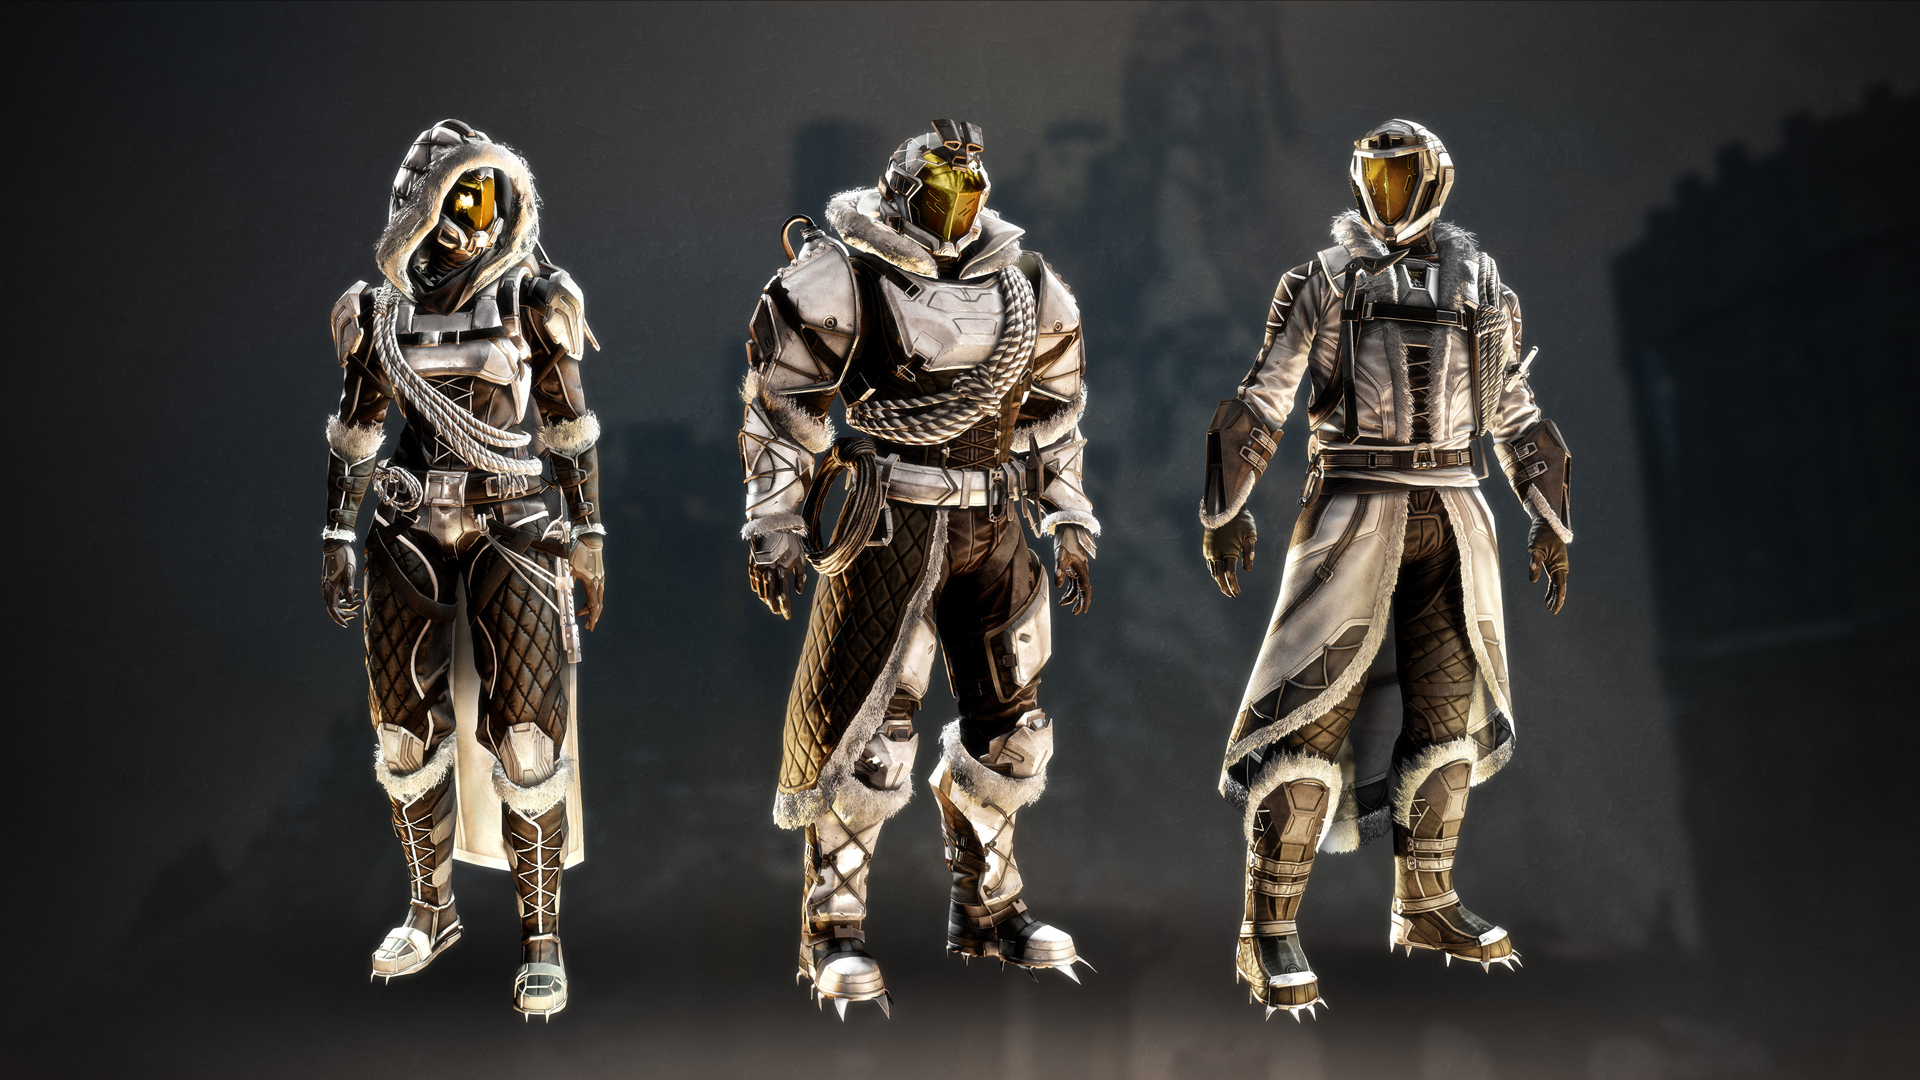
All armor pieces for each class:
| Slot | Titan Armor Set | Hunter Armor Set | Warlock Armor Set |
|---|---|---|---|
| Helm | Dark Age Helm | Dark Age Mask | Dark Age Visor |
| Arms | Dark Age Gauntlets | Dark Age Grips | Dark Age Gloves |
| Chest | Dark Age Chestrig | Dark Age Harness | Dark Age Overcoat |
| Legs | Dark Age Sabatons | Dark Age Strides | Dark Age Legbracers |
| Class Item | Dark Age Mark | Dark Age Cloak | Dark Age Bond |
We recommend equipping Solar weapons, as they dominate the meta in Season of the Wish. The Sunshot Solar Exotic Hand Cannon is a standout option and highly effective for solo runs of the Warlords Ruin dungeon.
Additionally, consider bringing precision weapons like Sniper Rifles, which received significant buffs in Season of the Wish, or Linear Fusion Rifles to counter the bosses' abilities effectively.
Below, we provide a comprehensive walkthrough for the dungeon, covering all three encounters, including mechanics, buffs, debuffs, and strategies to defeat the bosses. If you’d prefer to skip the challenge and get guaranteed rewards, you can use Destiny 2 Warlords Ruin Dungeon services from Gamer Choice.
To successfully tackle Warlords Ruin, ensure your Power Level meets the recommended thresholds:
To access the dungeon, you’ll need one of the following:
The key grants access to both Ghosts of the Deep (from Season of the Deep) and Warlords Ruin (Season of the Wish).
Start by picking up the quest “In the Shadow of the Mountain” from Ikora Rey in the Tower. Once obtained, launch the dungeon by selecting the node on the far-right side of the EDZ map.
The dungeon begins with a traversal section featuring a jumping puzzle. If you find yourself blocked, backtrack slightly and follow the red flags along the mountainside to stay on the correct path.
Eventually, you’ll discover a chest, but be warned—it’s a false chest. Opening it spawns mobs without granting rewards. Look for subtle blue glows or ether effects to identify genuine chests.
Continue along the path, cross the bridge, and fight through enemies until you reach the first encounter.
Before engaging the boss, ensure you have the From Whence You Came perk selected in your Seasonal Artifact. This perk boosts damage against Taken and Scorn combatants, making it a critical advantage throughout the dungeon.
When the encounter begins, Rathil is immune. After fighting a few enemies, a Taken turret spawns, and players will be teleported into separate floating metal cages.
Escaping the Cages
To escape, shoot the three blighted eyes surrounding the cage. Teammates can assist by shooting the eyes from their perspective. Once free, focus on the Taken turret by standing inside the white circle near it until it turns purple and is destroyed.
Activating the Imminent Wish Buff
Destroying turrets grants the Imminent Wish buff, which transitions into Naeem’s Wish Empowerment—allowing you to damage the boss. The more turrets destroyed, the longer the damage phase. Use close-range weapons like swords or shotguns to maximize damage.
After the damage phase, Rathil becomes immune again, restarting the sequence:
Repeat the process until Rathil is defeated.
Post-Boss Escape Puzzle
After defeating Rathil, players are teleported into a prison cell. To escape:
Castle Traversal
After escaping, navigate the Castle, avoiding traps like hidden floor holes, spikes, and vent traps.
Continue climbing and crossing bridges until you reach an open sewer entrance. Jump in to proceed to the second encounter.
In this encounter, a large Taken Ogre spawns after shooting the Taken orb in the center of the arena. Your main task is to manage enemies, avoid a team wipe from the Biting Cold debuff, and light the beacons to initiate the damage phase.
Tips for Success:
With these strategies, you’ll defeat the boss and move on to the final encounter.
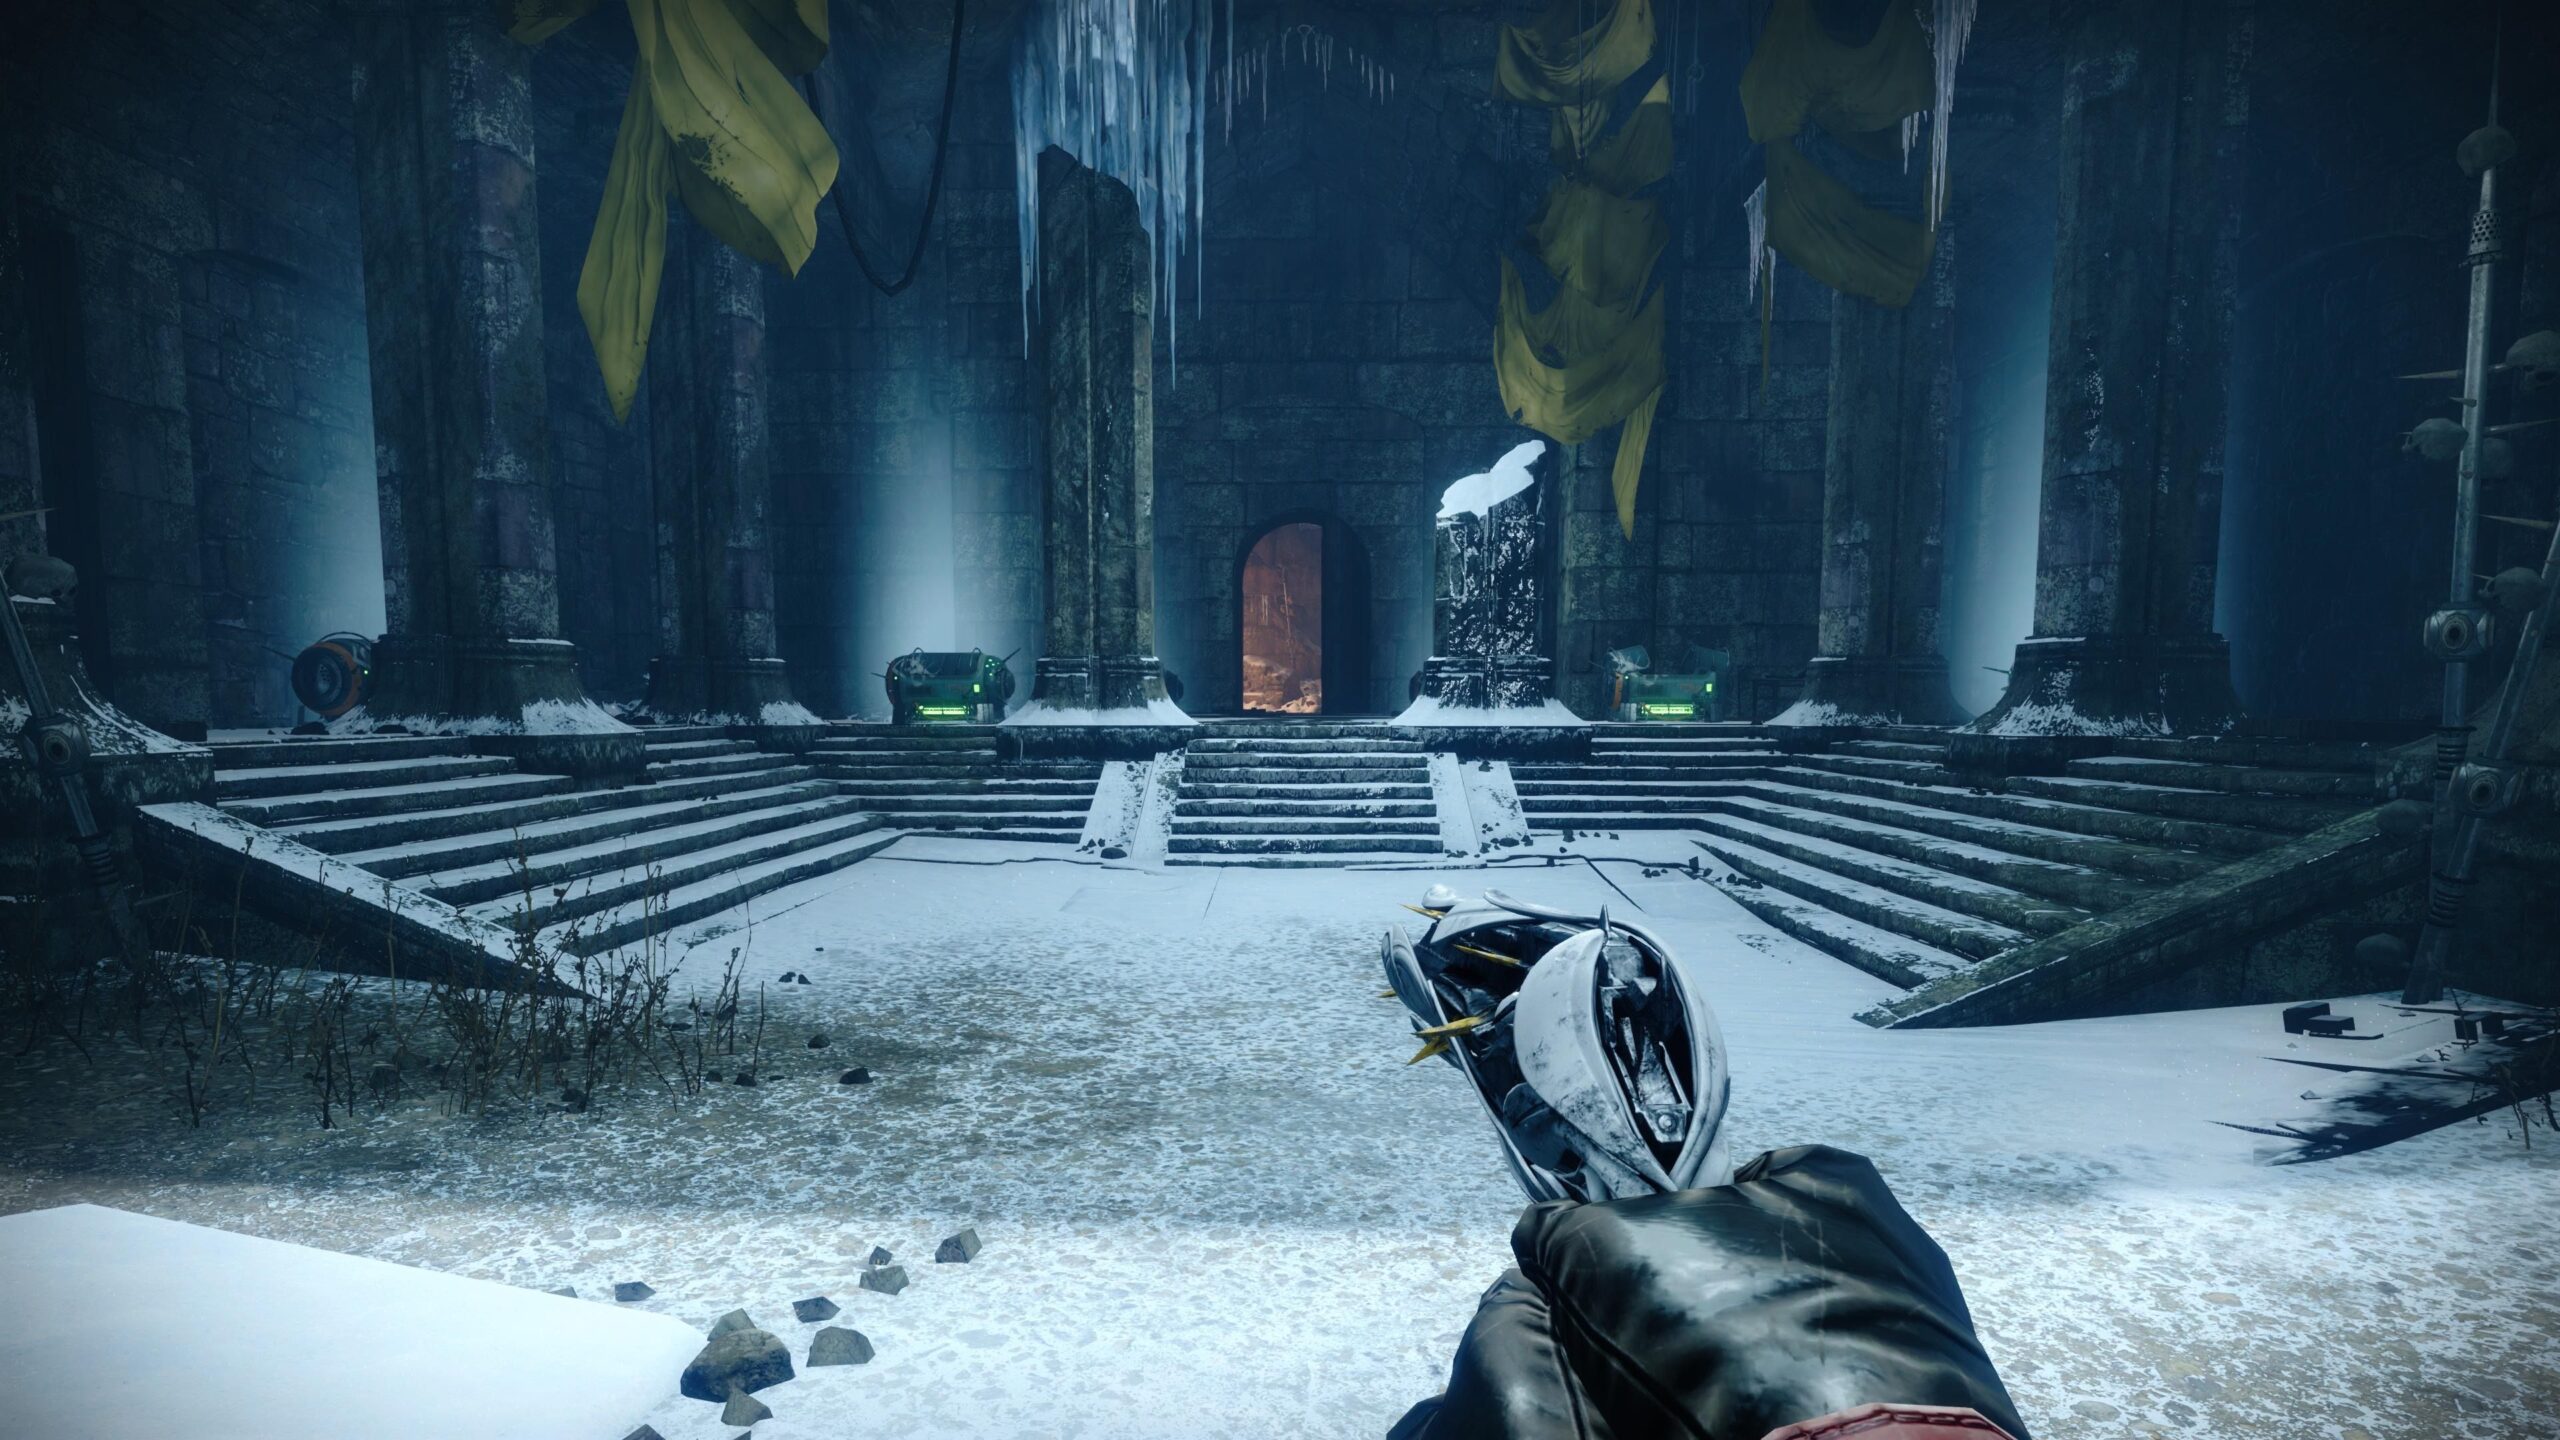
Final Boss: Hefnd’s Vengeance, Blighted Chimaera
After traversing the Castle and climbing the mountain cliff, you’ll reach the final boss encounter. Prepare at the rally flag and begin the fight by shooting the Taken Orb at the center. The boss will initially be immune, and enemies, including Scions, will spawn alongside blighted eyes. Destroy the eyes and avoid walking near damaging blights in the area.
Key Mechanics
Arena Progression
After lowering the boss’s health chunk, it will teleport to a previously inaccessible area. Jump to the new section of the arena and repeat the mechanics. This sequence occurs three times, with the boss moving to higher platforms after each damage phase.
Final Stand Mechanics
In the third arena section, the boss teleports to the center of a debris ring. Focus on maximizing damage while one player is assigned to shoot blighted eyes, which extend the damage phase. After completing this phase, you’ll be teleported to a new area for the final stand. Manage blighted eyes and deal enough damage to defeat Hefnd’s Vengeance and complete the dungeon.
Tips for Success
By following these strategies, you’ll successfully conquer the final encounter of the Destiny 2 Warlords Ruin dungeon.
Between the second and third encounters, there are two secret chests to discover:

The Warlords Ruin dungeon offers a variety of rewards, including Legendary Weapons and the Exotic Sidearm.
| Weapon | Type | Ammo | Element | Source | Craftable |
|---|---|---|---|---|---|
| Buried Bloodline | Sidearm | Special | Void | Warlords Ruin Dungeon | No |
| Dragoncult Sickle | Sword | Heavy | Strand | Warlords Ruin Dungeon | No |
| Indebted Kindness | Sidearm | Primary | Arc | Warlords Ruin Dungeon | No |
| Naeem’s Lance | Sniper Rifle | Special | Strand | Warlords Ruin Dungeon | No |
| Vengeful Whisper | Combat Bow | Primary | Kinetic | Warlords Ruin Dungeon | No |
The Buried Bloodline Exotic Sidearm can be obtained by defeating the final boss, Hefnd’s Vengeance, Blighted Chimera, in the Warlord’s Ruin dungeon. To increase your chances of acquiring this Exotic, complete specific triumphs related to the dungeon. A detailed guide on obtaining this powerful Void Sidearm will be available soon. In the meantime, you can unlock Legendary Weapons or achievements with the help of Warlords Ruin Services.
This dungeon also offers unique rewards, including:
If you’re eager to earn the Wrathbearer title quickly, you can use Wrathbearer Title Service.
Yes, the Warlord’s Ruin dungeon is farmable for unlimited loot, allowing multiple runs per week. However, as is standard for Destiny 2 raids and dungeons, the Warlord’s Ruin Exotic can only be farmed once per character per week.