


+15 More
Digital Aura Portal - FZCO
Building A1, Dubai Digital Park, Dubai Silicon Oasis, Dubai, United Arab Emirates Premises Number 72647 - 001
Business registration number: 70647
gamer-choice.com © 2026
Digital Aura Portal - FZCO
Building A1, Dubai Digital Park, Dubai Silicon Oasis, Dubai, United Arab Emirates Premises Number 72647 - 001
Business registration number: 70647
Final Shape has now been live for over a week, and most players have already wrapped up the main storyline, acquired a few new exotics, and possibly even conquered the raid. But is that all there is? Definitely not. The game still has a lot in store for us. As we move through the second week, a brand-new story episode has arrived, alongside a hidden mission that grants exotic class items.
This Dual Destiny guide will walk you through the steps needed to unlock these exotic class items. It’s not a quest you’ll stumble upon easily, so we’ll explain the hidden requirements, the mission objectives, and a full walkthrough to get you through it.
And if grinding your way through these objectives doesn’t sound all that appealing, Gamer Choice has an offer tailored just for you. You can purchase the Dual Destiny completion service through them. With Gamer Choice’s professional Destiny 2 players handling the entire mission for you, you’ll get the exotic class item without lifting a finger. It’s a massive time saver and gives you an edge over others who are still piecing it all together.

Buy Destiny 2 Boost
Get Destiny 2 boosts from trusted pros now!

The Dual Destiny mission became available to all players starting from the weekly reset on June 11th, 2024, following the launch of Episode 1: Echoes. But unlocking it requires specific steps.
Surprisingly, you don’t need to touch Echoes content like the Breach Executable Arena on Nessus. But here's a key tip — this quest is designed exclusively for two players. It can’t be done solo or with more than two players in your fireteam.
Because this is a secret mission, it won't appear in the usual exotic mission rotator. To access the quest, you need to participate in the Overthrow public event located in the Pale Heart. Complete all Overthrow objectives quickly. If you're in a fireteam, consider dividing tasks to speed things up.
After defeating the Overthrow boss and opening the loot chest, a message should appear: "A Secret-Keeper of the Witch Queen is near..." If you see this, it means the conditions were met.
Next, you must find and eliminate the Secret-Keeper in the same zone. Upon killing them, you’ll receive another message: "A Secret-Keeper of the Witch Queen is vanquished!" Here are the possible spawn locations for Secret-Keepers:
It’s not officially confirmed, but players are encouraged to complete Overthrow and eliminate Secret-Keepers in all three locations.
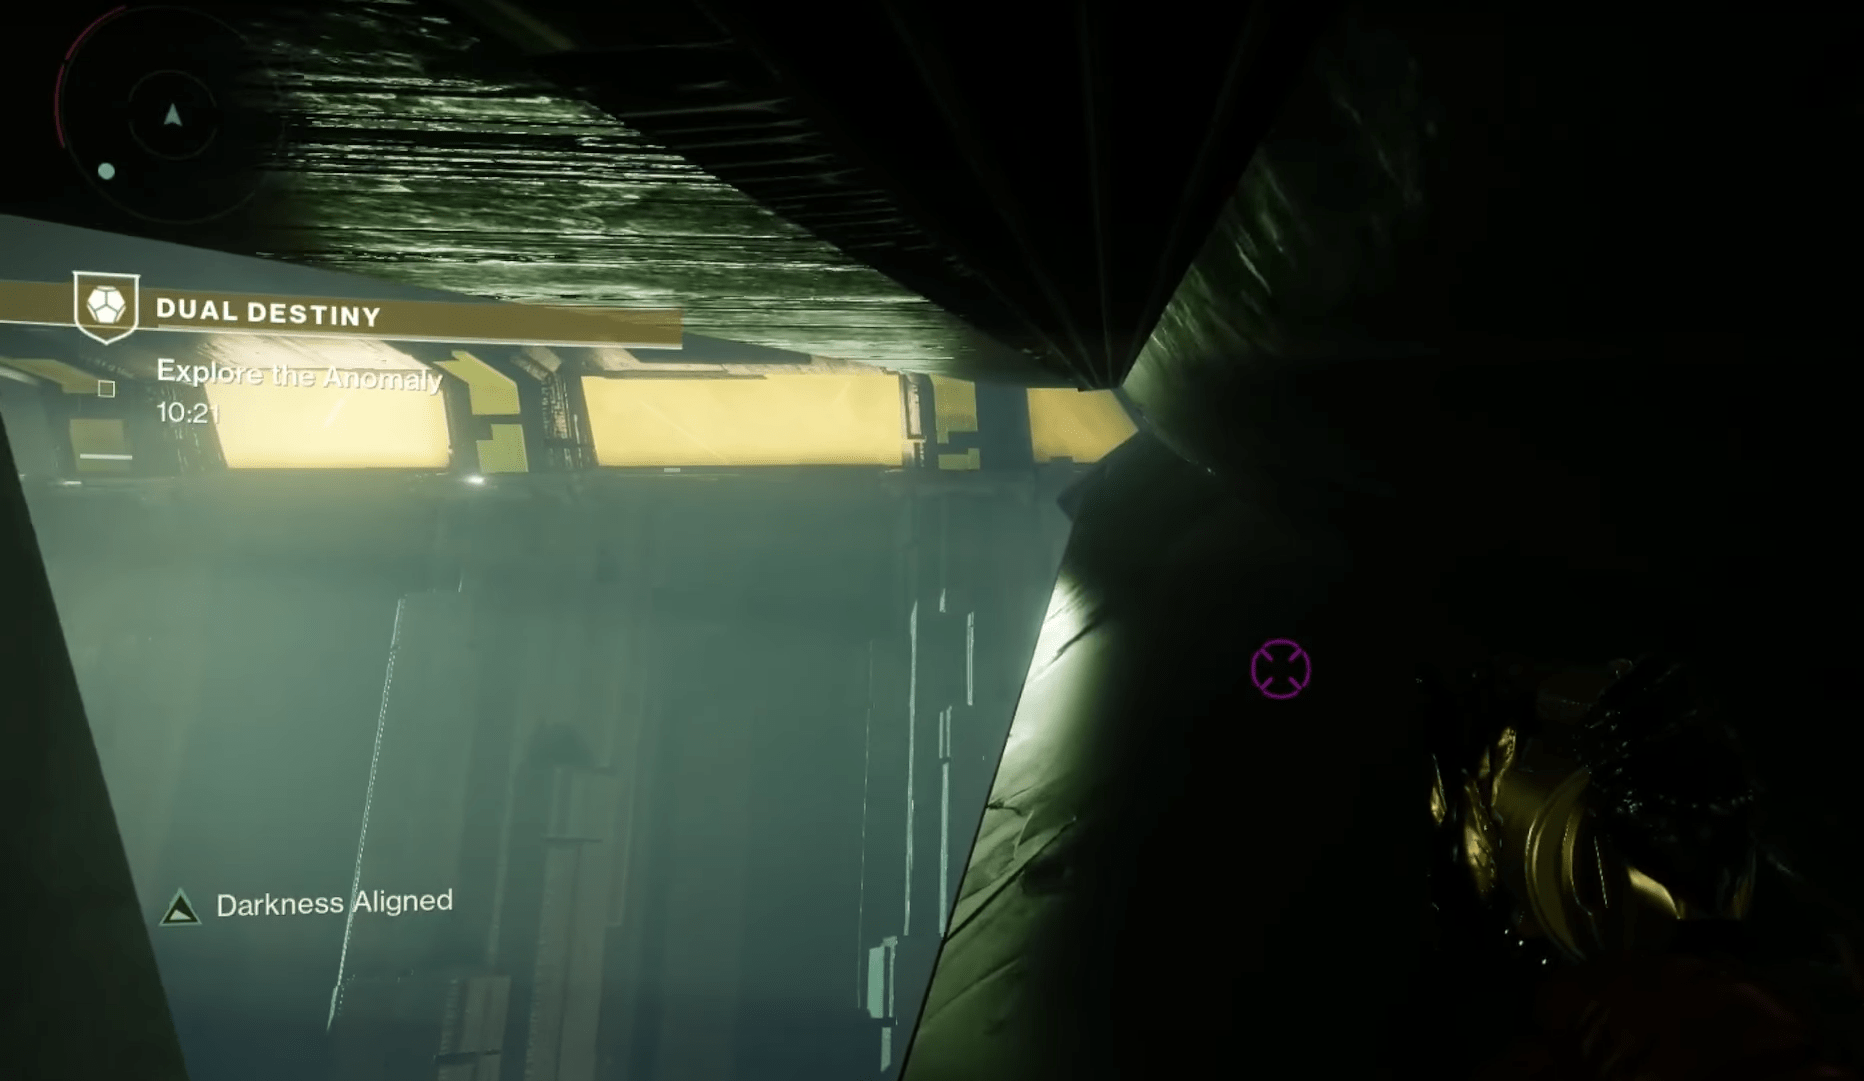
After finishing that, head to the Refraction and follow the path until you spot a large beam of light. Continue toward it, and you’ll find a cave with Savathun’s statue. As you approach the statue, you’ll gain a buff called "Savathun’s Envoy."
Exit the cave with this buff, and you’ll notice new objective markers leading to small pyramids surrounded by enemies. Defeat them until a miniboss named the Expector (a Subjugator) appears. Damage him until he drops a ball of reflected light. Grab it, bring it back to the statue, and place it on the light platform.
Then, defeat the boss entirely to acquire a second orb (darkness ball). Take it back to the statue and place it on the corresponding platform. This final step unlocks the Dual Destiny exotic mission.
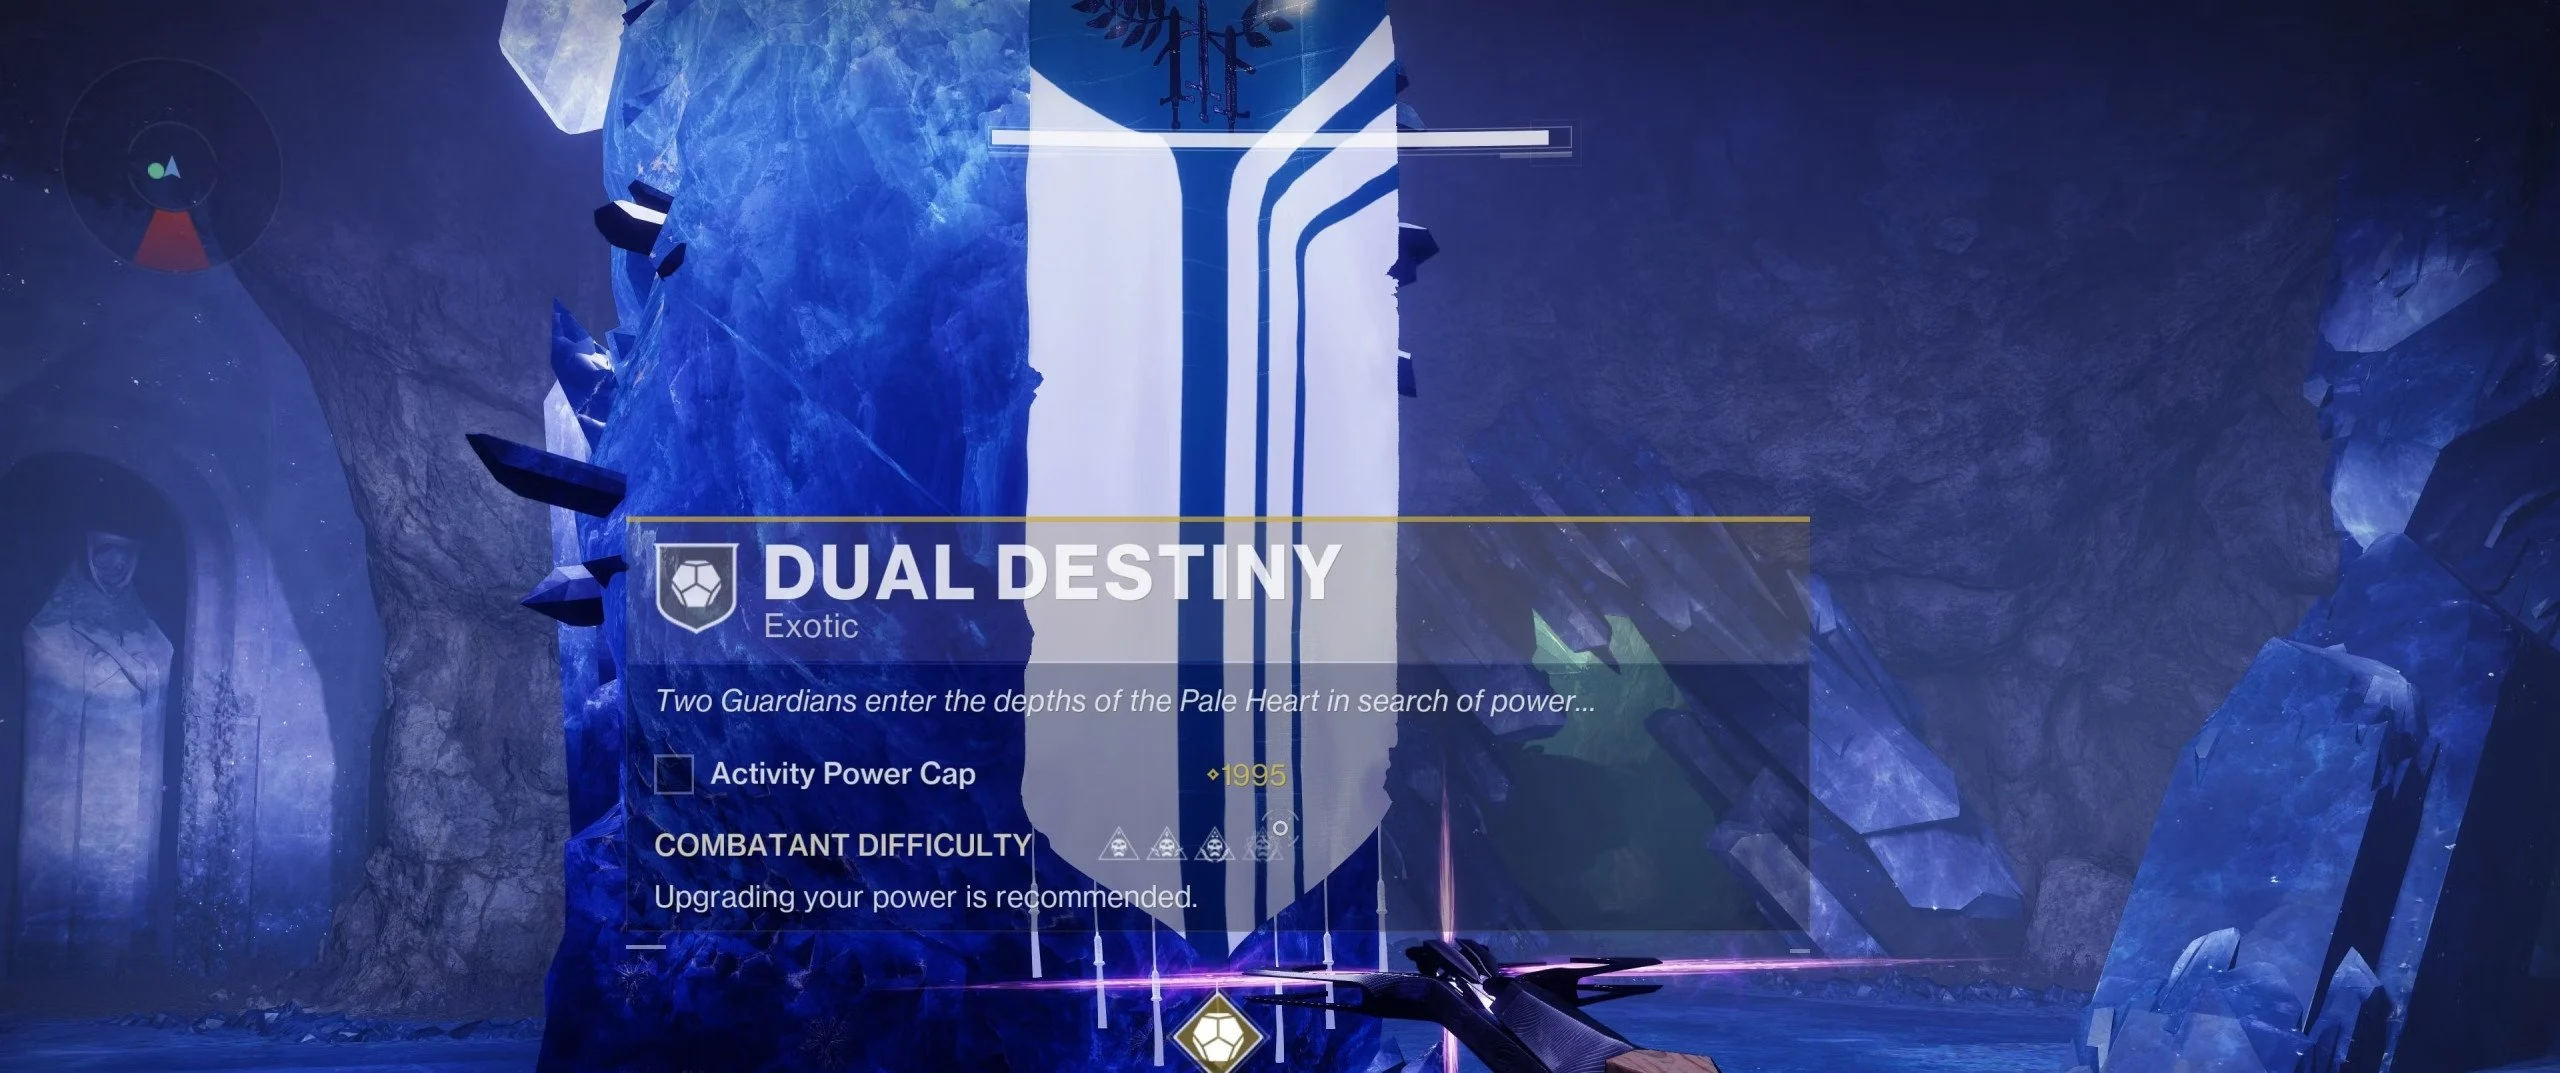
Important: If there are more than two players in your fireteam, you’ll get an error message. This mission only supports two players. The activity power cap is 1995, so make sure your loadout is strong enough. This mission is timed, but completing encounters will give you extra time.

The entire mission relies on a simple mechanic: one player will be Light-aligned, and the other Darkness-aligned. You'll have to coordinate carefully, especially during puzzles where positioning is key. These buffs — Light and Darkness — remain fixed throughout the mission.
Make sure you finish this mission at least once, as it is the only way to obtain exotic class items that combine two exotic perks!
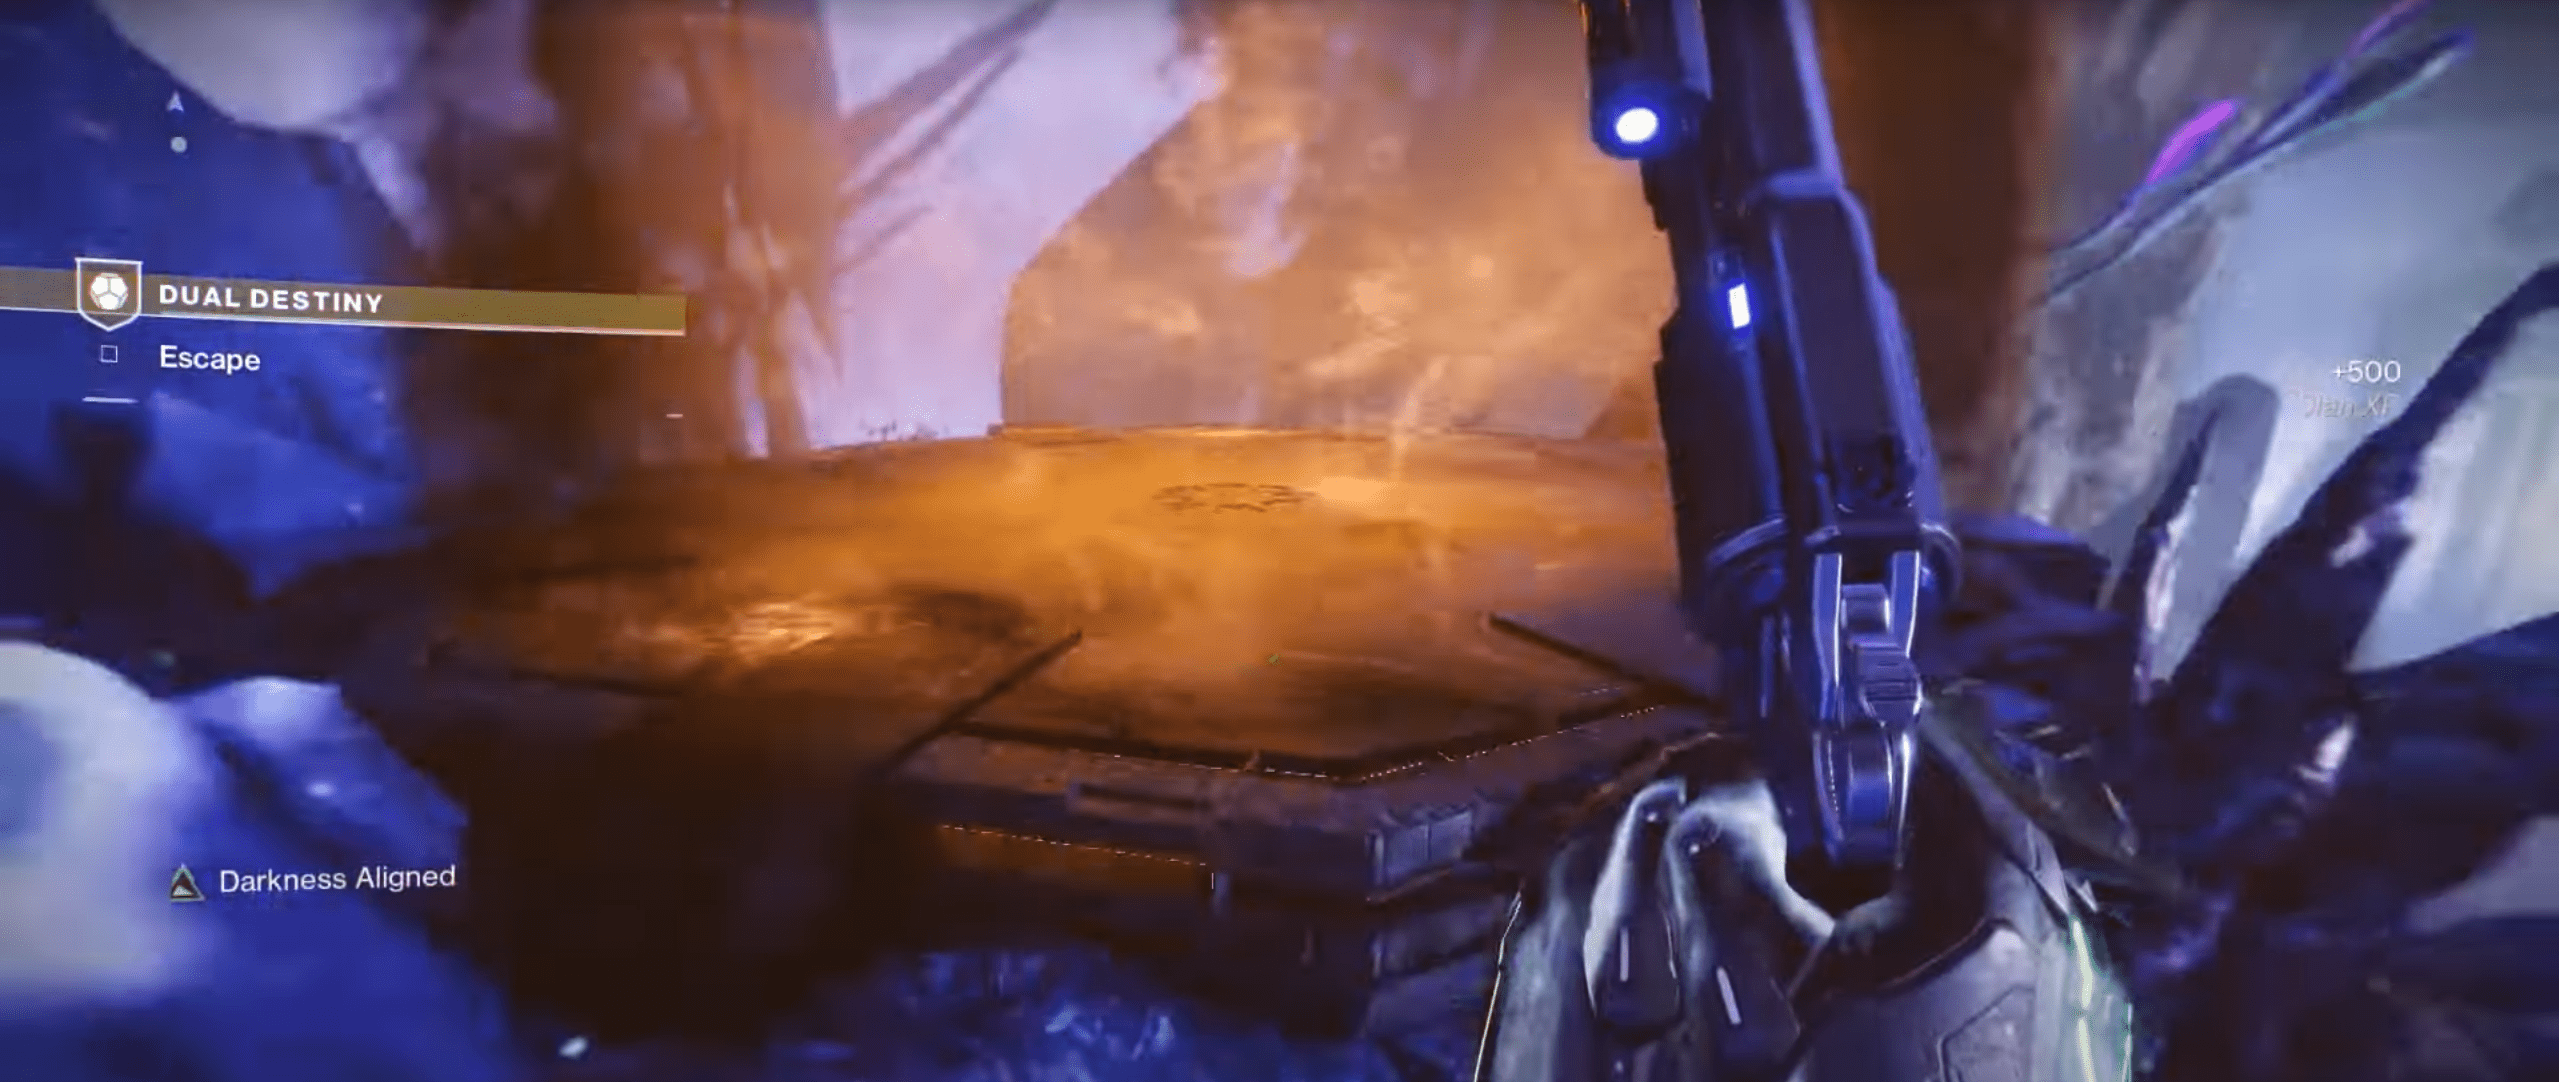
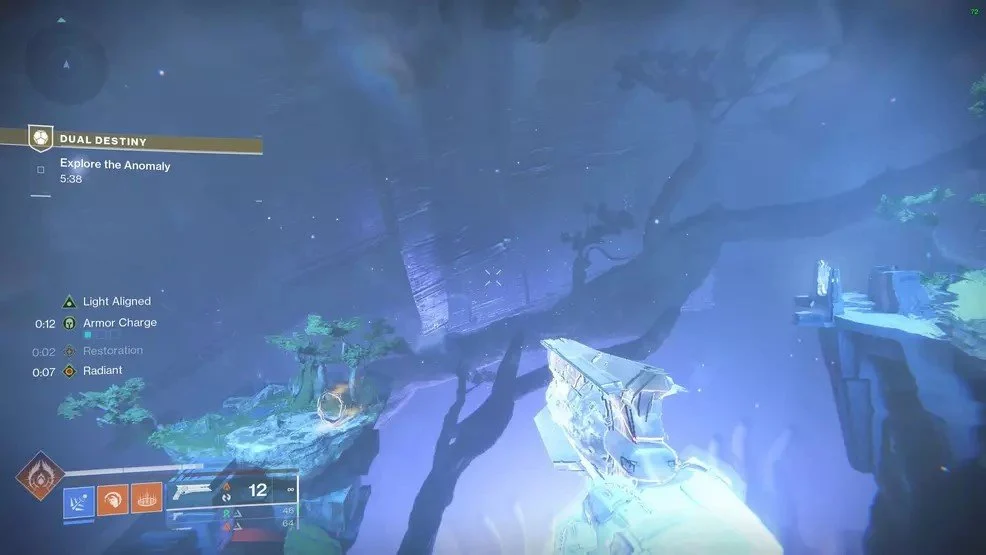
You’ll begin in the same cave where the quest started, except now two platforms will appear — one for Light and one for Darkness. Once you activate the platforms, the path to the outside (near The Landing) opens up. Continue forward until you see another set of platforms and a barrier.
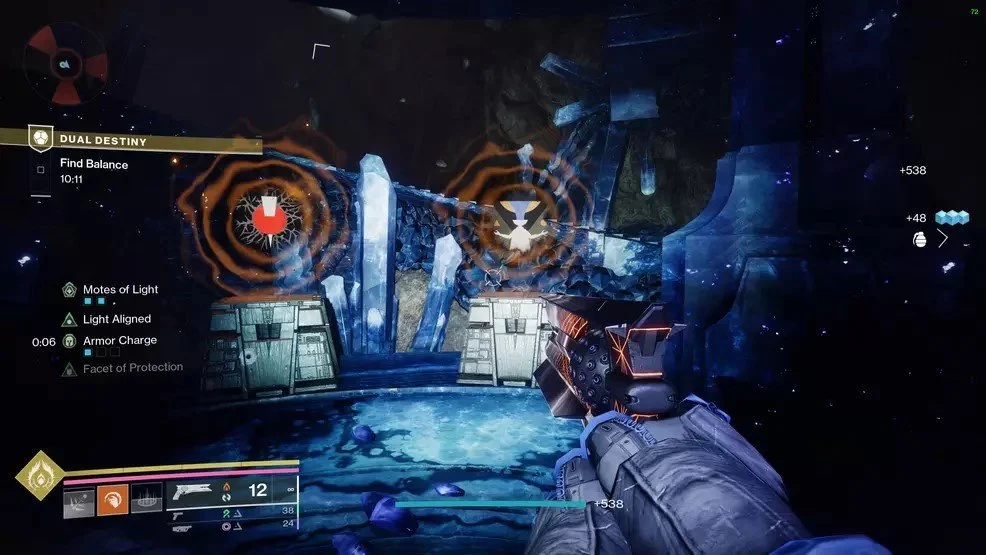
In this section, you’ll reach a rally flag spot and step into a room with two platforms. The top platform is for the Darkness-aligned player, and the lower one is for the Light-aligned player. Standing on the correct platforms will spawn enemies.
You’ll notice certain enemies can only be damaged by one player. When defeated, these enemies drop motes of Light and Darkness.
The goal is to communicate and shoot symbols in the correct order. Completing this triggers more enemies and the next mote to appear.
This is essentially a reversed version of the previous puzzle:
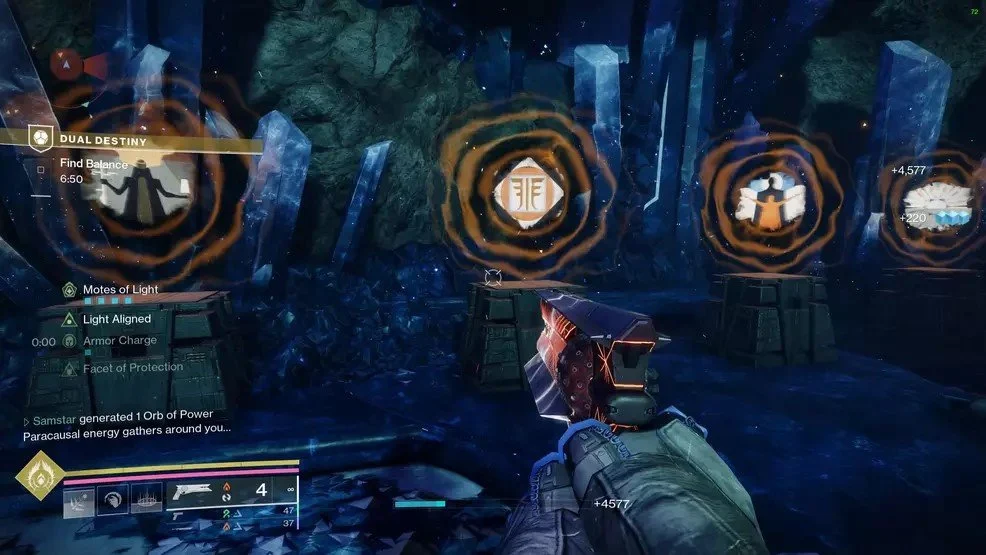
This time, there are three motes per player. Later on, in the next chamber, you’ll repeat this with four motes per player.
You can either shoot the symbols as they are revealed or gather all motes first and then shoot them in order. This teamwork-based mechanic emphasizes the Dual Destiny lost alignment system and communication.
This section is fairly straightforward but can be tricky to navigate. Enemies may spawn, and there are traps that can knock you off platforms. Eventually, you’ll reach two platforms again that split players into different sections of a corridor. Keep progressing forward through these areas.
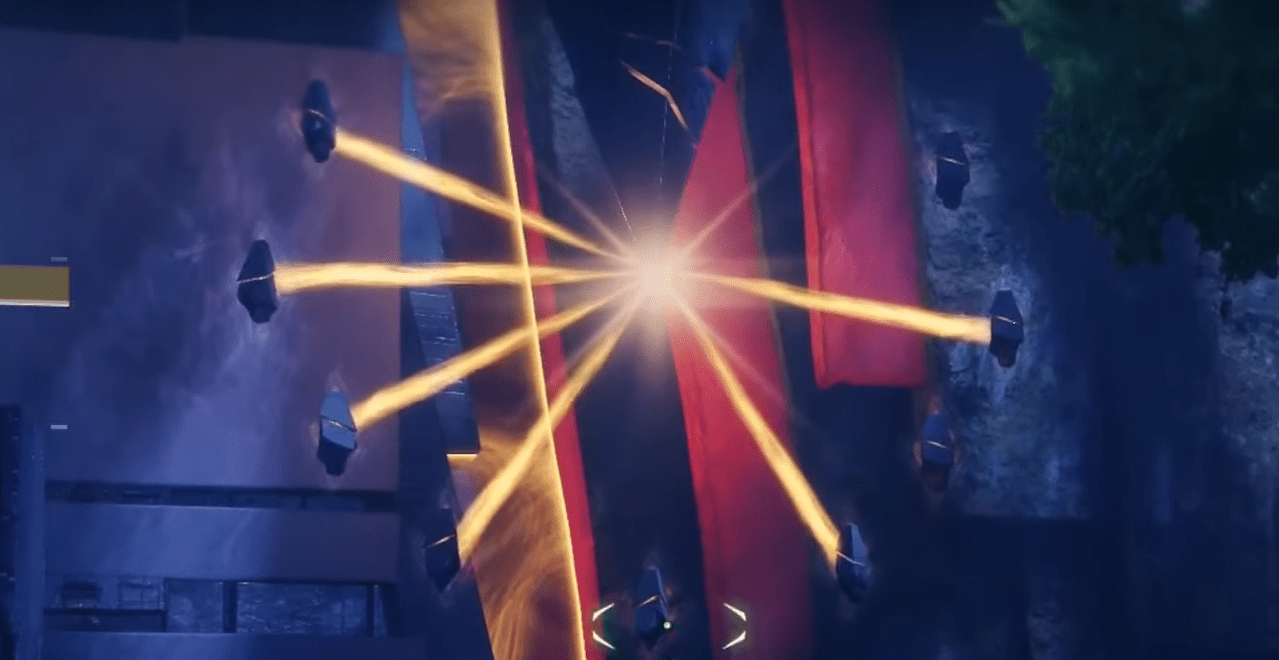
Upon reaching the rally point, stand on the platforms to initiate the next phase. Nine shards connect to a central pyramid in a clock-like formation. Each player will see three disconnected shards — different from their partner’s.
The task is to share this info and shoot the shards that neither player sees. But you’ll need a buff called “Harmonic Sundering” to do that. This buff drops from a Tormentor, and only the player who delivers the killing blow gets it.
Repeat the shard-shooting puzzle three times, all while under enemy fire.
This stage involves fighting waves of enemies in several mini-arenas. After the final wave in each room, platforms spawn and launch pads take you to the next section. Simple, but intense.
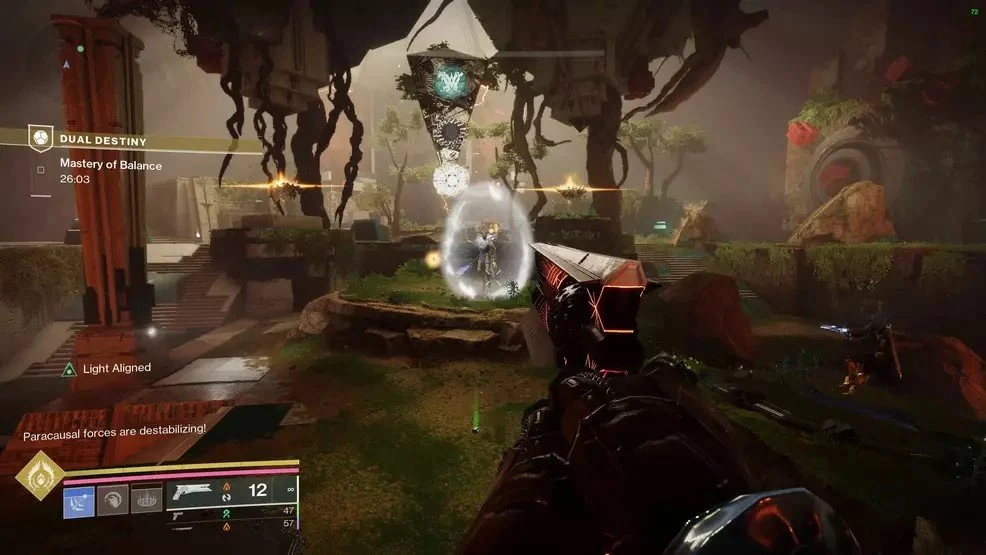
The final battle starts with a rally banner. You’ll face two Subjugator bosses, and you’ll be using all mechanics introduced earlier.
Begin by standing on the platforms to spawn the first boss: Expector Selin. Damaging them triggers an immunity phase. Now, both players must find and defeat matching wizards. Killing them reveals the Dual Destiny symbols once more, and both players must shoot them in the right order to drop the boss’s shield. Repeat this to push the boss into a retreat state.
Then, the second boss, Expector Yemiq, appears. The steps are the same — damage, disable shield using symbol puzzles, and continue fighting.
For the final phase, both bosses return at 30% HP. You’ll now do a new version of the clock puzzle using 12 shards. Both players get personal clock faces flashing sequences of four connected shards. Each set contains one matching shard between both players. You must communicate and shoot that matching shard.
Repeat this process three times. Shooting the wrong shard resets the code. When done correctly, you’ll be able to finish both bosses and complete the mission.
Congratulations! You’ve now completed the Dual Destiny exotic mission and earned your exotic class item — a powerful piece of gear that fuses two exotic traits.
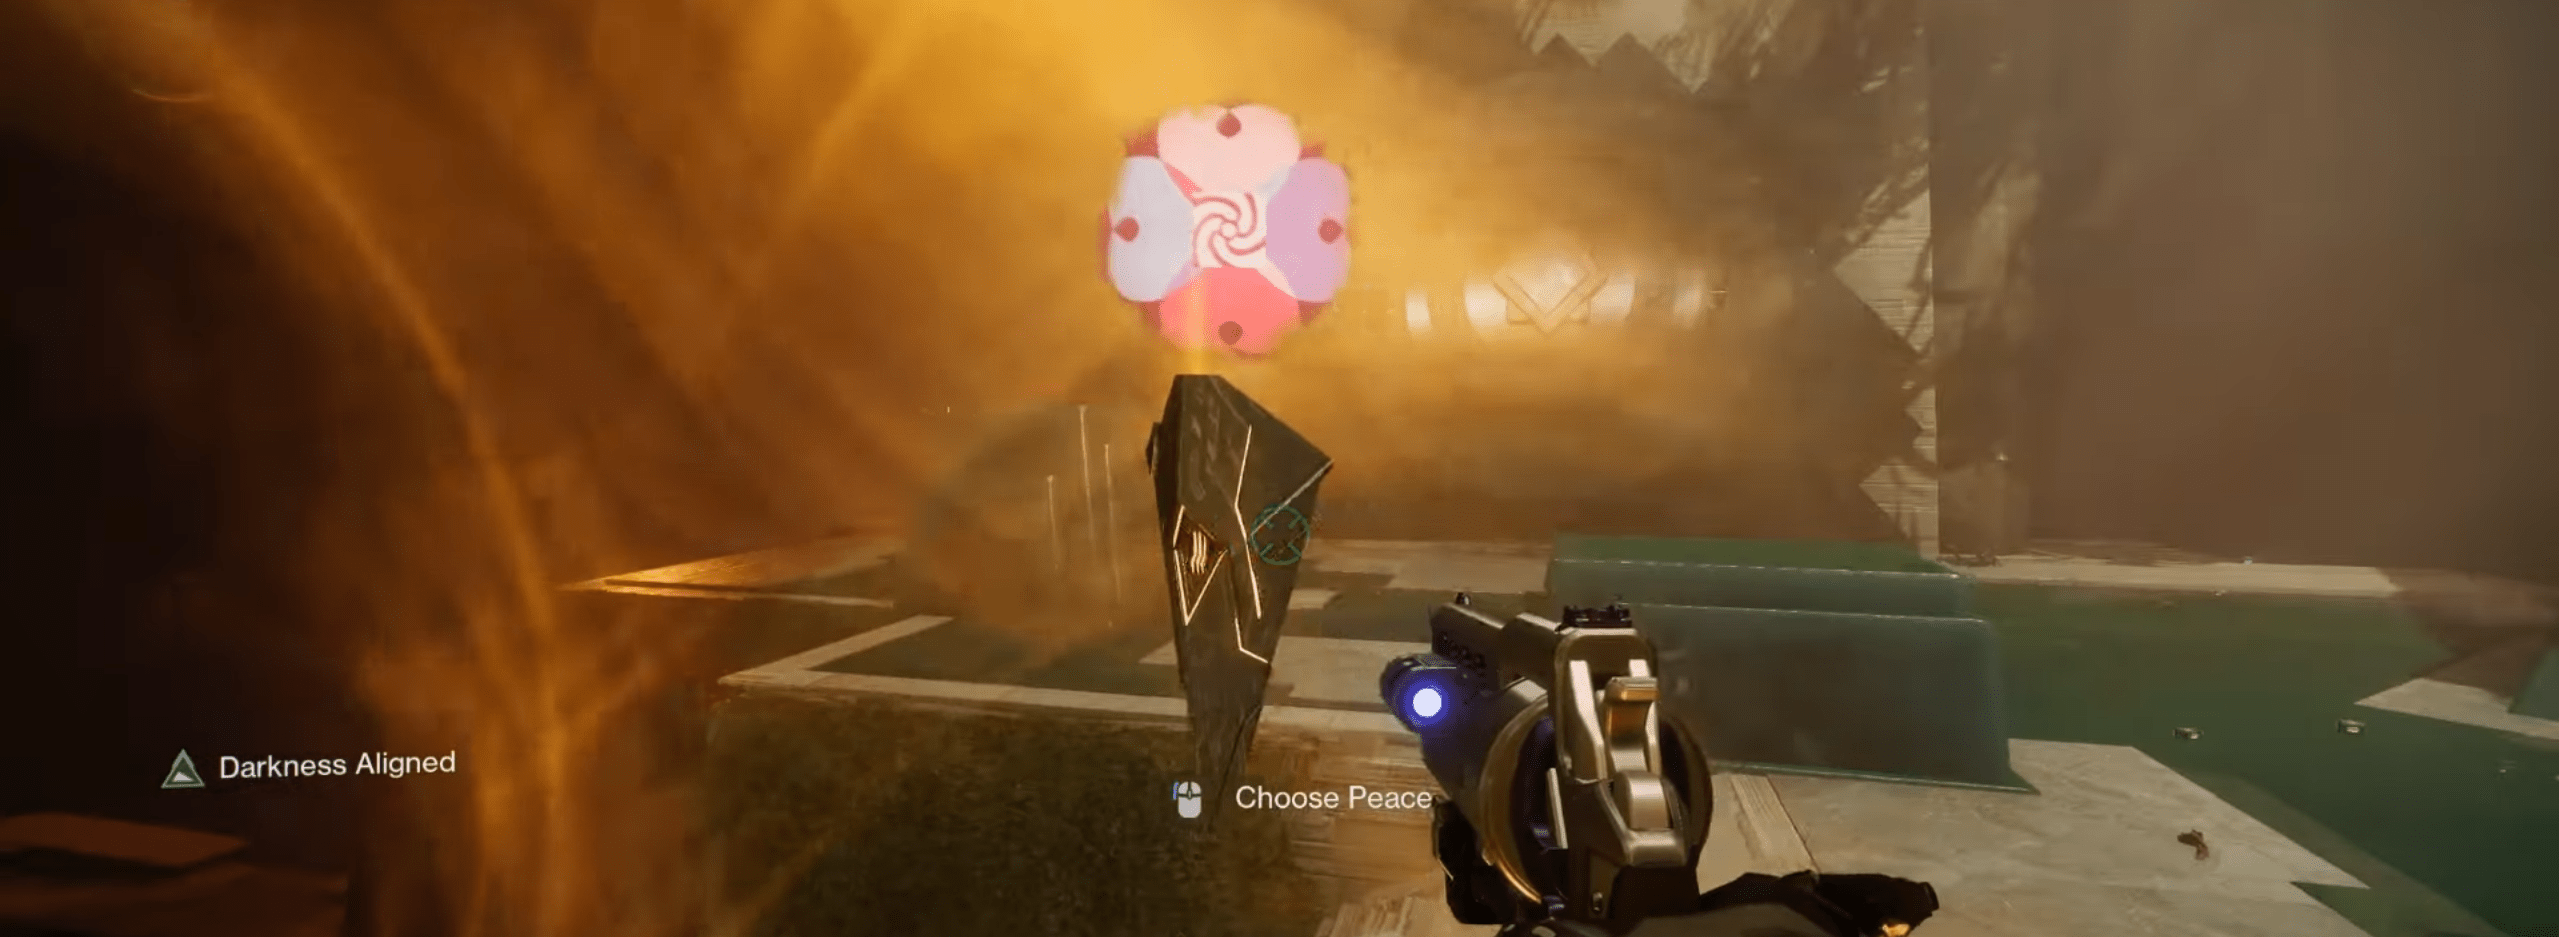
Once you’ve defeated both bosses, you’ll come upon the final pair of platforms along with the exotic class items waiting to be claimed. Naturally, you might expect to simply step onto the platforms and collect your prize. But this mission doesn’t let you off that easily.
As soon as both players step onto their respective platforms, shield cages lock around them and a choice is presented:
Whichever option you pick, the reward is the same. Both players walk away with an exotic. Still, this moment adds a fun, unexpected twist that wraps up the mission with a narrative flourish.
After everything you’ve gone through, the reward for completing this exotic mission is one of three exotic class items. These exotics come with a perk system consisting of 16 total perks—divided into two columns of eight. What makes them stand out is the ability to combine any two perks together, offering unique customization opportunities.
Each of these perks is a revised version of perks found on other exotic armor. However, keep in mind these perks only activate when you're using the Prismatic subclass. Switching to another subclass renders them inactive. The information in this dual destiny guide should help you better understand how to make the most of your exotic drop.

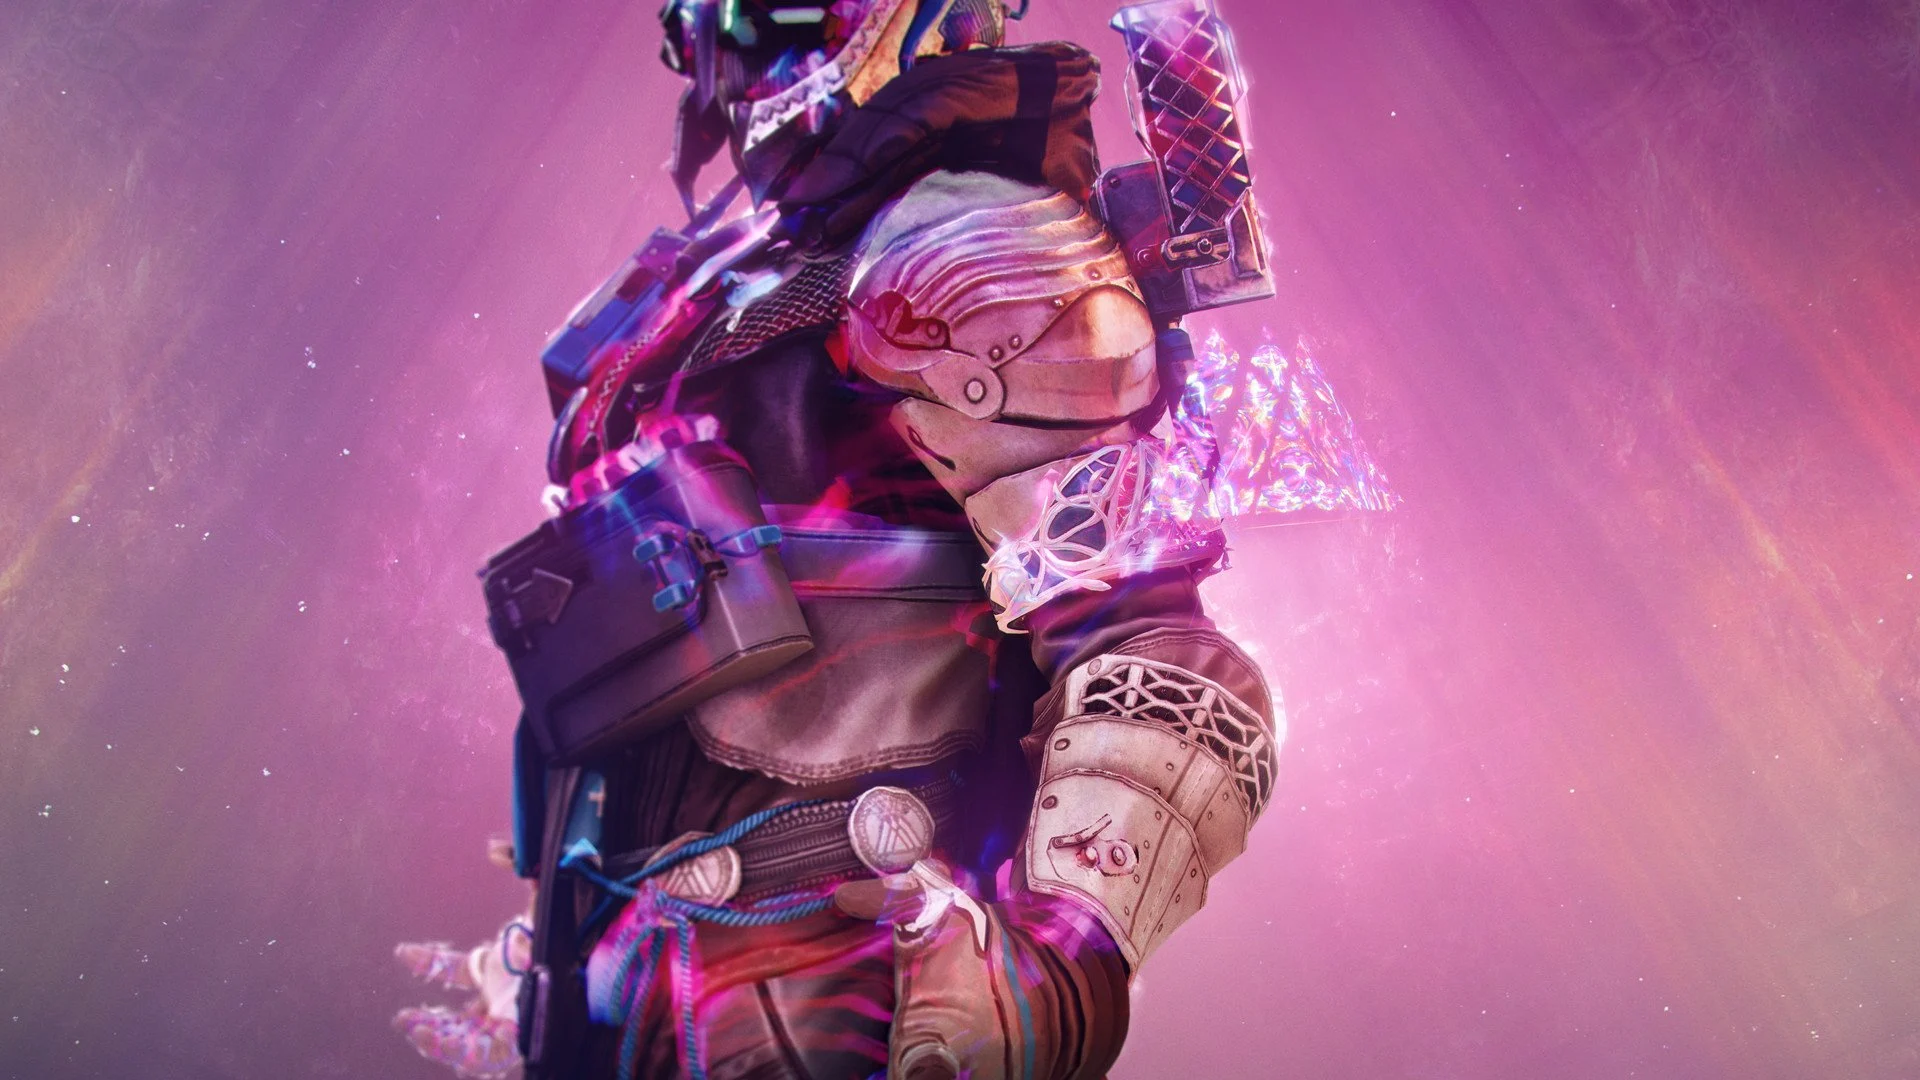
Description: "We are the final stand. The fortress in the storm.
I'm not one to navel-gaze; that is better suited to the mystics and so-called philosophers who are ill at ease with the quiet absence of war. No offense to the late "Speaker" of our fair city, but I have come to view any person with big ideas with suspicion. Many think you're a big idea because they do not understand you.
Not long ago, I fought alongside an Eliksni and a Cabal—both capable and proud warriors. We were on Neptune, and as I scanned the aftermath of battle, I thought of… home. Somehow, light-years and galaxies from where they'd been born, these two had become my comrades. They fought with an intensity warriors exert when defending their home.
You aren't the meaning of the universe, or the meaning of life, are you? I don't pretend to know your intentions; not my business. But I feel it has to do with home. I just feel it, the way you stand guard over us—and that is what you're doing—that you know the importance of home. Hell, one day you might decide to leave for good, but I would still like to believe that, at least for a little while, this was your home."
| Column #1 | Column #2 |
|---|---|
| Assassin's Cowl Finishers and powered melee final blows grant invisibility. | Star-Eater Scales While your Super energy is full, picking up an Orb of Power overcharges your Super, granting it bonus damage. |
| Heart of Inmost Light Using an ability empowers the other two abilities, granting them improved energy regeneration | Synthoceps Improved melee damage when you're surrounded. |
| Severnace Enclosure Powered melee or finisher final blows unleash a damaging explosion. | Point Contact Brace Damaging a target with a powered melee causes all nearby enemies to suffer lightning strikes and become jolted |
| Hoarfrost-Z Your Barricade becomes a wall of Stasis crystals that slows nearby targets when created. | Precious Scars Final blows with weapons that have a damage type matching your Super's element create a burst of healing around you that grants allies restoration. |
| Eternal Warrior Gain a damage bonus for weapons matching your Super's element when your Super ends. | Khepri's Horn Your Barricade unleashes a blast of Solar energy that scorches targets. |
| Abeyant Leap Improves Drengr’s Lash. Drengr’s Lash projectiles track targets more aggressively and travel further. | Crest of Alpha Lupi Generates a healing pulse when Barricade is activated. |
| Ursa Furiosa Move faster while guarding with the Unbreakable shield. Damage blocked with Unbreakable is converted to Super energy. | Armamentarium Gain an additional grenade charge. |
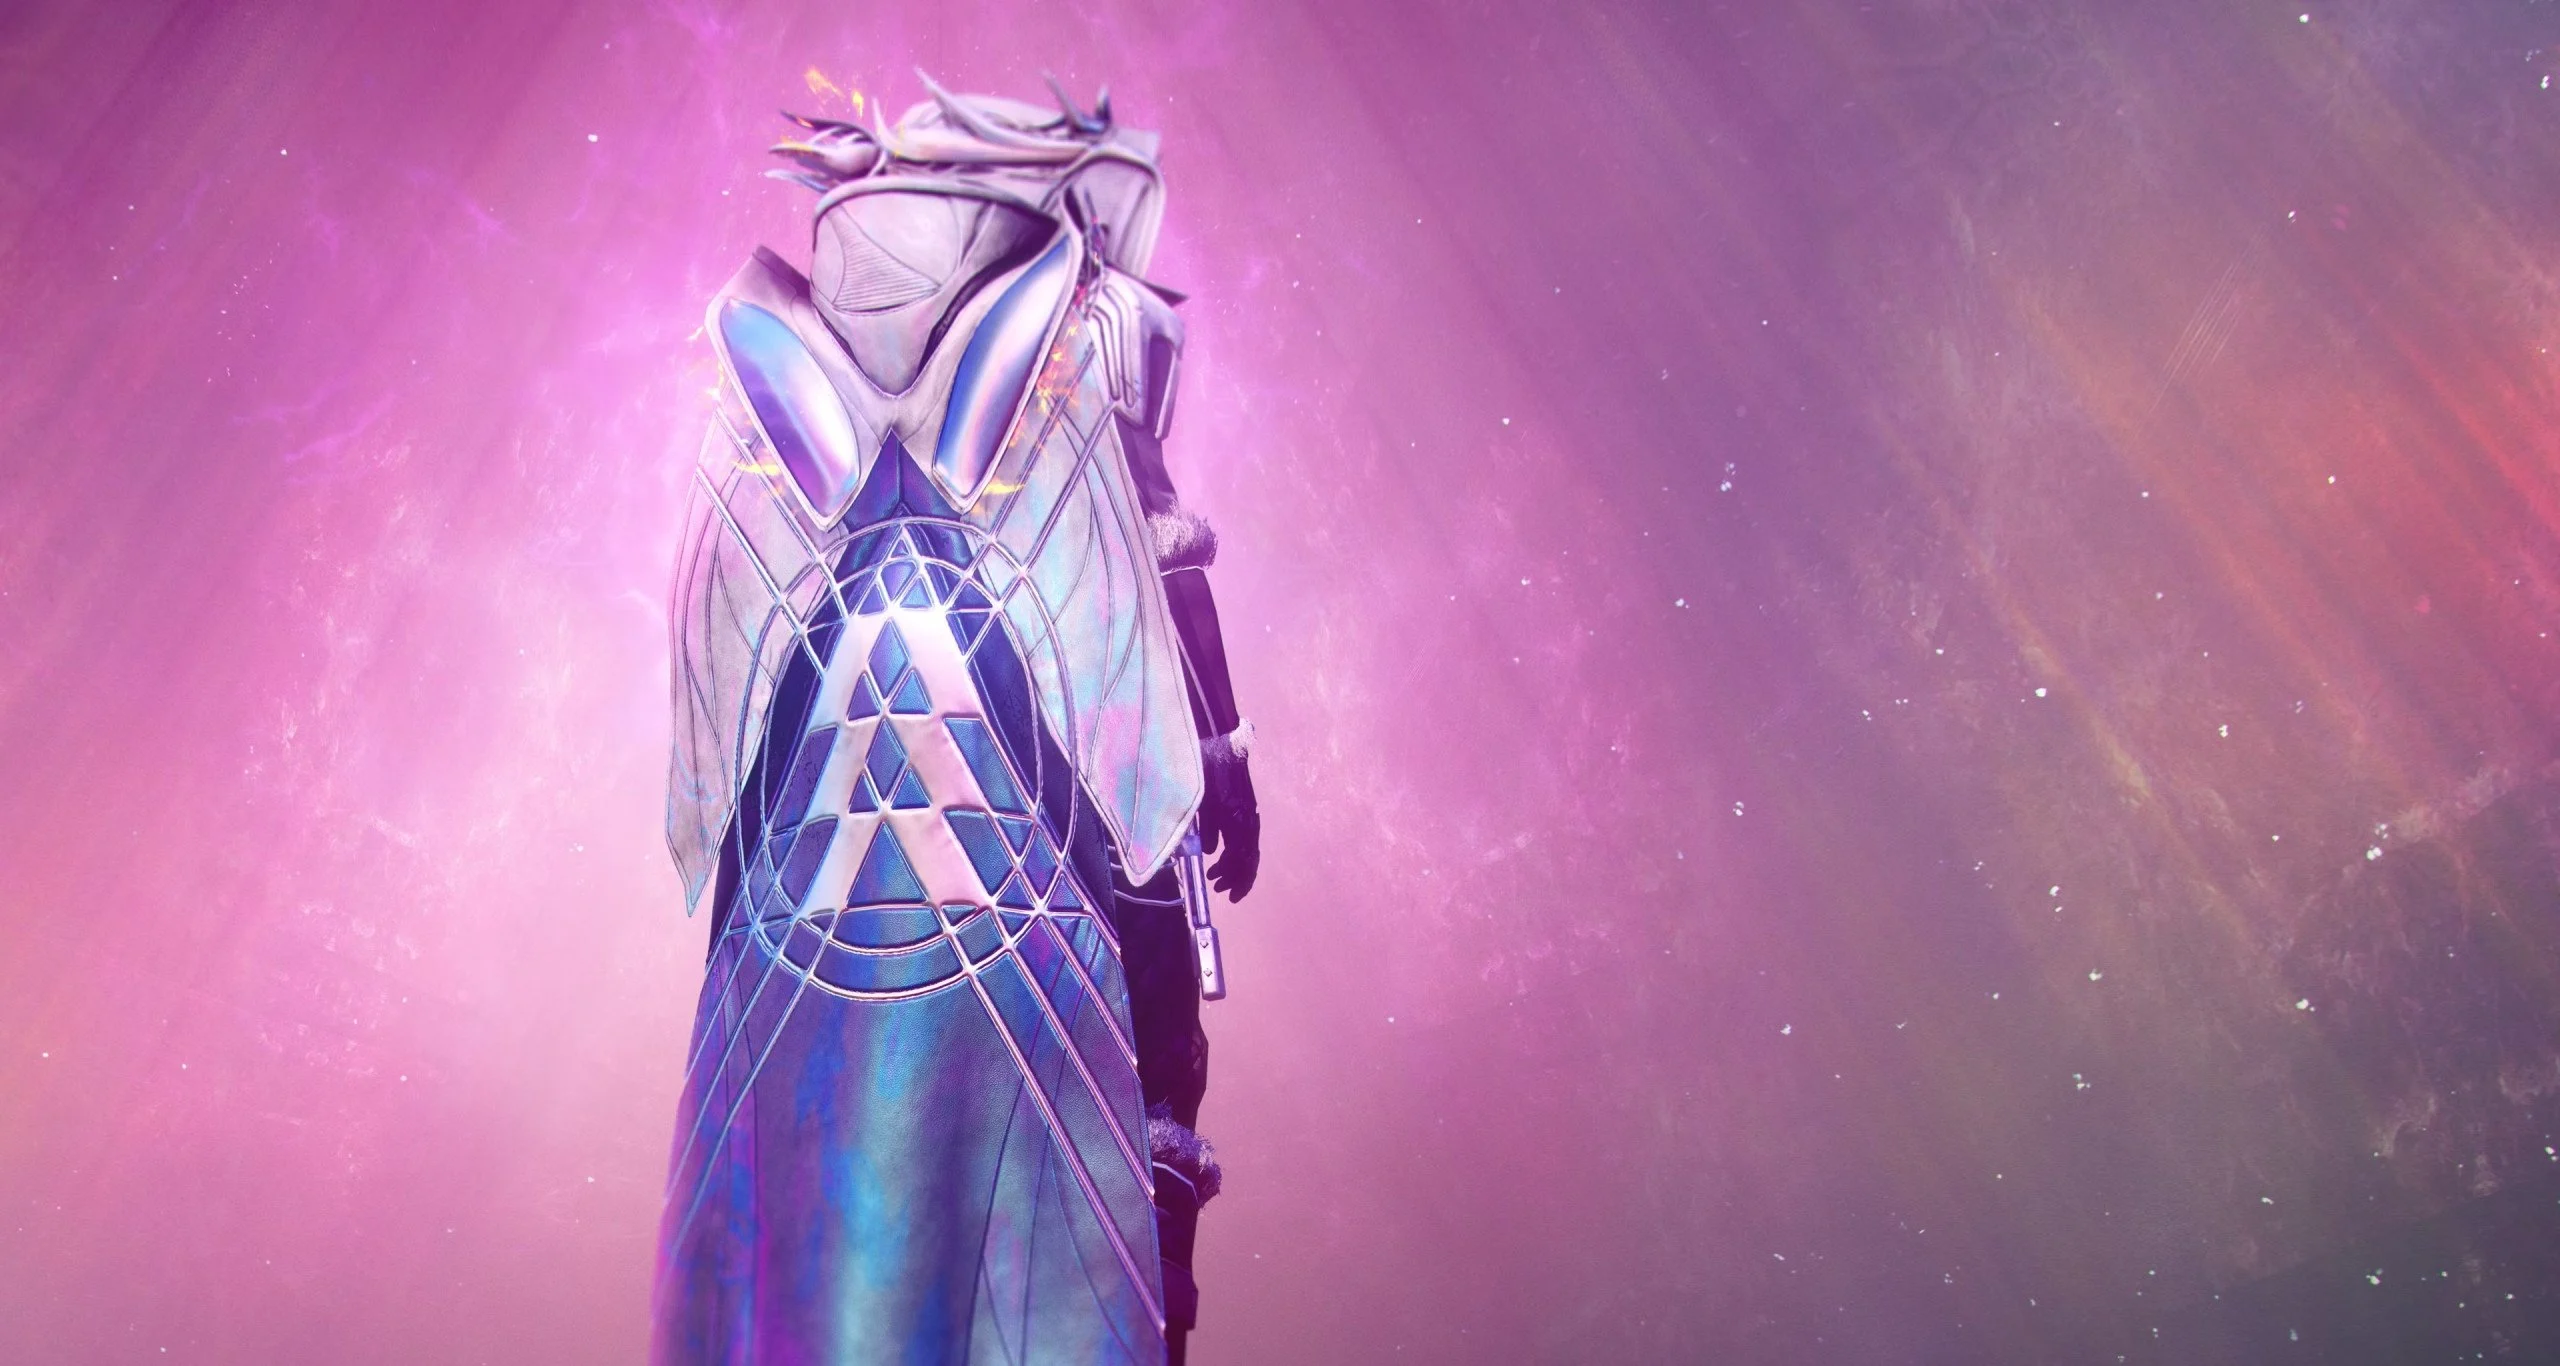
Description: "We watch, and we listen. We are the first to see the danger lurking in the abyss.
You were the first wanderer. Navigator. Searching for an answer to a question you've yet to ponder.
I am the watcher. Invisible. The eyes of the Last City. The very nature of my duty necessitates solitude.
We were both adrift. Along the brinks of space, under the black sky. You enter the lives of people that grow to resent your desertion. But we share the same heart, and I know you. You aren't disaffected.
We are not walking away. We are looking to the horizon."
| Column #1 | Column #2 |
|---|---|
| Assassin's Cowl Finishers and powered melee final blows grant invisibility. | Star-Eater Scales While your Super energy is full, picking up an Orb of Power overcharges your Super, granting it bonus damage. |
| Heart of Inmost Light Using an ability empowers the other two abilities, granting them improved energy regeneration | Synthoceps Improved melee damage when you're surrounded. |
| Ophidian Aspect Weapons ready very quickly. | Verity's Brow Weapon final blows with a damage type matching your grenade grant a stacking grenade damage bonus. |
| Dragon's Shadow Using your class ability reloads all weapons and increases weapon handling speeds for a brief time. | Cyrtarachne's Facade Gain Woven Mail when you use your grenade. |
| Shards of Galanor Hits and final blows with your Super will return Super energy after it ends. | Gyrfalcon's Hauberk Your Void weapons gain Volatile Rounds after you emerge from being invisible. |
| Foetracer Damaging a powerful combatant or Guardian with an ability grants you a temporary damage bonus for weapons matching that ability's element. | Liar's Handshake Dealing damage with a powered melee or being hit by a melee attack will allow you to follow up with an extremely powerful melee counterpunch. |
| Caliban's Hand Powered melee final blows trigger an ignition. | Wormhusk Crown Dodging gives a small health and shield bump. |
| Renewal's Grasp Allies inside the Duskfield take reduced damage, and targets inside the area deal reduced damage. | The Sixth Coyote Gain an additional class ability charge. |
Description: "We are thinkers, daring to dream about the universe and its infinite expanse.
I see an abyss. Small and distant shapes. I'm walking in your nascent memories. Flickering motes. I sense… curiosity. You've always pondered, from the very beginning. As did we.
I see tessellation. The pulsating hum of cosmic structure; a kaleidoscopic symphony of Light and Dark. What was the Veil to you?
Since I woke, I've always felt like I was still dreaming. I'd like to think that's how you feel as well. Those of us that hunger for a great truth—we dream with you."
| Column #1 | Column #2 |
|---|---|
| Assassin's Cowl Finishers and powered melee final blows grant invisibility. | Star-Eater Scales While your Super energy is full, picking up an Orb of Power overcharges your Super, granting it bonus damage. |
| Heart of Inmost Light Using an ability empowers the other two abilities, granting them improved energy regeneration | Synthoceps Improved melee damage when you're surrounded. |
| Ophidian Aspect Weapons ready very quickly. | Verity's Brow Weapon final blows with a damage type matching your grenade grant a stacking grenade damage bonus. |
| The Stag Your Rift provides damage reduction to allied Guardians standing in it. | Vesper of Radius Rifts periodically release Arc shockwaves. |
| Secant Filaments Casting an empowering rift will grant you Devour. | Mantle of Battle Harmony Final blows with weapons that have a damage type matching your Super's element grant you Super energy. |
| Necrotic Grip Damaging combatants with your melee poisons them. Defeating a poisoned enemy spreads the condition. | Starfire Protocol Grenades recharge from empowered weapon damage, with empowered weapon final blows granting more energy. |
| Osmiomancy Gloves Your grenades recharge quicker on hits. The seeker spawned from Coldsnap grenades travels further. | Swarmers Destroying a Tangle spawns Threadlings. |
| Apotheosis Veil Temporarily gain greatly increased melee and grenade regen after your Super ends. | Claws of Ahamkara Gain an additional melee charge. |
To unlock the Dual Destiny mission, you’ll need to complete the Overthrow activity in all three zones of the Pale Heart. After defeating the final boss in each zone, locate and eliminate a Secret-Keeper enemy to trigger the next stage of the quest.
Dual Destiny is designed specifically for a two-player fireteam. Each player is assigned a unique buff—Light or Darkness—which remains active throughout the mission and is essential for progressing through its puzzles and encounters.
You earn exotic class items by completing the Dual Destiny mission for the first time. Once unlocked, these items can also drop from Pale Heart chests with randomized perk combinations.

Buy Destiny 2 Accounts
Grab your Destiny 2 account and start raiding today!
Dual Destiny stands out as one of Destiny 2’s most engaging exotic missions, especially because of its unusual final sequence. To unlock it, you’ll need to complete Overthrow in all Pale Heart zones and defeat a unique enemy in each. Inside the mission, you’ll face intense encounters with intricate mechanics, including dual destiny symbols puzzles and mechanics related to the dual destiny lost alignment.
The mission also includes platforming challenges, large waves of enemies, and a double boss fight that tests everything you’ve learned. Then, just before you think it’s over, the PvP or peace choice adds one last surprise to an already packed adventure.
Regardless of your final decision, you’ll receive an exotic item that offers a rare level of customization. Thanks to their randomized nature, you can run the mission again for better rolls. We hope this dual destiny guide makes the entire process easier and more rewarding. And if you’re ever short on time or patience, you can always rely on Gamer Choice for a Dual Destiny completion service handled by expert Destiny players. Good luck, Guardian!