


+15 More
Digital Aura Portal - FZCO
Building A1, Dubai Digital Park, Dubai Silicon Oasis, Dubai, United Arab Emirates Premises Number 72647 - 001
Business registration number: 70647
gamer-choice.com © 2026
Digital Aura Portal - FZCO
Building A1, Dubai Digital Park, Dubai Silicon Oasis, Dubai, United Arab Emirates Premises Number 72647 - 001
Business registration number: 70647
Forza’s tuning system can look incredibly intimidating when you first open it. There are sliders everywhere, endless numbers to adjust, and dozens of settings that seem impossible to understand. Because of that, most players simply download community tunes and never bother learning how tuning actually works. The reality is that tuning in Forza Horizon 6 is not difficult at all. The hardest part is simply understanding what every setting changes and learning how to identify the exact issue your car has. In this complete Forza Horizon 6 tuning guide, I’ll explain every major tuning category in very simple terms so you can build faster, smoother, and more controllable cars for every race type in the game.
Complete Forza Horizon 6 Tuning Guide Quick Summary:
This guide focuses heavily on turning your favorite car into a long-term project build, but if you already found the perfect car and simply need credits for upgrades or auction purchases, check out our Forza Horizon 6 Credits at Gamer Choice.

Forza Horizon 6 Credits
Unlock exotic cars with instant Forza Horizon 6 Credits!


Before going over each tuning section individually, you first need to understand what tuning is actually supposed to accomplish. The entire purpose of tuning is fixing weaknesses in your car. Sometimes those weaknesses exist in stock form, while other times they appear after installing performance upgrades. Either way, tuning exists to correct the problems you notice while driving.
That also means you need to pay attention to how the car behaves. Don’t just drive mindlessly and assume every strange movement is intended. You need to consciously analyze what the vehicle does during braking, acceleration, corner entry, mid-corner balance, and corner exits. Once you start paying attention to those details, tuning suddenly becomes far easier.
To make everything easier to understand later in the guide, here are the main goals tuning tries to improve:
At its core, tuning transforms average cars into strong builds and good cars into incredible ones. There’s almost always room for improvement, which is why so many players end up enjoying tuning as much as racing itself.
One of the best pieces of advice I ever read about tuning involved five very simple rules. Following these alone will already put you ahead of many highly-rated community tuners:
Before continuing, there are a few tuning terms you need to understand:
That’s all the terminology you really need for this guide. I’m intentionally avoiding overly technical racing jargon because Forza Horizon 6 is still a simcade game and not a full simulator like Assetto Corsa.
The first thing you absolutely need to understand is that there is no universal tune that works for every car. Tuning is always an individual process. Considering that Forza Horizon 6 contains well over 550 vehicles before even counting duplicate variants and Forza Editions, trying to perfectly tune everything immediately is a guaranteed way to burn yourself out.
Instead, pick a handful of cars you genuinely enjoy. Maybe you like their appearance, maybe they feel good to drive, or maybe they resemble vehicles you love in real life. Focus on those first and slowly improve them over time. Treat tuning as an ongoing project instead of a task you need to finish immediately.
You also need to understand that there’s never a truly “perfect” tune. There will always be another tiny adjustment you can experiment with. If you obsess over perfection too much, tuning stops being fun very quickly.
Take your favorite car, drive it completely stock, and learn how it behaves first. Then start improving it step-by-step. The order below is the exact tuning process you should follow:
This is the proper order for tuning a car effectively. Always remember the golden rule: tune one thing at a time.
The sections below explain every category in simple language without drowning you in unnecessary technical detail. Also keep in mind that tuning differs not only from car to car, but also depending on whether you use a steering wheel or a controller.
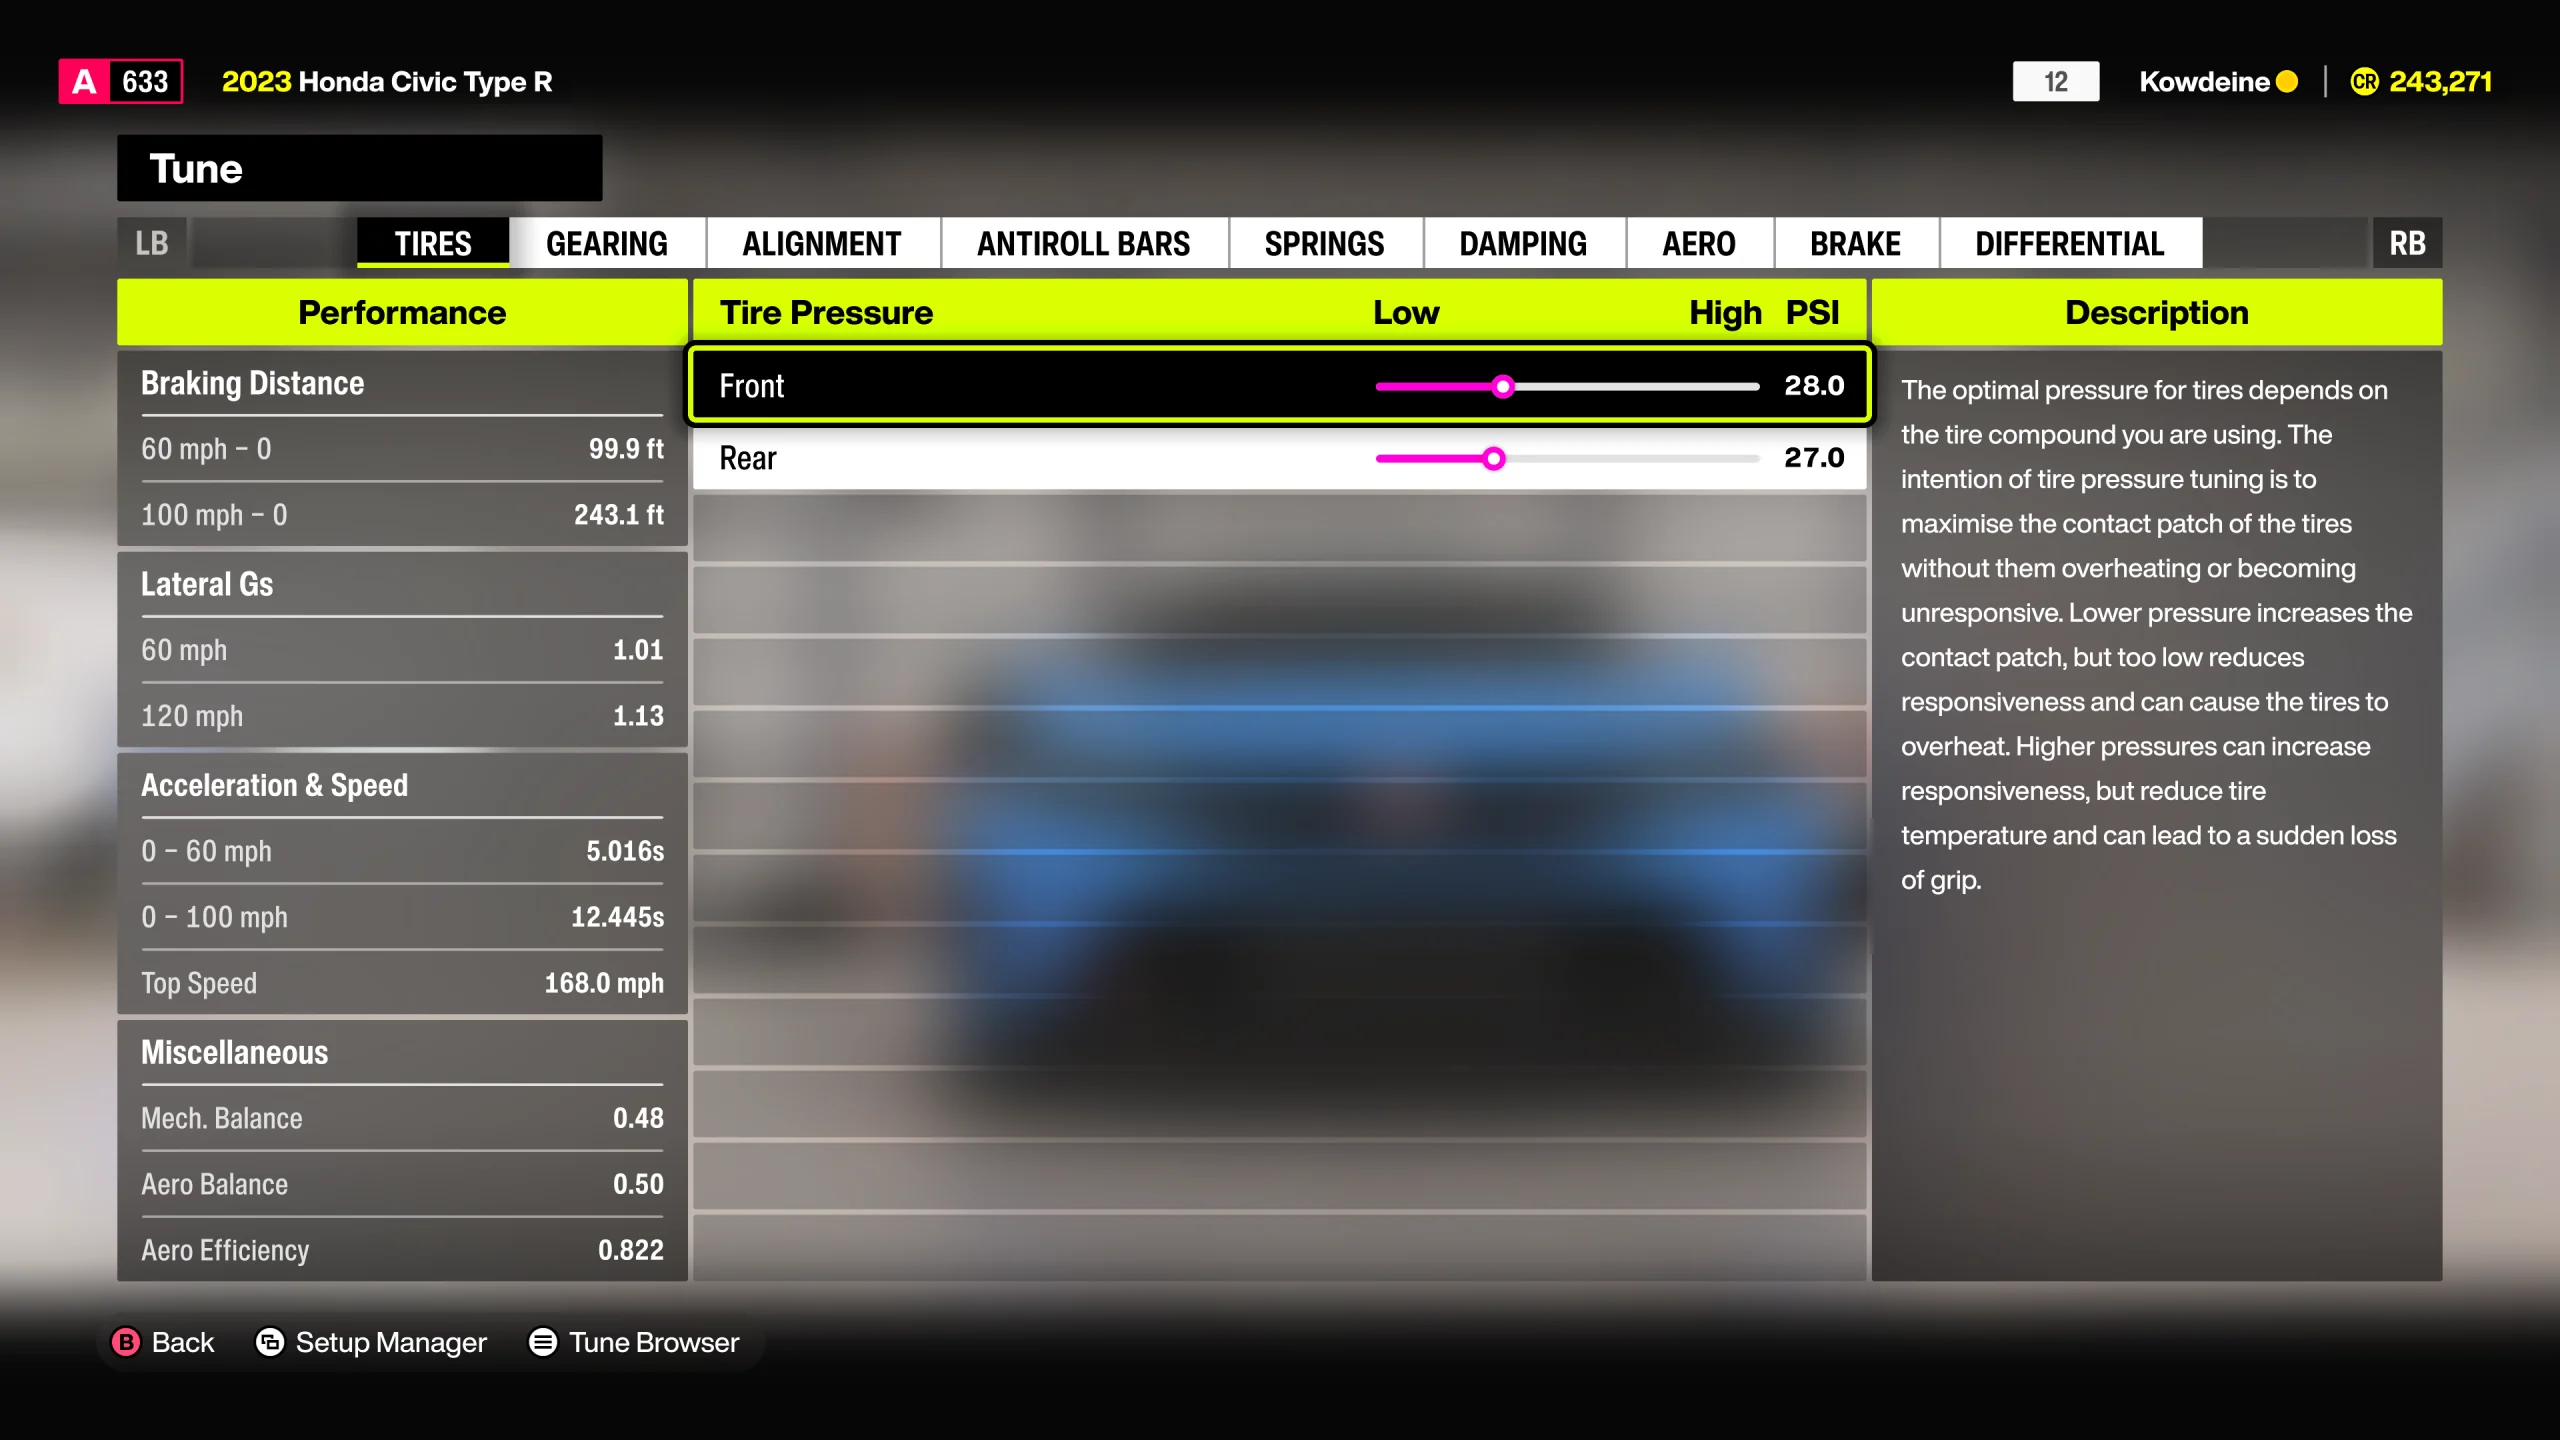
Tires are the single most important part of tuning, which is why they always come first. Tire tuning simply changes the pressure inside the tires.
Higher tire pressure makes the car feel more responsive and sharper, but it also reduces grip and increases sliding. Lower tire pressure improves grip and stability, but can make the car feel sluggish and less responsive.
If your car constantly slides through corners, slightly lower tire pressure. If the vehicle feels lazy or slow to react, slightly raise the pressure instead.
For most AWD cars, a good starting point is around 28 PSI in the front and 27-28 PSI in the rear. Make changes gradually in small half-PSI increments.
Heavier vehicles usually require higher tire pressure. Large trucks often work best around 32 PSI. Some racing and drift builds also benefit from higher pressures, but for most cars in the game, you’ll usually stay somewhere around 27 PSI or near 32 PSI.
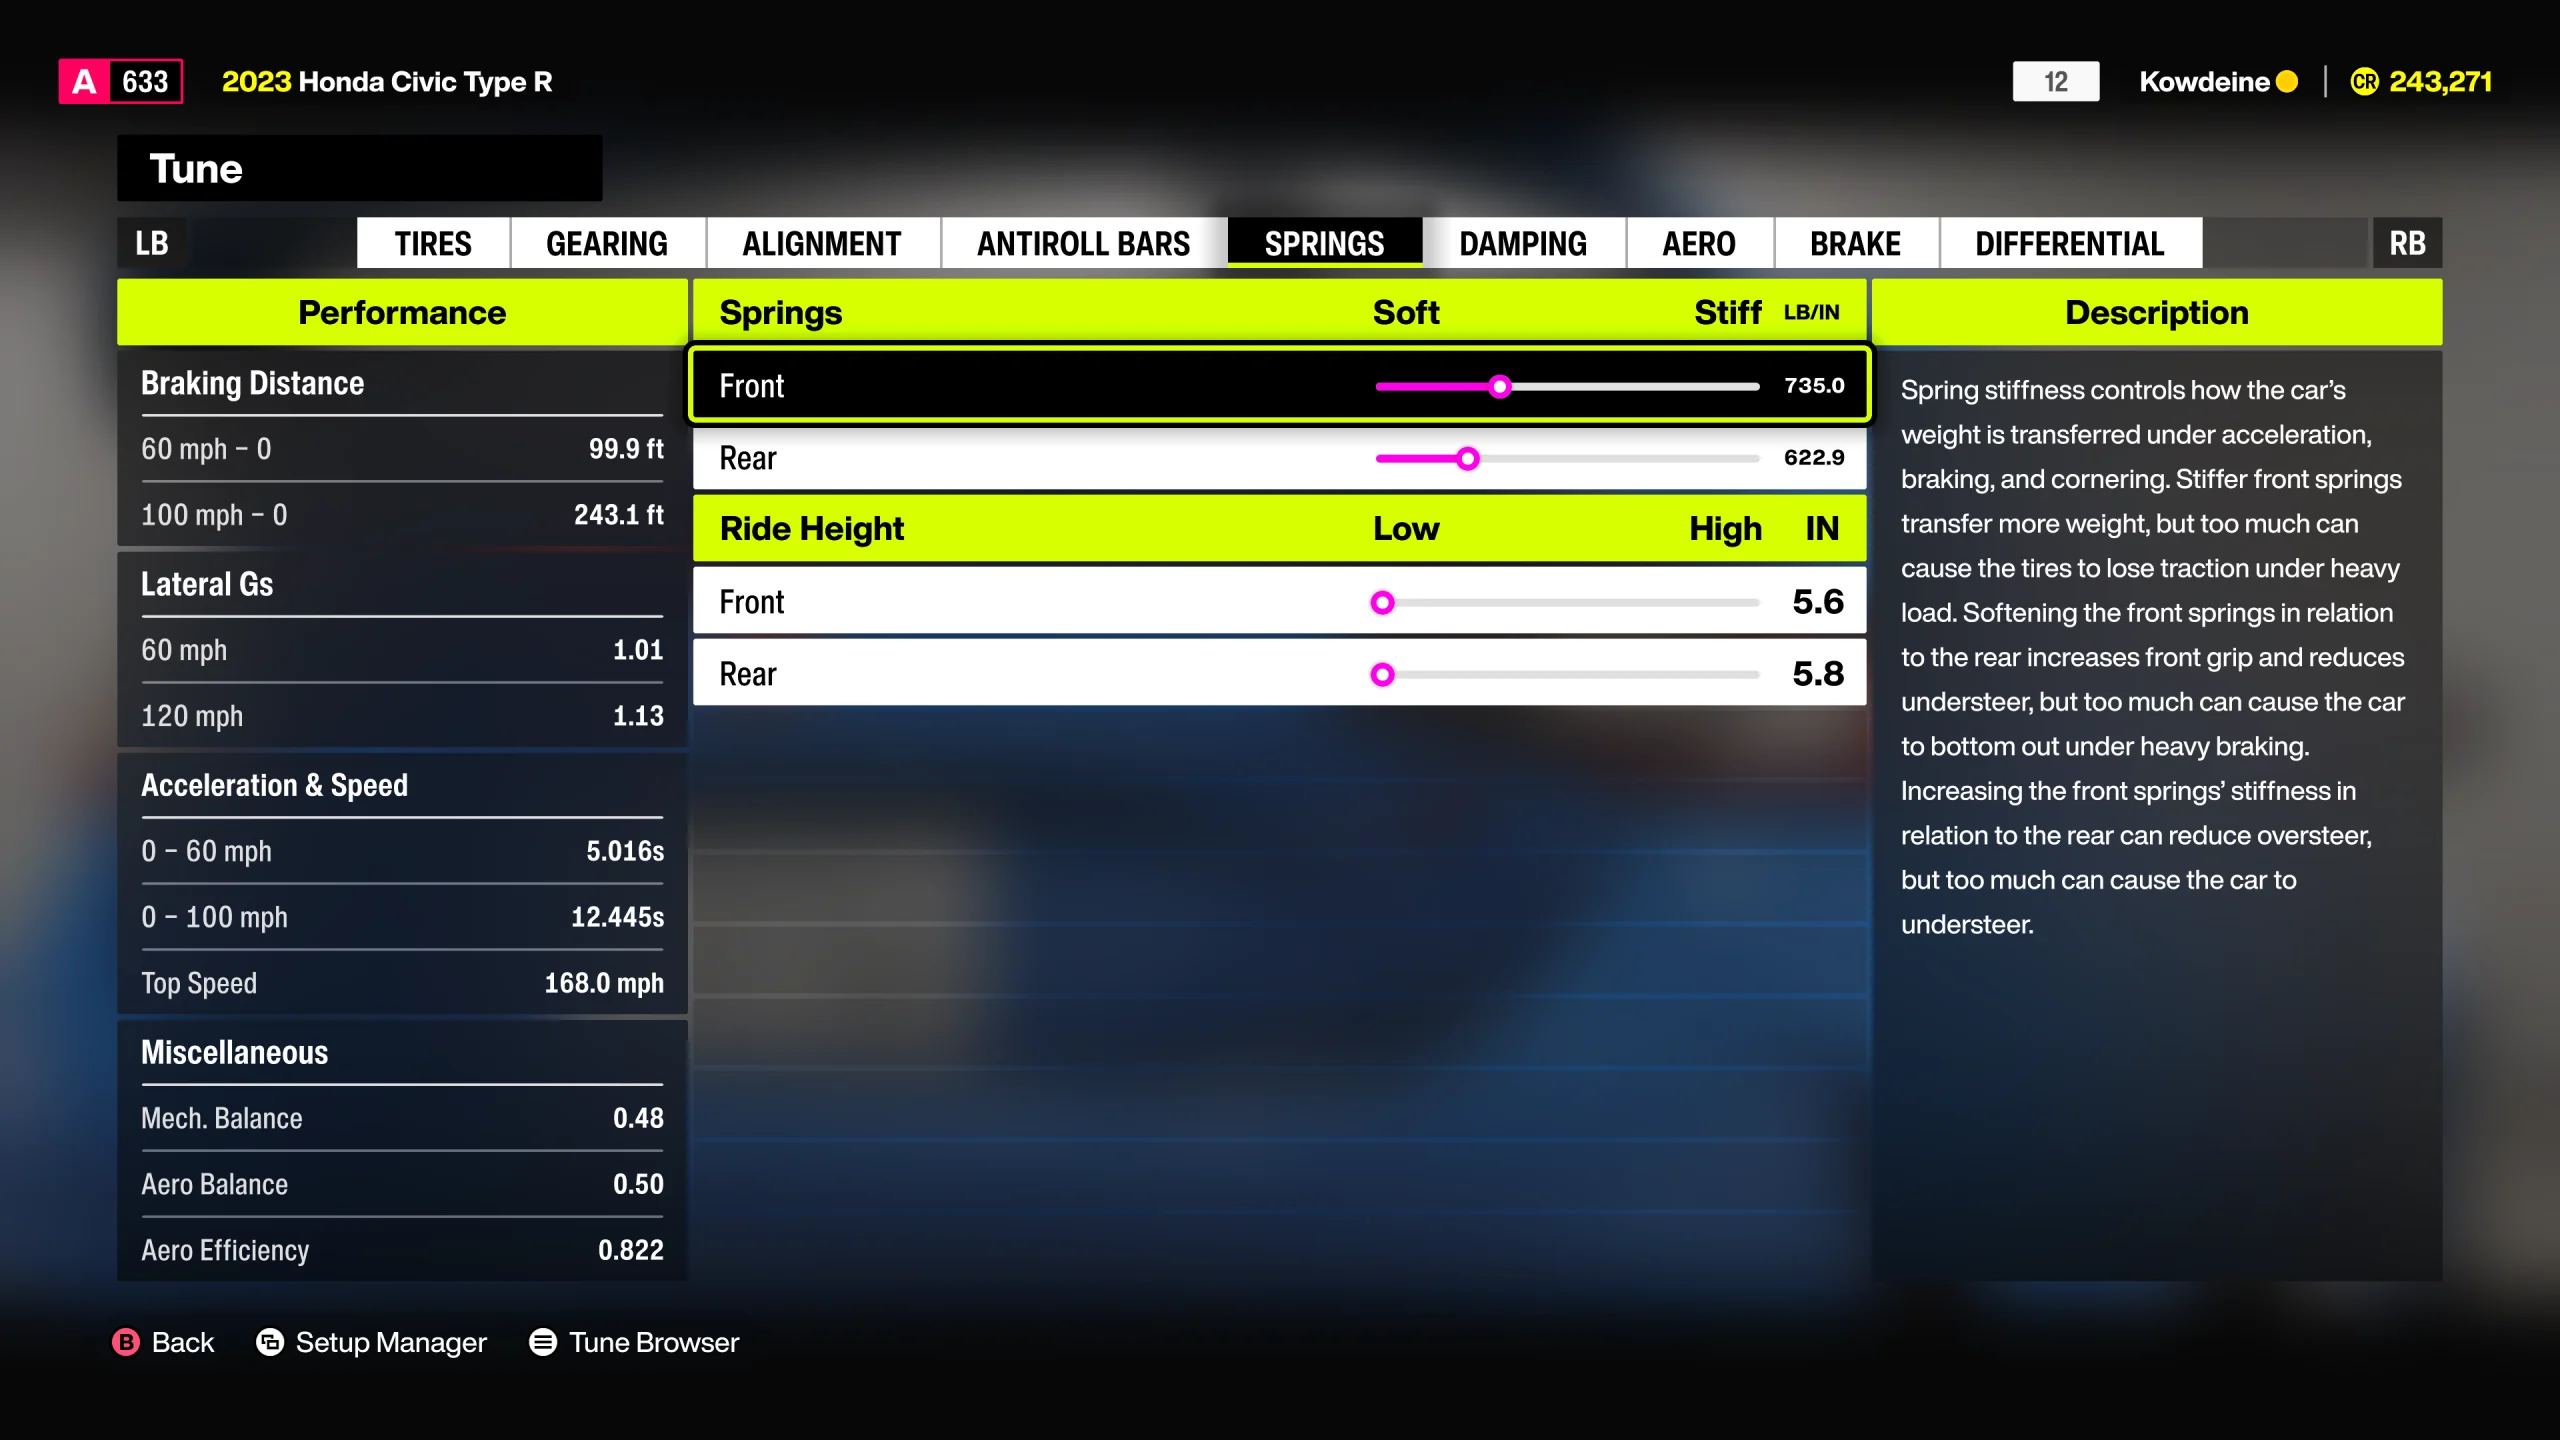
Springs control suspension stiffness. While real-life suspension tuning is much more complicated, Forza Horizon generally rewards softer suspension setups, especially for AWD builds. Softer suspension helps keep the tires planted on the road and improves grip.
If the car feels unstable, bouncy, or excessively floaty, slightly stiffen the springs until the behavior improves.
Ride height is much simpler to understand. Lower cars corner better because the center of gravity sits closer to the ground. However, lowering the car too much causes scraping and bottoming out.
Here are some rough starting points for ride height:
These numbers are not exact rules, but they work as excellent baseline values. Start low and only raise the car if you experience serious handling issues or bottoming out.
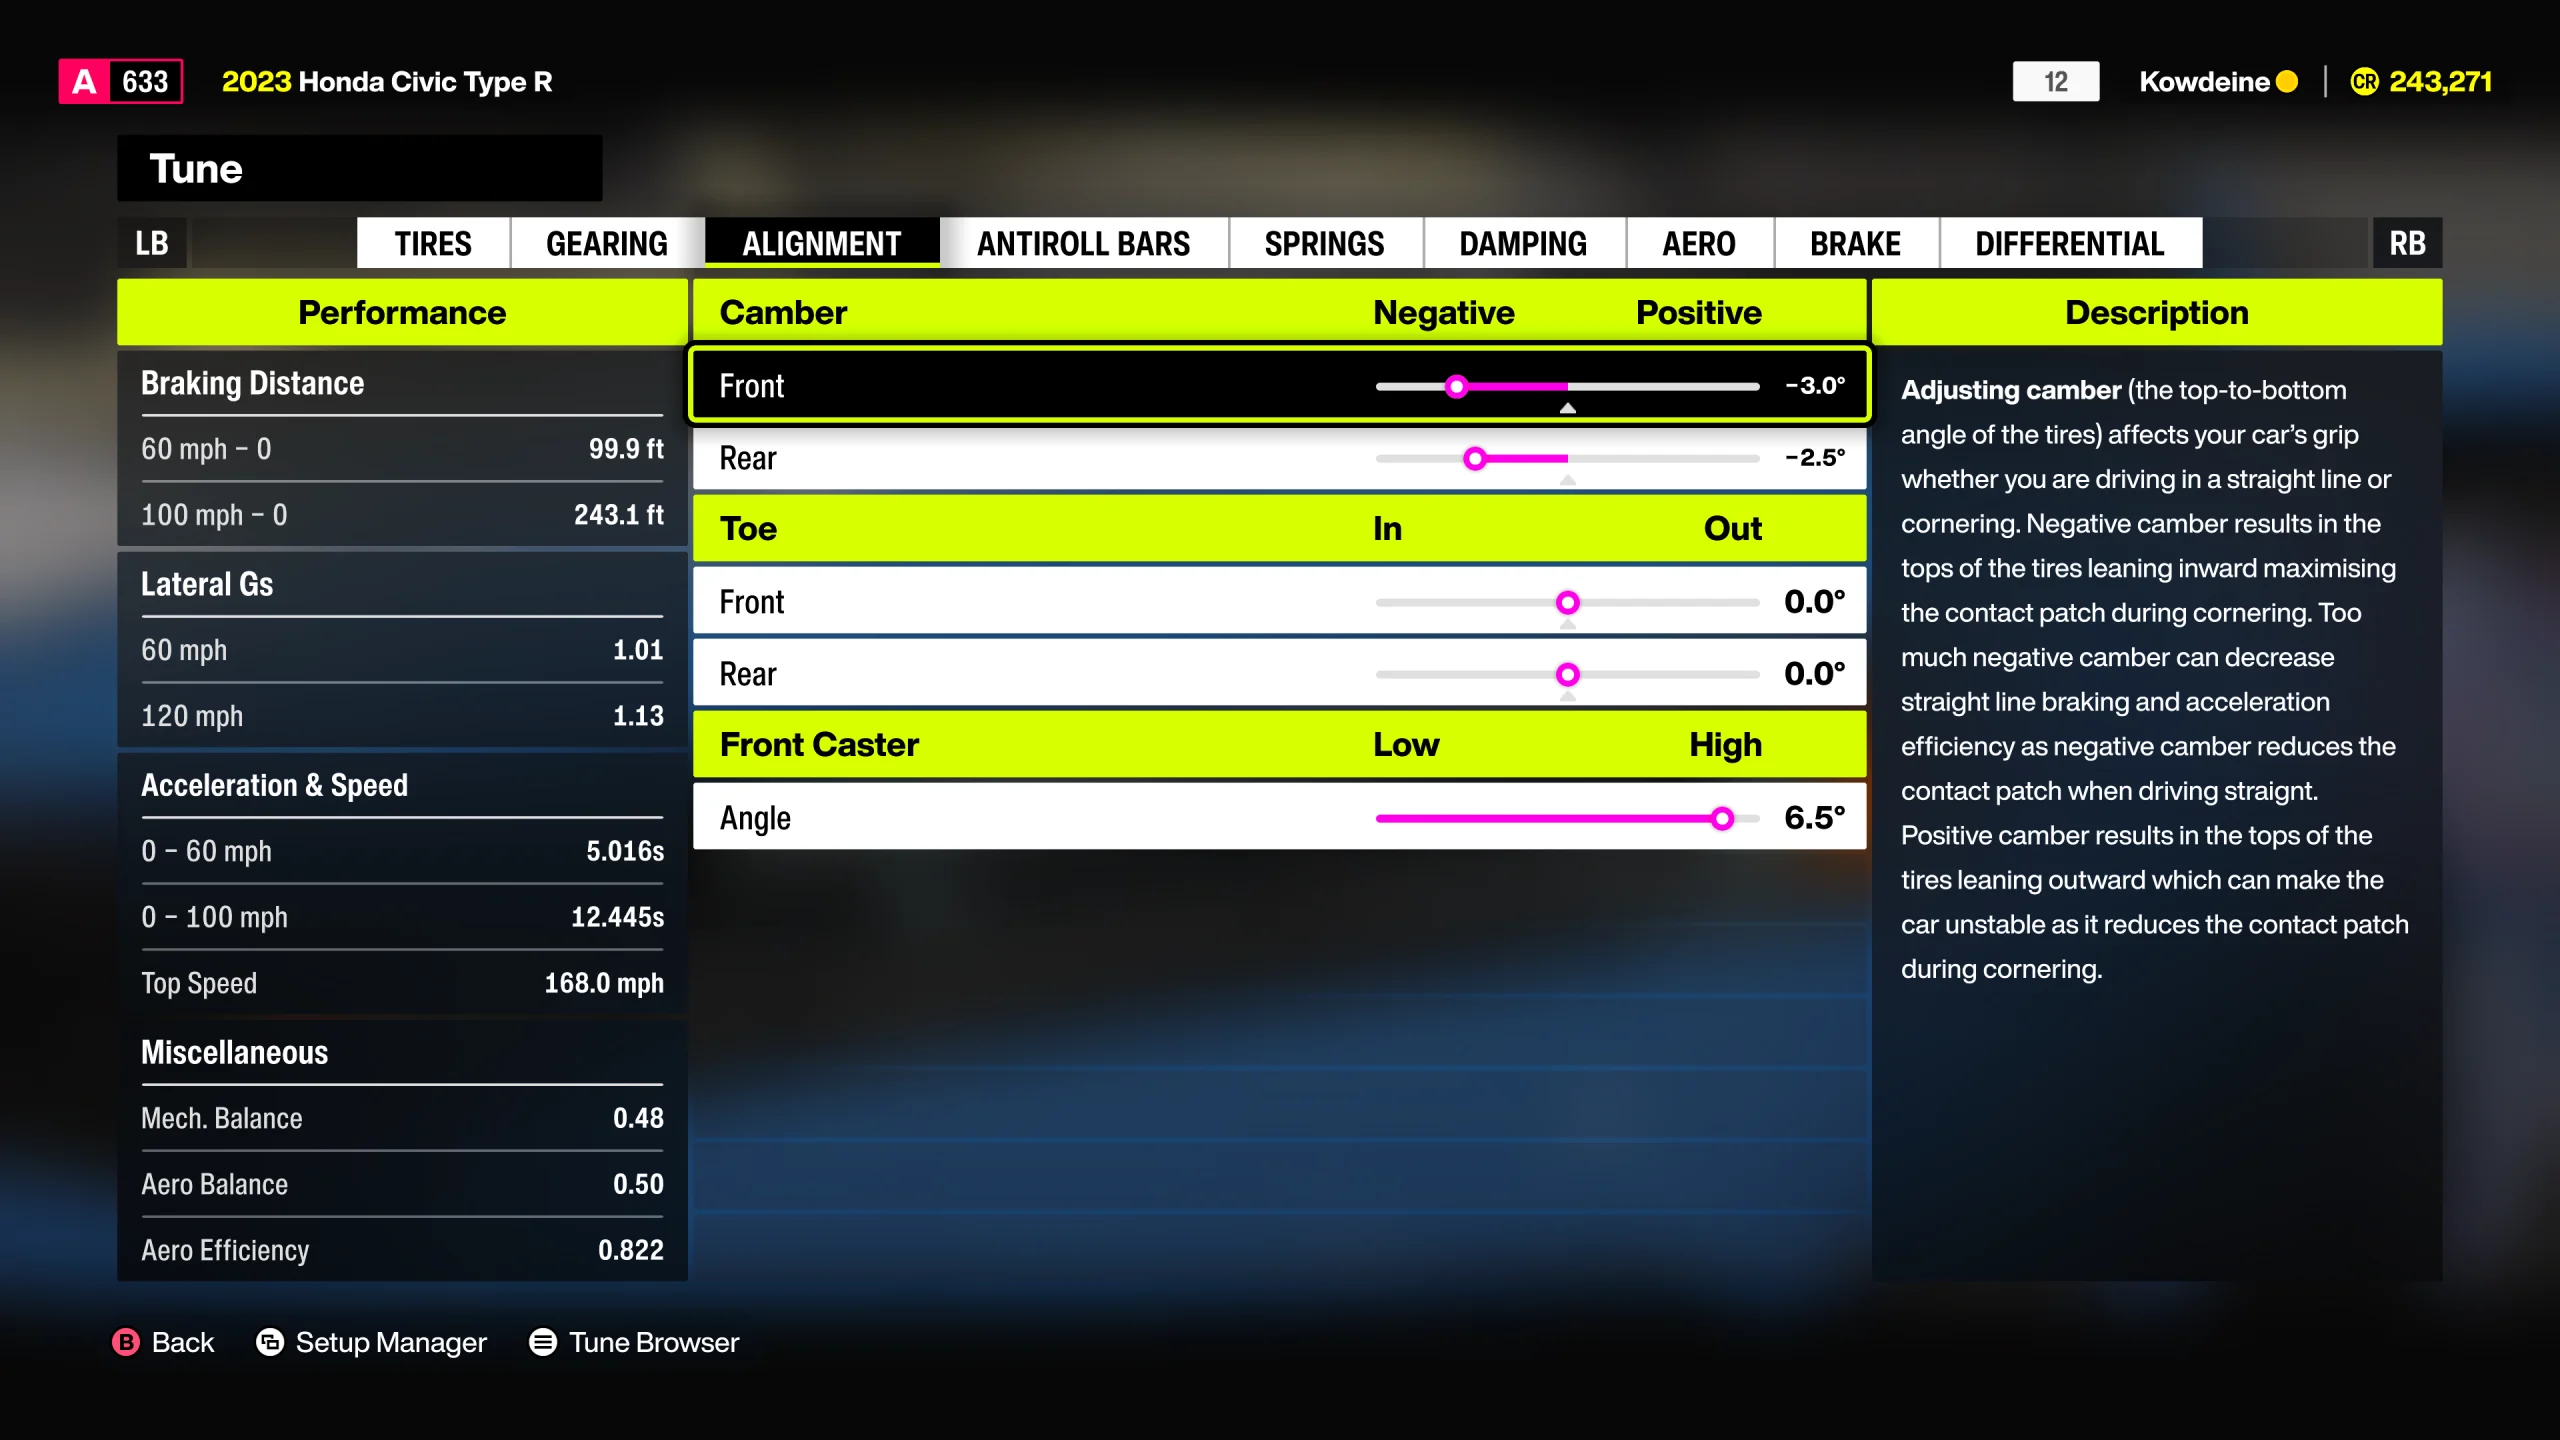
Camber controls the angle of your tires. Negative camber tilts the tops of the wheels inward, while positive camber tilts the bottoms inward.
In Forza Horizon 6, negative camber is generally preferred because it improves cornering grip. However, excessive camber hurts braking and acceleration performance.
Most AWD setups begin around:
When I say reduce camber, I mean moving the value closer toward zero. For example, moving from -1.5 to -1.3 instead of going further negative to -1.7.
It’s also important to finalize ride height before adjusting camber because ride height changes naturally affect camber behavior.
Toe tuning influences responsiveness and stability:
In most cases, you should leave toe values near zero unless the car feels genuinely strange or unstable.
Caster changes steering feel and cornering behavior. Higher caster values improve stability and cornering grip, while lower values make steering more sensitive. For racing setups, keeping caster above 5.5 usually works well.
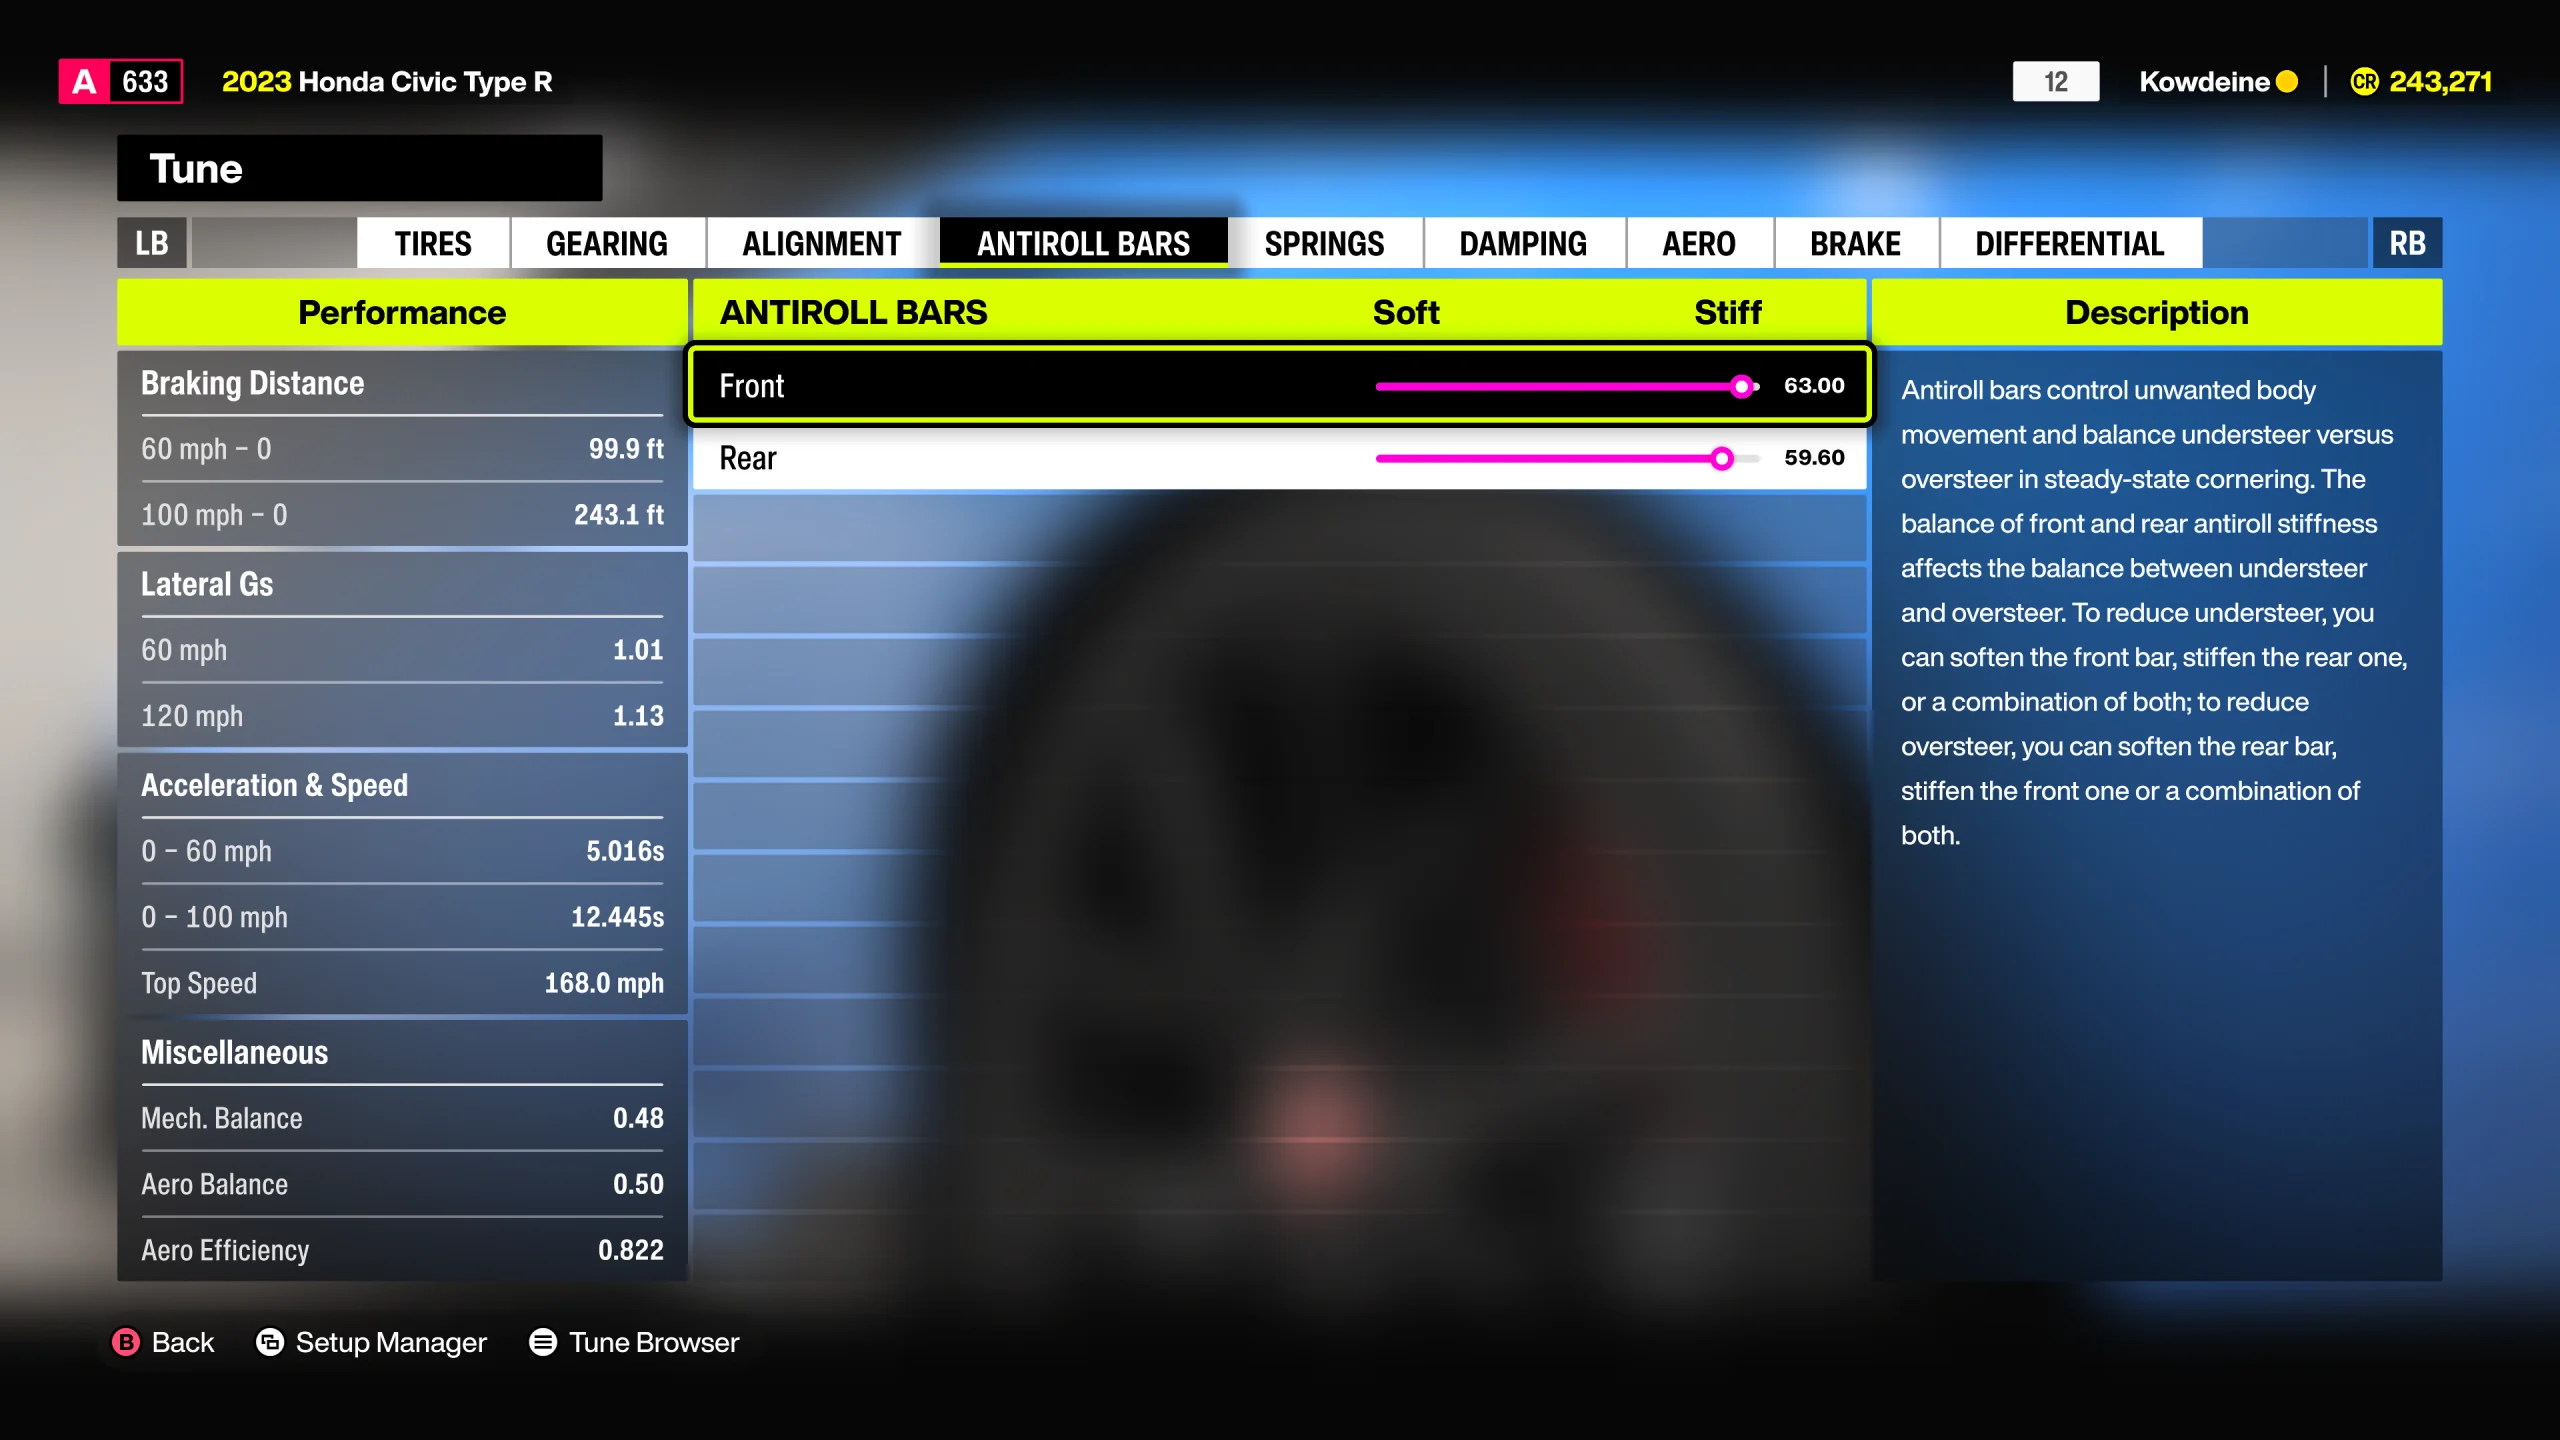
Anti-roll bars connect the left and right wheels together to reduce body roll during cornering. They are also one of the easiest tuning categories to understand.
For AWD cars, stiffer anti-roll bars are usually better because they improve responsiveness and make the car feel sharper while cornering. Many AWD tunes run extremely high ARB values.
If the car understeers heavily, soften the front anti-roll bar slightly. If the rear constantly slides around, soften the rear instead.
Generally speaking though, higher ARB values tend to work better than very soft settings in Forza Horizon 6.

Damping is one of the more confusing tuning sections for beginners, so I’ll keep this extremely simple.
A very reliable baseline setup is:
Apply those values to both front and rear as a starting point.
Rebound controls how quickly the suspension extends back upward after compression. Bump controls how quickly the suspension compresses downward.
If the car continues bouncing excessively even after adjusting springs, increase rebound slightly. If the car feels too twitchy or reactive, lower rebound a little.
As a general rule, rebound values should remain significantly higher than bump values.
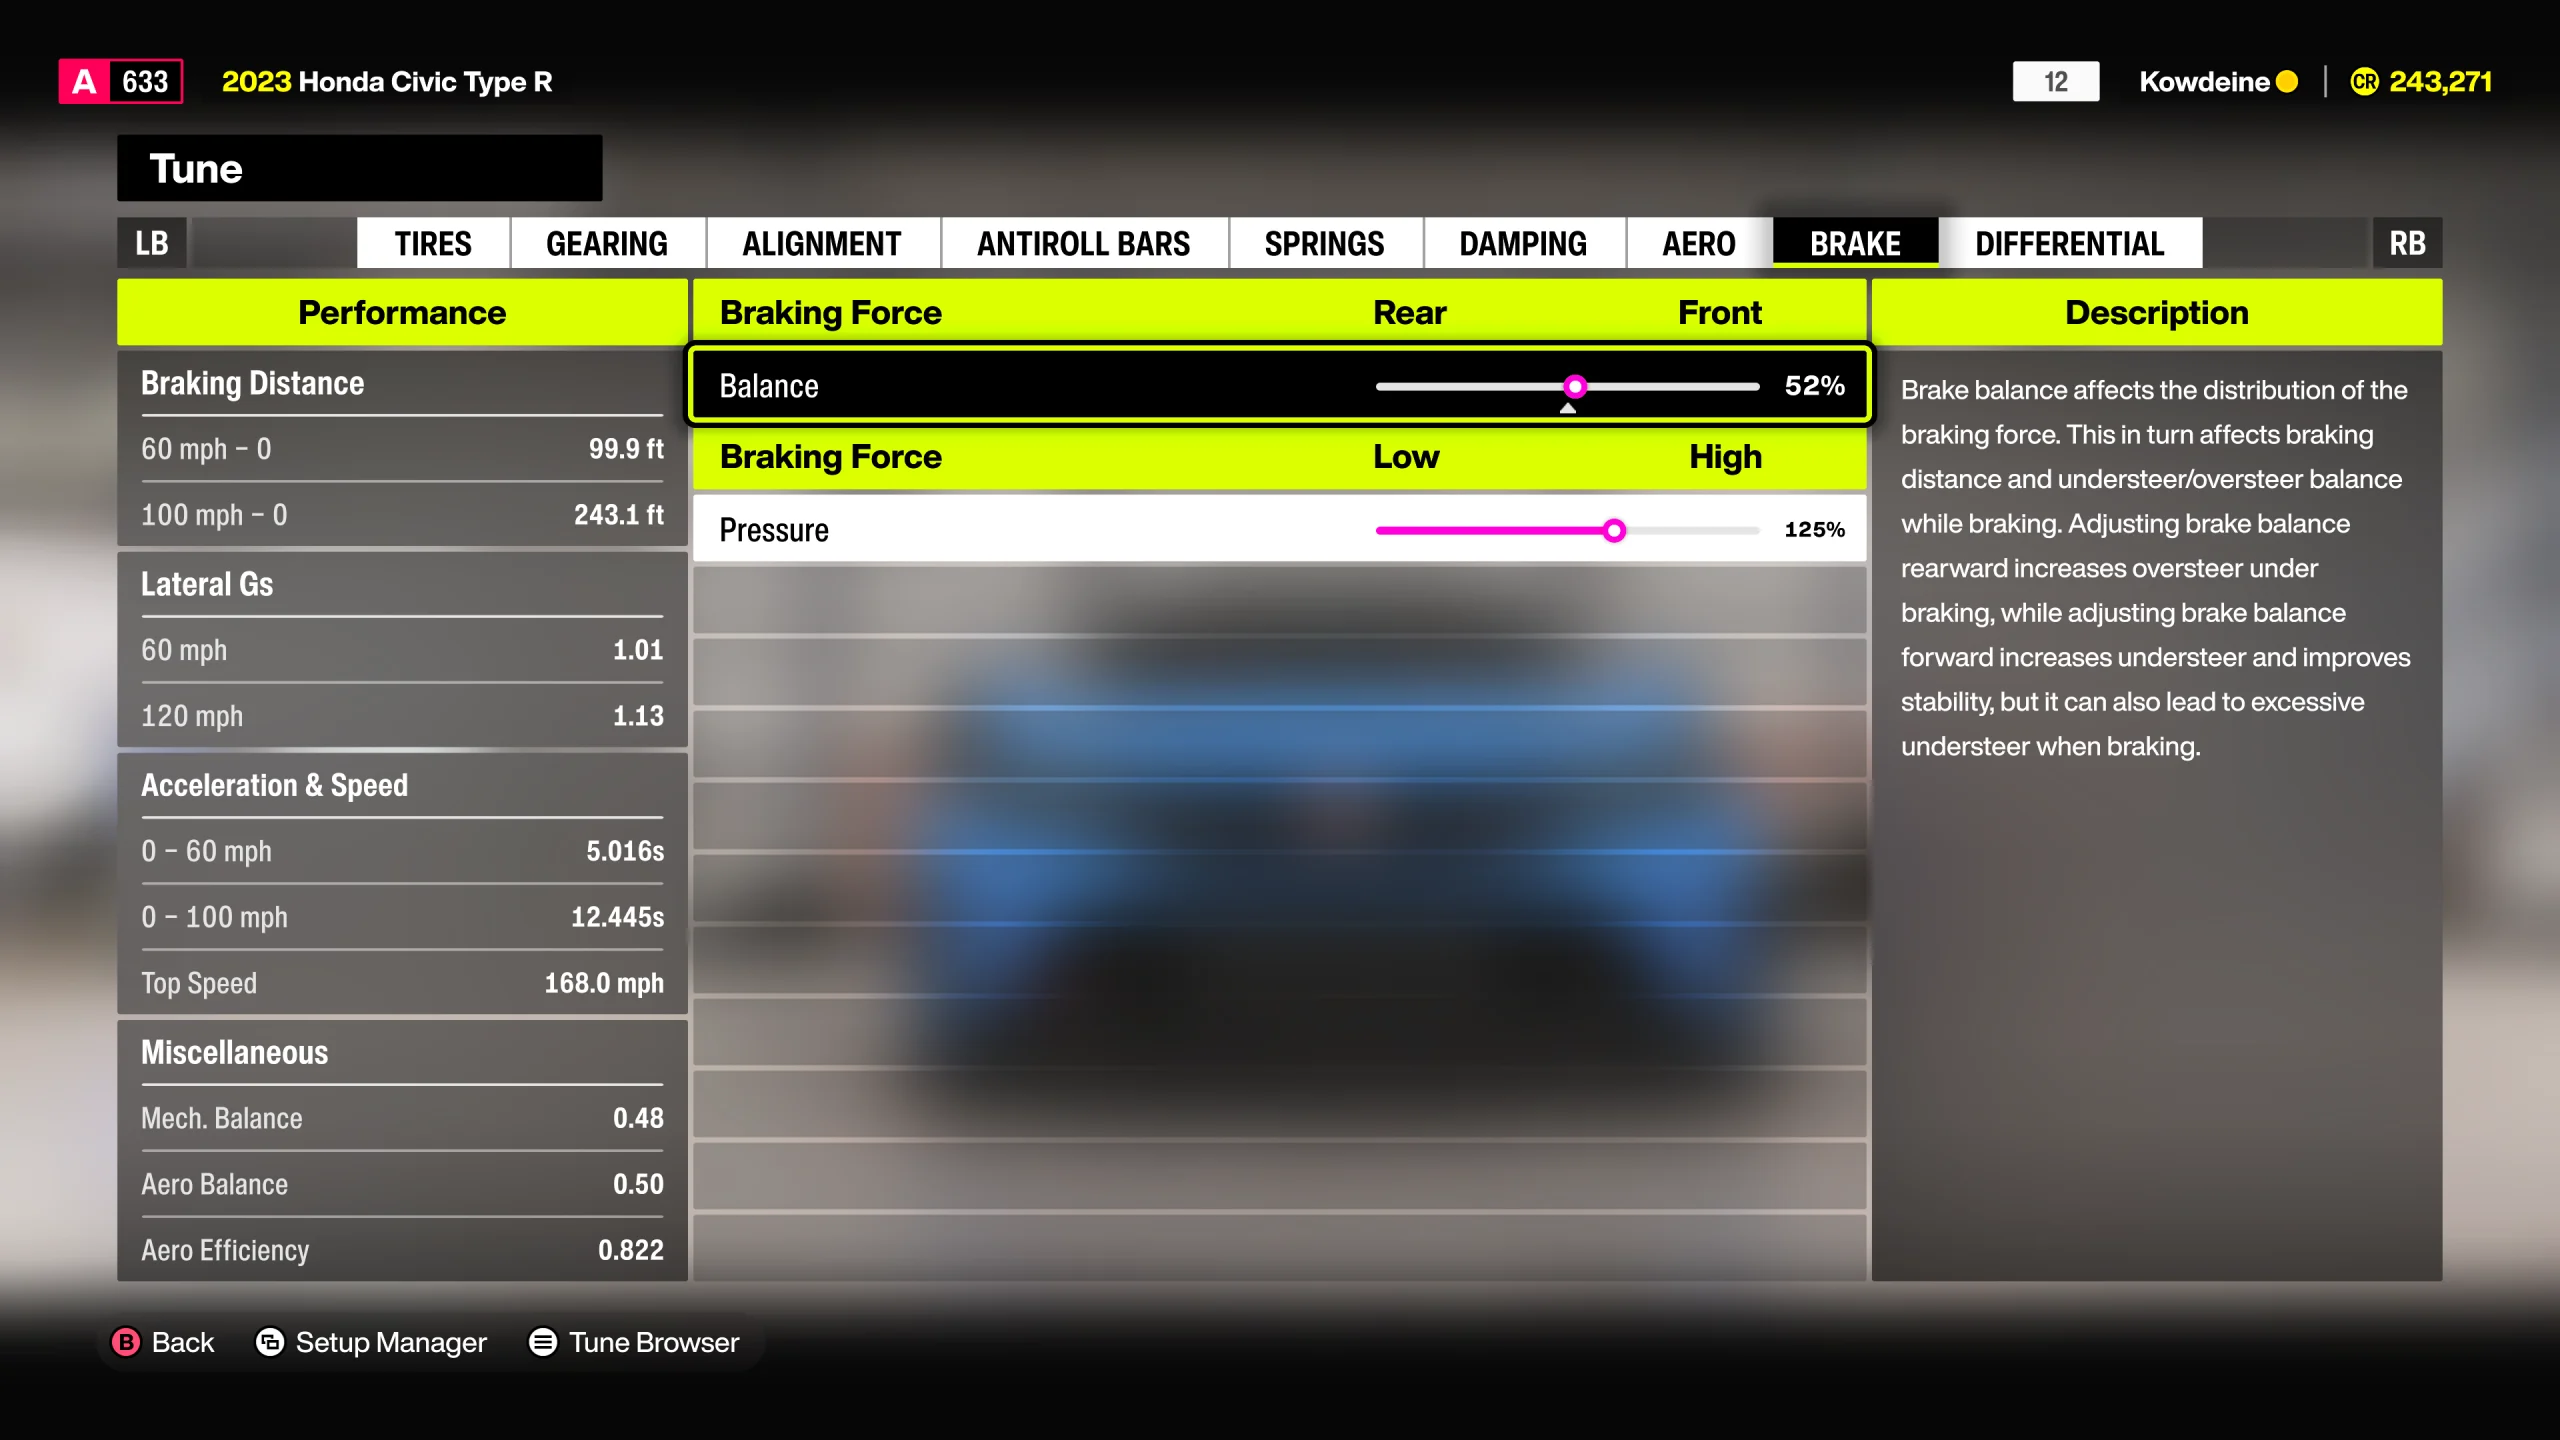
Brake tuning is fairly straightforward.
A good starting point is increasing front brake balance by roughly 10%.
More front brake bias creates safer and more stable braking behavior. More rear brake bias helps rotation while cornering, but too much rear bias can make the car spin under braking.
Brake force is equally simple:
Keep brake force relatively close to the middle unless you have a very specific reason to change it.
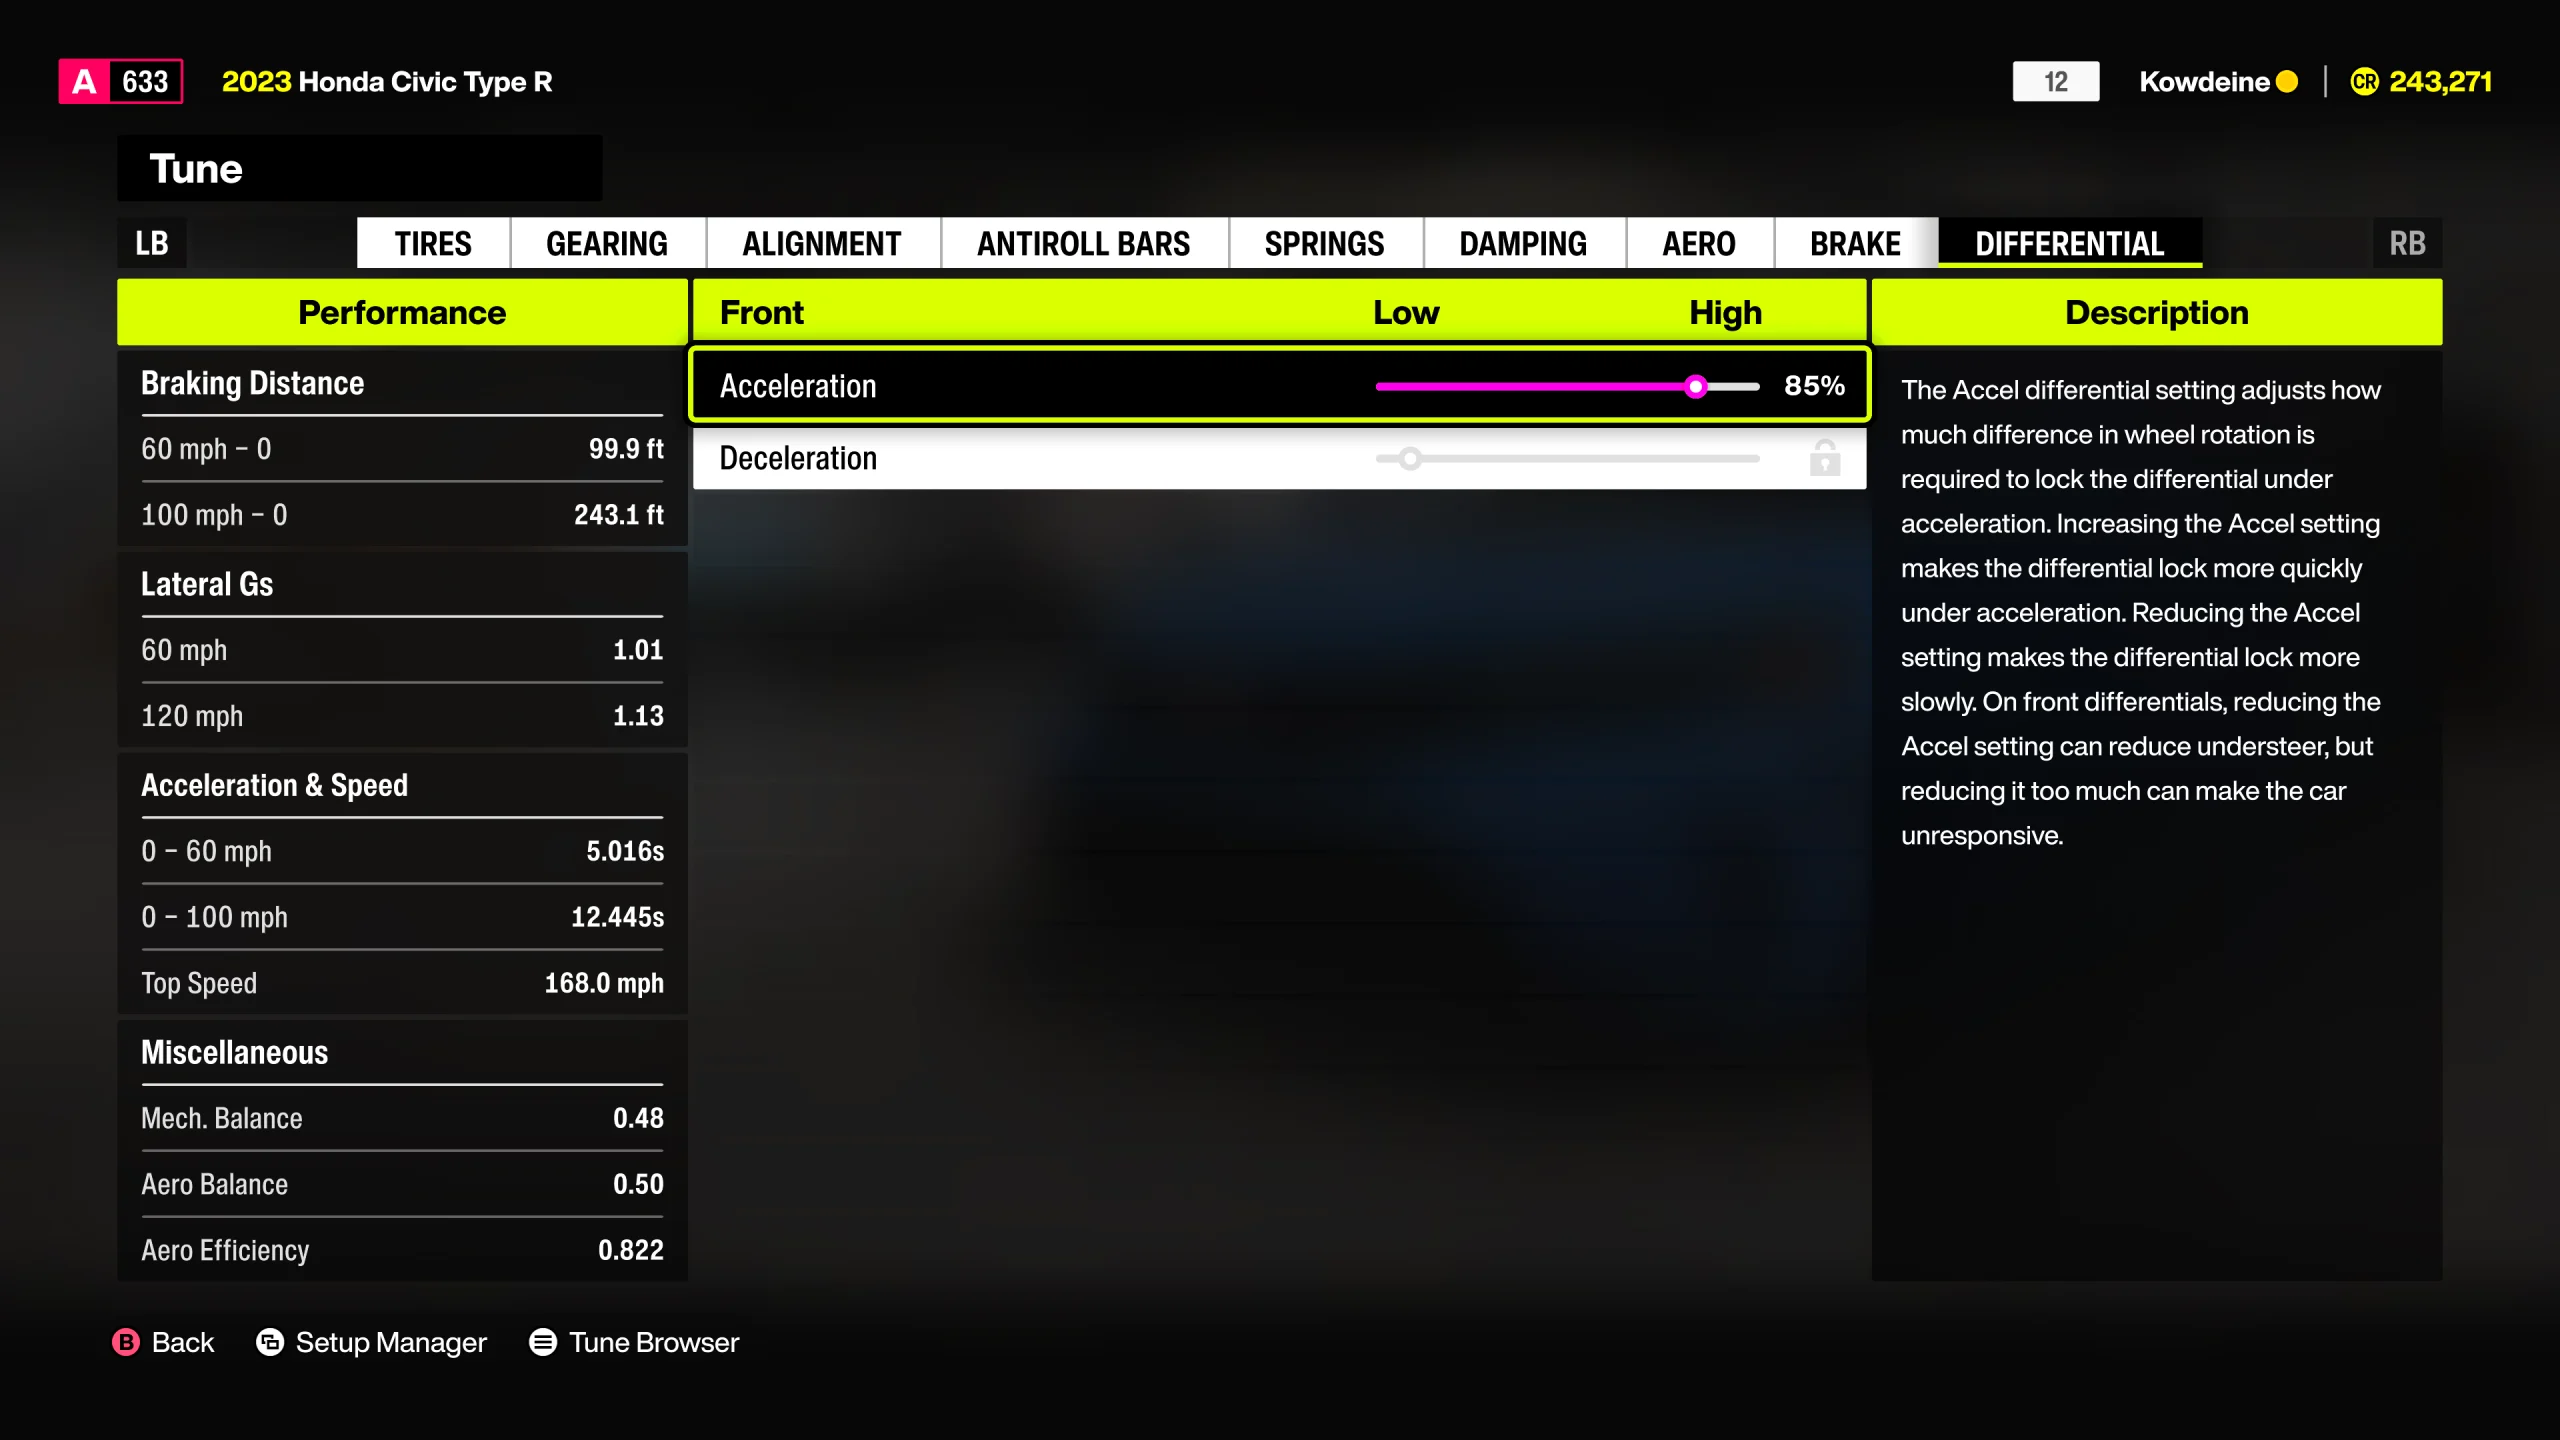
Differential tuning looks extremely complicated on paper, but in practice, it follows a few very simple rules.
If you drive an RWD car, only focus on the rear differential. If you drive an FWD car, only focus on the front differential.
AWD cars require tuning both front and rear settings, along with center balance.
Acceleration differential settings should usually remain fairly high because they improve traction while exiting corners.
If the car starts understeering too aggressively while accelerating, lower acceleration values slightly.
Deceleration settings should generally stay lower.
If the car feels unstable while entering corners or lifting off throttle, slightly increase deceleration values for more stability.
Center balance determines whether the car behaves more like an FWD or RWD vehicle.
More front bias makes the car easier and safer to drive, but too much creates heavy understeer.
More rear bias makes the car feel faster, more aggressive, and more responsive, but excessive rear bias causes oversteer.
Most experienced players prefer rear-biased AWD setups, although personal preference matters heavily here.
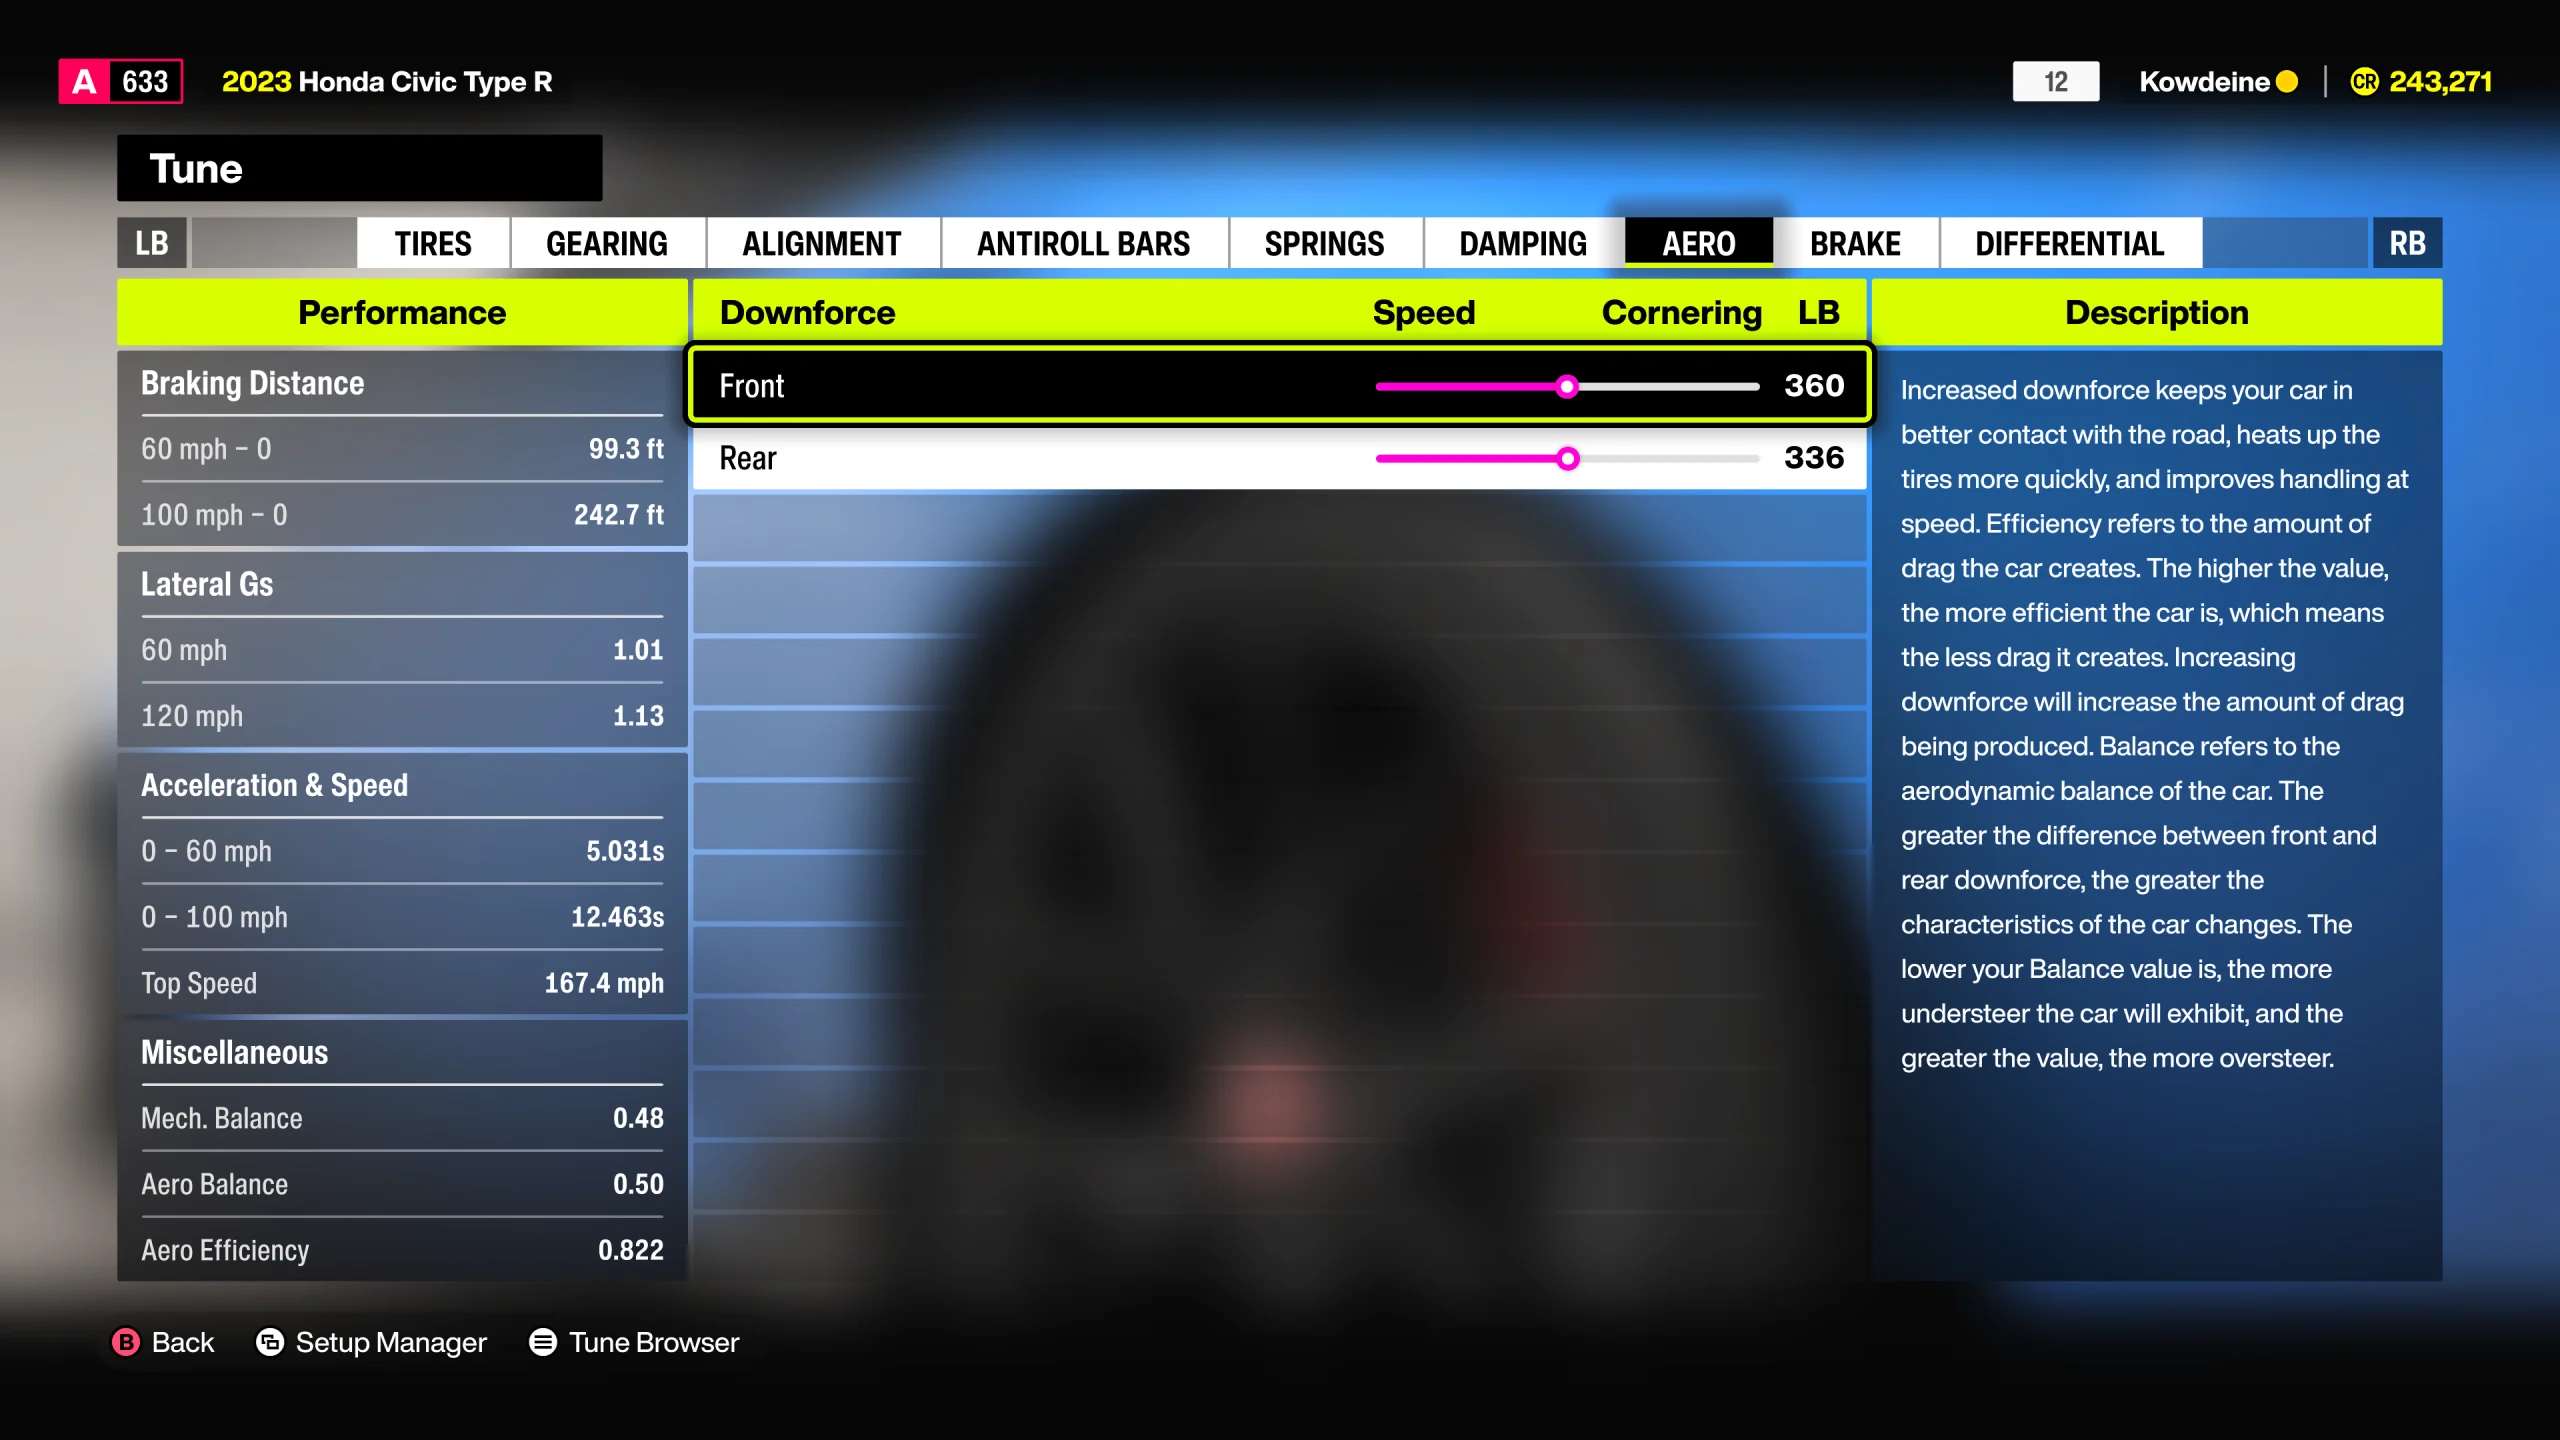
Aero tuning is one of the easiest ways to gain additional grip.
Front aero should usually run high downforce values because it improves turning grip and cornering stability. The downside is reduced straight-line speed.
If the car becomes too slow on straights, slightly reduce front downforce.
Rear aero should generally stay as low as possible for maximum speed. If the rear feels unstable or constantly slides around, gradually increase rear downforce until stability improves.
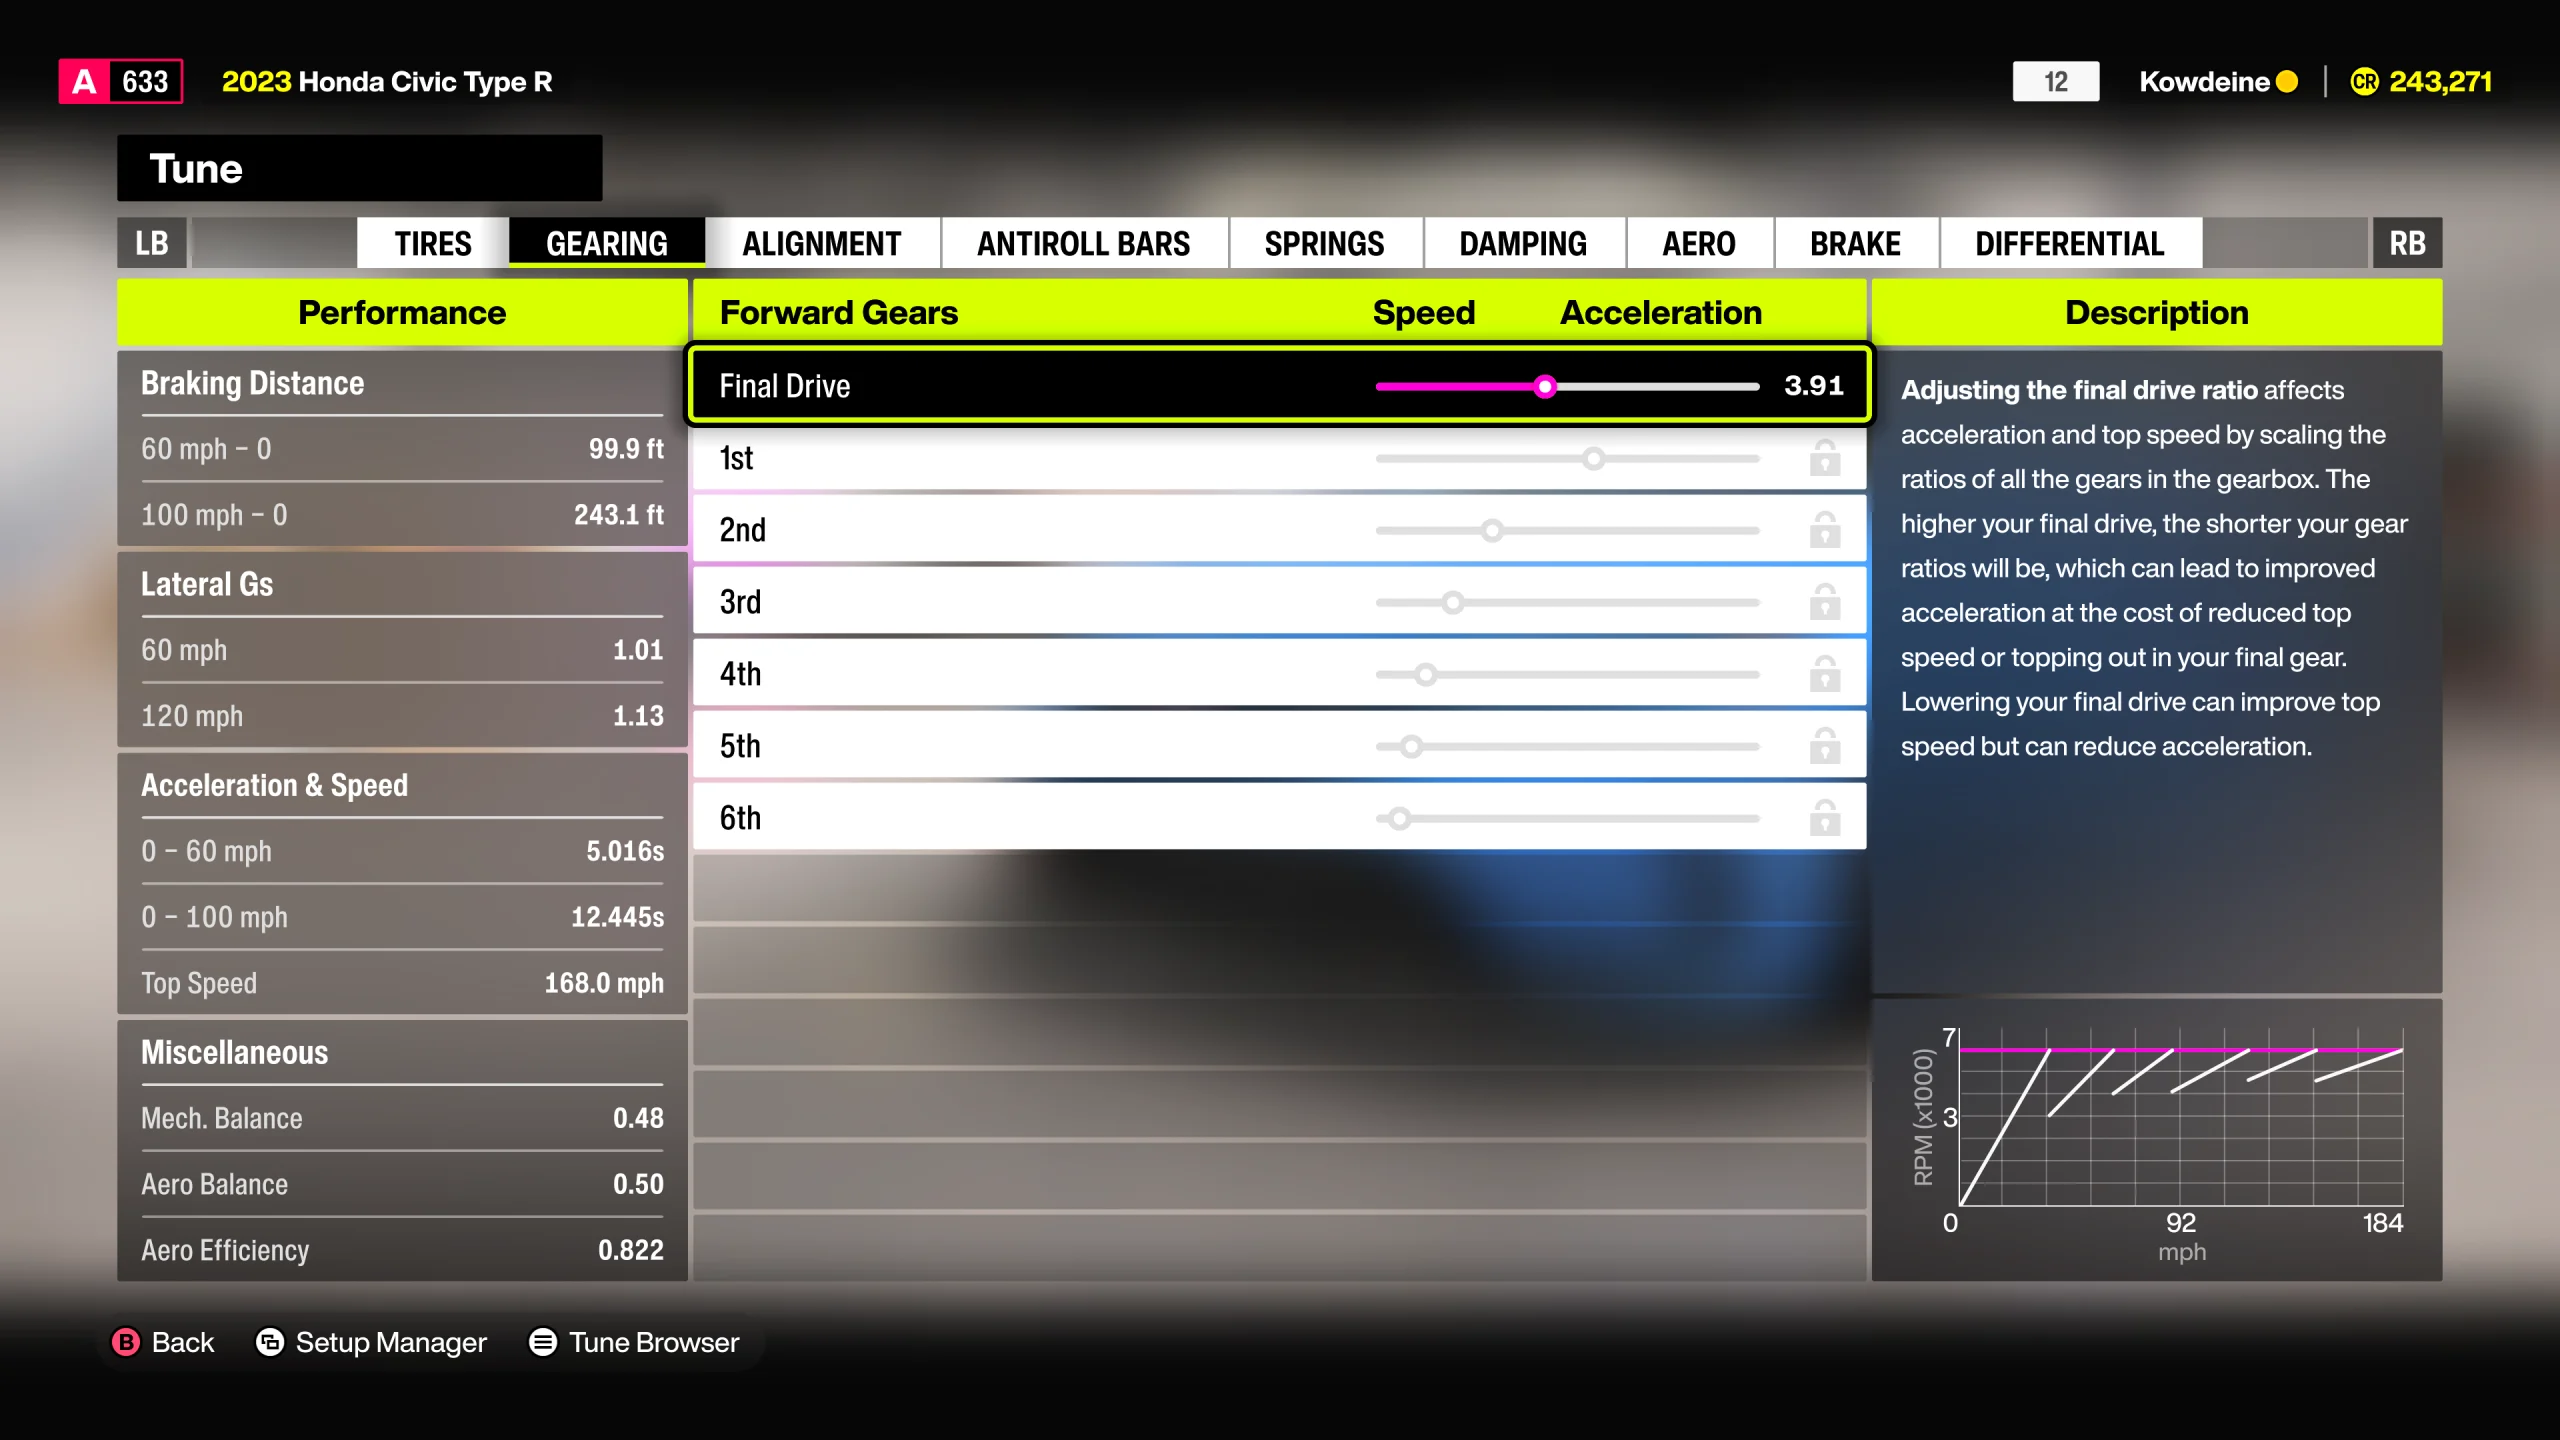
Gearing is the final tuning stage and arguably one of the most important. It also happens to be one of the hardest sections to fully master.
Gearing balances acceleration against top speed.
Move the Final Drive toward speed if the car hits the rev limiter too early. Move it toward acceleration if the car feels weak while exiting corners.
The goal is making your car barely reach maximum speed at the end of the longest straight on your target track.
A great starting point is using the final graph shown in the tuning menu. Ideally, the final gear should barely touch the edge of the graph after adjusting the Final Drive.
From there, you can fine-tune individual gears if necessary.
There is no universal gearing setup that works for every vehicle, which is why gearing usually takes the longest amount of time to perfect. Also remember that these recommendations mostly apply to road racing. Dirt racing, cross-country setups, and drift gearing become significantly more complicated, and honestly, beginners are often better off copying experienced community tunes for those specific disciplines.
Read our other Forza Horizon 6 Guides:
Buy Forza Horizon 6 Cars
Collect rare cars fast in FH 6 and dominate every race!
Start with a car you actually like driving, then test it before changing anything. Once you understand how it behaves in stock form, begin with simple tuning areas like tires, ride height, and suspension. Make one small adjustment at a time, test the car again, and only move on when you know what changed.
Yes, beginners should absolutely try manual tuning, but they should keep it simple at first. Avoid huge slider changes, adjust settings carefully, and test after every single change. Doing this consistently helps you understand what each setting does and makes you a much better tuner over time.
Oversteer happens when the rear of the car rotates too much, usually because the rear loses grip, the differential is too aggressive, damping feels unstable, or the car has poor rear balance. Understeer happens when the car does not turn enough into a corner, often because of tire pressure, camber, anti-roll bars, aero balance, or differential settings.
Community tunes are useful when you want fast results without spending time testing sliders. However, making your own tune helps you understand the car better and lets you adjust it around your own driving style. If you want more control, building your own tune is the better long-term option.
The best tuning order is tires first, then springs and ride height, followed by camber, toe, and caster. After that, tune anti-roll bars, damping, brakes, differential, aero, and finally gearing. This order helps you fix the car’s main handling problems before fine-tuning speed and acceleration.