


+15 More
Digital Aura Portal - FZCO
Building A1, Dubai Digital Park, Dubai Silicon Oasis, Dubai, United Arab Emirates Premises Number 72647 - 001
Business registration number: 70647
gamer-choice.com © 2026
Digital Aura Portal - FZCO
Building A1, Dubai Digital Park, Dubai Silicon Oasis, Dubai, United Arab Emirates Premises Number 72647 - 001
Business registration number: 70647
Welcome to our complete Ironeye Remembrance quest guide for Elden Ring Nightreign. The Ironeye Remembrance questline is one of the most captivating experiences in Elden Ring Nightreign. This storyline goes beyond mere loot and takes you on a journey through your character’s past. It’s filled with hidden lore, challenging encounters, and solo boss battles designed to test your precision and determination.
You won’t just be chasing down rewards — you’ll gradually uncover Ironeye’s truth, one memory at a time. This guide explains step by step how to unlock, progress, and complete the Ironeye Remembrance while securing the exclusive gear that comes with it. Let’s dive in.
Want to skip the grind? At Gamer Choice, we can help you complete Ironeye Remembrance quickly and efficiently. Hand the task to our professional players and enjoy your rewards without delay. We guarantee the fastest completion time and the most competitive price.
The quest does not begin automatically. To access Ironeye Remembrance in Elden Ring Nightreign, you’ll need to follow specific steps. After completing enough expeditions, your personal journal will start updating with new chapters. Once Chapter 4 appears in Ironeye’s journal at Roundtable Hold, you’ve reached the key moment to begin the Remembrance.
Each successful or failed run contributes Memory Fragments, unlocking more of your personal storyline. The following activities help speed up journal progression:
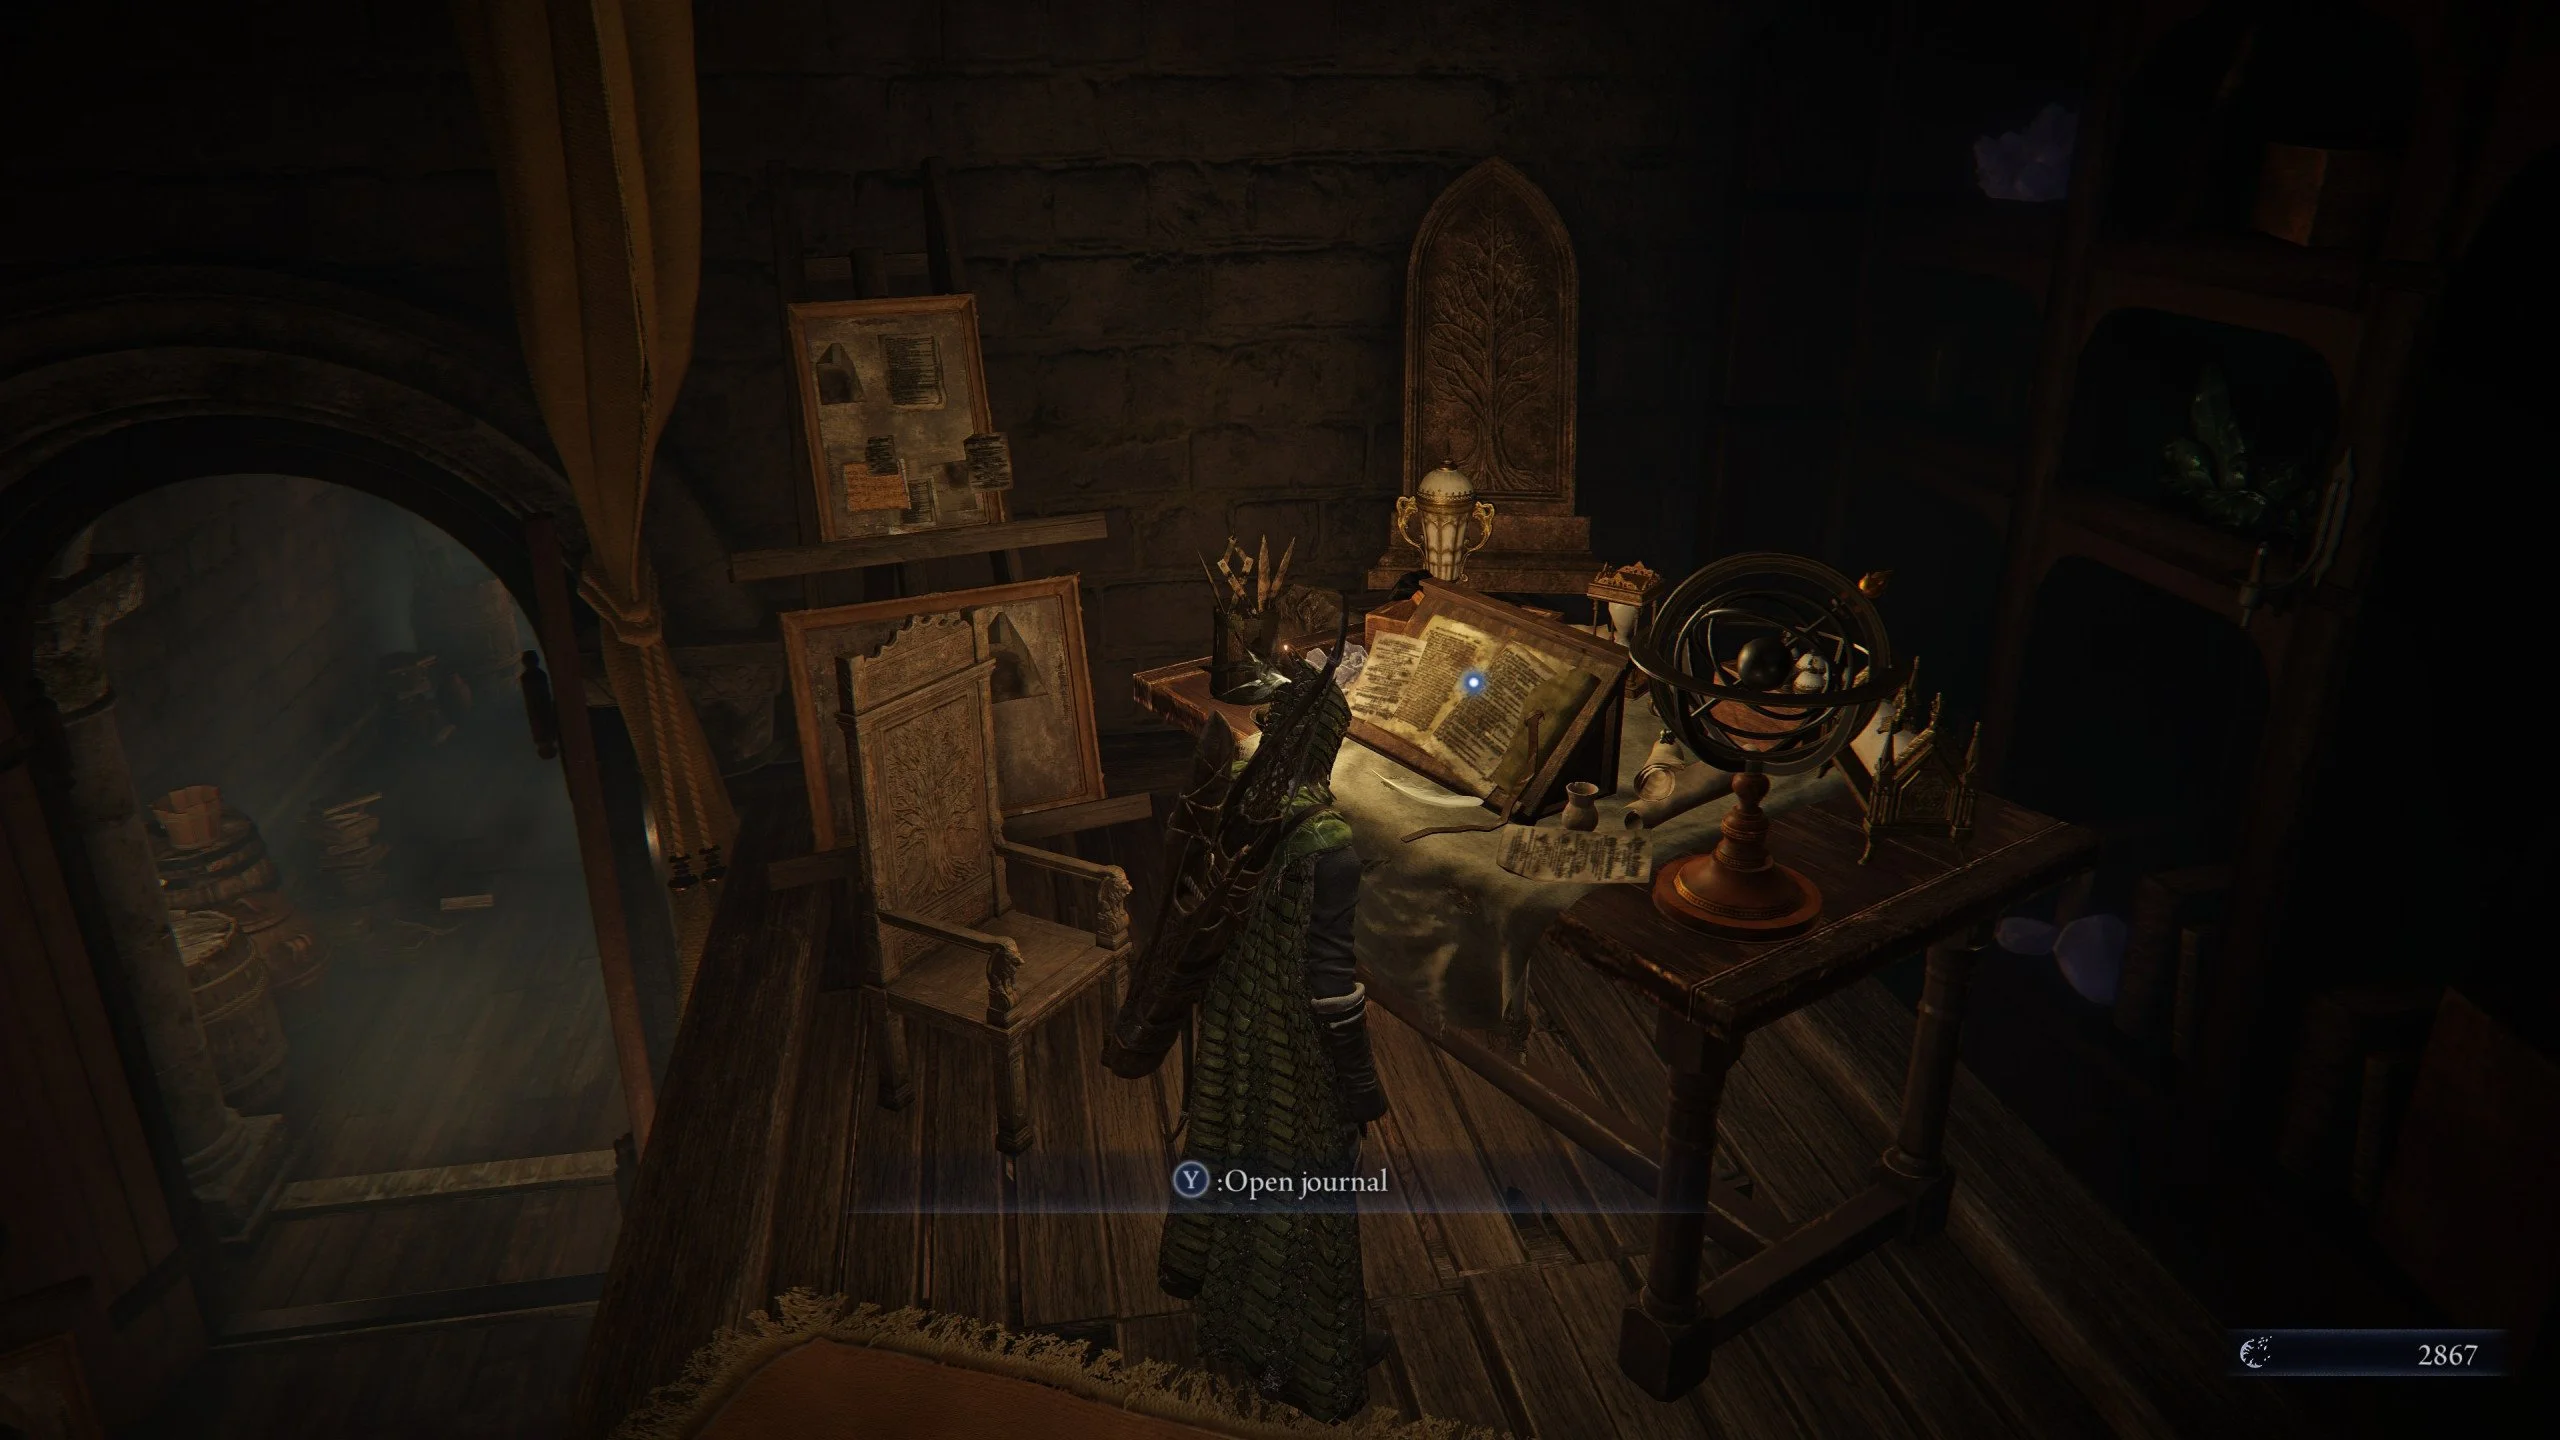
When Chapter 4 appears, select the option at the bottom of the page to start. You’ll find yourself in a fog-covered version of Roundtable Hold, where everything feels eerily unfamiliar. Familiar characters will have new dialogue, signaling the beginning of something far more personal for Ironeye.
This walkthrough of Ironeye Remembrance covers the trickiest chapters and their battles. You’ll face tough fights such as Night Huntsman — your mimic — and the dreaded Darkdrift Knight. Along the way, you’ll secure critical rewards like the Chalice and Edge of Order. Expect dramatic story reveals, intense duels, and more challenges that shape Ironeye’s fate.
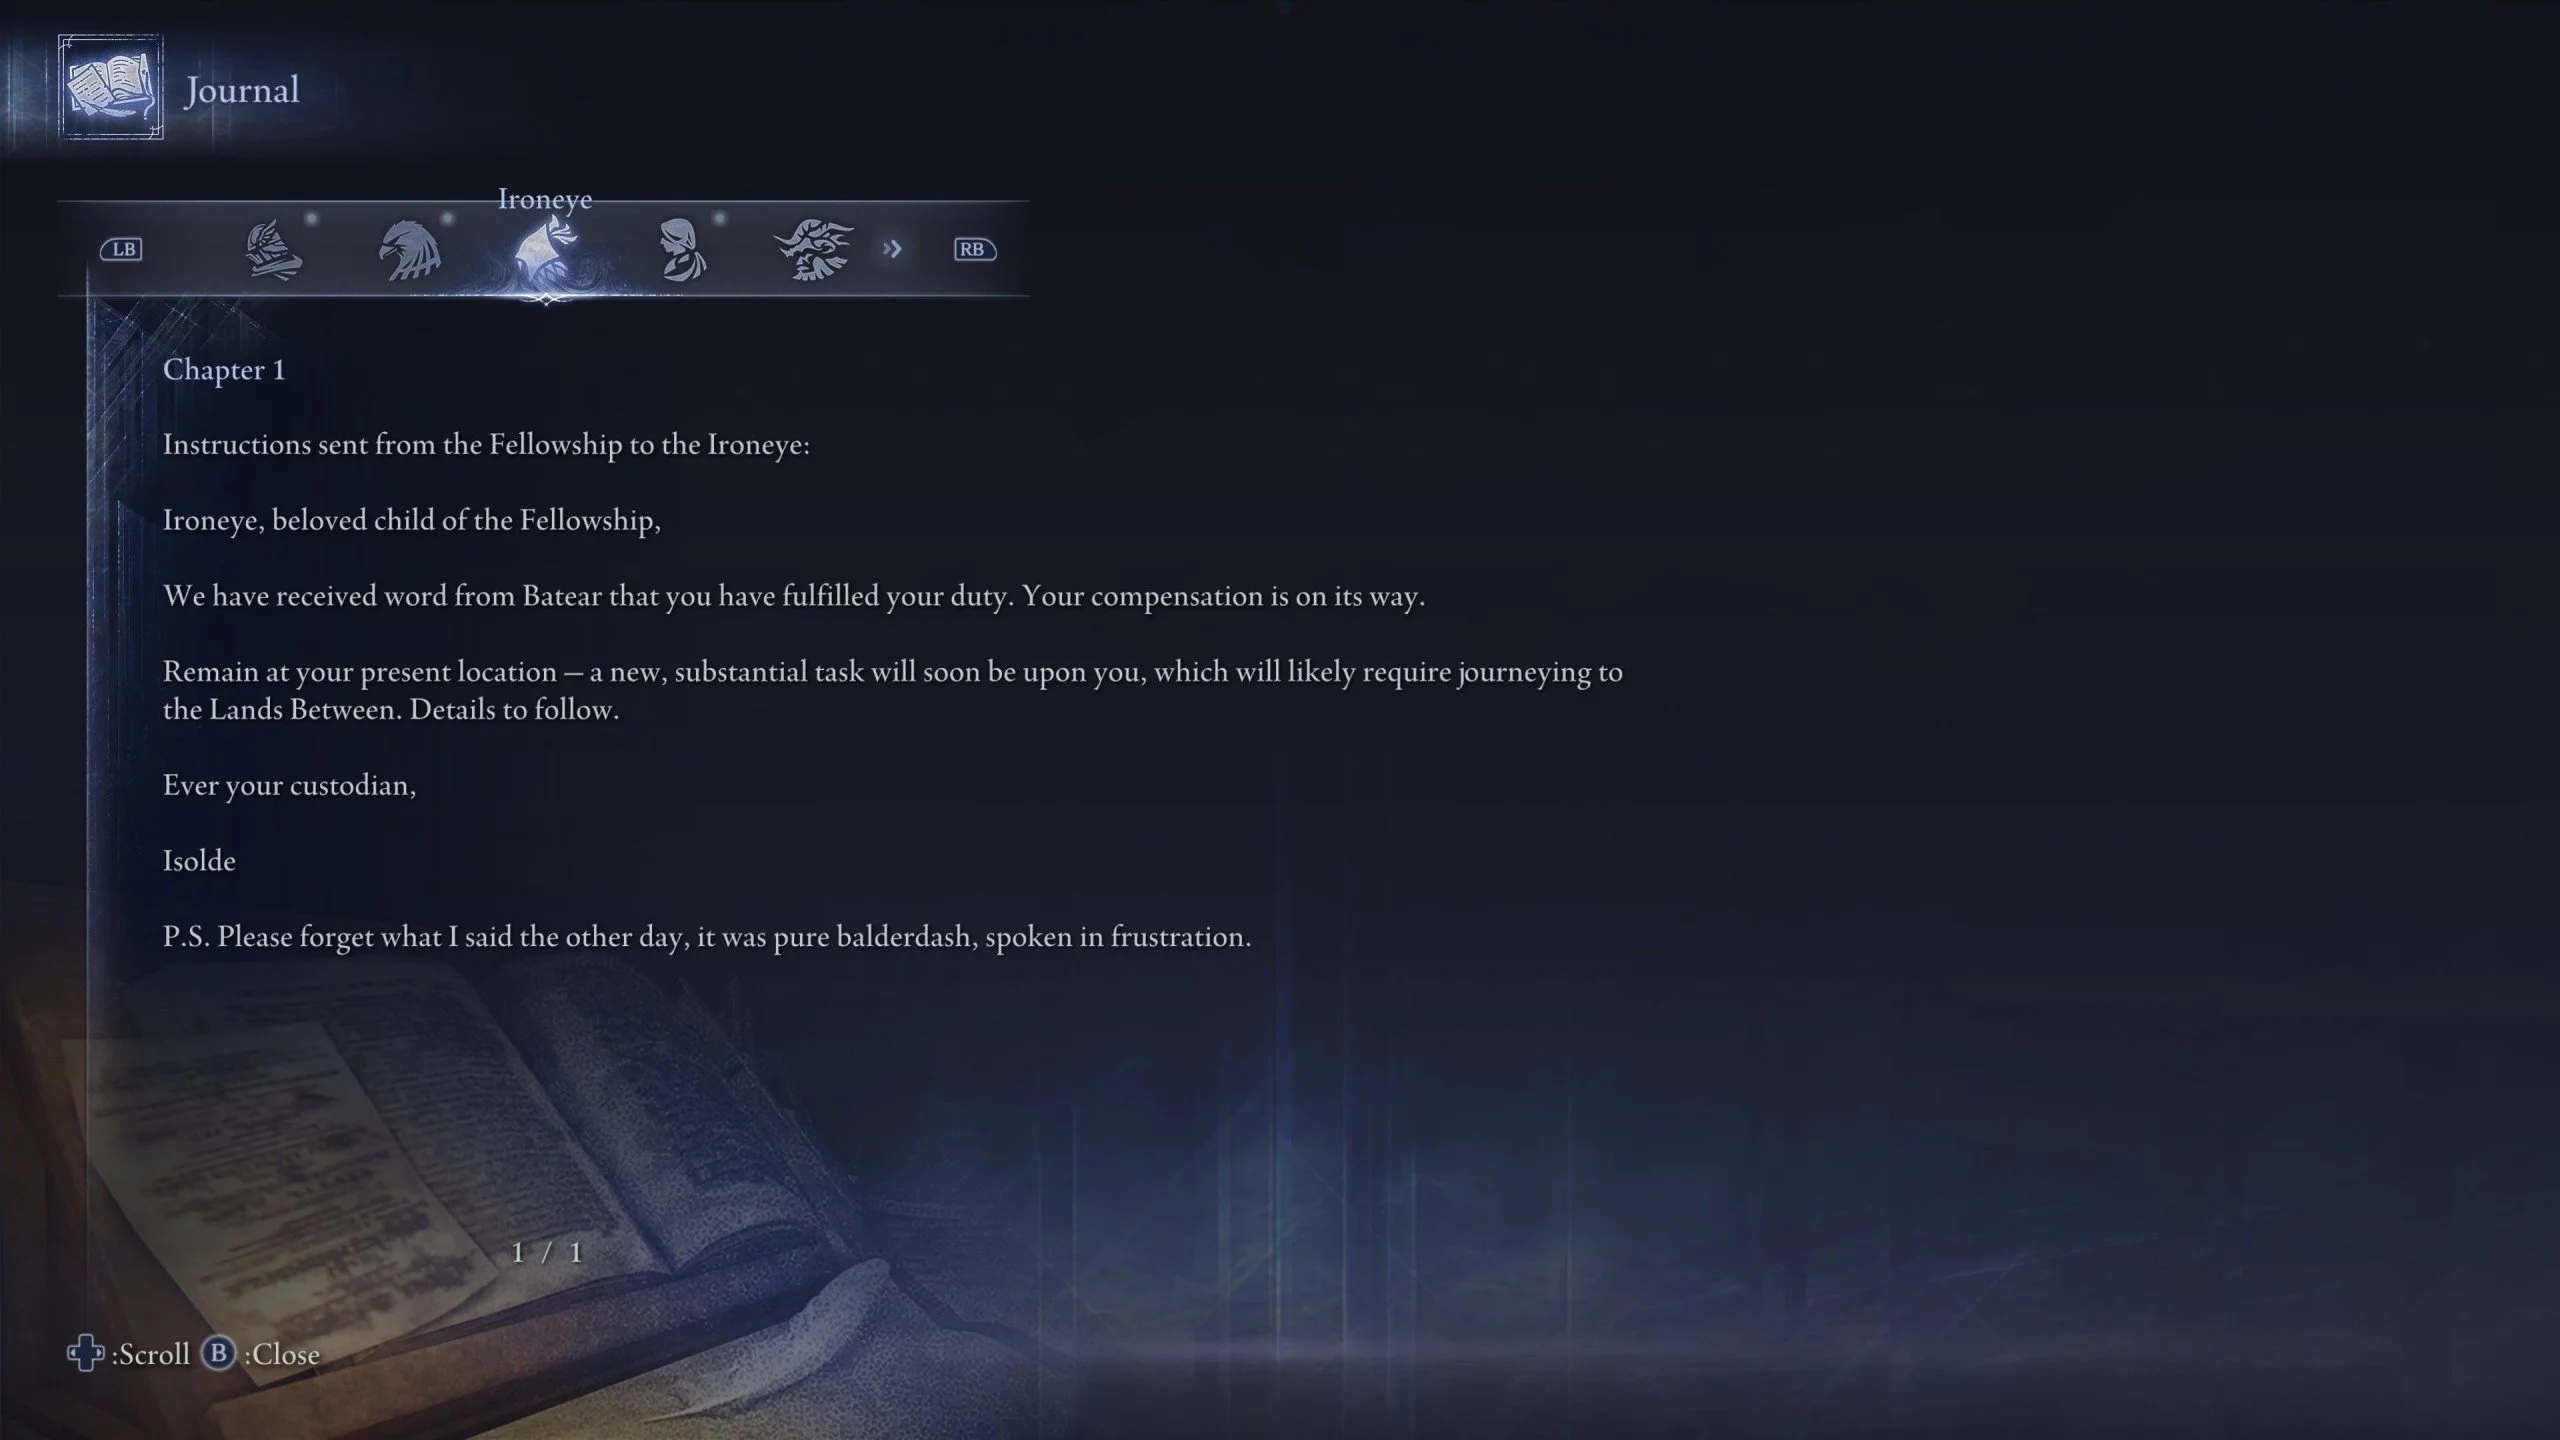
To initiate the first Ironeye Remembrance, you must have reached Chapter 4 in Ironeye’s journal. Just keep running expeditions until this entry appears, regardless of whether you win or lose. Once it shows up, choose “Begin Remembrance” and step into the fog-shrouded Roundtable Hold.
The environment changes, creating a heavier atmosphere. Head west to the library wing, where the Priestess waits in a quiet room below. Speak to her to learn about a once-loyal companion who has now betrayed you. This revelation makes the journey deeply personal.
Talk to her again to begin the quest. You must then start a new expedition as Ironeye. Once inside Limveld, look for a red marker in the western area — your designated target.
This marker leads you to Night Huntsman, your mimic, who mirrors your abilities. Defeating him is a crucial step; without this victory, progression halts.
TLDR on what to expect during your 1st Ironeye Remembrance in Elden Ring Nightreign:
| Step | Details |
|---|---|
| Journal Unlock | Chapter 4 after several expeditions |
| Entry Point | Begin Remembrance option at chapter’s end |
| Setting | Fog-covered Roundtable Hold |
| Main Task | Locate and take down Night Huntsman |
| Key NPC | Priestess in the west wing of the Hold |
| Completion Reward | Journal Chapter 5 and two powerful Relics |
After the fight, return to Roundtable Hold and deliver the Traitor’s Letter to the Priestess. This unlocks Chapter 5 and provides you with Relics that improve your ranged combat.
Night Huntsman is essentially your shadow armed with a bow. He moves quickly, dodges aggressively, and uses your skillset against you. Expect fast strikes, relentless arrows, and precise timing. Charging in recklessly will only lead to failure. Success requires patience, tactical dodges, and intelligent counters.
At long range, he employs dangerous arrow spreads, including a five-shot fan that demands flawless rolls. Mid-range, he dashes with a sword slash that travels a significant distance — dodge early and counter just as he recovers. Be wary of simple bow shots as well, since they often trick players into rolling prematurely.
Here’s a breakdown of Night Huntsman’s key abilities:
| Ability | Description | How to Counter |
|---|---|---|
| 5-Arrow Shot | Fires five arrows in a wide fan | Roll diagonally toward him to slip through safely |
| Lunging Slash | Charges and slashes with a sword | Sidestep as he lunges and counter immediately |
| 3-Arrow Shot | Shoots three arrows in a tighter spread | Sidestep or roll through gaps to punish quickly |
| Single Arrow Shot | Fires one straight arrow as a poke | Roll or strafe, then land a fast response shot |
If you prefer ranged tactics, concentrate on dodging accurately and punishing during his recovery. Do not chase every roll; overextending is his trap. Use your Marking Skill when he spams rolls to disrupt his flow. A single well-timed punish is safer than several reckless ones. Mastering this battle feels satisfying as it proves you’ve outplayed your own mirrored style.
The second Ironeye Remembrance begins after clearing another expedition and defeating a Nightlord, unlocking Chapter 6 in Ironeye’s journal. This new entry lets you access the next memory, where Roundtable Hold shifts again into its shadowed state.
Head west, near where you previously found the Priestess. You’ll now discover a secret entrance leading into a hidden chamber. Inside waits the traitor from the first memory — alive, but not hostile. Instead, he seeks your help, pointing you toward the Edge of Order, a crucial artifact guarded by a formidable enemy.
The Priestess confirms his story and instructs you to hunt down the Nightlord called Darkdrift Knight. This opponent is vastly stronger and will push Ironeye’s abilities to their limits. After claiming the Edge of Order and returning, the traitor will ask you to end his life. Only through this grim act will he reveal his final truth, propelling Ironeye’s tale even deeper. Once the cutscene plays, talk to the Priestess again to conclude the Remembrance and open Chapter 7.
TLDR on what to expect during your 2nd Ironeye Remembrance in Elden Ring Nightreign:
| Step | Details |
|---|---|
| Unlock Journal Chapter 6 | Finish an expedition and defeat any Nightlord |
| Explore New Room | Go west from the library and enter the hidden stairs |
| Speak with the Traitor | Find him in the tomb room and agree to help |
| Get the Edge of Order | Defeat the Darkdrift Knight to obtain the artifact |
| Finish the Remembrance | Return, execute the traitor, and speak with the Priestess |
The Darkdrift Knight in Ironeye Remembrance is among the hardest encounters in the game. This centaur-like boss is lightning fast, aggressive, and devastating with his spear. His attacks create shockwaves that control the battlefield and destabilize you. This section explains how to defeat Darkdrift Knight in Elden Ring Nightreign.
You’ll face him during the second Remembrance. He charges around the arena, slamming his spear with deadly precision. Don’t panic — instead, maintain composure, dodge carefully, and punish openings with ranged attacks.
Survival Tips:
In the second phase, he sprouts a grotesque arm that adds unpredictable swings. If he leaps high, use your Ultimate to dodge the incoming slam and remain invincible during impact.
Discipline is everything. Land calculated shots, then back off. Movement is your ally, and patience wins the fight. Once victorious, you’ll obtain the Edge of Order — a Relic that grants sacred bow damage and powers up thrusting counters.
The last part of the Ironeye Remembrance unfolds after conquering the Night Aspect Expedition. Unlike the earlier stages, this one doesn’t unlock via the journal. Instead, it activates immediately once you’ve finished the expedition. An unsettling version of Roundtable Hold materializes close by.
Enter this eerie space and move forward until you discover a lifeless figure kneeling in solitude. The decision you make here will finalize Ironeye’s fate. The conclusion delivers one final Memory Fragment and a powerful cutscene tying all the pieces together. This ending provides closure for Ironeye’s arc and leaves a lasting impression.
Completing the Ironeye Remembrance quest doesn’t just unlock lore; it also yields significant gear upgrades. These items improve Ironeye’s playstyle, offering permanent advantages and increased versatility. Rewards include:
Each Remembrance provides a Relic or enhancement specific to Ironeye. These rewards are not cosmetic — they elevate your overall power, buff your skills, and add valuable tools for expeditions. Dedicated Ironeye players will find these upgrades essential for long-term success.
You’ll need to progress through expeditions, unlock new chapters in Ironeye’s journal, and defeat the main bosses that are tied to the storyline.
Finishing the quest grants valuable items such as:
The difficulty is moderate overall — tougher when playing solo, but more manageable with co-op support and strong equipment.
The quest spans eight chapters in total, with three major Remembrance missions forming the core of the storyline.
Completion time varies, but expect a few hours depending on your skill level, how much co-op assistance you use, and the pace of your expedition runs.
That wraps up our Ironeye Remembrance quest guide for Elden Ring Nightreign. From chasing a traitor to clashing with the Nightlords, every chapter adds a fresh challenge. Along the way, you’ll uncover rich lore, strengthen your build, and secure Relics that make Ironeye more formidable.
This journey demands skill, strategy, and determination. If you’re drawn to intense battles and layered storytelling, Ironeye Remembrance is one of the most rewarding paths you can take. Dive in, embrace the mystery, and prove your mastery.