


+15 More
Digital Aura Portal - FZCO
Building A1, Dubai Digital Park, Dubai Silicon Oasis, Dubai, United Arab Emirates Premises Number 72647 - 001
Business registration number: 70647
gamer-choice.com © 2026
Digital Aura Portal - FZCO
Building A1, Dubai Digital Park, Dubai Silicon Oasis, Dubai, United Arab Emirates Premises Number 72647 - 001
Business registration number: 70647
This detailed Sundered Doctrine walkthrough covers everything you need to know—from the Day One race rules to every mechanic, secret chest, and loot table you can find inside the dungeon. If you're looking to conquer this latest challenge in Destiny 2, this guide has you covered from start to finish.
Before diving into the content, don’t miss our elite offer to Buy Sundered Doctrine Day One Boost at the best rate via Gamer Choice. Let our skilled PROs handle the heavy lifting so you can secure the Day One badge, exclusive rewards, and powerful loot before most players even begin. No need to struggle—just enjoy the benefits while we take care of the grind.

Buy Destiny 2 Boost
Get Destiny 2 boosts from trusted pros now!

The Sundered Doctrine dungeon goes live on Friday, February 7, 2025, following Destiny 2's Friday update at 9 a.m. PST / 12 p.m. EST. To access it, you’ll need to use the Dungeon Key. Prior to entering, be sure to accept the quest titled “The Drowning Labyrinth.”
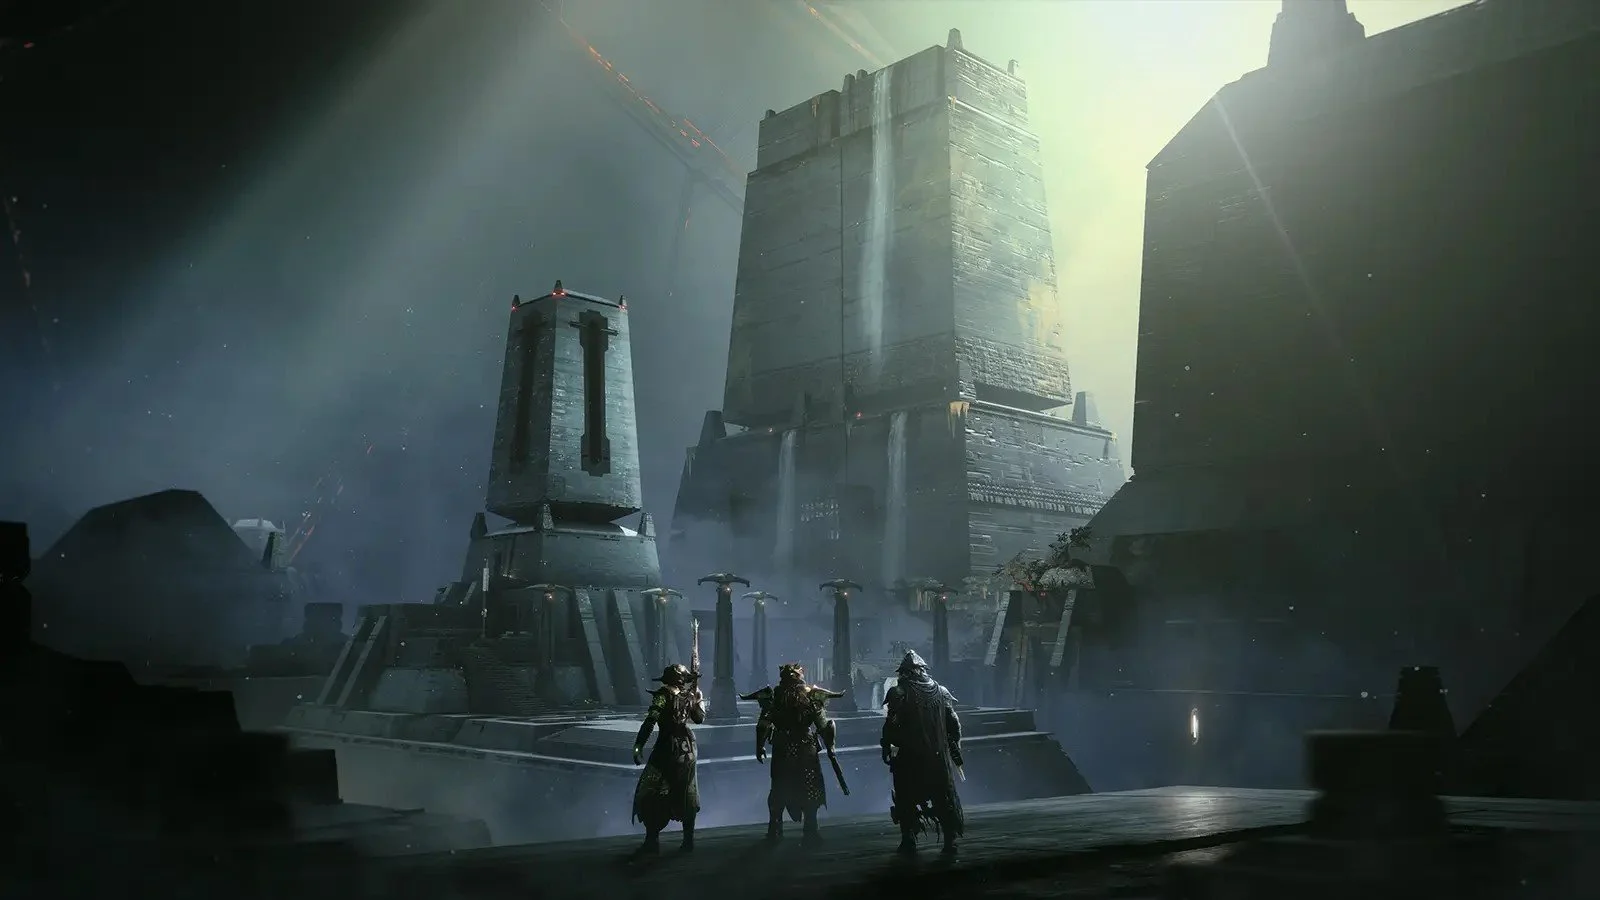
As with past dungeon launches, the world’s first race for Sundered Doctrine comes with restrictions to ensure a level playing field. Set in Rhulk’s Pyramid Ship located in Savathûn’s Throne World, this dungeon pits Guardians against the Hive and Dread factions with brand-new mechanics and gear to unlock.
During Contest Mode, Bungie will disable select weapons, armor, and perks to prevent advantages. So far, the following have been confirmed:
Bungie has warned that more restrictions could be added, with a finalized list announced by 7 AM PT on Friday. Stay tuned for any updates before launch.
Note: The upcoming Sundered Doctrine walkthrough is based on Day One runs but optimized for normal playthroughs.
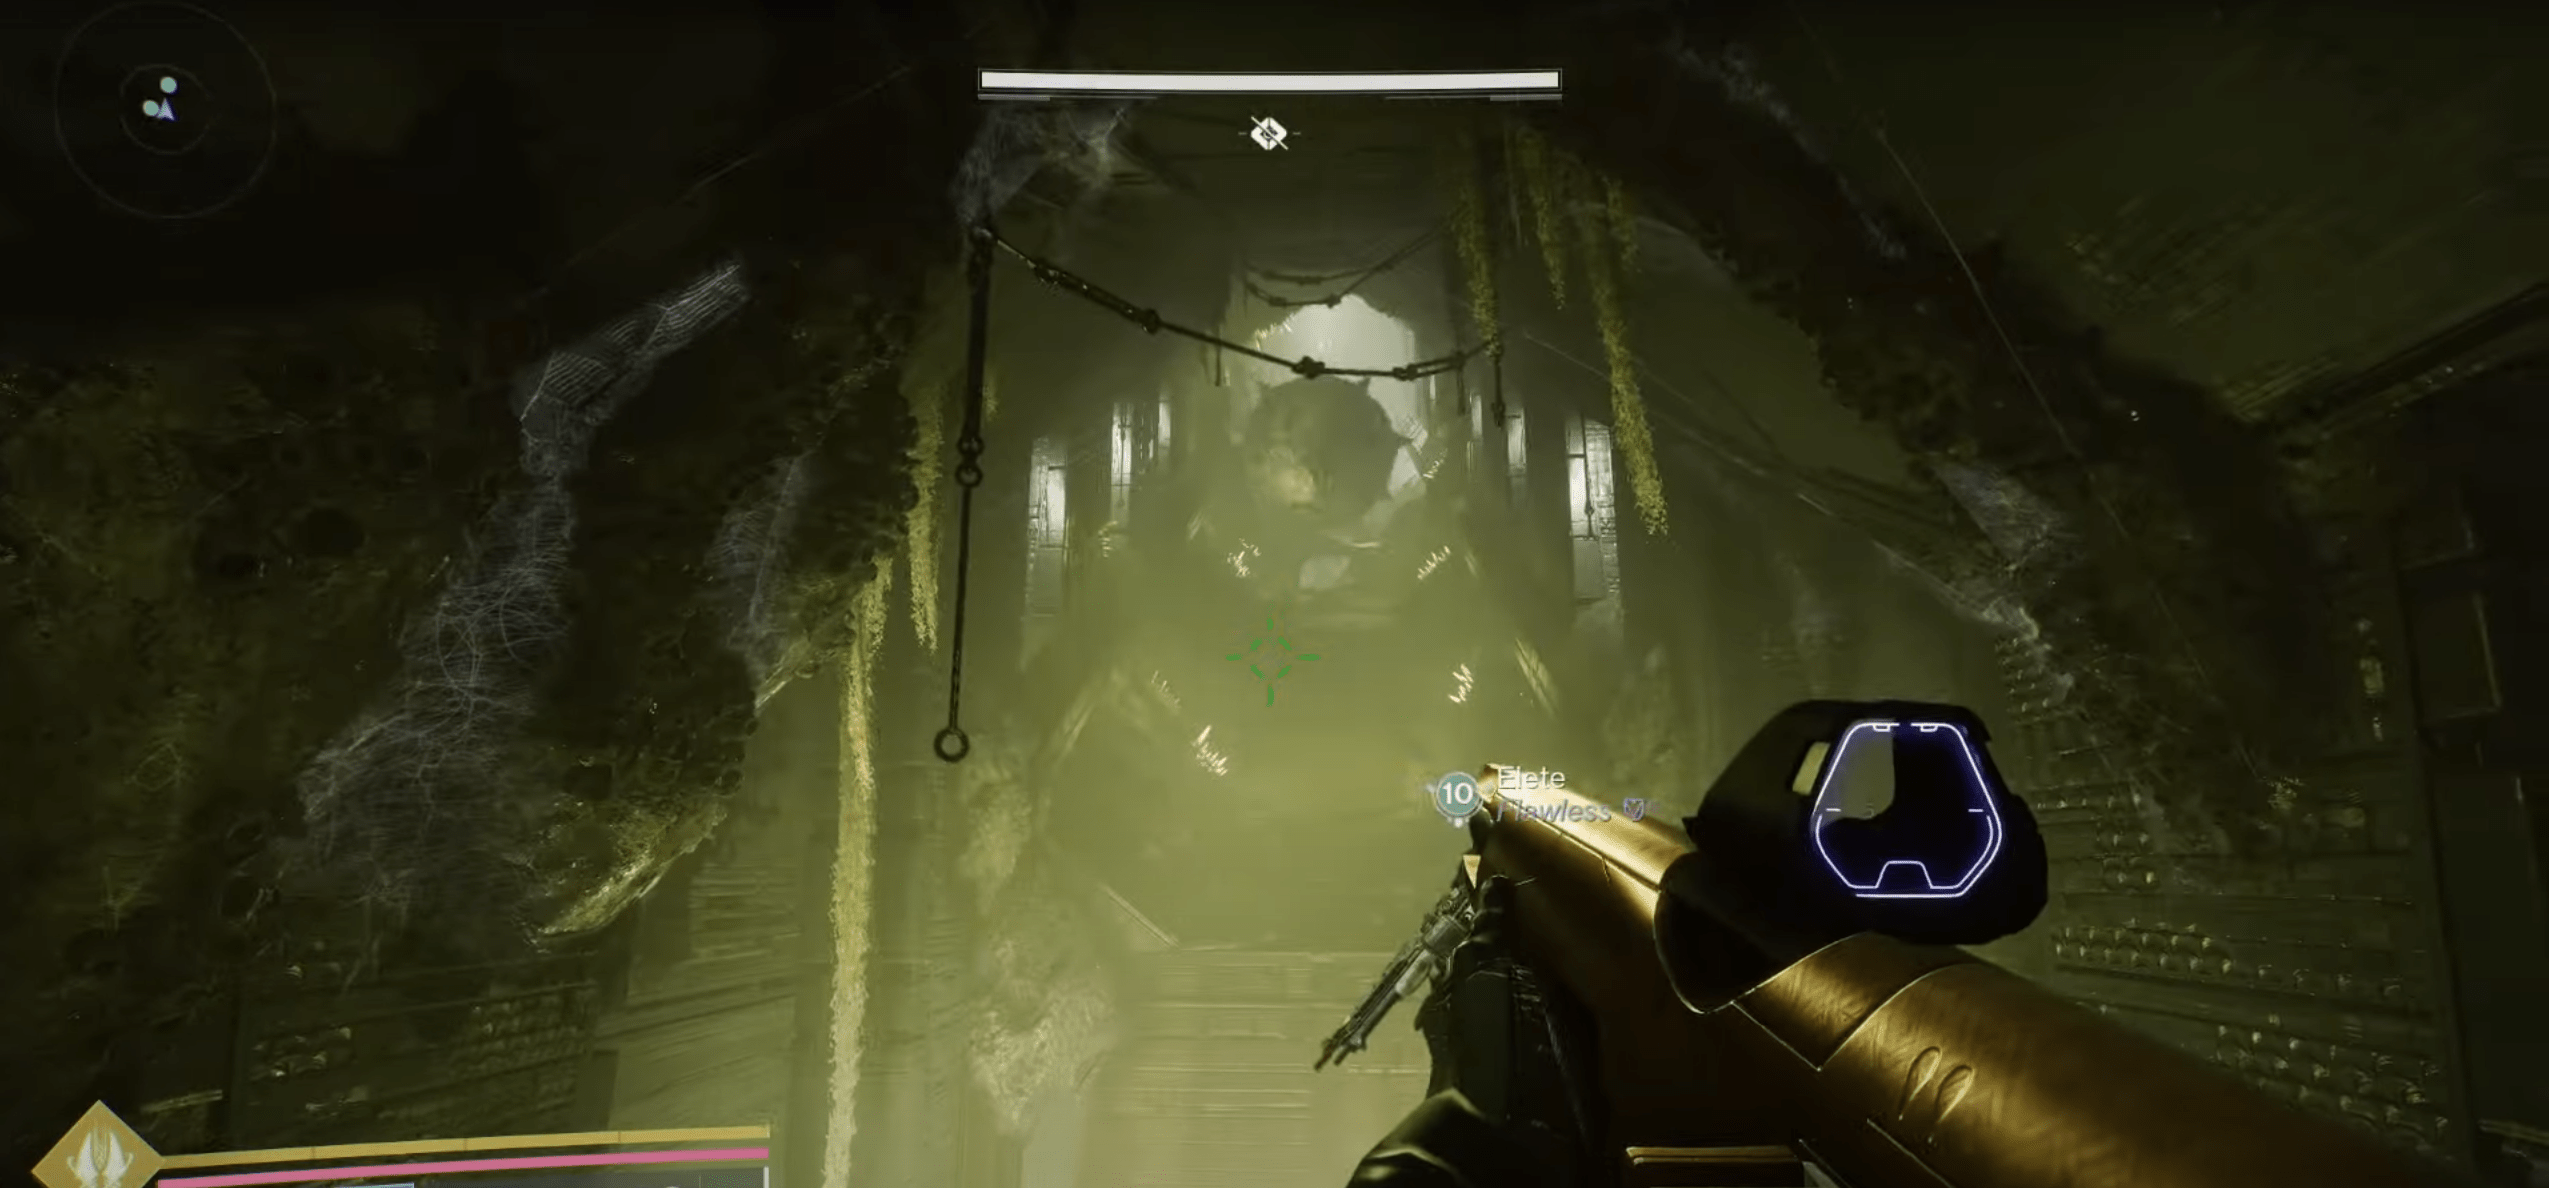
The action begins deep inside Rhulk’s Pyramid Ship. Your first mission is to push through the Flooded Inspection area, a relatively linear section with waves of Hive and Dread foes. Watch for two Subjugators here—they can be stunned and taken down efficiently.
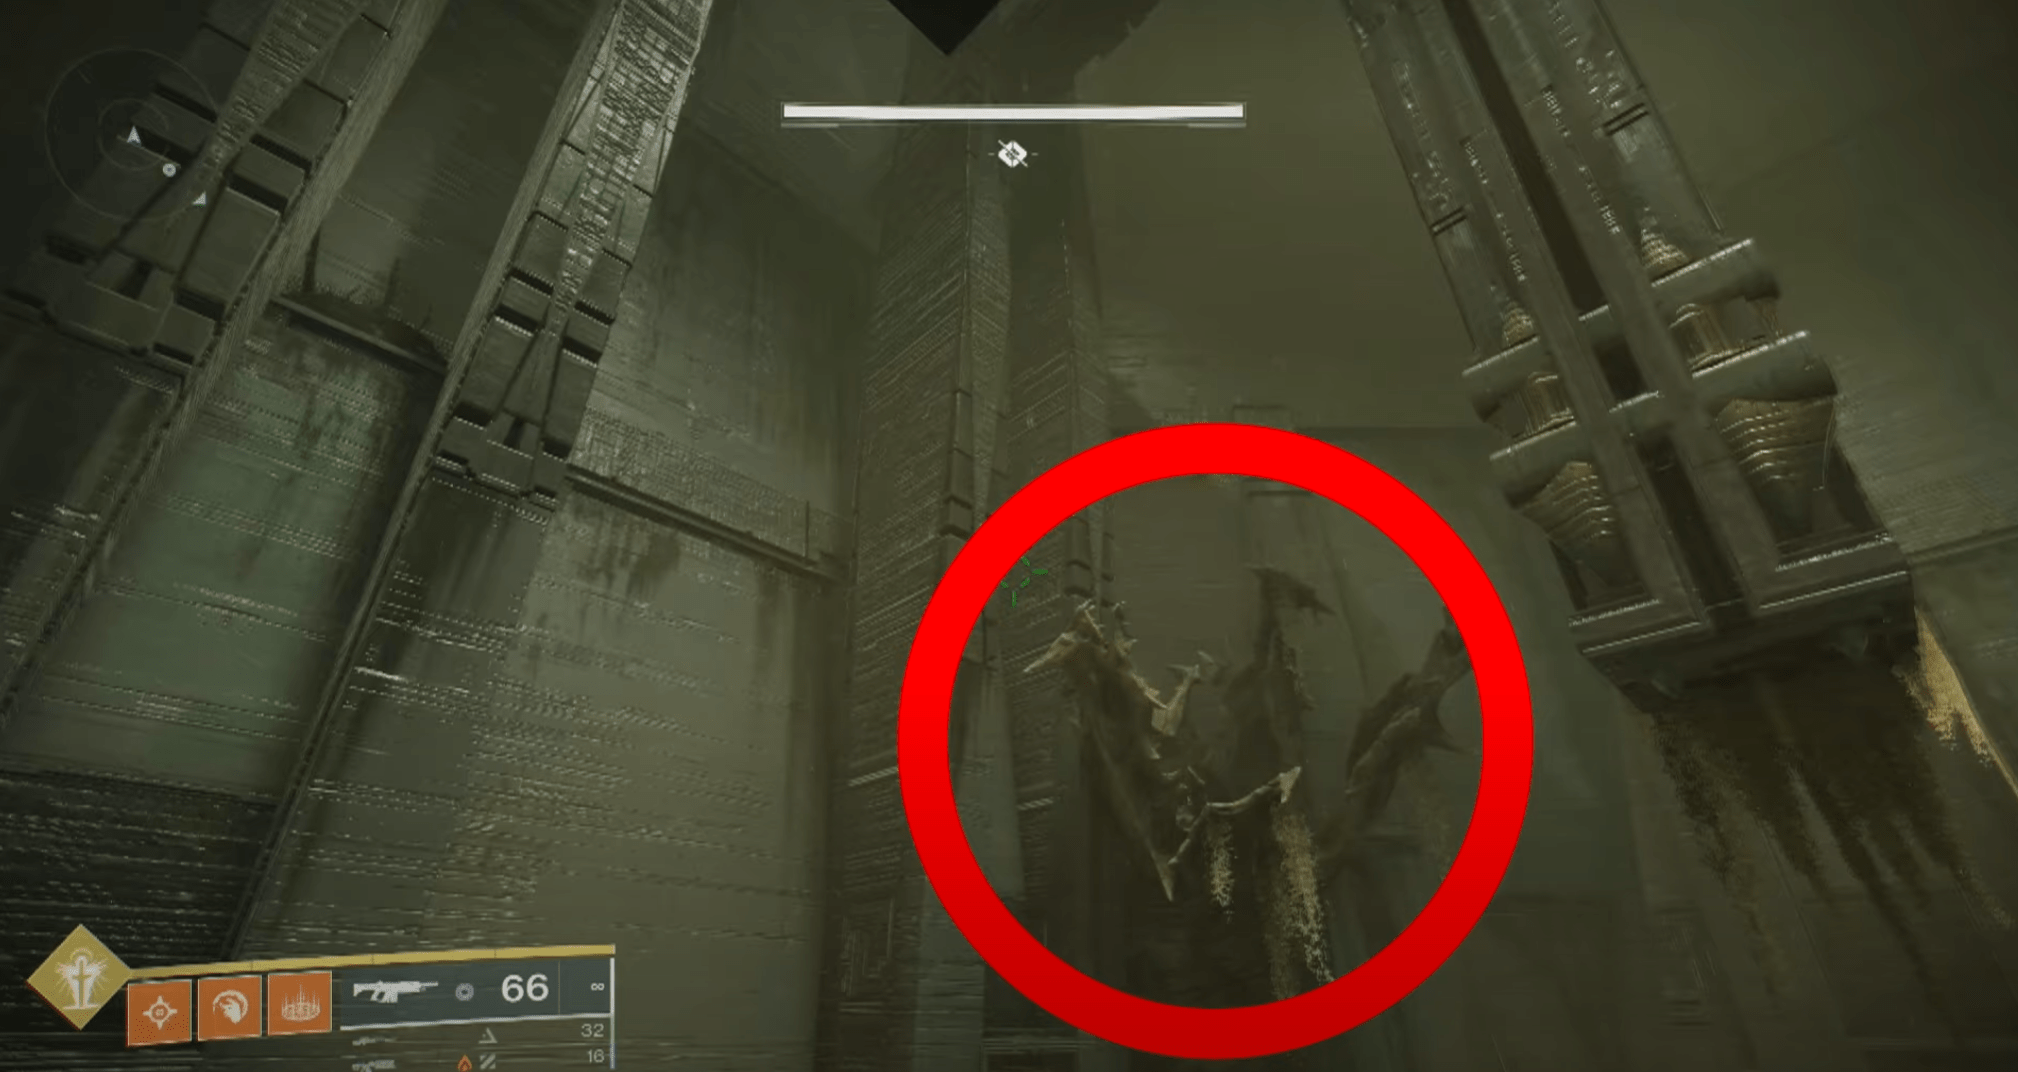
After clearing initial enemy groups, locate a hidden tunnel behind a waterfall. Look for two red lights high in the room’s rear. Drop down through this secret passage to continue deeper.
Prepare for a maze-like area filled with unstable platforms and tight spaces. Avoid bottomless pits and take time navigating to avoid falling. Eventually, you’ll find a corridor laced with a harmful beam of darkness. Step carefully—this beam deals damage over time. Find safe breaks in the beam and move through the hallway cautiously.
This passage ends with the beam shining on a wall panel containing three symbols. This indicates the beginning of your first encounter: The Riddle.
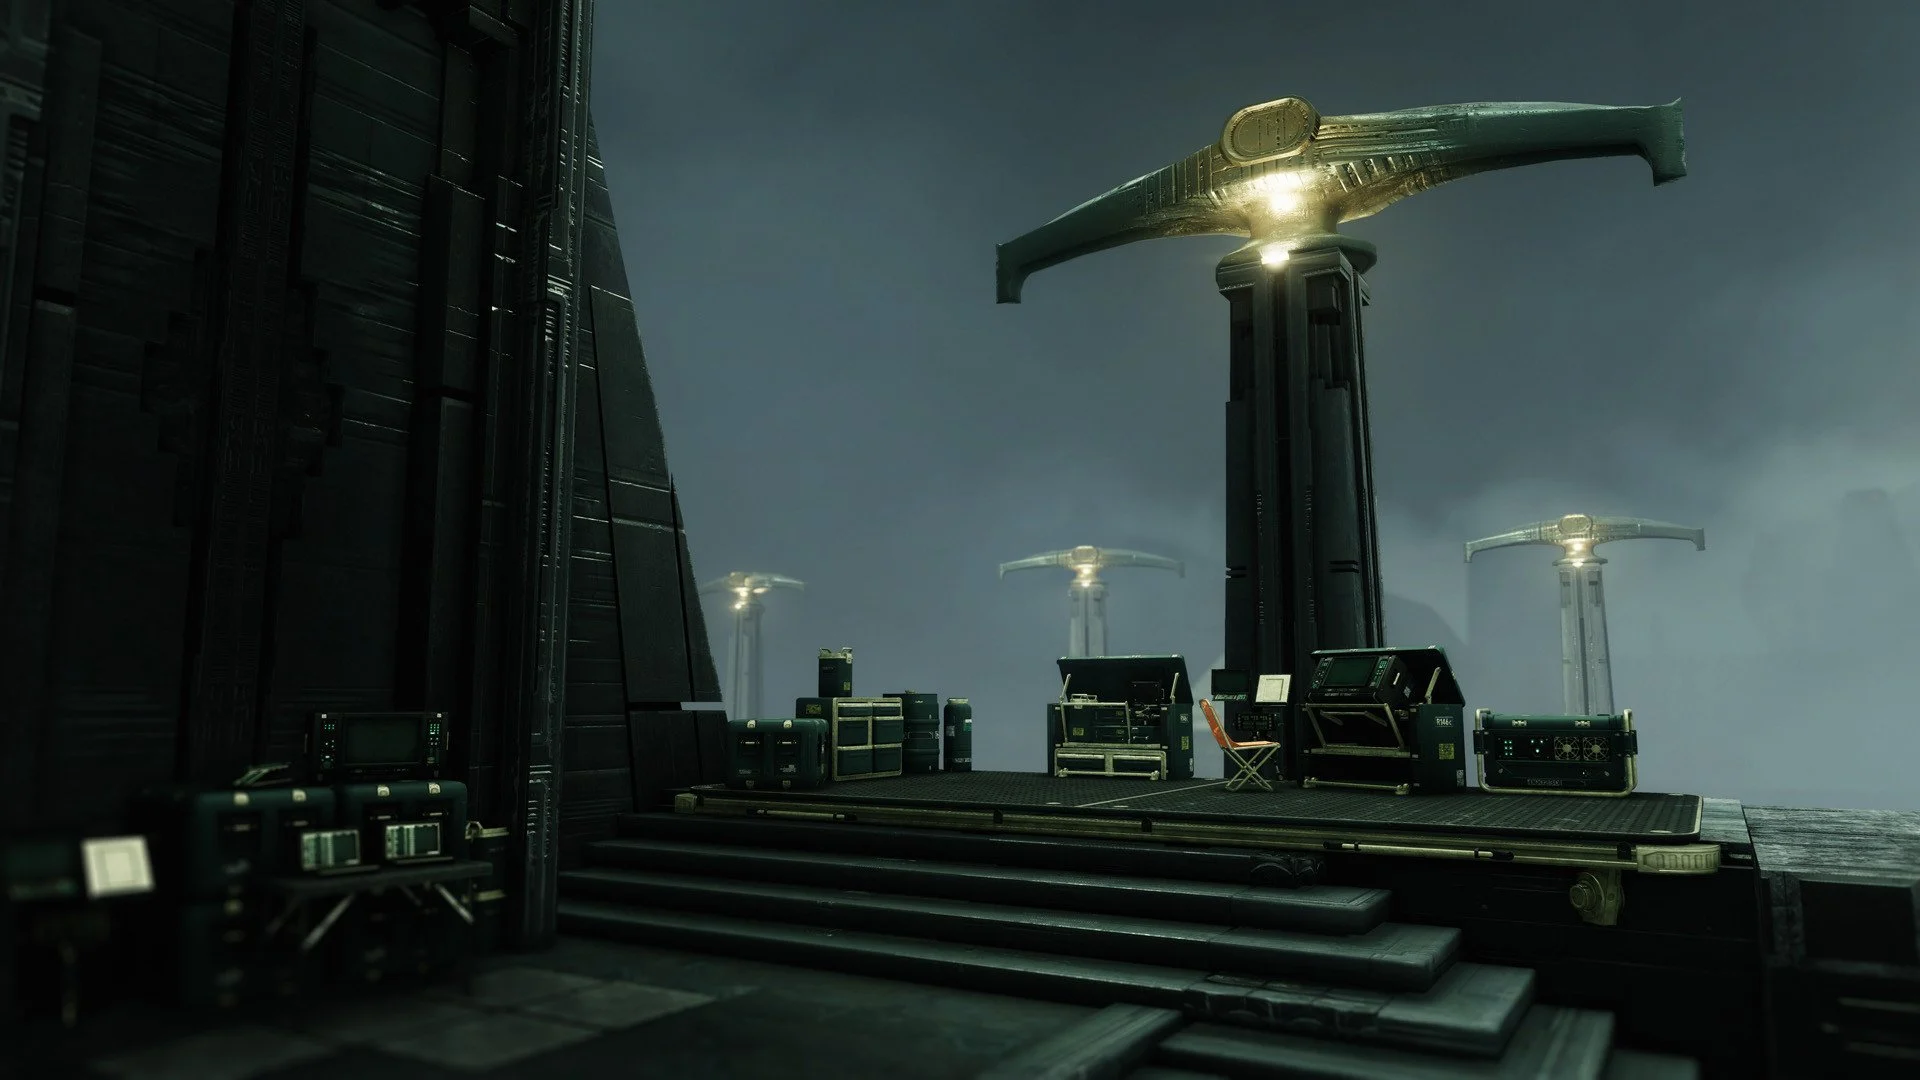
The first encounter introduces rotating darkness lenses that direct beams toward specific symbols. Four side rooms contain circular plates that change symbols every time you begin the puzzle. At the center, you’ll find a main tablet displaying seven empty slots for symbols—this serves as your reference board.
Only one Major Grim appears per round, so each puzzle phase must be completed sequentially.
Complete all three beam alignments to end the encounter and unlock the path ahead.
With the first encounter behind you, prepare for a high-risk traversal section. A steep corridor ahead releases massive spike-covered boulders. These traps move at high speed and can easily wipe your team.
The safest method is to stick to the alcoves on either side of the corridor. These offer momentary protection. Watch the movement pattern of the boulders and sprint only when it’s safe to do so. Patience and precision are key.
In the next section, boulders roll horizontally across a narrow hallway. Wait for an opening between rolls and sprint across quickly. This segment requires timing over speed.
Once past the danger zone, you’ll reach two lenses pointed at symbol wheels embedded in a door.
The door displays two target symbols—your job is to rotate the wheel symbols to match.
Once both wheels are aligned, the door opens, leading into the Zoetic Lockset encounter.
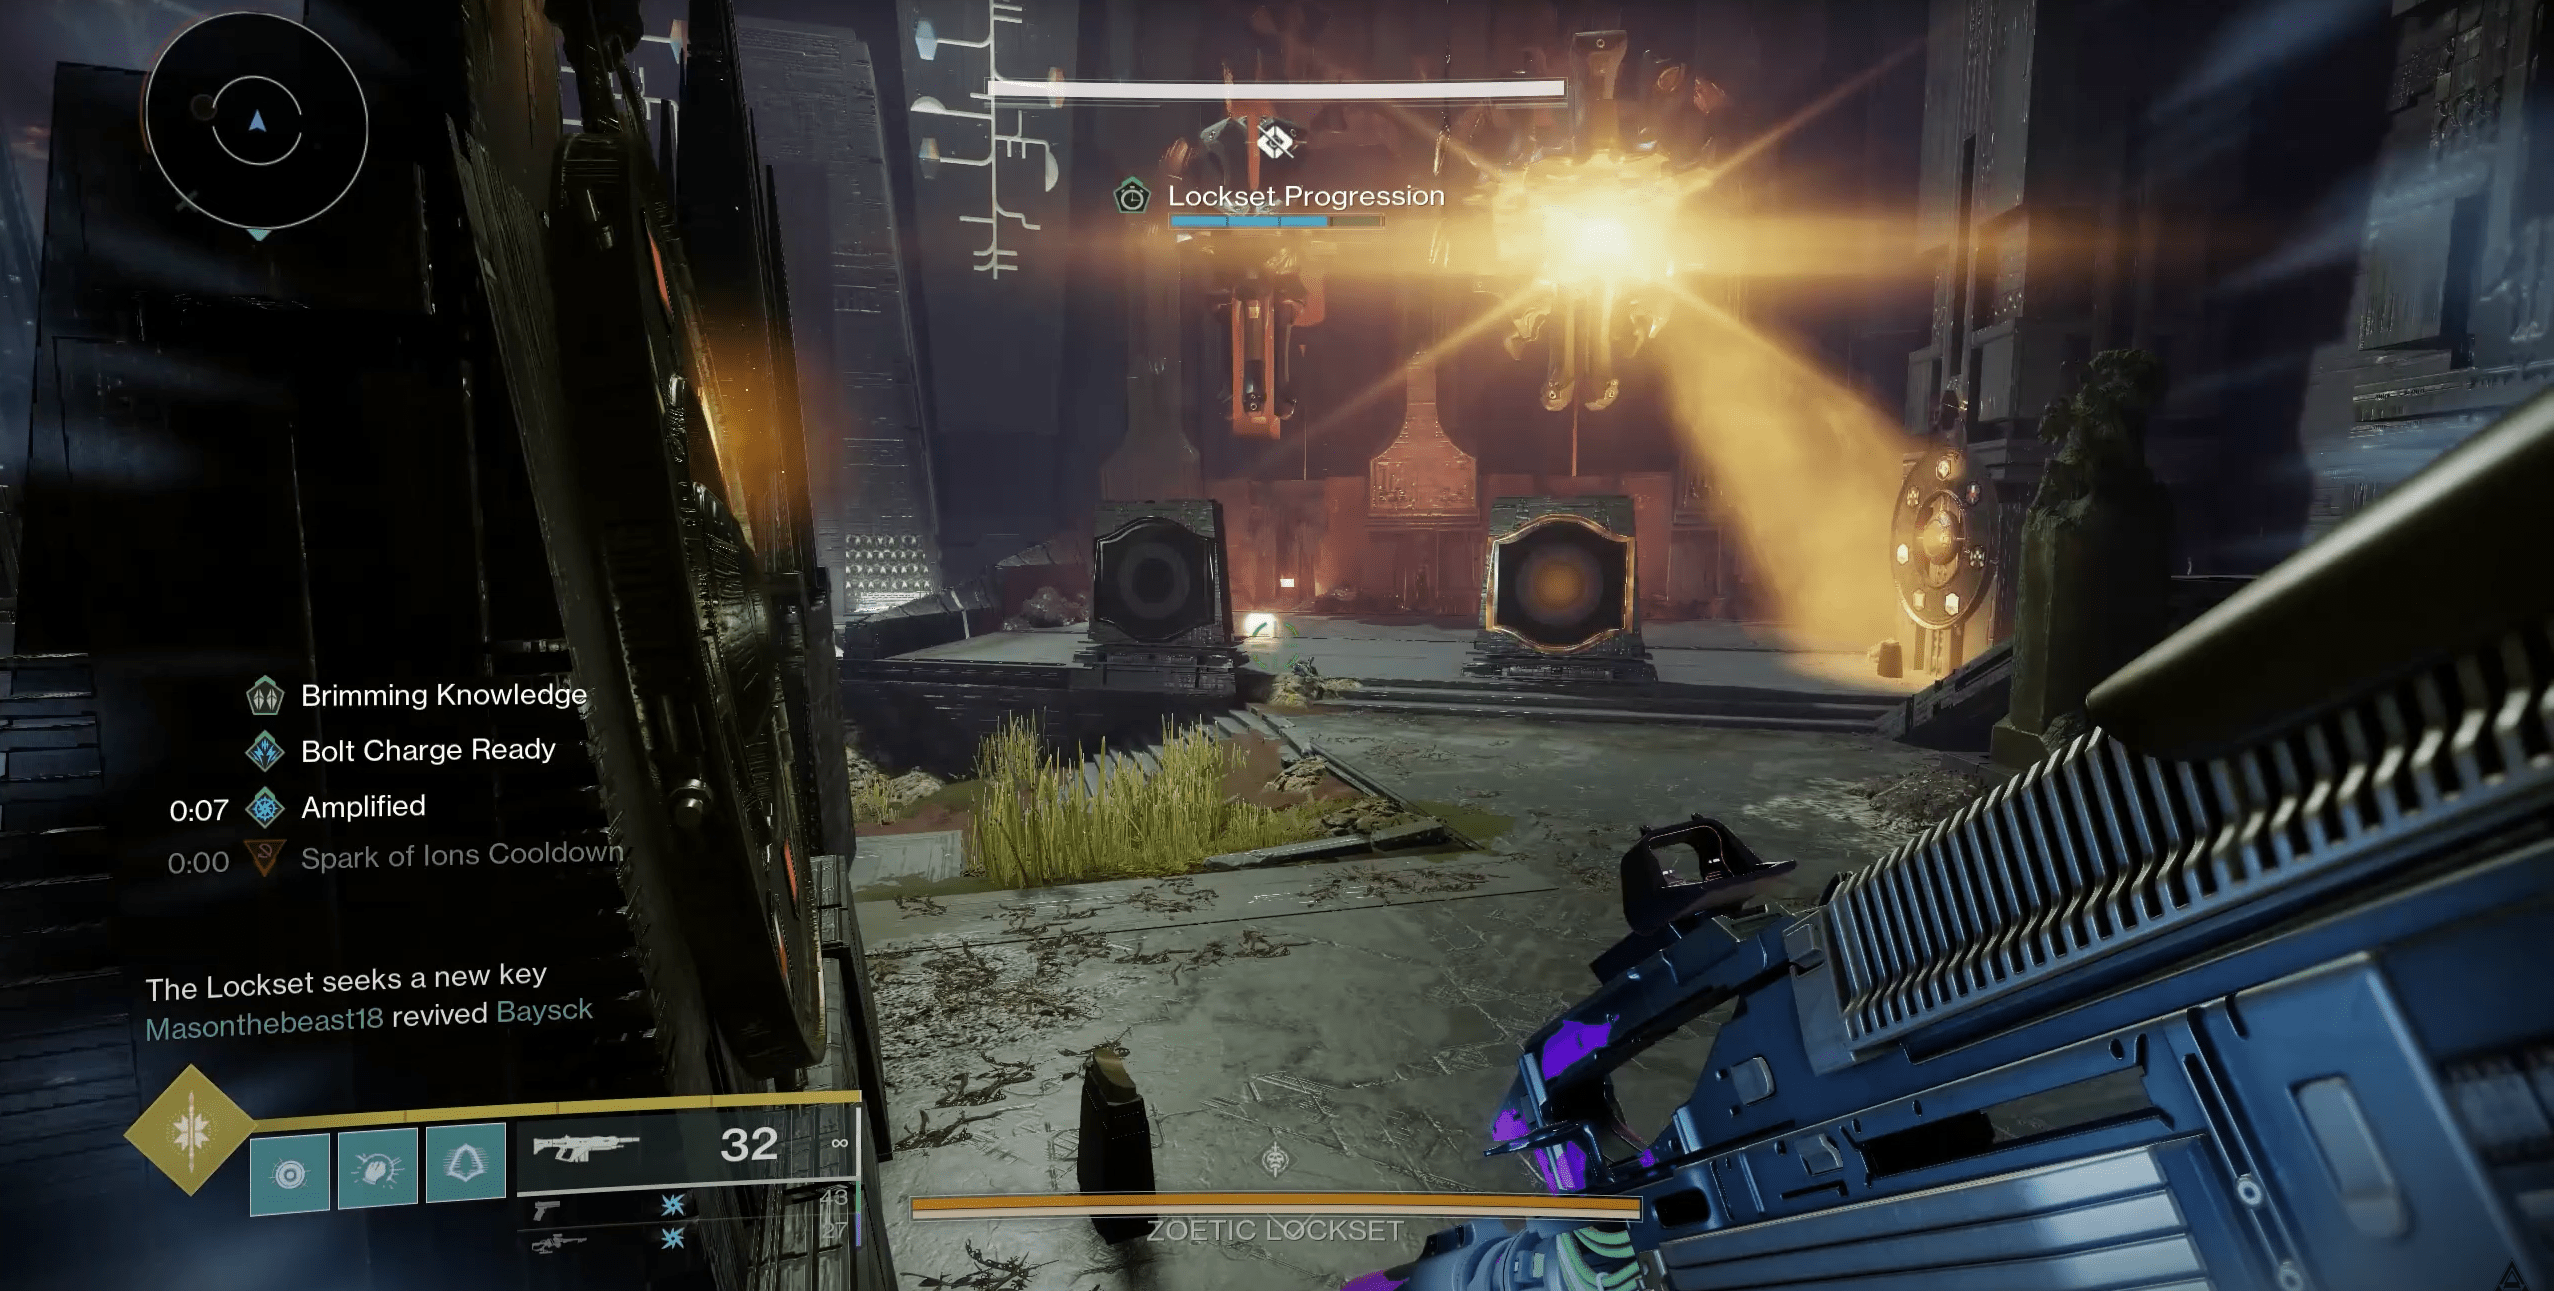
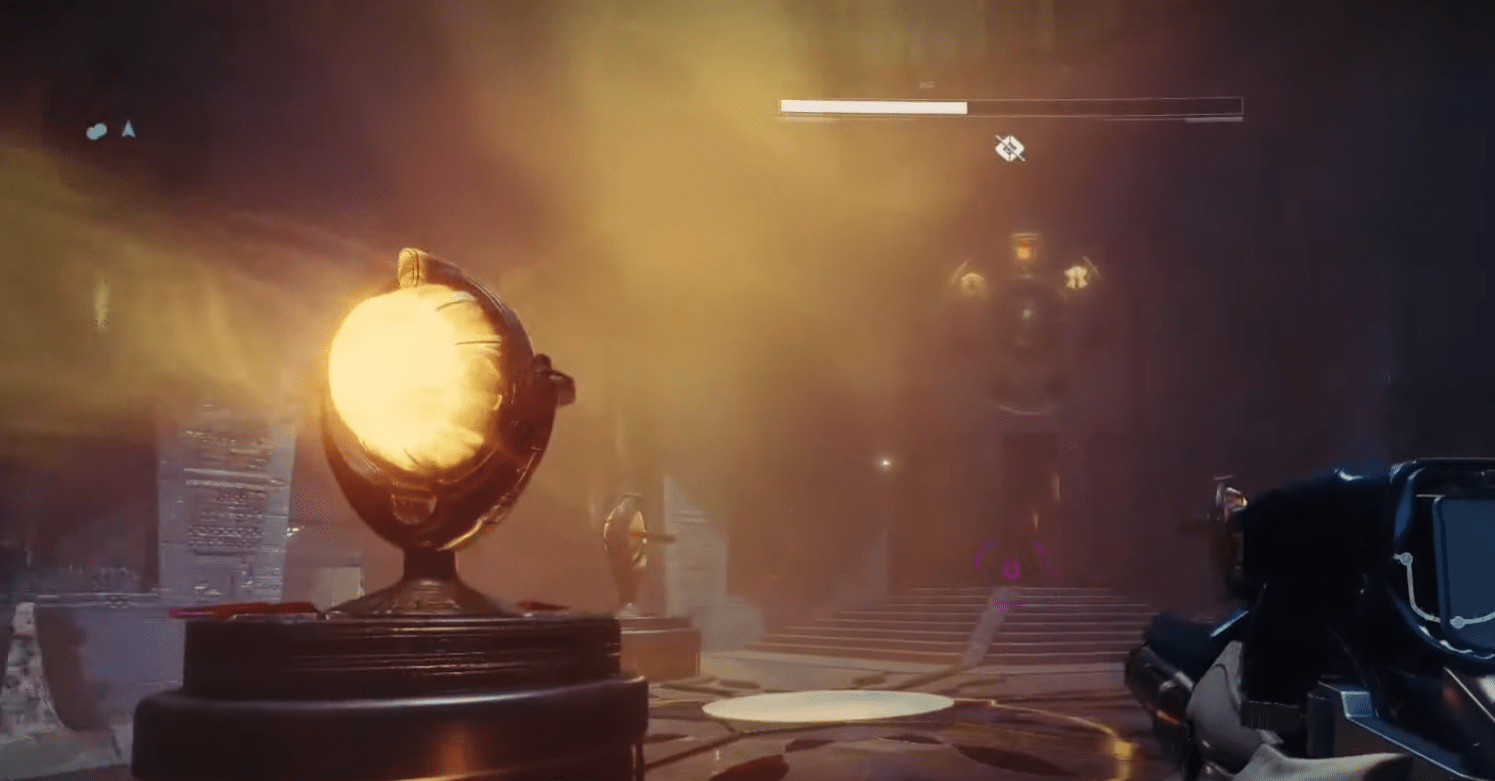
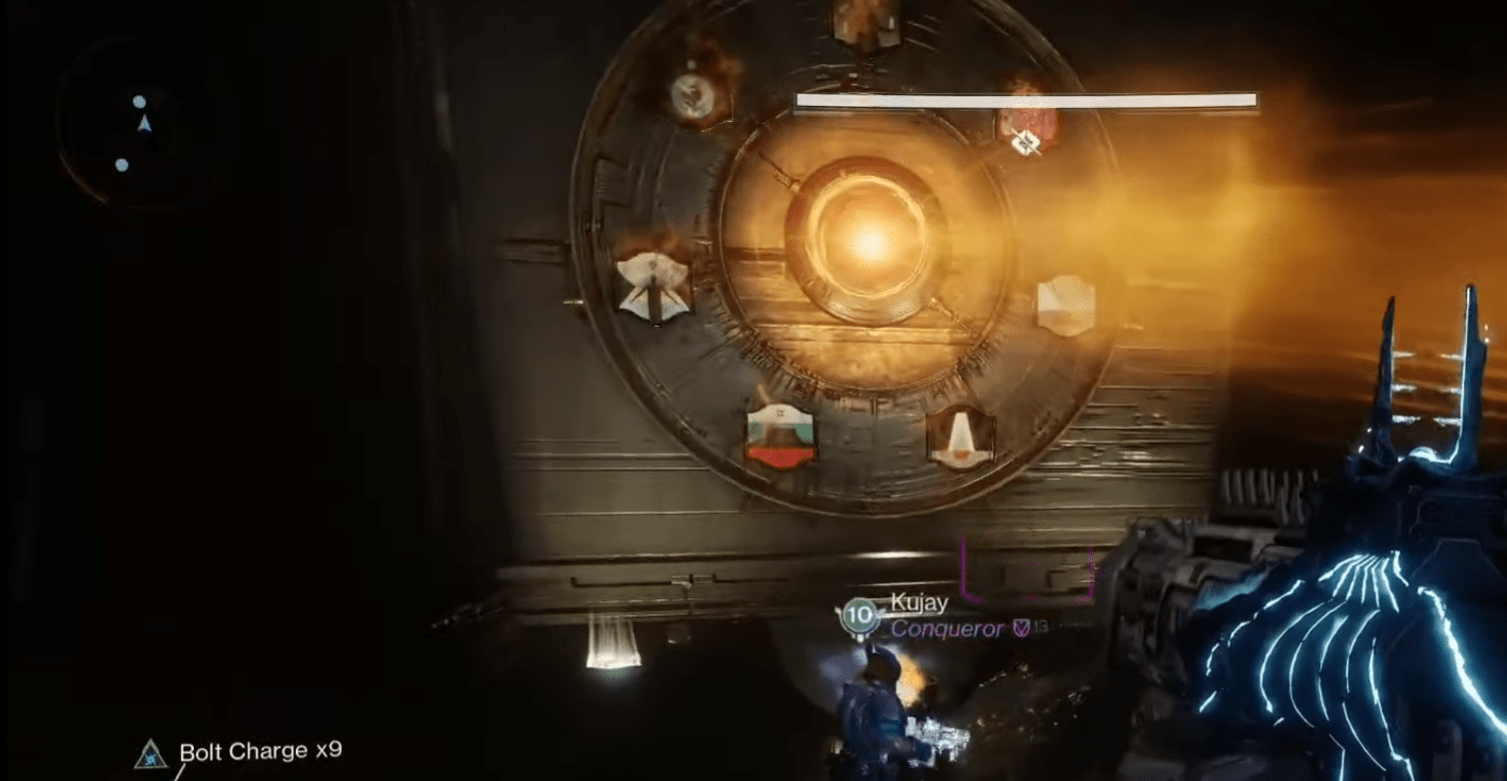
Upon entering the arena, you’ll see a Lockset Progression Bar on screen. This tracks the activation of four giant wheels as Shriekers gaze at them in sequence, locking in their displayed symbols. These locked symbols determine everything from enemy waves to the damage phase itself.
Symbol panels around the room will help your team understand how to influence the fight. Zoetic Lockset builds upon the lens mechanics and introduces strategic wheel rotations with heavy consequences.
There are four major wheels in the arena, each showing a glowing symbol. To rotate them, collect Resonance Splinters:
To change rotation direction, shoot the Crux of Darkness above the wheel.
As the Lockset bar advances, newly blank wheels are filled with random symbols. Be sure to check frequently and adjust them before they lock in.
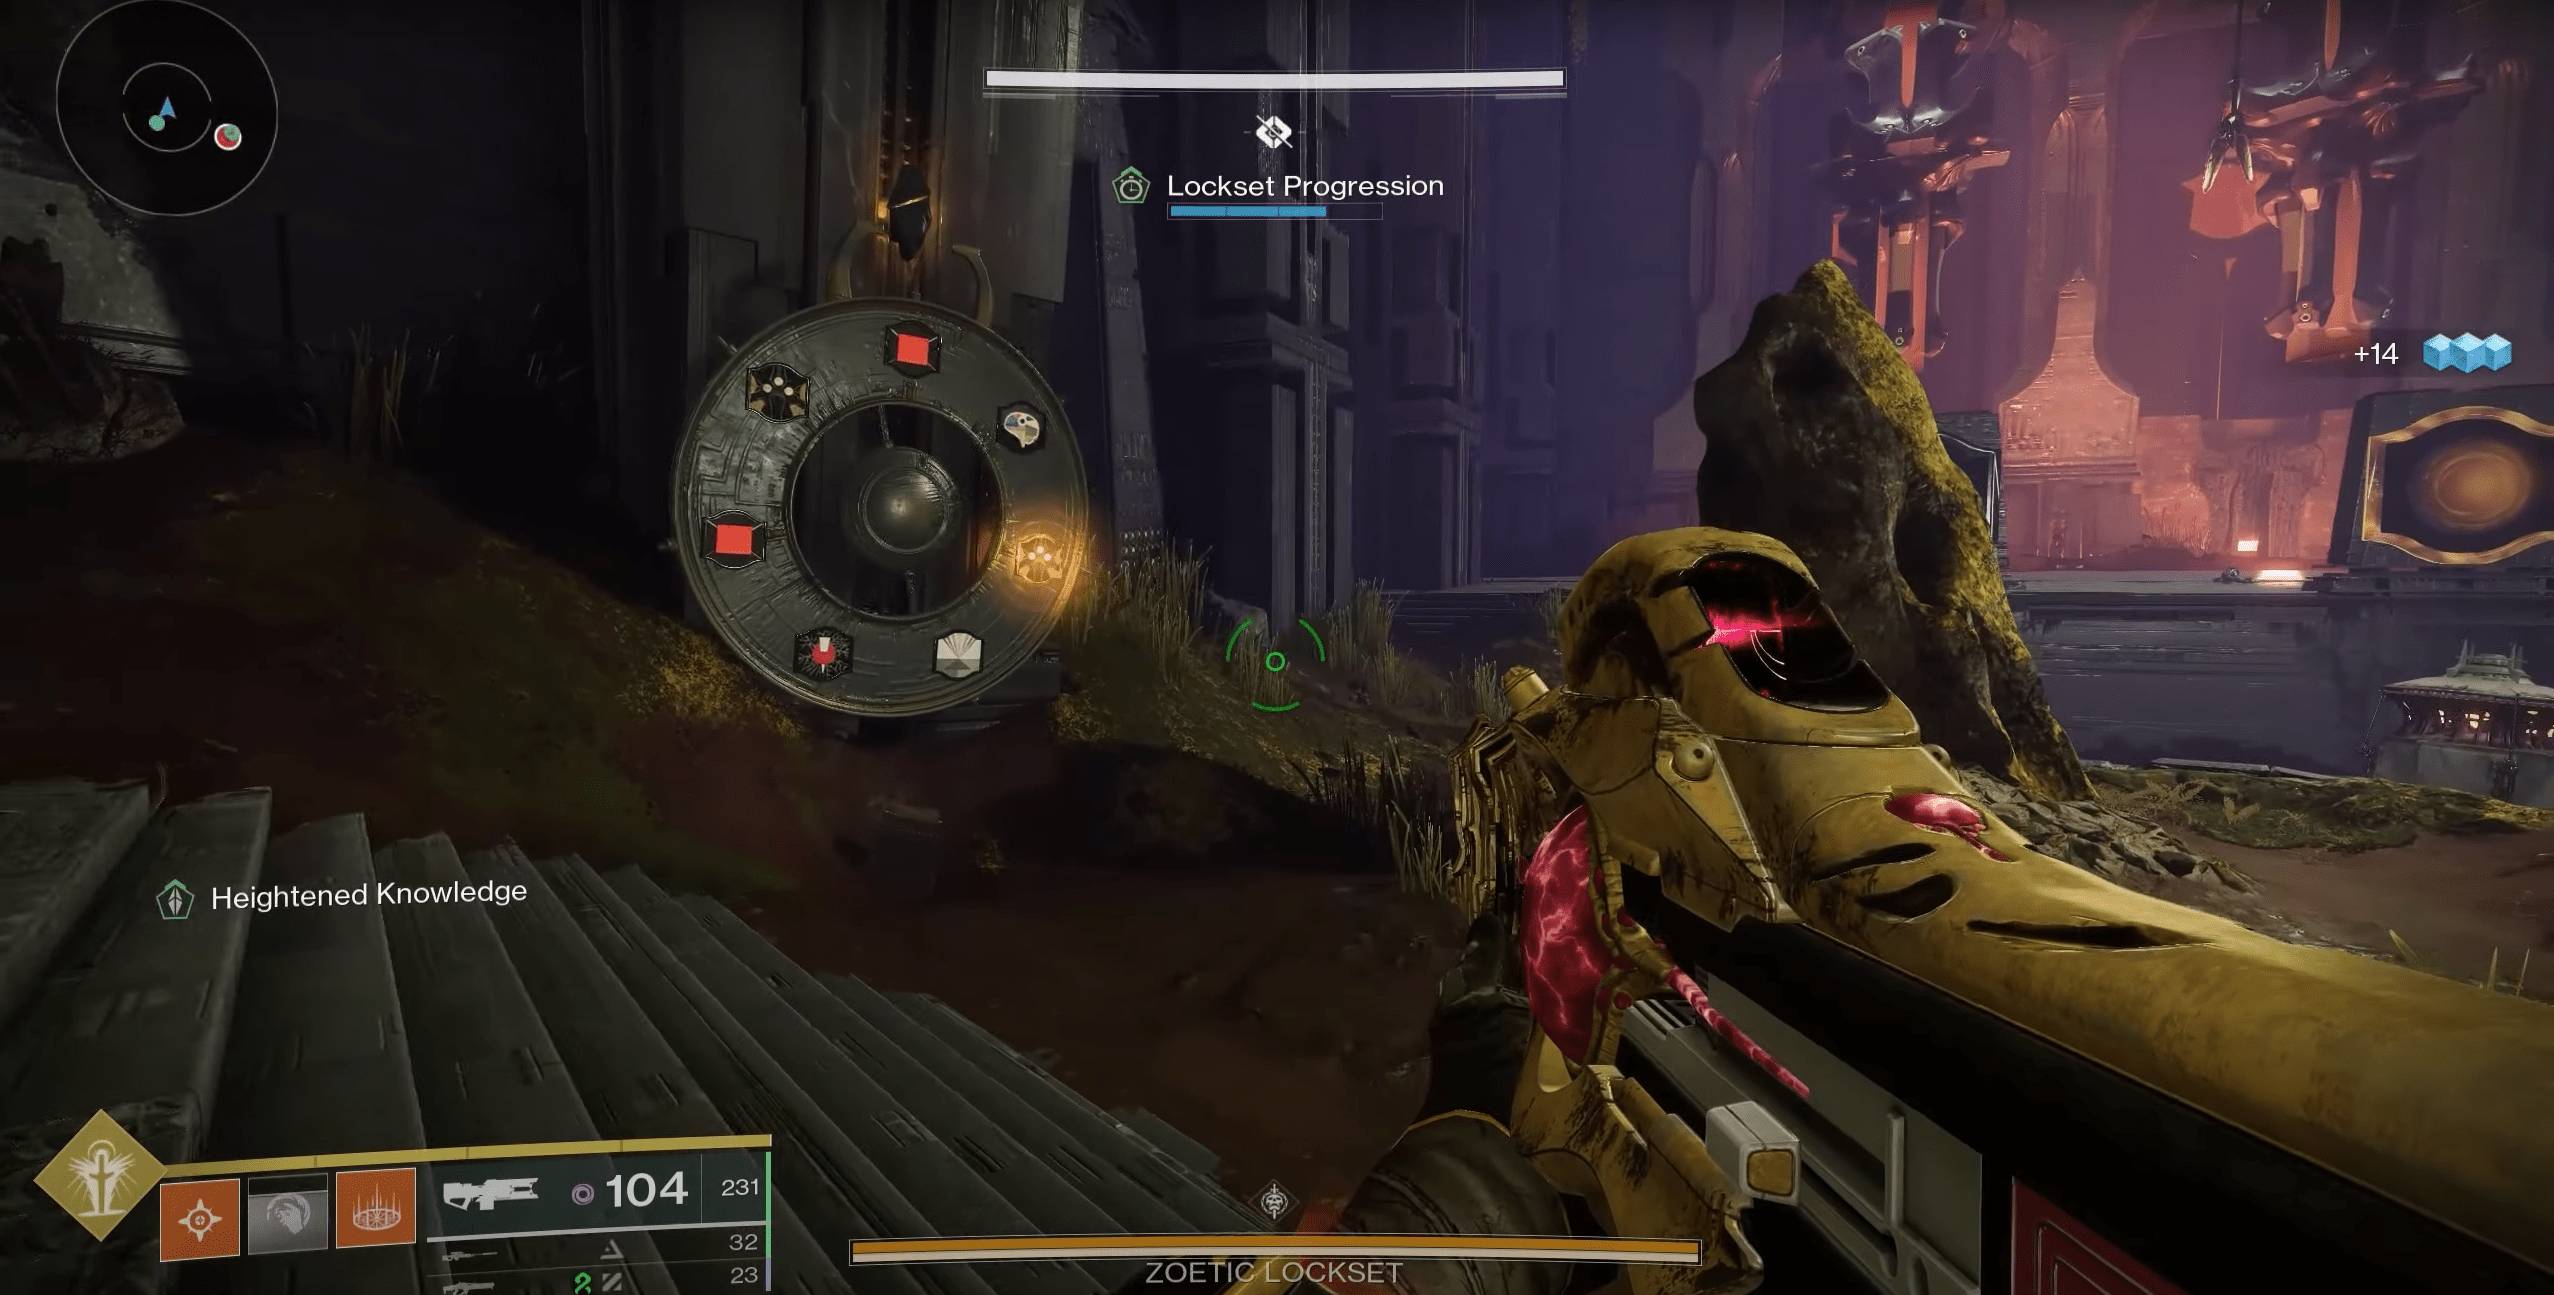
Once locked in, the final set of symbols determines if the boss becomes vulnerable and how tough the encounter gets.
Locked symbols heavily influence the outcome of the DPS phase. Set them wisely to avoid extra adds or losing the chance to deal damage at all.
| Symbol | Effect |
|---|---|
| Kill | Triggers the DPS phase when a Shrieker reads it. |
| Commune | Extends the DPS phase, allowing for more damage time. |
| Hive | Spawns an Ogre to disrupt players. |
| Brain | Spawns a Knight that must be dealt with. |
| Stop | Temporarily stops additional enemy spawns. |
To trigger the damage phase, the final wheel must lock in the Kill symbol. Commune symbols extend your window to deal damage, while Stop reduces adds. Avoid Hive symbols at all costs—they cause Ogres to spawn, complicating the encounter significantly.
Once the Kill symbol is set, Zoetic Lockset becomes vulnerable. The more Commune symbols you've secured, the longer the DPS window will last. Use Linear Fusion Rifles like Sleeper Simulant or Cataclysmic for maximum effect. Divinity is also valuable due to the boss’s movement and small crit spot. Particle Reconstruction (artifact mod) boosts this damage even further.
Position your team to hit both outermost Shriekers with a Well for extended uptime. Be alert—enemy reinforcements may appear based on your symbol choices.
If Zoetic Lockset survives, the entire wheel puzzle resets with new random symbols, and the process begins again.
With Zoetic Lockset defeated, a glowing eyeball drops from its body. Carry this orb to the center of the arena and insert it into a glowing floor slot to unlock the next passage.
The upcoming traversal section defies gravity—you’ll be pulled upward toward floating platforms. Navigate carefully, taking out enemies stationed on ledges. Missteps here can be punishing and will force a full restart.
At the top, you’ll find a familiar lens puzzle. Align two beams to match symbols on a wall-mounted tablet. This requires sharp placement due to the limited area. Complete this step to open the final door, leading to Kerrev, The Erased—the last boss of Sundered Doctrine.
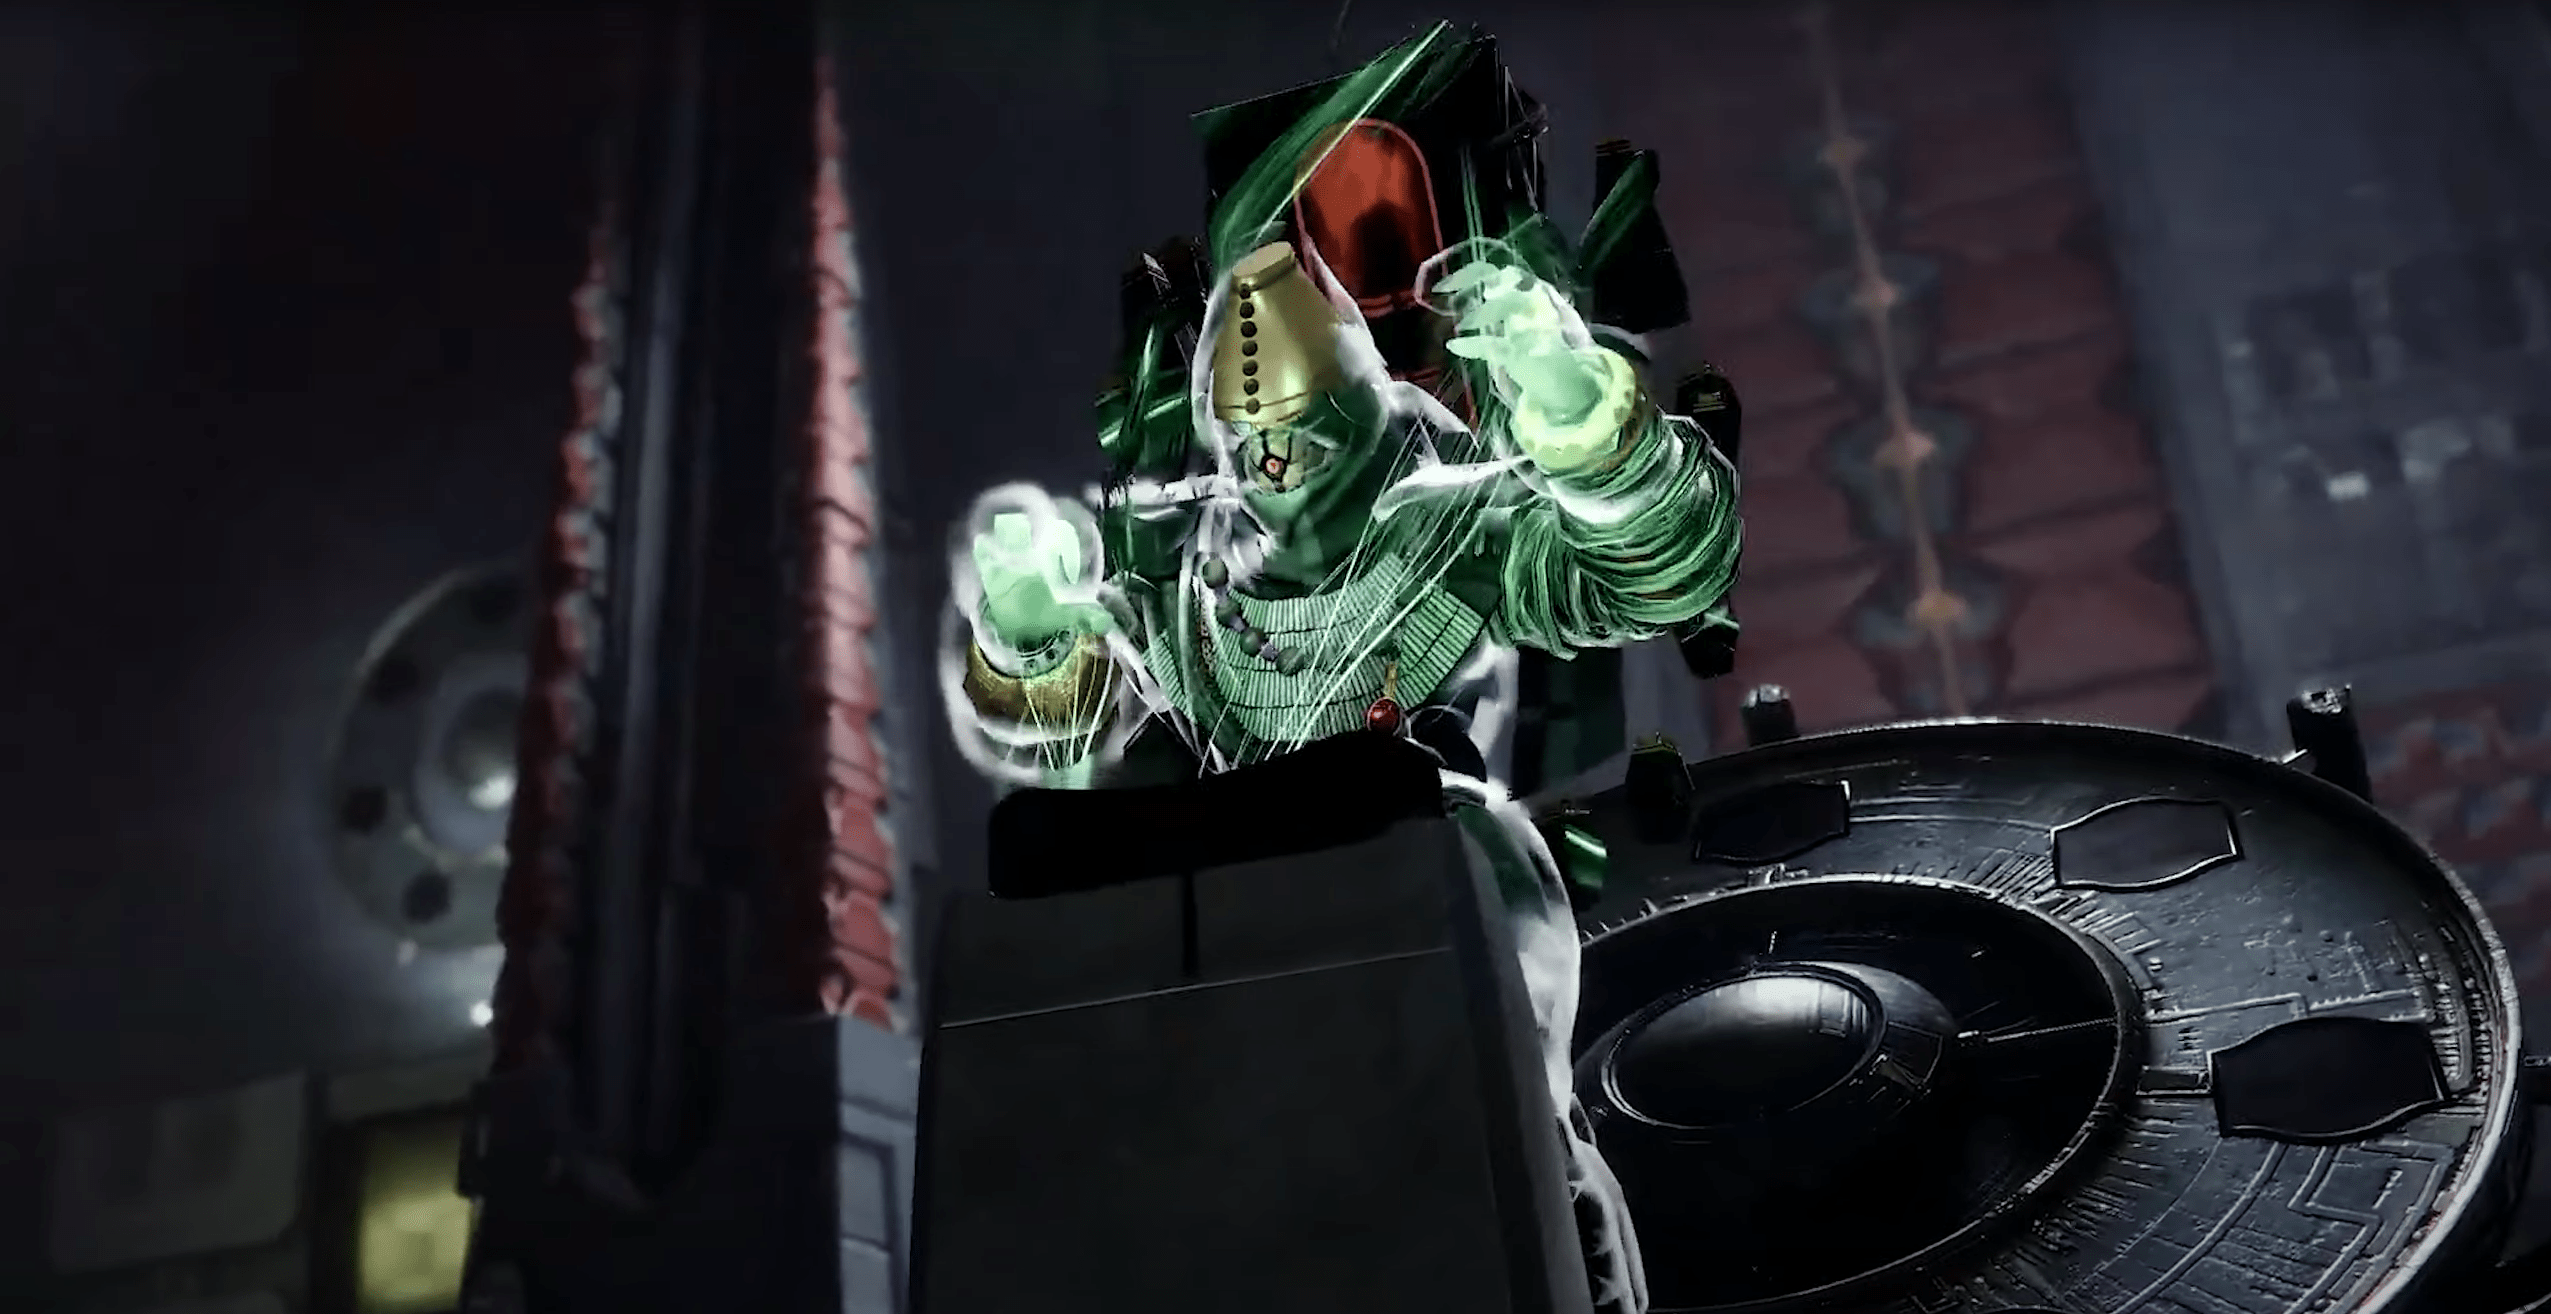
The epic final encounter of the Sundered Doctrine dungeon unfolds within Rhulk’s Pyramid Ship, combining previously used lens mechanics with a brand-new Truth and Lie puzzle mechanic. Players must rotate lenses, align beams, and light the correct symbols while battling a fast, Scion-style boss.
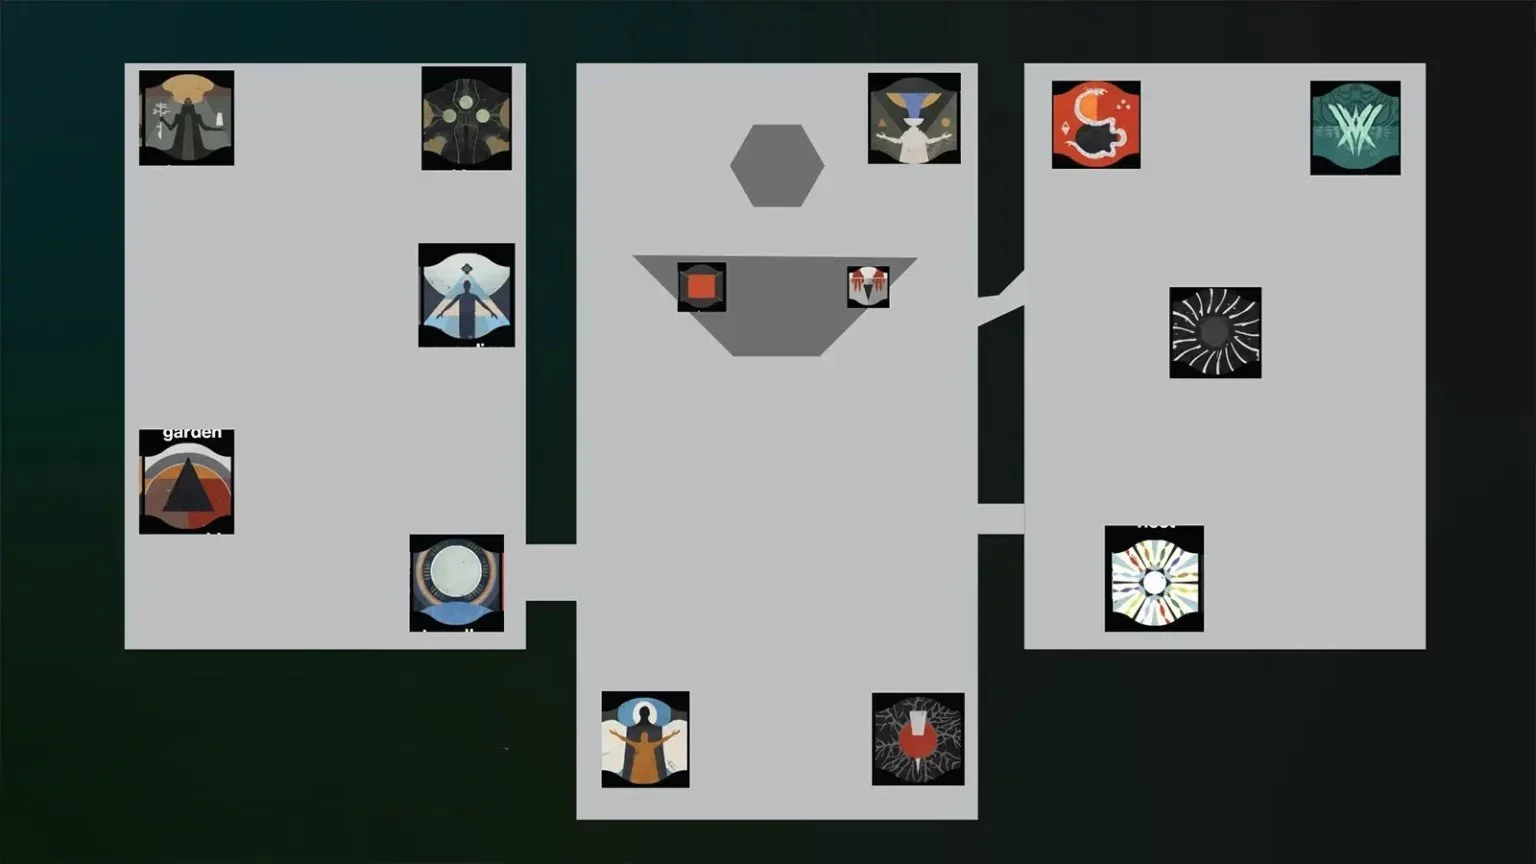
This multi-room encounter involves four key areas:
Each space contains interactable symbols necessary for puzzle completion.
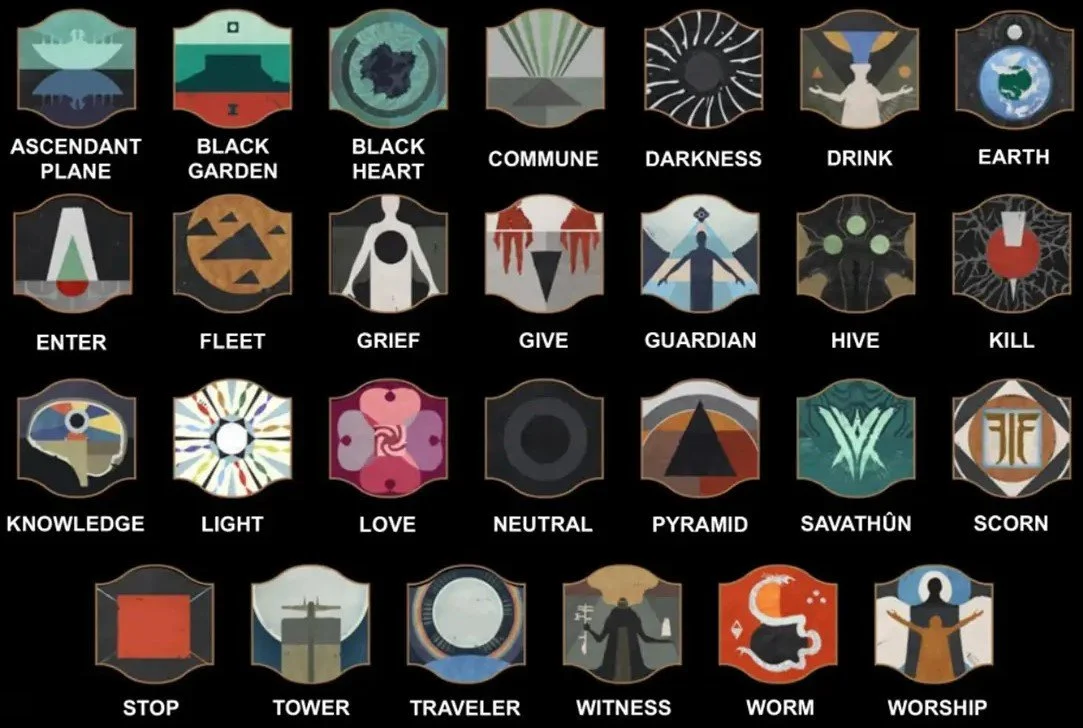
At the beginning of the encounter, a display in the Middle Room shows two sequences of three symbols—one on the left, one on the right. Only one tells a true story in Destiny 2’s lore; the other is fabricated.
Example:
Your team must identify the false sequence and use lenses to highlight its symbols. Killing a Truthspeaker enemy will reveal a symbol from the real story. The side that includes that revealed symbol is true; the other is the lie and must be lit with beams.
Unlike the free lenses in the first encounter, many here are locked using Strand tethers. To unlock them:
Some lenses may be blocked by Darkness pillars. You’ll need to shoot designated nodes to raise or lower these obstacles, clearing the path for the beam.
Once all three false symbols are properly illuminated—and the true ones remain unlit—the central console becomes active.
Activating the console begins the DPS phase, provided the false symbols were lit correctly. If your team accidentally lights a true symbol, the Obelisk activates a fire wipe mechanic. You’ll need to take cover quickly to survive.
The boss’s HP will briefly drop to half and then fully restore, wasting the entire DPS opportunity. Always double-check your lens alignments before triggering the console.
Kerrev is fast and relentless, frequently teleporting and using Strand-based attacks to disrupt your fireteam. The key to success lies in precision and movement.
For maximum damage:
If Kerrev survives the phase, a new Truth & Lie puzzle spawns and the lens challenge must be repeated to re-engage the boss.
To secure a clean victory, move quickly, align lenses with precision, and focus fire when Kerrev becomes vulnerable. The final boss of Sundered Doctrine is a worthy test for any team.
The Sundered Doctrine dungeon also holds secret chests containing extra loot. These rewards require locating hidden routes or solving small puzzles. Here’s where you can find them:
Secret chests in the Sundered Doctrine dungeon provide extra loot, including:
Note: Secret chests do not grant new loot, but are excellent for rerolling gear you’ve already unlocked.
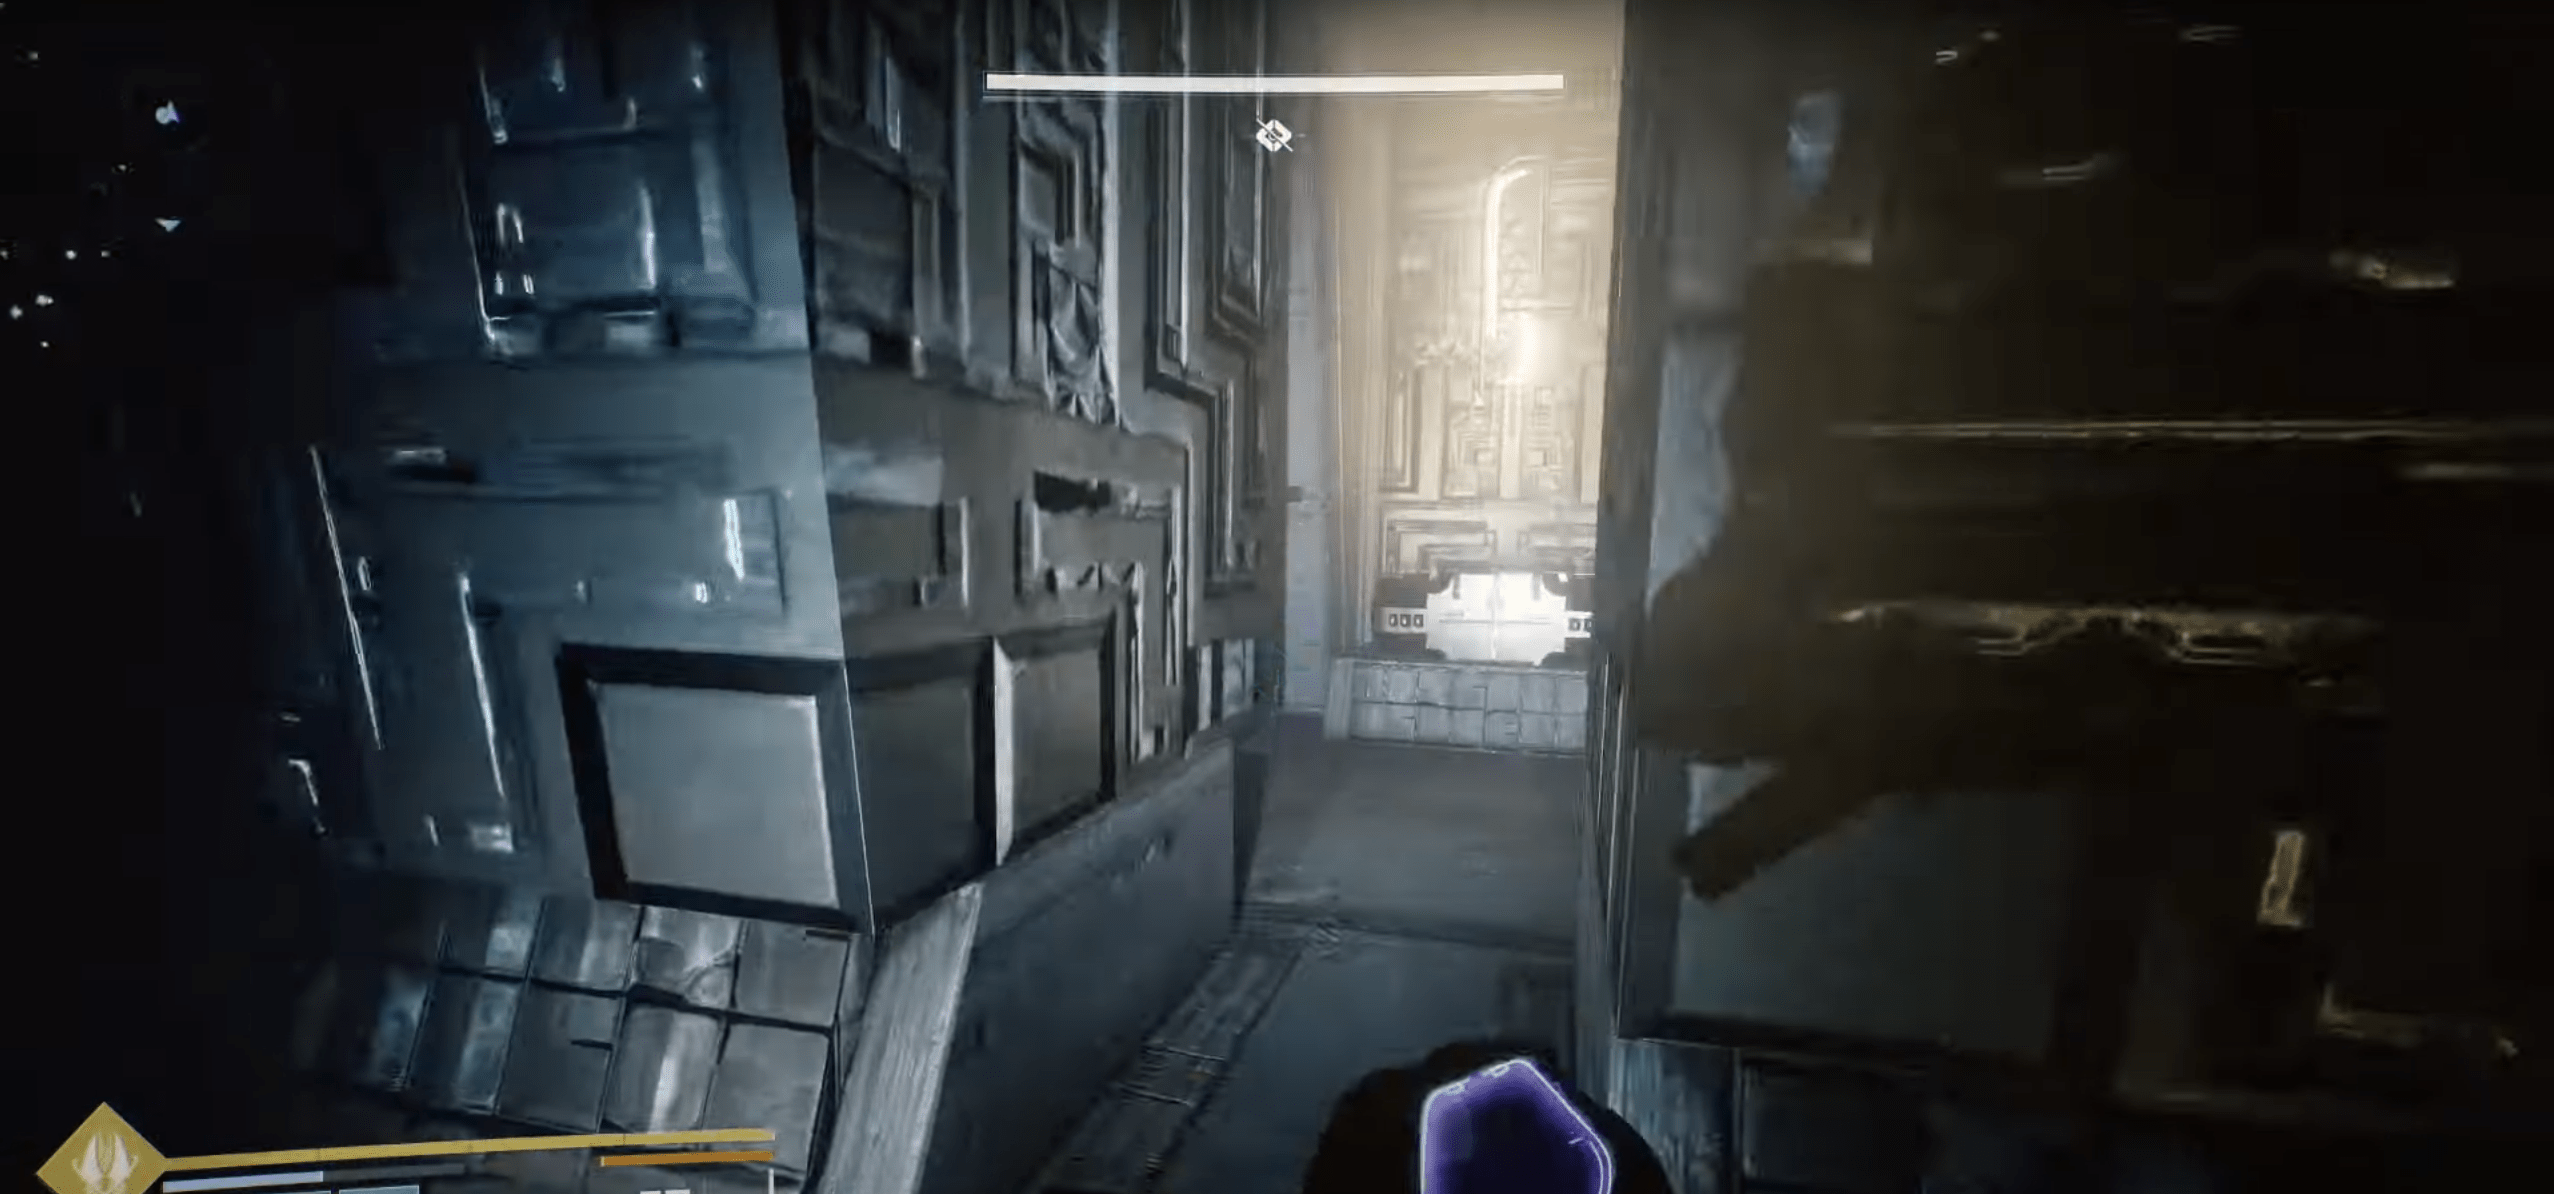
After finishing the first encounter, you’ll enter a maze-like area full of narrow tunnels. Hidden here is the first secret chest.
Tip: Split your fireteam to search faster and cover more ground when hunting the nodes.
The next chest is located just past the second encounter in a dangerous hallway of rolling spike traps.
Tip: Boulders roll at staggered speeds. Have one player scout ahead to locate the alcove while the rest of the team waits in safety.

Similar to other dungeons in Destiny 2, the Sundered Doctrine loot table includes exclusive weapons and armor that drop from specific encounters. Here’s what’s currently known:
| Category | Item Name | Type | Source Encounter |
|---|---|---|---|
| Weapons | Unsworn | Trace Rifle | 1st & 2nd & 3rd |
| Weapons | Unworthy | Scout Rifle | 1st & 2nd & 3rd |
| Weapons | Unloved | Hand Cannon | 1st & 3rd |
| Weapons | Unvoiced | Shotgun | 2nd & 3rd |
| Armor | Flain Armor | Full Armor Set | 1st & 2nd & 3rd |
| Exotics | Finality's Auger | Linear Fusion Rifle | 3rd Encounter (Kerrev, The Erased) |
| Emblems | - Last Erasure - Pyramid’s Pilot - Unsounded Depths | Cosmetic Item | - |
| Sparrow | Future Proof | Cosmetic Item | - |
Among the most exciting items is the Exotic Linear Fusion Rifle, Finality’s Auger, which features a distinctive visual design and unique mechanics.
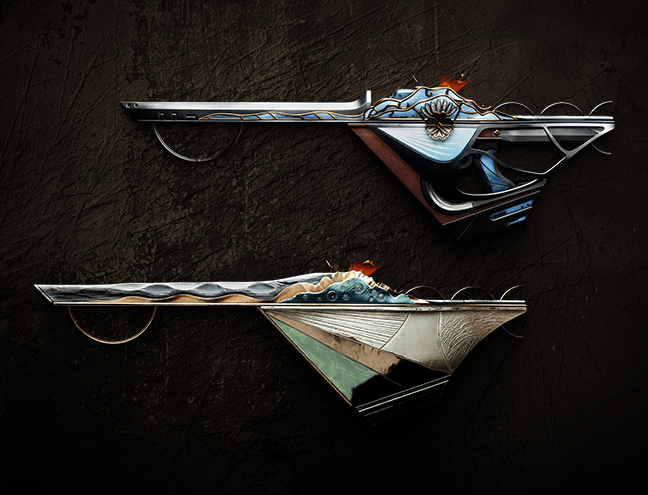
With its automated turret system and laser synergy, Finality’s Auger stands out as one of the most innovative weapons in the Sundered Doctrine arsenal.
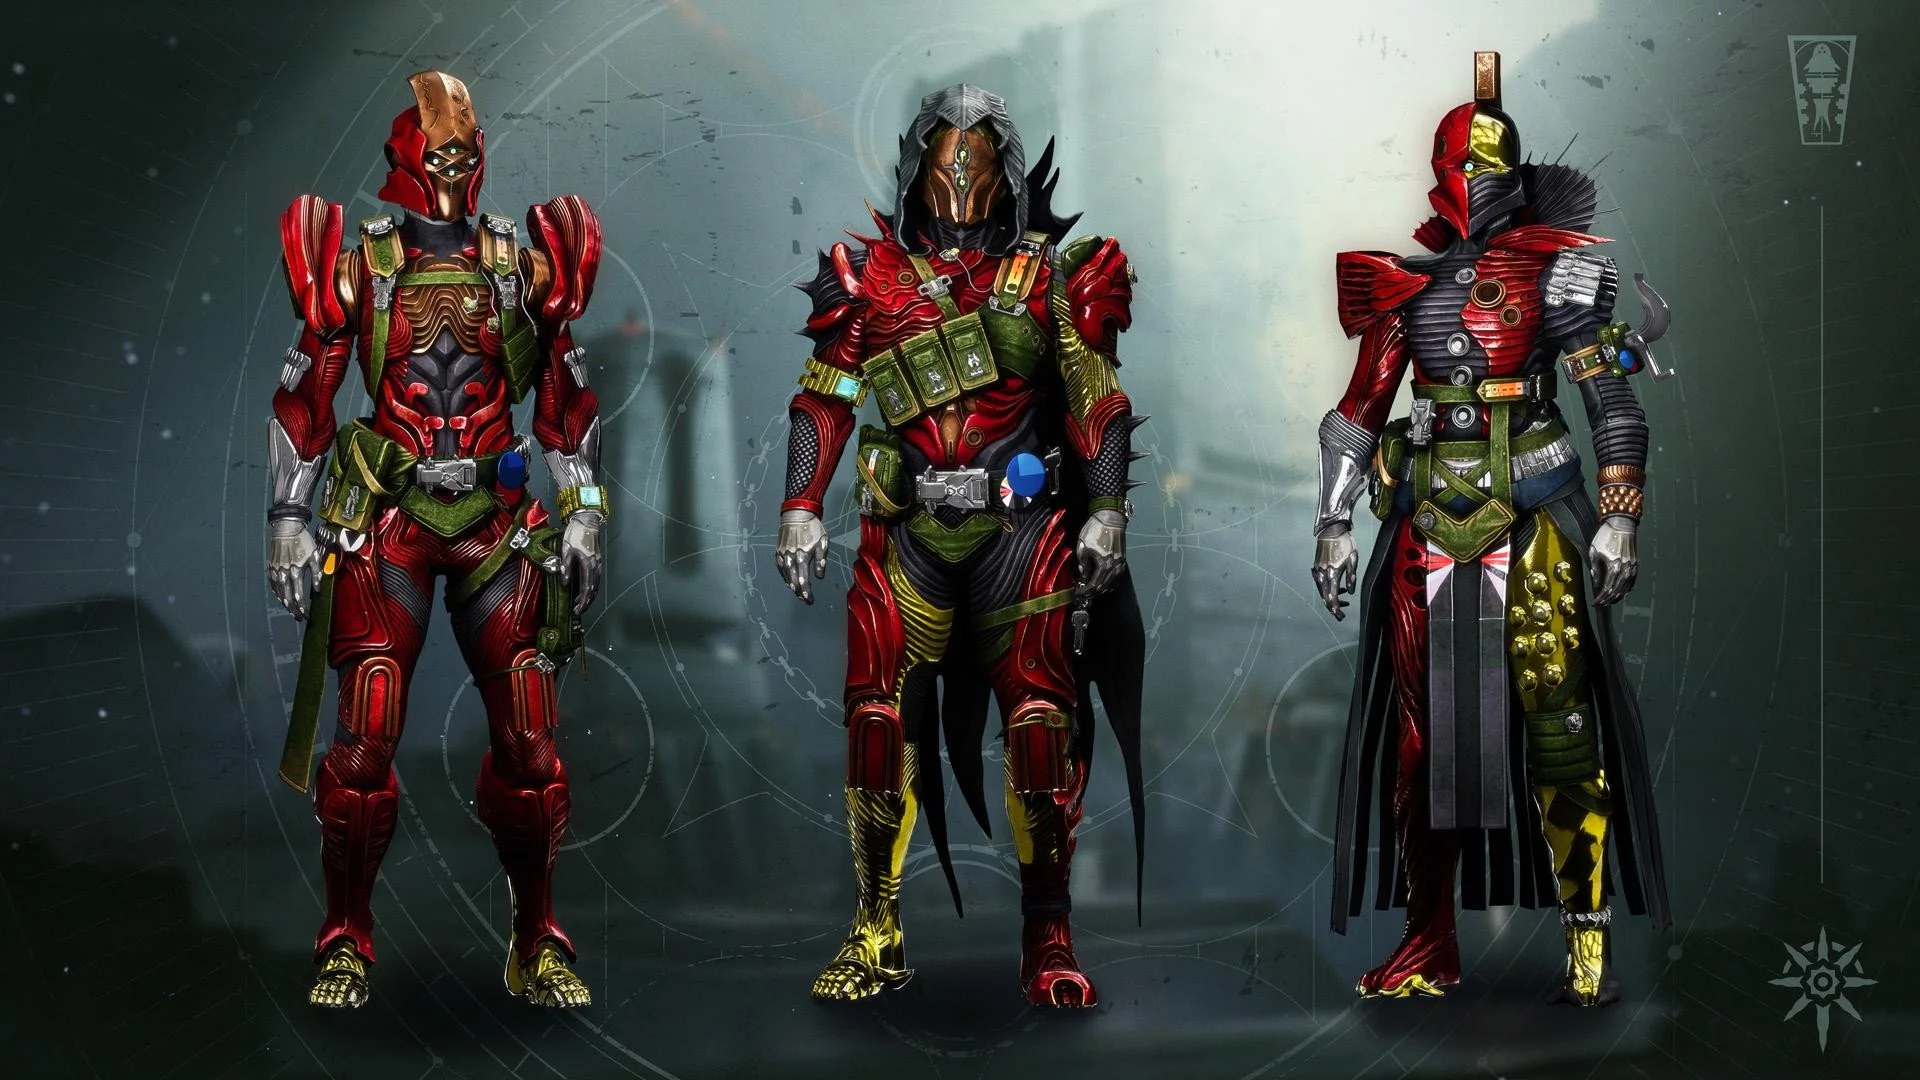
Each class receives a visually distinct armor set from the Sundered Doctrine dungeon, blending futuristic elements with ancient aesthetics.
The Hunter gear fuses skeletal features with cybernetic enhancements. A skull-like helmet with glowing blue eyes is paired with jagged shoulders and clawed gauntlets. The chest includes metallic plating and tactical straps, while the exo-framed legs and torn cloak complete the look of a high-tech rogue warrior.
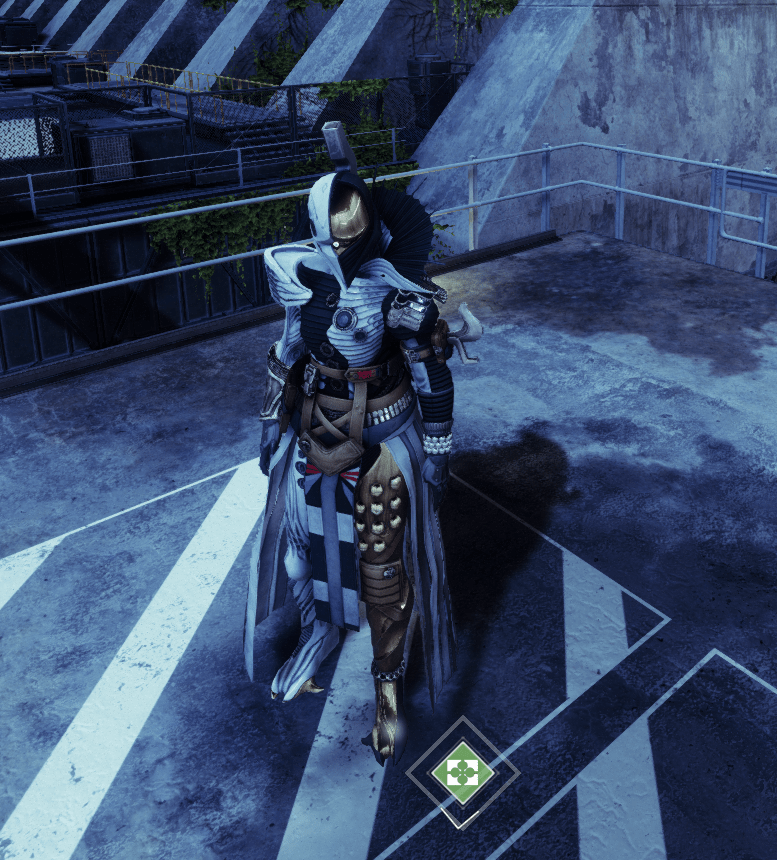
Warlocks wear ceremonial robes with golden faceplates and sharp hoods. The chest is layered with cloth and metal accents, and the legs display asymmetry with flowing fabrics and armor studs. This design marries mysticism with advanced technology for a truly arcane appearance.
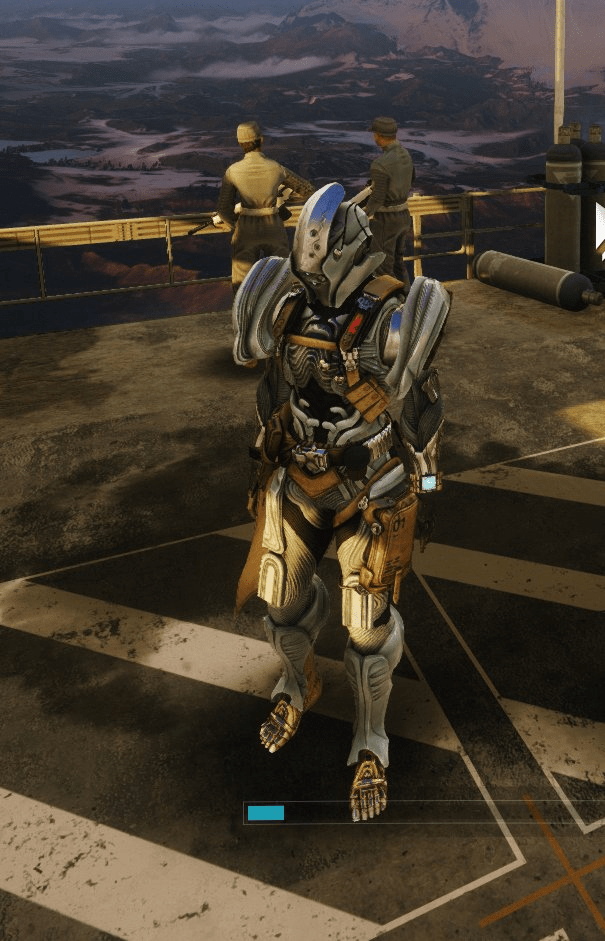
The Titan armor exudes strength and resilience with its worn plating and industrial design. A hardened, angular helmet sits above layered chest armor featuring tubing and engravings. The subdued bronze and silver tones are highlighted by subtle glowing accents, reinforcing the Titan’s role as a battlefield juggernaut.
The Sundered Doctrine dungeon is designed to be a tough endgame challenge, particularly during Day One Contest Mode, where power levels are restricted. Players will face intricate mechanics, formidable enemies like the Dread and Hive, and multi-phase puzzle encounters. Fireteams with well-coordinated strategies and optimized loadouts will have the highest success rate.
To begin the Sundered Doctrine dungeon, you’ll need to own either the Final Shape Dungeon Key or the Annual Pass. The activity will be available through the Director in Savathûn’s Throne World. You might also need to collect an introductory quest from characters like Ikora Rey or Commander Zavala before launching it.
After unlocking access, the Sundered Doctrine dungeon will be found as an activity in Savathûn’s Throne World. The entrance is expected to be in the Pyramid Ship area. More specific details will be provided once the dungeon is live in-game.
Yes, it is possible to solo the Sundered Doctrine dungeon, though doing so will be highly demanding. The mechanics require precision and careful execution, making solo clears a true test of skill. Solo and solo flawless completions are expected to offer exclusive triumphs and cosmetic rewards.

Buy Destiny 2 Accounts
Grab your Destiny 2 account and start raiding today!
The Sundered Doctrine dungeon is a true endgame challenge, packed with mechanics-heavy encounters, hidden loot, and impressive gear. With the emergence of the Dread as a fearsome new faction, players must adapt to complex puzzle systems and high-stakes combat across every phase.
Thanks to its rich loot pool—including the exotic Finality’s Auger—and its deeply rewarding challenges, Sundered Doctrine stands out as a must-play dungeon for Guardians seeking high-tier Destiny 2 content. Whether you're chasing rerolls, solving secrets, or simply looking for an epic boss battle, Sundered Doctrine delivers on every front.