


+15 More
Digital Aura Portal - FZCO
Building A1, Dubai Digital Park, Dubai Silicon Oasis, Dubai, United Arab Emirates Premises Number 72647 - 001
Business registration number: 70647
gamer-choice.com © 2026
Digital Aura Portal - FZCO
Building A1, Dubai Digital Park, Dubai Silicon Oasis, Dubai, United Arab Emirates Premises Number 72647 - 001
Business registration number: 70647
This is your ultimate Citadelle des Morts walkthrough for Black Ops 6 Zombies. In this detailed guide, you'll learn how to tackle the main quest from start to finish. We’ll divide the process into simple steps so it’s easier to follow. Citadelle des Morts is quite a difficult map, even more so than Liberty Falls or Terminus Island. By the way, we’ve got guides for those maps as well.
If you're aiming to unlock all the rewards, Easter eggs, and achievements tied to Citadelle des Morts, consider using the BO6 Zombies Citadelle des Morts service from Gamer Choice. This ensures a full main quest completion and all possible bonuses. Side quests and additional Easter eggs can also be cleared through the same service.

Buy CoD Boost
Get CoD boosts today and crush every match!


To begin the Citadelle des Morts main quest, you’ll need to unlock the Pack-a-Punch machine. This is a straightforward task: just follow the on-screen indicators deep into the castle. Once you reach the bottom, shoot the locks, then eliminate the mini-boss that appears. He’ll drop a crystal. Place that crystal where the mini-boss spawned, and the Pack-a-Punch will activate.
Next, head to the Quick Revive perk location. Just behind it, you’ll find a barred cell door. Press "F" on it to initiate a dialogue with Craft. This conversation formally starts the Easter egg. At this point, your next objectives are to collect four ritual items and begin unlocking the four elemental sword upgrades.
You need to gather both ritual items and sword upgrades to move forward in the Citadelle des Morts Easter egg. You can begin collecting ritual items right away, but elemental sword upgrades become available only after Round 10.
Once you reach Round 10, a special zombie with a bucket on his head will spawn. Kill this zombie to get a stamp. These stamps unlock the swords from the knights in the main room. You can only carry one stamp at a time, so it’s recommended to return to the knights' room after each drop to assign a stamp to a different knight, preparing each sword for later upgrades.
After all swords are unlocked, you can start their individual upgrade challenges:
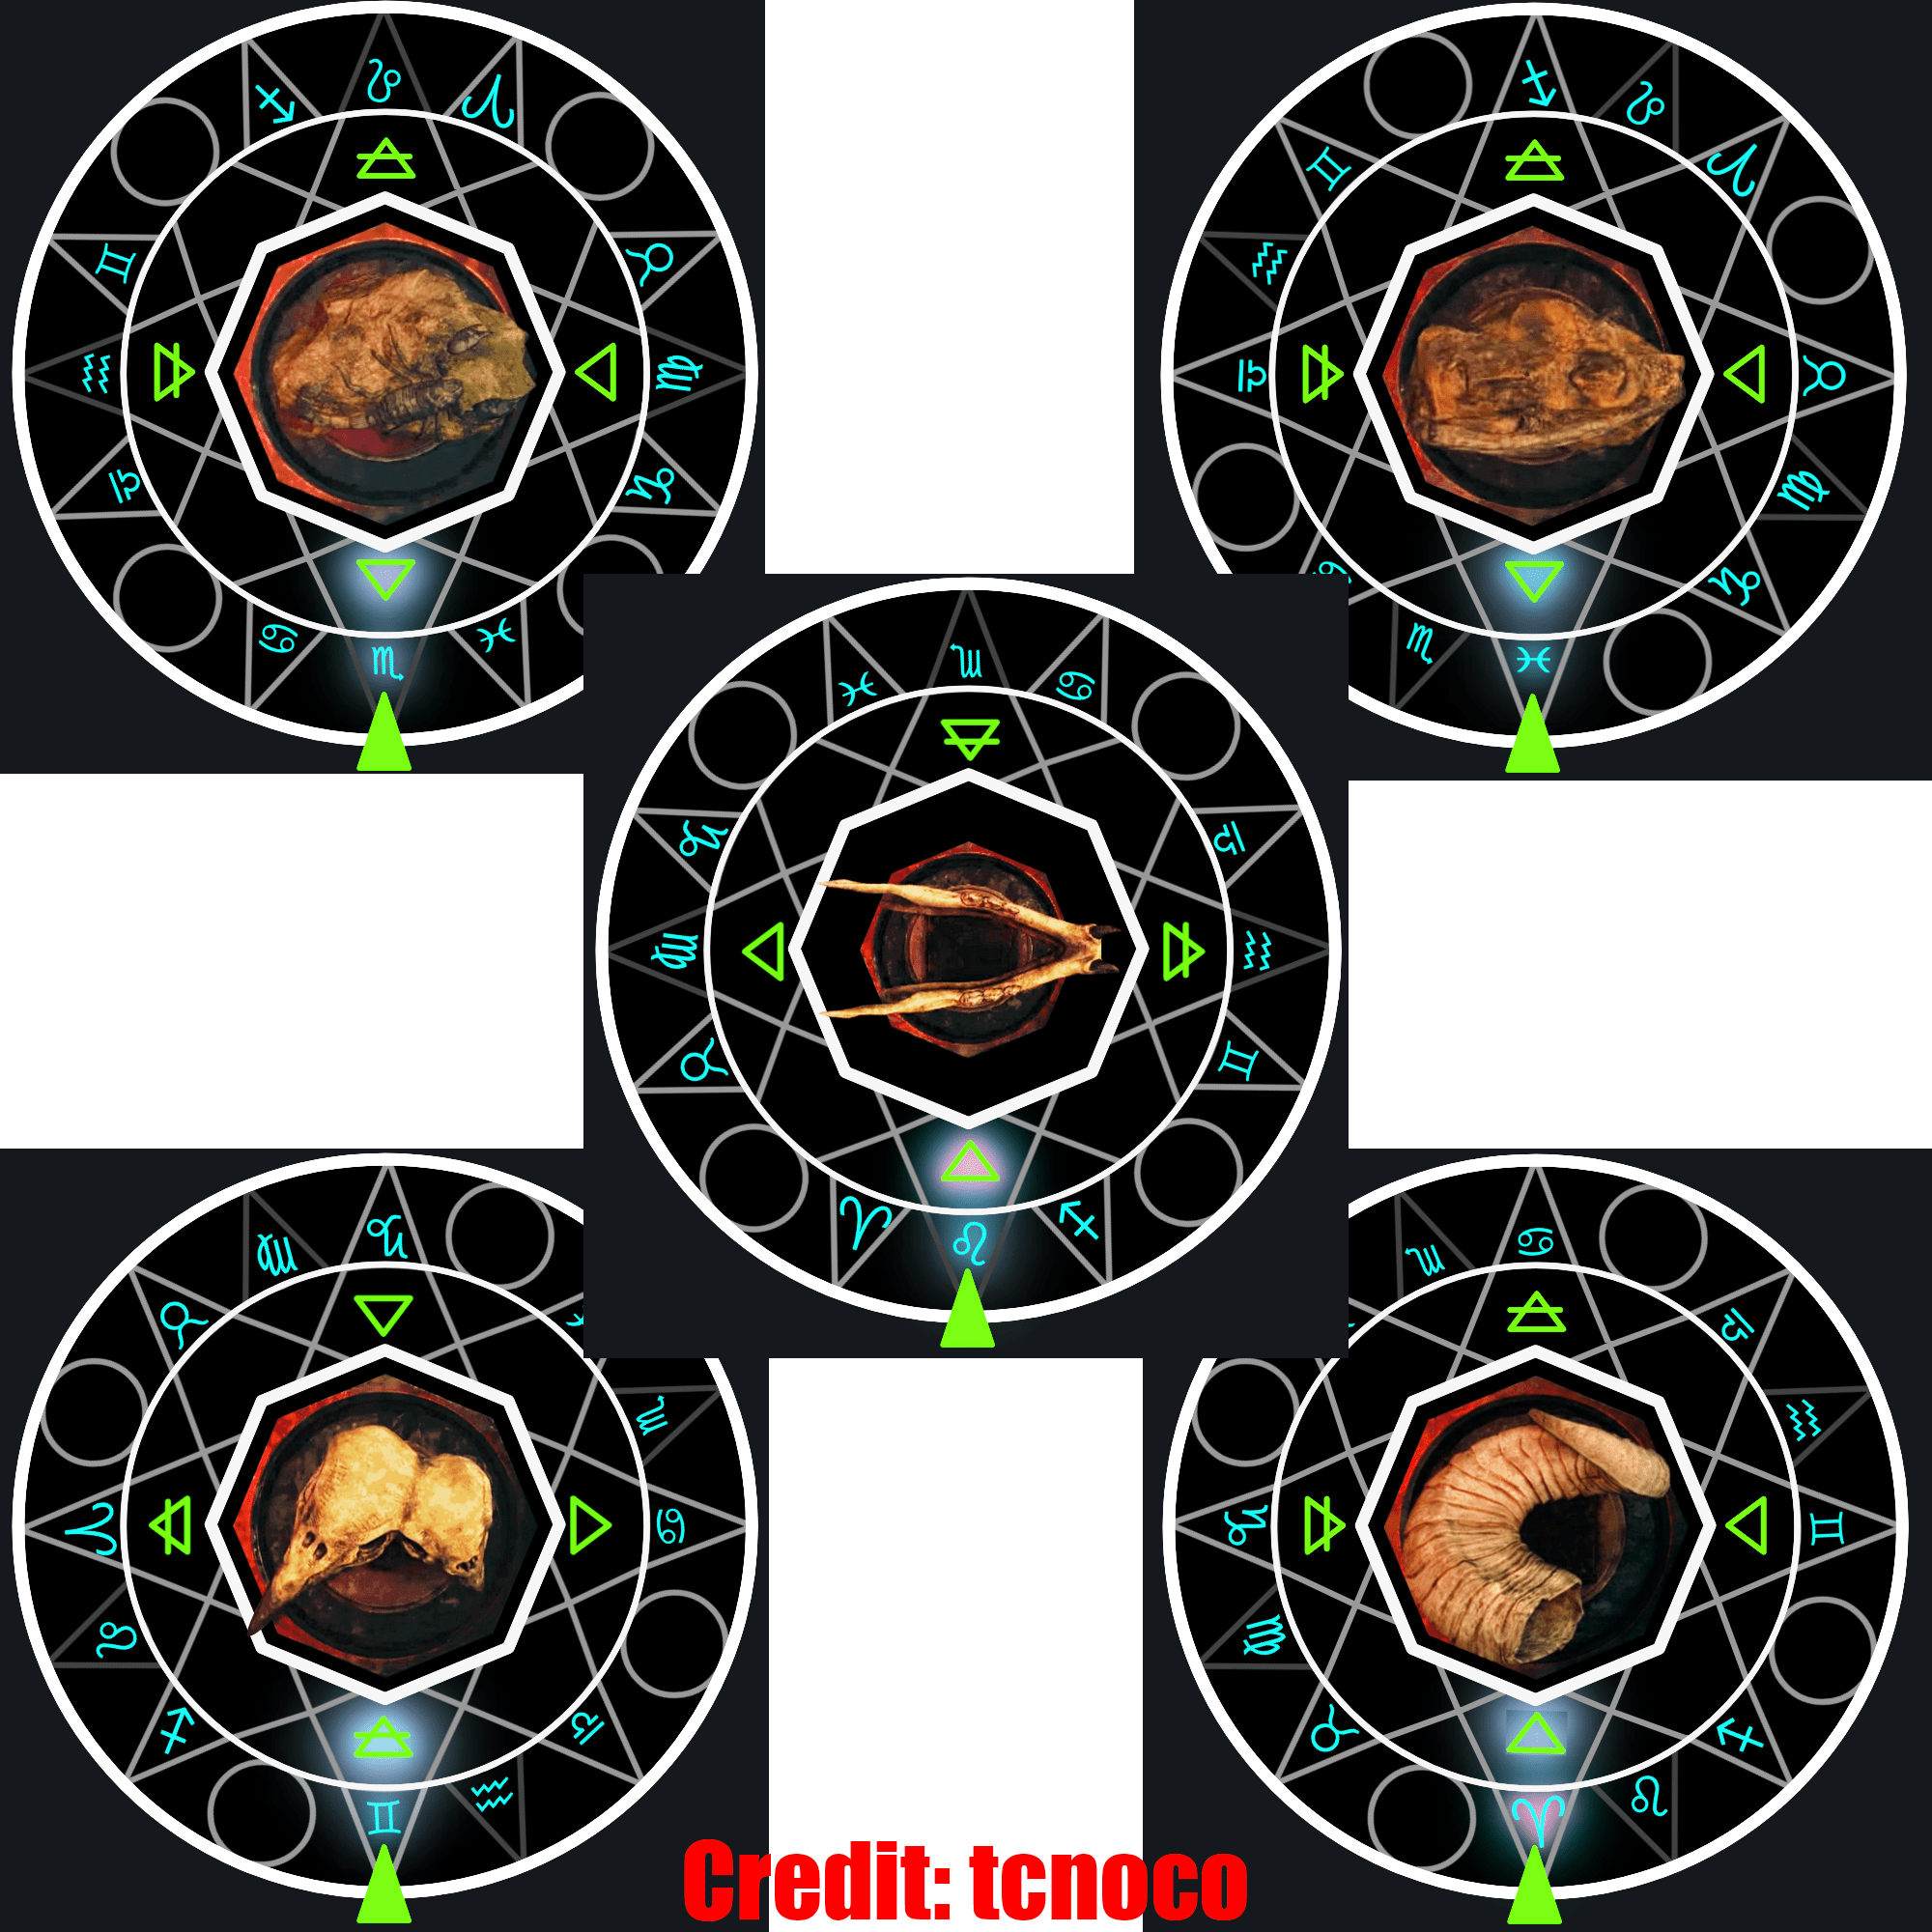
Next, you’ll need to secure the four Citadelle des Morts ritual items and activate their respective soul boxes.
Now go to the puzzle wall and melee it using Melee Macchiato (standard melee only). This reveals symbols. Then head to the bar area and inspect the six numbered jugs. Each reveals a unique symbol—note their order carefully.
Return to the wall and shoot the symbols in the correct sequence. If done right, the wall opens to reveal a book. Collect its missing pages from the nearby couch room, then insert them back. The book now shows symbols corresponding to four traps.
Kill zombies at each trap location to charge them. After all four are completed, the book will present new instructions.
With the book step completed, you’ll begin the Knight Challenges. Retrieve each sword in the right sequence and bring it to the matching ritual box:
For each, melee the box, activate the incantation using your tactical slot, and inspect the sword in front of its knight statue. A salute confirms the challenge is complete. Once all four swords are done, the Mystic Orb will appear, unlocking the next stage of Citadelle des Morts.
Use the Mystic Orb to complete four elemental challenges based on your upgraded swords:
When all are complete, place the Mystic Orb into the marked wall. It will burst with energy, eliminate nearby threats, and open the wall to a secret room. Inside lies the Guardian Key, which grants access to the final showdown. Stock up on perks, upgraded gear, and any support items you need—this is your last prep phase.
Fully gear up and interact with the statue at spawn to teleport into the boss arena.

Buy CoD Warzone Account
Get fully upgraded COD Warzone accounts today!
Begin by activating Pack-a-Punch—follow the in-game markers, eliminate the spawning mini-boss, and place the crystal where it appeared. Then, find Craft behind the Quick Revive area and speak with him to officially start the Easter egg quest.
Each sword requires a unique task: for the Light Sword, melee glowing parasites and solve the matching symbol puzzle; for the Electric Sword, gather lightning rod components and endure the electric zone; for the Void Sword, align symbols and guide orbs into target zones; and for the Fire Sword, complete three fire survival sequences using melee and movement.
You’ll find four ritual items scattered throughout the map: the Electrified Horseshoe in the stable after launching from the cannon; the Ank by burning wood piles with fire-based tools; the Paladin’s Bust by solving a light beam puzzle in the knights’ chamber; and the Raven Talon by shooting a raven during the cave slide sequence.
Strike the wall using a basic melee attack to reveal hidden symbols. Head to the bar to inspect six numbered jugs, each revealing a unique symbol. Return to the wall and shoot the symbols in the order of the numbers to unlock the next area.
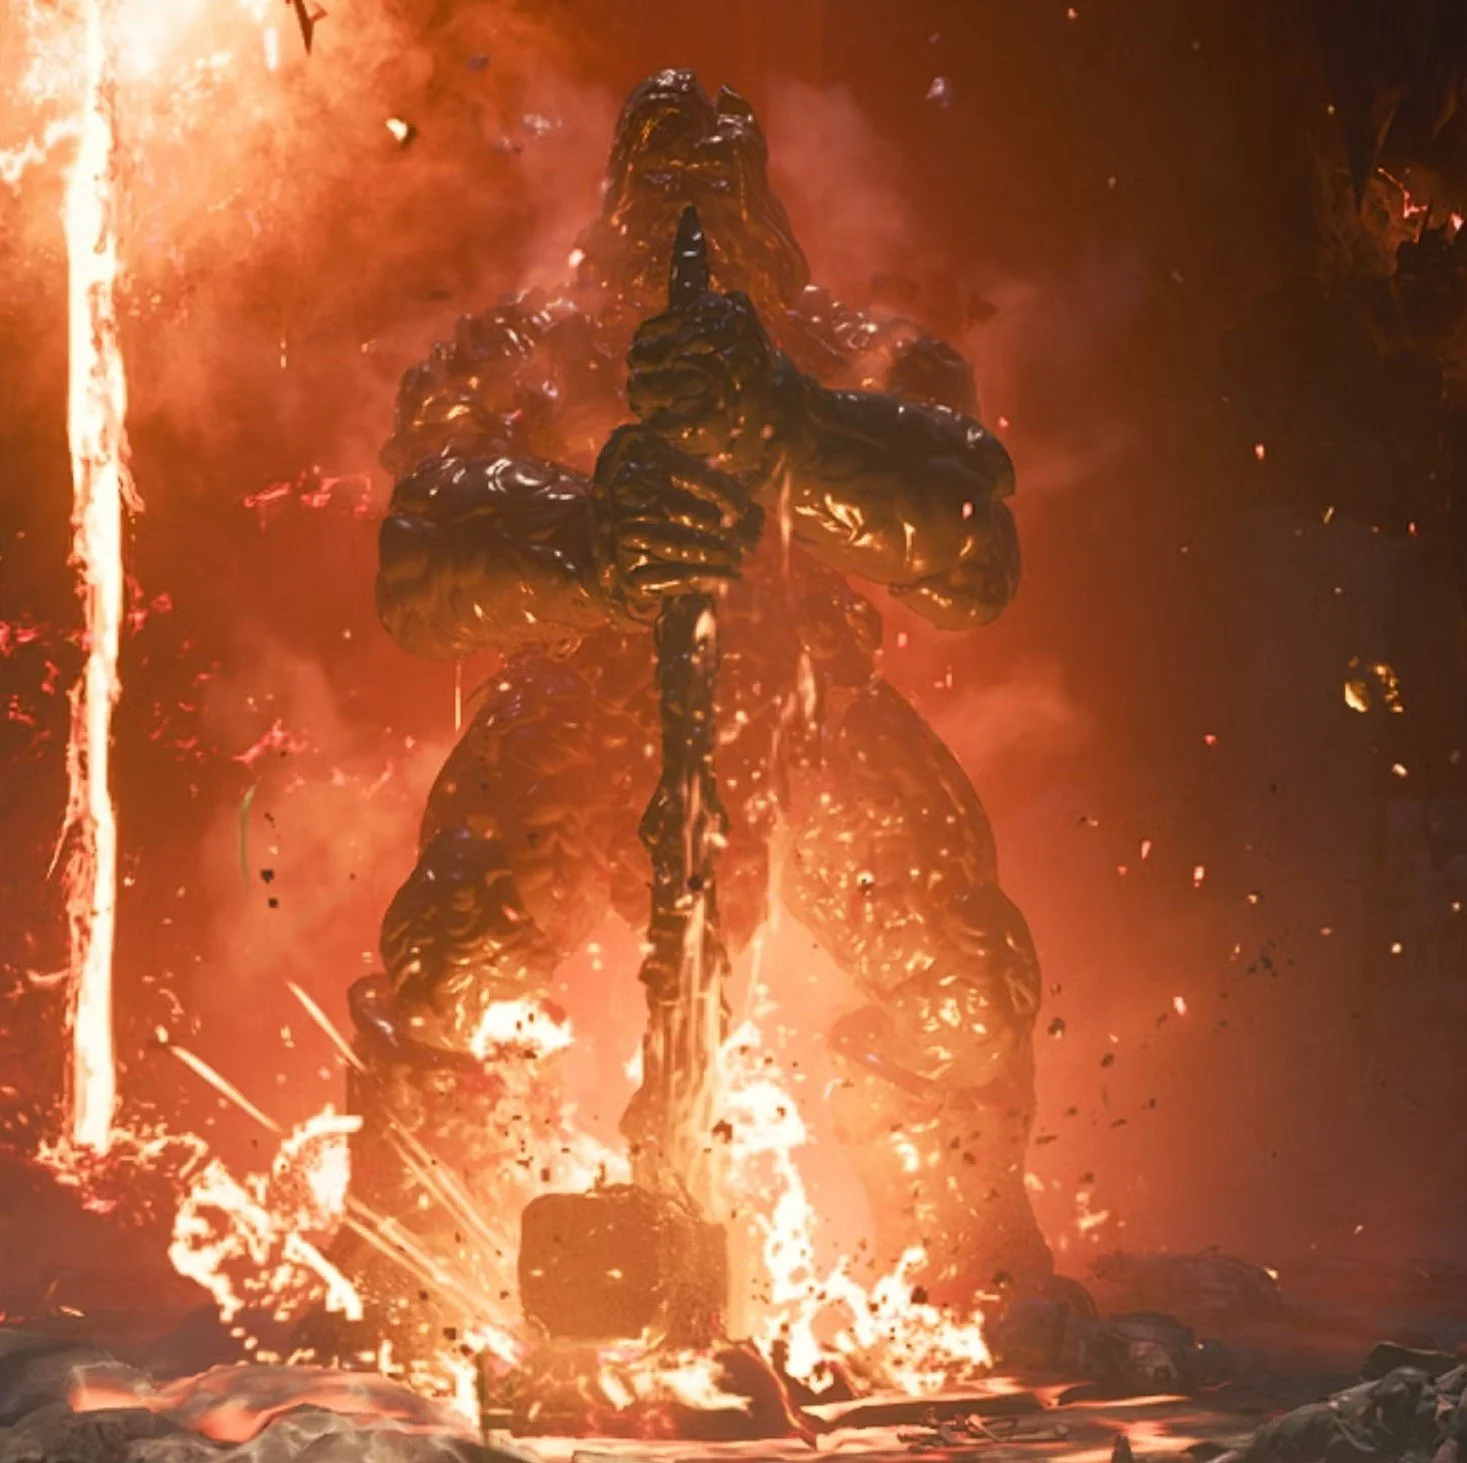
Focus on breaking the boss’s armor on shoulders and legs to reveal weak points. Between phases, fend off waves of enemies and mini-bosses. As the arena shrinks and lava appears, keep moving and rely on fully upgraded weapons and perks to survive and defeat the final boss.
Citadelle des Morts is a stunning but extremely challenging Zombies map. This guide outlines everything required to complete the main quest. It has you running across the map, collecting hidden items, solving multi-step puzzles, and using upgraded weapons in strategic ways. It truly pushes players to make the most of all BO6 Zombies mechanics.
We hope this full Citadelle des Morts walkthrough has helped you beat the quest and unlock the rewards. And if you're ever stuck or just want a smoother ride, remember you can always use Gamer Choice to get the job done quickly and efficiently. See you in the next map!