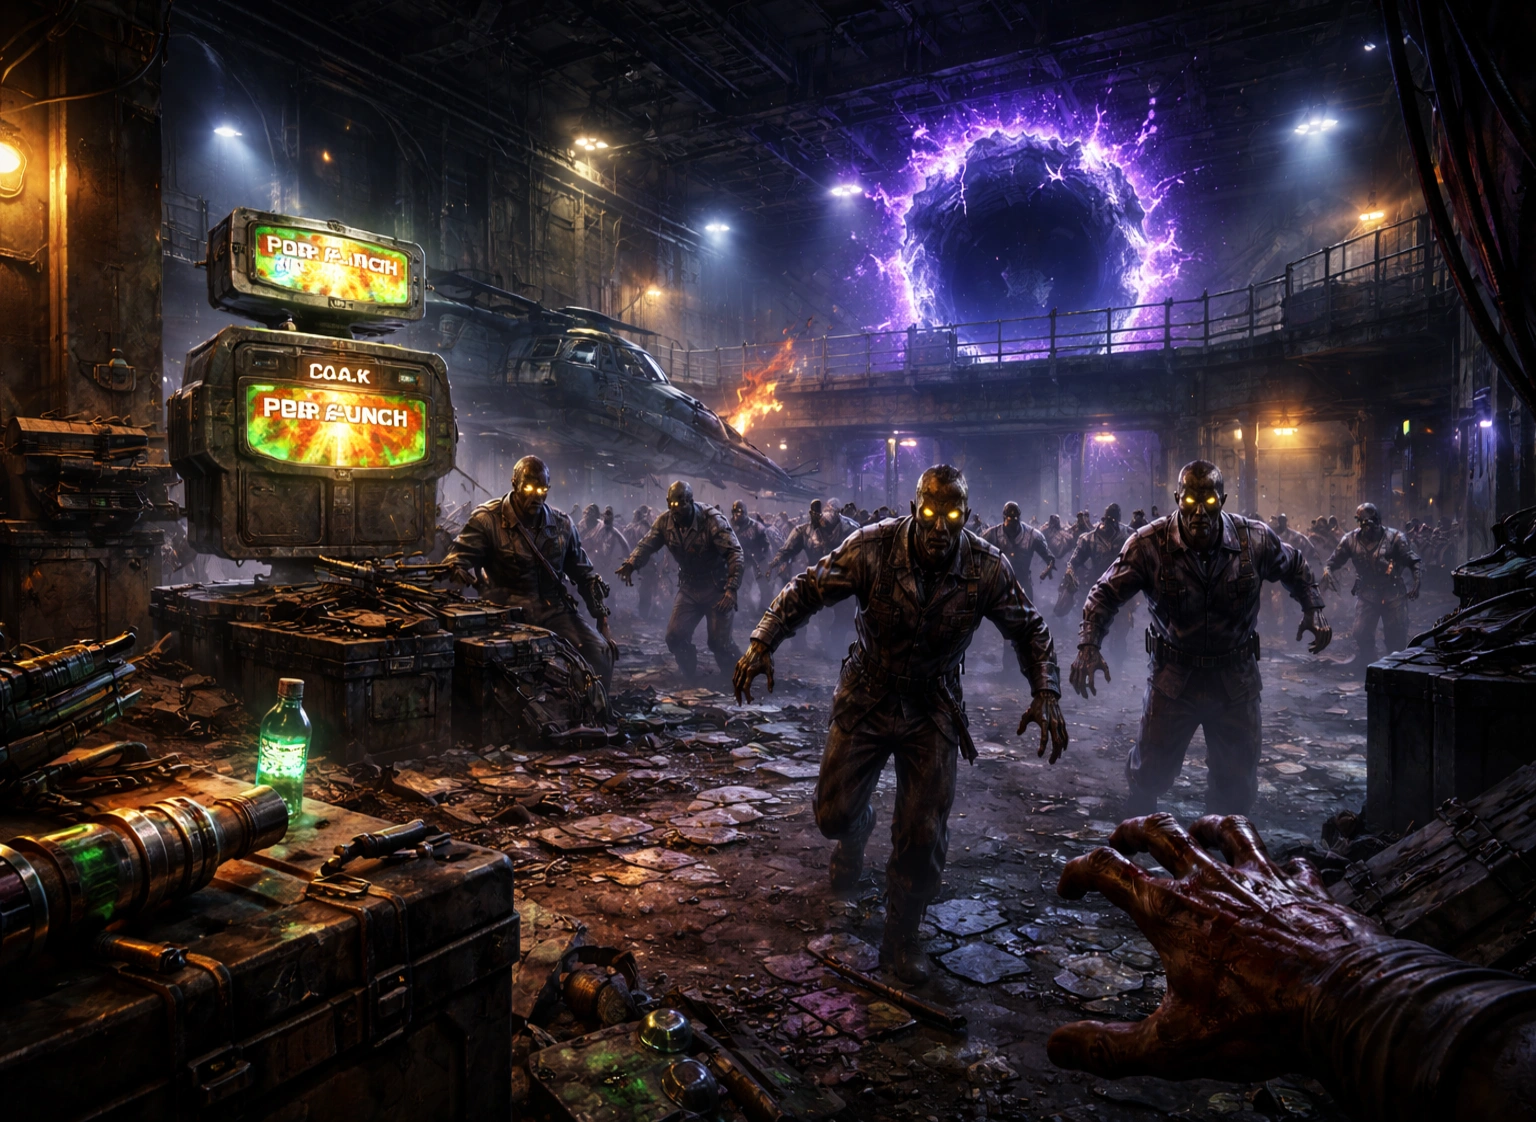
Paradox Junction Main Quest Easter Egg Guide
Paradox Junction is the second Zombies map introduced in BO7, continuing the Astra Malorum storyline. This time, the action shifts to a time-travel-themed version of Nuketown. In this Paradox Junction Main Quest Easter Egg guide, we’ll walk through every step you need to complete to finish the Easter Egg and claim its rewards.
Paradox Junction Main Quest Easter Egg Guide:
Step 1: Build the Blundergat by collecting its parts around the map, then upgrade it into the Sundergat by feeding it zombie souls.
Step 2: Find the RC-XD remote and use it to blow open the garage door at the Trinity Street house. Pick up the chalk from inside.
Step 3: Grab the seeds from the yellow house garage and plant them near the back-left building on Trinity Street. Throw Axes at the tree to collect logs, then carry them to the yellow house fireplace and light them.
Step 4: Play Hopscotch with the Twins while avoiding the black mist moving between the tiles. Then charge the music box with zombie souls.
Step 5: Complete the Piano puzzle by tracking down notes scattered across the map. Or simply enter the sequence 8-6-7-5-6-5-3-5.
Step 6: Finish the ball mini-game by shooting zombies that leap up after the ball bounces. Repeat it 5 times to spawn another relic that must be filled with zombie souls.
Step 7: Locate the headset and goggles and place them in the box. The headset is outside the green house near the trash cans. The goggles are to the left of the Pack-a-Punch machine, sitting on top of the speaker pole.
Step 8: Push the ball found on the Trinity St. boxes toward the green house backyard using your weapon. Then play Four Squares with the Twins and fill the last relic with souls.
Step 9: Set both hands of the broken clock on top of the green house to 12 o’clock and return to the past. Before teleporting, fire a charged Sundergat shot at the hands.
The boss fight against Dark Heart revolves around shooting spores, defending the Twins from zombie waves, and then damaging the Dark Heart itself.
Is the Easter Egg too difficult to finish on your own? Our Pros can handle it for you. Check out our Paradox Junction Boost at Gamer Choice to grab the rewards and show off that calling card.
Buy CoD Boost
Get CoD boosts today and crush every match!
Shop now
Paradox Junction Main Quest Walkthrough
Paradox Junction feels much more straightforward than Astra Malorum, at least to me. Just like on Astra Malorum, you’ll need to unlock Pack-a-Punch and construct a wonder weapon before the Easter Egg really opens up. Let’s get right into the full Paradox Junction main quest walkthrough.
Step 1: Getting Blundergat
To begin, you need to collect four wonder weapon parts. You can pick them up in any order you want. Before you can start tracking them down, though, you’ll need to travel to the past version of Nuketown and unlock Pack-a-Punch. Here’s how to do that:
Yellow House Backyard: If you’re colorblind like me, it’s the house with the swings. Leave through the first floor and walk straight until you reach a wooden fence. You’ll find keys on a corpse there.
Teleport to the Past: After the radhound round ends, you’ll automatically be sent there.
Move the Truck: A truck is blocking the road and preventing access to the other houses. Use the keys to move it and continue forward.
Shoot the Orbs: You’ll notice them drifting in the sky. Shoot them down to release Pack-a-Punch.
Once that setup is finished, you can start looking for the weapon parts.
The Stock
After unlocking Pack-a-Punch, go back to the present and search for blood splatters on the walls. There are three possible locations: inside the yellow house garage, inside the green house at the top of the stairs, and on Trinity Avenue near the children’s drawings. One of these splatters will give off a sound cue when you stand near it.
Travel back to the past, and you’ll notice that the splatter is gone. Throw a grenade at that same wall to break it open. Return to the present, and the stock will be waiting behind it.
The Barrel
This is probably the easiest part to collect. Head to the reward spores outside the yellow car garage. One of them will be making a sound cue, similar to the one from the blood splatters. Wait for that spore to burst, then pick up the barrel.
The Hammer
First, go to the second floor of the yellow house in the nuked version of the map and pick up the vials. Take them to the greenhouse kitchen and interact with the sink on the first floor. This fills the sink with acid.
Fill the vials with the acid, then return to normal Nuketown. Your next job is to find the mannequins and pour the acid over their heads. When you go back to the present, ruined version of the map, their heads will have melted open, letting you collect the rewards inside.
One of those mannequins will also play the familiar sound cue, meaning it contains another Blundergat part. Pour acid on that one, then return to the present and pick it up.
The Sealant
This is the final Blundergat part you need. Go to the bedroom on the second floor of the yellow house and inspect the bottom of the bookcase beside the wall. The sealant is sitting there.
After collecting all four parts, go to the present and look for the truck parked in the middle of the road between the houses. Melee the box sitting there to open it, then interact with it to craft the Blundergat. Once you have it, the next job is upgrading it. Here’s how to turn Blundergat into Sundergat.
Step 1.5: Upgrading to Sundergat
At the beginning of each round, a fiery tornado will appear and spawn a special zombie. This zombie glows with bluish energy and will start following you around.
Lead that zombie over to the bench where you crafted the Blundergat. You need to kill it close to the bench so the blue energy transfers into it. Be careful, though, because other zombies and spores can damage the special zombie, so it’s best to handle this near the end of a round when the map is calmer.
You need to repeat this process three times. On the third and final round, the tornado spawns a Mimic instead. Bring that Mimic to the same bench and kill it there just like before.
If you’ve done it correctly, the bench will now be glowing blue. Travel to the past, melee the bench, and place the Blundergat inside. When you return to the present destroyed version of Nuketown, the Sundergat will be waiting for you.
Step 2: Getting the Chalk
To begin this step, you first need to locate the RC-XD remote. It has three possible spawn spots in the nuked version of Nuketown:
Yellow House Garage: On a broken shelf in the north-east corner of the building.
Green House Backyard: In the garden bed behind a wooden fence.
To the Right of Pack-a-Punch: There are dirt-filled boxes to the right of the Pack-a-Punch, and the remote may be in the right corner of them.
When you activate the remote, it will spawn an RC-XD. Drive it onto the boxes shown in the reference image. From there, you need to steer it toward the broken house and jump off the edge at the end. You’ll land behind the barricade. Then drive into the garage through the broken door and detonate the RC-XD beside the barrel.
Once the RC-XD blows up, you can enter the Trinity Street garage and collect the chalk.
After that, return to past Nuketown and head to the yellow house backyard. Shoot the swing on the left side to collect the Swing Seat. Return to the present and go back to that same swing. Place the seat and the chalk there to trigger a cutscene with the Twins.
Step 3: Collecting the Wood and Starting a Fire
Once the cutscene ends, turn around and walk into the yellow house garage. On the shelf beside the south-eastern wall, you’ll find seeds. Pick them up and carry them into the past, then plant them in the dirtbed next to the back-left house on Trinity Street. Use your Sundergat to feed the tree zombie souls.
Return to the present and throw a combat axe at the fully grown tree to collect three logs.
Go back to the past. Enter the yellow house guest room on the first floor and place the logs into the firepit. Throw a Molotov at the logs, and that will start the next step.
Step 4: X Marks the Spot
Head into the nuked town and make your way to Trinity Street. You’ll see a large X drawn on the ground. Return to the past and interact with the Trinity Street driveway, which causes the Twins to appear.
After speaking with them, you’ll begin a hopscotch mini-game. You need to jump across the tiles in number order from 1 through 12, and then back again. Watch out for the black aura moving between the tiles. If you step into it, you’ll have to restart the sequence.
When you finish, the music box will appear. Follow it around the map and shoot zombies near it with the Sundergat to charge it with their souls. Eventually, it will guide you back to the yellow house guest room, where the box will settle on top of the fireplace.
Step 5: Piano Puzzle
Silent Hill flashbacks, anyone? This is probably the most complex step unless you already know the solution. To trigger it, return to the present, nuked version of the town and go to the green house backyard. During the round, a special zombie called the Music Teacher will eventually spawn. Use Brain Rot on the Music Teacher and lead her over to the piano. Then return to the past, where you’ll see her still sitting there playing. That interaction opens the piano lid.
Now the real puzzle begins.
It’s worth mentioning that you can skip most of the puzzle solving. Just go to the piano and press the keys in this order: 8-6-7-5-6-5-3-5. I’m not completely sure if some players can get a different sequence, but based on what others have reported, this seems to stay the same. Still, just in case, here’s the full method.
Return to present-day Nuketown and look for glowing musical notes. I won’t list every exact location here, since you can use the marked reference image above for all of them. Each glowing note flashes somewhere between 1 and 8 times. Pay attention to how many times each one lights up. You then need to activate them in the order of their flashes, starting from the note that flashed once.
Go back to the past. Above the piano, you’ll see eight symbols on the wall with a bass clef over them. Interact with the piano, and eight keys will appear as your input options. Based on the melody you discovered, you need to enter the matching notes in the correct order. At that point, the easiest option is to use any note cheatsheet online.
Step 6: Another X on Trinity Street
Return to the present version of Nuketown, and you’ll spot another X between Trinity Street and the cul-de-sac. You need to actually see this X first, because it causes the floating zombies to spawn. These usually appear behind the green house and sometimes in the yellow house backyard. Look out beyond the map boundary, and you’ll notice them hovering there.
You need to shoot three of those zombies and collect their souls. After that, return to the past. At the same location where the X appeared, you’ll now see three orbs. This starts another mini-game where the ball hits the ground and zombies jump up around it. Your job is to shoot the zombies while they’re still airborne. Repeat this five times.
Once that’s done, the page will spawn.
It works just like the music box, floating around the map and needing to be charged with souls using the Sundergat. Follow it and keep killing zombies near it until it leads you back to the piano.
Step 7: Headset and Goggles
Go back to the present and check behind the trash cans outside the green house garage. You should find the headset there. The goggles spawn in the nuked version of the map, to the left of the Pack-a-Punch machine, sitting on top of the pole with megaphones. They’ll fall out of bounds, so you’ll need Wisp Tea to retrieve them.
After collecting both items, return to the past and go to the location where you completed the ball mini-game. To the right of that area, there’s a box where you need to place both the headset and the goggles.
Step 8: Pass the Ball
Go back to the present and head down Trinity Street. Climb onto the boxes shown in the reference image. This causes the same ball from the earlier mini-game to spawn.
Shoot the ball to roll it toward the green house backyard, where you’ll find another X. You need to position the ball directly in the center of that cross, or the next sequence won’t trigger.
Then go to the past and return to the X location. You’ll see the Twins drawing a square on the ground.
Interact with it to begin another mini-game. In this one, you need to keep the ball moving across the four squares. The rules are simple: don’t let it land outside the marked squares, and don’t let it land on the same square two times in a row.
Once you finish, a projection will appear that you need to follow. Just like with the music box and the page, you’ll need to siphon zombie souls into it by killing nearby zombies. This time, it will travel back toward the box with the headset and goggles.
Step 9: Starting the Boss Fight
This is the last step before the boss encounter. In the present, go to the roof of the green house and find the broken clock. You’ll see a red hand and a white hand that need to be lined up at 12 o’clock.
After that, interact with the portal that sends you to the past, and while you’re doing that, fire a charged Sundergat shot at the clock hands. Once you reach the past, you’ll see an orb flying toward the piano. That triggers a short scene with the Twins, and after it ends, you need to go to the yellow house swings and interact with them. That begins the boss fight.
Buy CoD Warzone Account
Get fully upgraded COD Warzone accounts today!
Shop now
How to Destroy Dark Heart Boss in BO7 Zombies
The boss fight itself is not especially difficult, since the boss doesn’t directly pressure you that much. The main mechanics revolve around destroying spores, defending the Twins from zombie waves, and then dealing damage to Dark Heart. The encounter has three phases, with only a few changes between them. First, let’s go over the best loadout for Paradox Junction:
SlotNameEquipmentMonkey BombAmmo ModBrain RotWeapon AugmentsCaustic Fumes, Extension, Super Serum.Minor AugmentFully Equipped
Brain Rot is incredibly useful during the defense phases because it converts zombies into temporary allies, and pairing it with Sundergat gives you more chances to trigger the effect. Caustic Fumes provides AoE damage against enemies that aren’t charmed by Brain Rot. Extension makes Brain Rot last longer, Super Serum increases the damage your charmed zombies deal, and Fully Equipped gives you an extra Monkey Bomb for pulling zombie aggro away from the Twins.
Dark Heart Stage 1
During the first stage, you need to destroy the Spores in the house backyards and near the entrance to Trinity St. Once those are cleared, an orb will fly toward one of the relics, and the Twins will appear there. Your job is to defend them from the incoming zombie hordes. After protecting all three relics, the boss becomes vulnerable.
Dark Heart has weak points that look like cracks in the heart itself. Hitting those deals extra damage. Be careful, though, because Dark Heart also spawns additional zombies nearby. Once you remove one-third of its health bar, the fight moves into stage two.
Dark Heart Stage 2
This phase is mostly the same as the first. The main difference is that instead of destroying spores, you now need to shoot the same type of orbs that originally spawned Pack-a-Punch. Their positions are the same as before.
Dark Heart Stage 3
This is the toughest phase of the fight. Fire tornadoes now appear with zombies inside them, and you need to lure those zombies to the spores in the backyards and kill them there to unlock the relic defense segment. Aside from that, the structure stays the same. Clear zombies, use your Monkey Bombs smartly, crack open the heart, and finish the fight.
That’s how you complete the Paradox Junction Main Quest Easter Egg. Congratulations! Your reward is a stylish animated calling card.
F.A.Q.
How do you start the Paradox Junction Easter Egg?
To begin the Easter Egg, you must first assemble the Blundergat Wonder Weapon by collecting its parts across the map. After crafting it, the next step is upgrading it into the Sundergat, which unlocks the progression for the main quest.
How do you get the Sundergat Wonder Weapon?
First, gather all four weapon components and craft the Blundergat at the truck located in the center of Nuketown. After that, lure the special glowing zombies that appear from fire tornadoes to the crafting bench and eliminate them nearby. Repeating this process three times upgrades the weapon into the Sundergat.
How do I solve the Piano puzzle in Paradox Junction?
The puzzle requires locating eight glowing notes hidden around the map and counting how many times each one lights up. Those counts determine the order in which the piano keys must be played. If you want to skip the full puzzle, you can simply input the sequence: 8-6-7-5-6-5-3-5.
How do you begin the Dark Heart boss fight in Black Ops 7 Zombies?
Move the hands of the broken clock in the destroyed version of Nuketown so that both point to 12. Then activate the portal to travel to the past. Just before the teleport occurs, fire a charged Sundergat shot at the clock hands to trigger the boss encounter.
How do I deal damage to Dark Heart in Paradox Junction?
Start by destroying the spores that appear in the backyards of the Nuketown houses and along the road toward Trinity Street. Once they are cleared, defend three relics from incoming zombie waves. After the defense phase ends, the Dark Heart becomes vulnerable and can be damaged directly.