


+15 More
Digital Aura Portal - FZCO
Building A1, Dubai Digital Park, Dubai Silicon Oasis, Dubai, United Arab Emirates Premises Number 72647 - 001
Business registration number: 70647
gamer-choice.com © 2026
Digital Aura Portal - FZCO
Building A1, Dubai Digital Park, Dubai Silicon Oasis, Dubai, United Arab Emirates Premises Number 72647 - 001
Business registration number: 70647
The Way Between is a post-dungeon quest that rewards you with new cores for your Praxic Blade and unlocks the final lasersword catalyst, Energy Conduit. In this The Way Between quest guide for Destiny 2, we’ll walk you through every step required to complete the quest and break down the mechanics of the final boss encounter.
The Way Between becomes available after you complete the Equilibrium dungeon for the first time. To begin, you’ll need to speak with Aunor. The quest requires multiple dungeon clears, with each run granting a different upgrade for your Praxic Blade. One downside is that you cannot charge all Relics in a single run, meaning repeated dungeon completions are mandatory. We strongly recommend prioritizing this quest early, as it unlocks armor and weapon focusing, making future farming significantly easier. The final reward is the powerful Energy Conduit catalyst for your laser sword. Below, we’ll explain how to complete The Way Between quest and unlock all rewards efficiently.
Running the dungeon repeatedly can become quite tedious. If you’d rather skip the grind, consider using our Equilibrium Dungeon Boost. Our professionals at Gamer Choice will handle the quest for you, ensuring you receive all rewards without the hassle.

Buy Destiny 2 Boost
Get Destiny 2 boosts from trusted pros now!

Read our other Destiny 2 Guides:
The Way Between isn’t particularly difficult, but it is lengthy. You’ll need to complete the dungeon four times to fully charge all Relics. Additionally, each Relic requires going slightly off the main path to locate it. We’ll outline all Relic locations in the sections below. Fortunately, the first Relic is automatically charged during your first run. Overall, the quest consists of seven steps with recurring mechanics that prepare you for the final boss. While the boss fight itself isn’t overly challenging and can be completed solo, running it with a fireteam makes things significantly faster. Let’s go through every step in detail.

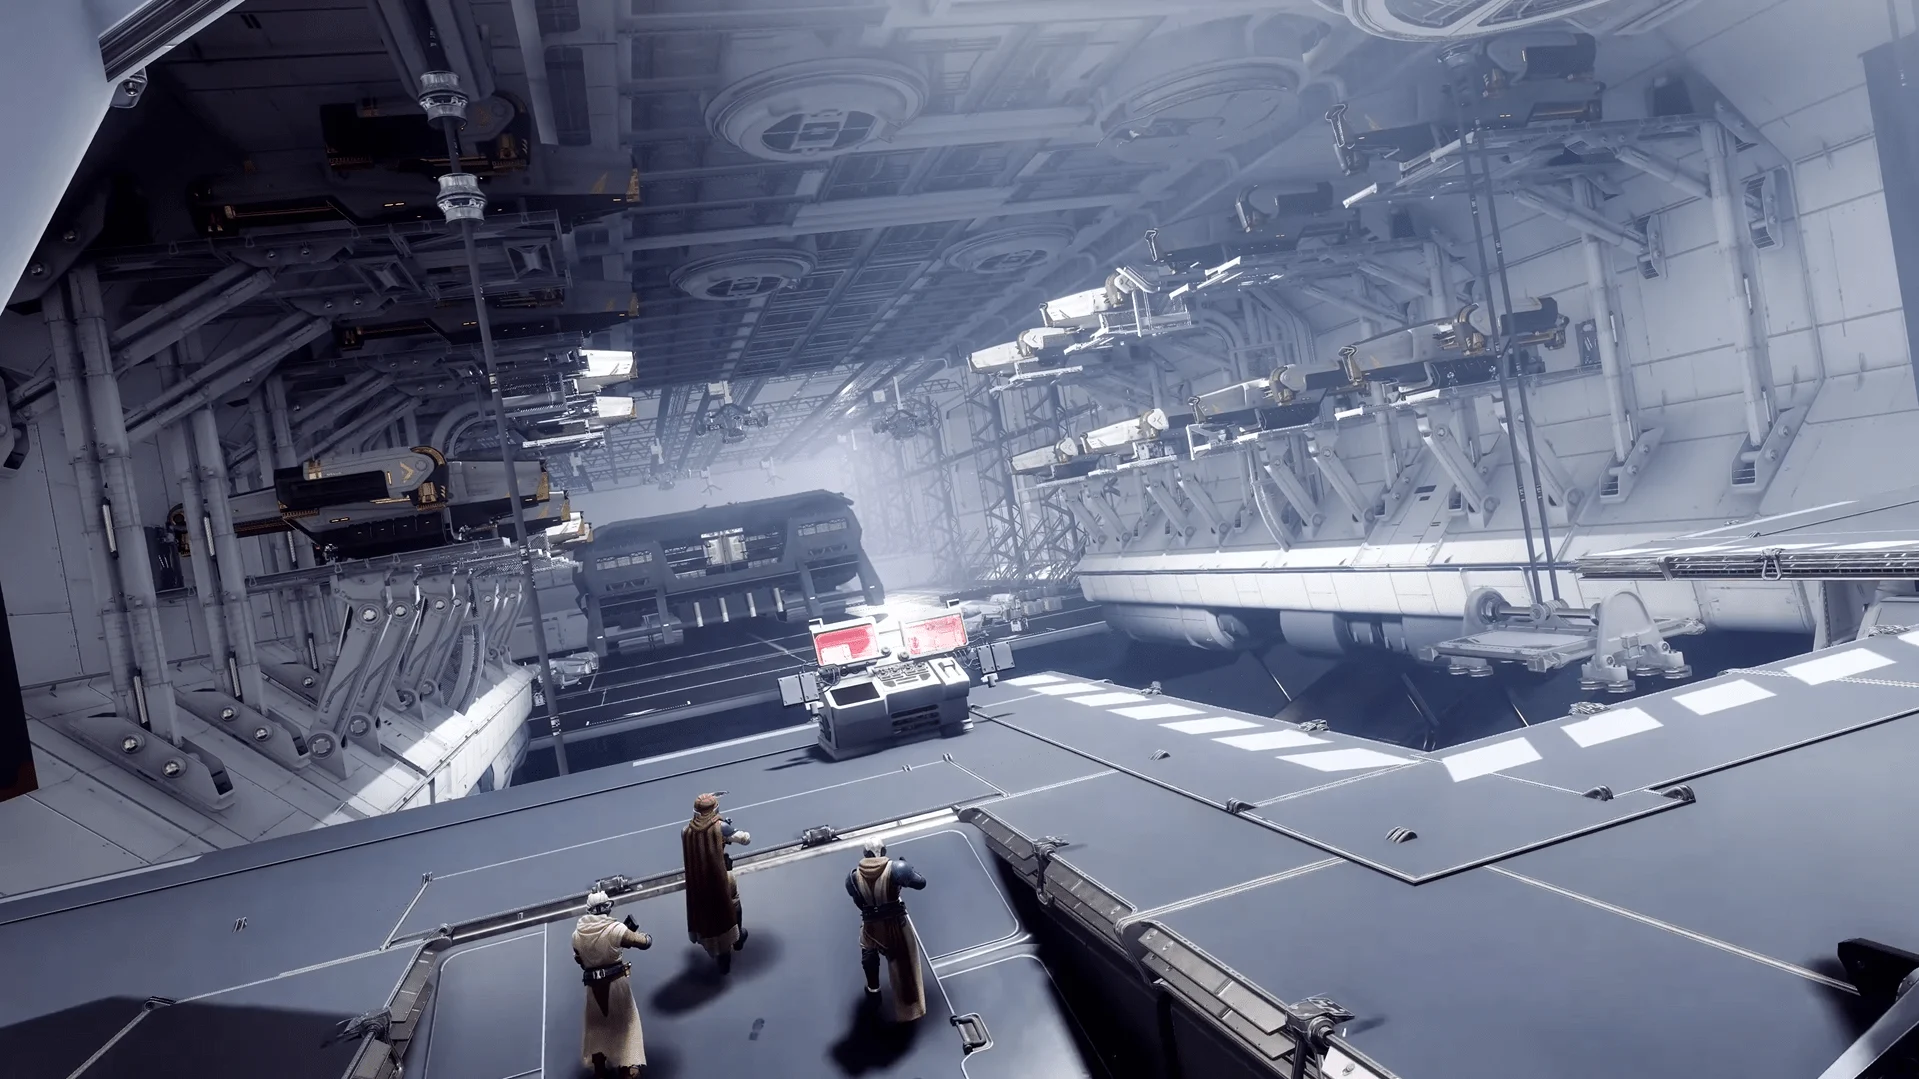
The initial Relic is obtained simply by completing the dungeon for the first time. Unlike the others, it is already fully charged. Here’s how to secure it:
This opening section is fairly simple, which is helpful since most players are still learning dungeon mechanics. The quest introduces mechanics similar to those in Equilibrium, including filling the Shadow Apprentice bar and attacking specific enemies while the buff is active.

Your second run introduces a timed Relic challenge. You’ll ride Sparrows equipped with weapons and destroy Forgotten Eyes while racing against a countdown. Destroying Eyes adds time, but mistakes can force a full restart. Here’s how Step 4 works:
This run can take a few attempts due to the timer pressure. Completing it rewards you with an Offensive Form mod for the Praxic Blade.

The third run is the simplest of all. You’ll follow a linear path while repeating familiar mechanics: destroy Forgotten Eyes, fill your bar, and eliminate Apprentices.
This step is very manageable solo and rewards you with the Invigorating Blade focus.
The final Relic run is the most engaging and dangerous, primarily due to platforming rather than enemy difficulty. Snipers add pressure, and solo players may struggle with timing.
This run rewards you with the Gyro Core for the Praxic Blade, allowing your thrown sword to apply your Super’s element—extremely useful against shielded enemies.

Buy Destiny 2 Accounts
Grab your Destiny 2 account and start raiding today!
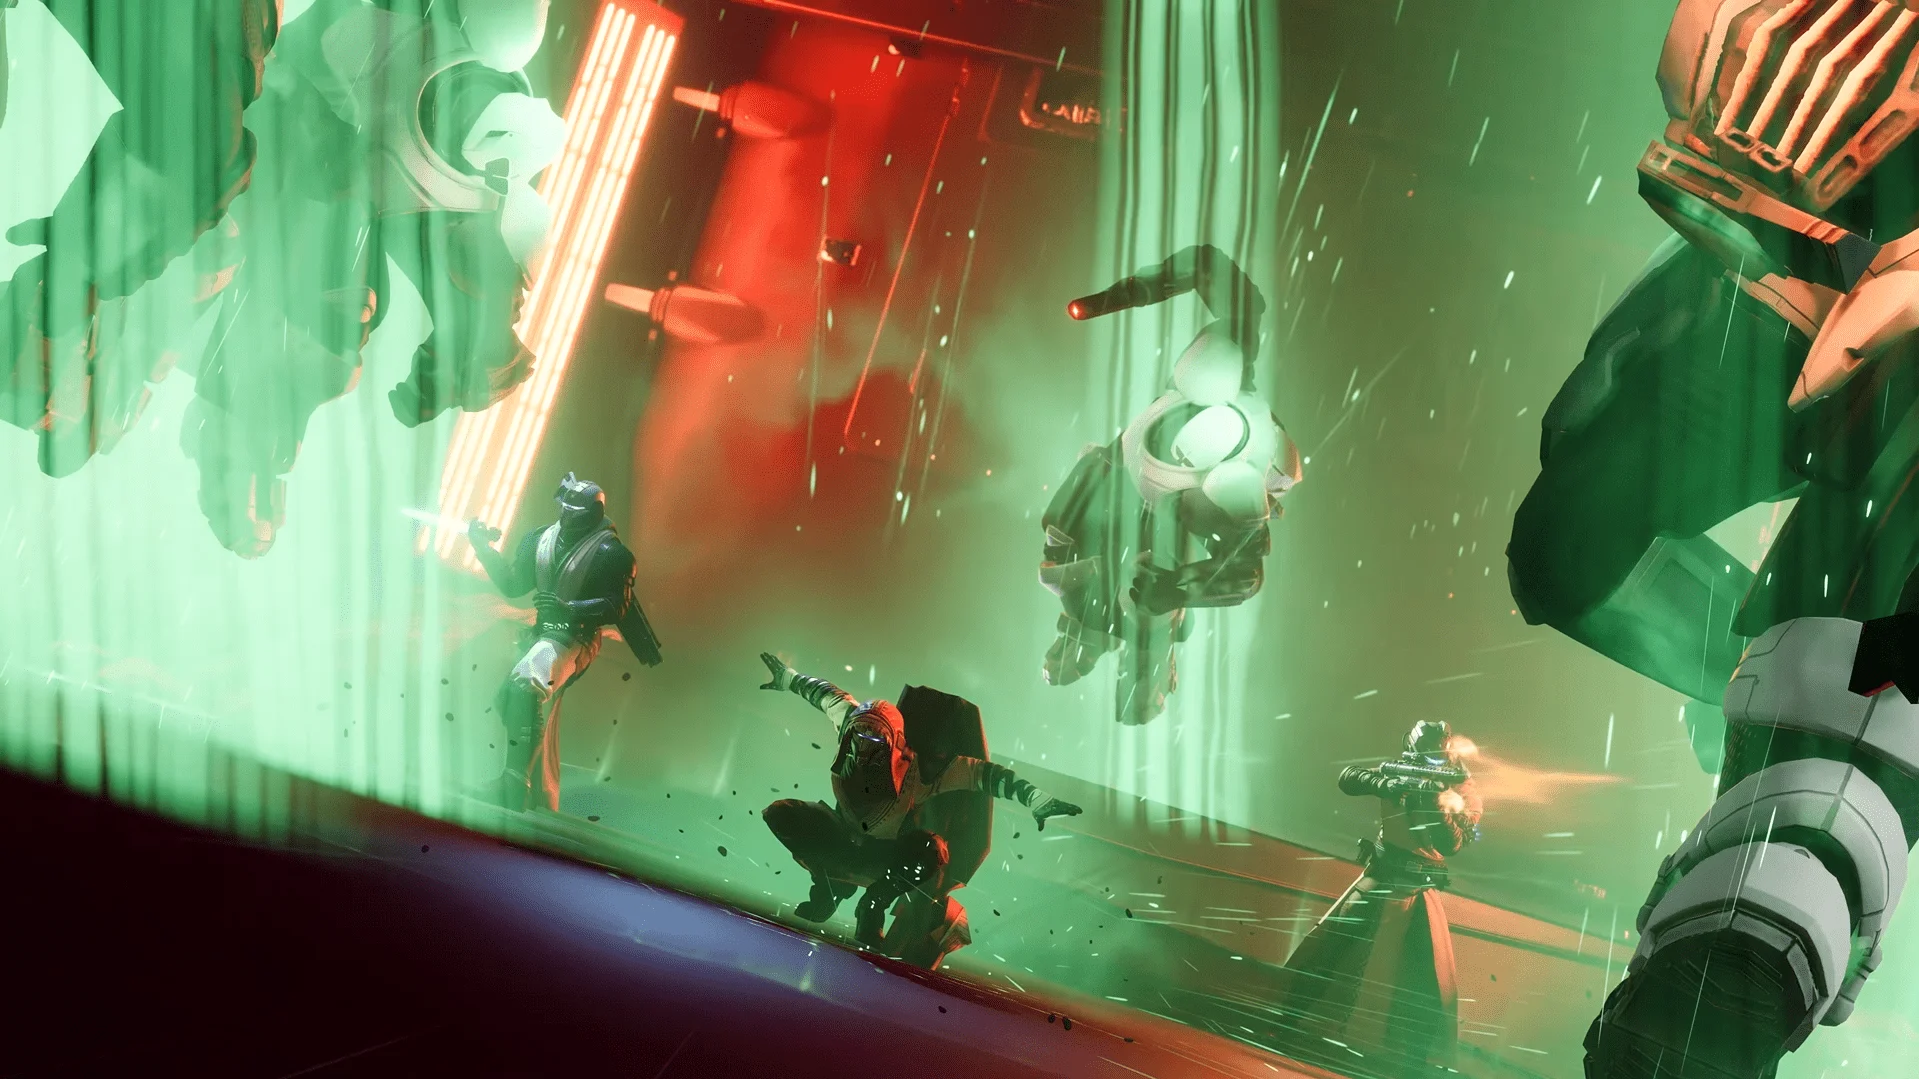
This is the final phase of the quest, where you face Dredgen Sere in her Taken form. The encounter is manageable solo but much easier with a team. You must use the Praxic Blade throughout the fight.
After defeating the boss, you’ll return to the Pedestal room. Your reward is the Energy Conduit catalyst, which restores health based on the number of enemies hit by your thrown sword. You’ll also unlock attunement via the glowing chalice, increasing drop chances for selected gear in the dungeon.
Speak with Aunor Mahal to pick up the quest. Doing so also grants access to the Equilibrium dungeon, which is required for progression.
All Relics are found within the Equilibrium dungeon, and each one must be obtained in a separate run, as they cannot all be collected in a single attempt.
While not mandatory, joining a fireteam is strongly advised since the quest requires multiple dungeon completions, making group play faster and more manageable.
Yes, it can be completed solo, but expect a significantly higher difficulty, especially during platforming and combat-heavy sections.
Use your Praxic Blade’s alternate fire to throw it at the Blight, which will destroy it and allow you to continue the objective.
While The Way Between isn’t mechanically difficult, it is time-consuming. The multiple dungeon runs can take a while, but each step rewards you with meaningful upgrades for your Praxic Blade. Completing the quest with a fireteam can easily take an entire evening depending on your experience with the dungeon.