


+15 More
Digital Aura Portal - FZCO
Building A1, Dubai Digital Park, Dubai Silicon Oasis, Dubai, United Arab Emirates Premises Number 72647 - 001
Business registration number: 70647
gamer-choice.com © 2026
Digital Aura Portal - FZCO
Building A1, Dubai Digital Park, Dubai Silicon Oasis, Dubai, United Arab Emirates Premises Number 72647 - 001
Business registration number: 70647
Welcome all new survivors and returning veterans after the most recent wipe. This latest update is unique because it changes the way everyone begins their journey. Today, we’re presenting you with the updated Escape from Tarkov Ground Zero map guide. Here, we’ll cover the key details that every player must know—how to extract, how to handle the first quests, and a handful of useful tips and tricks to make your first runs smoother. Ready? Let’s dive right in!
First off, the Ground Zero map isn’t just a regular new location. It is the mandatory starting map after a wipe, meaning your first trader quests will all send you here. This area was specifically created to ease beginners into Tarkov’s brutal gameplay. To achieve this, the map is limited to players under level 20, while Scavs are able to visit at any time. It contains nearly all the core mechanics featured on other maps, which makes it the perfect tutorial ground. We’re going to break it all down for you now.

Buy EFT Boost
Get EFT boosts now! Dominate raids and farm gear!

Starting in patch 0.14, you’ll have brand-new early-game quests to complete on the Ground Zero map. Here’s the list of what you’ll encounter:
These are the core Ground Zero map quests, and now we’ll walk you through how to complete each one in detail.
This is likely the simplest quest you’ll encounter. All you need to do is locate the black SUV extraction and use it. Just like with other paid extracts, this one is available regardless of spawn location, though only one player can use it per raid. After paying, you must wait 60 seconds before leaving—longer than the usual 15-second extracts.
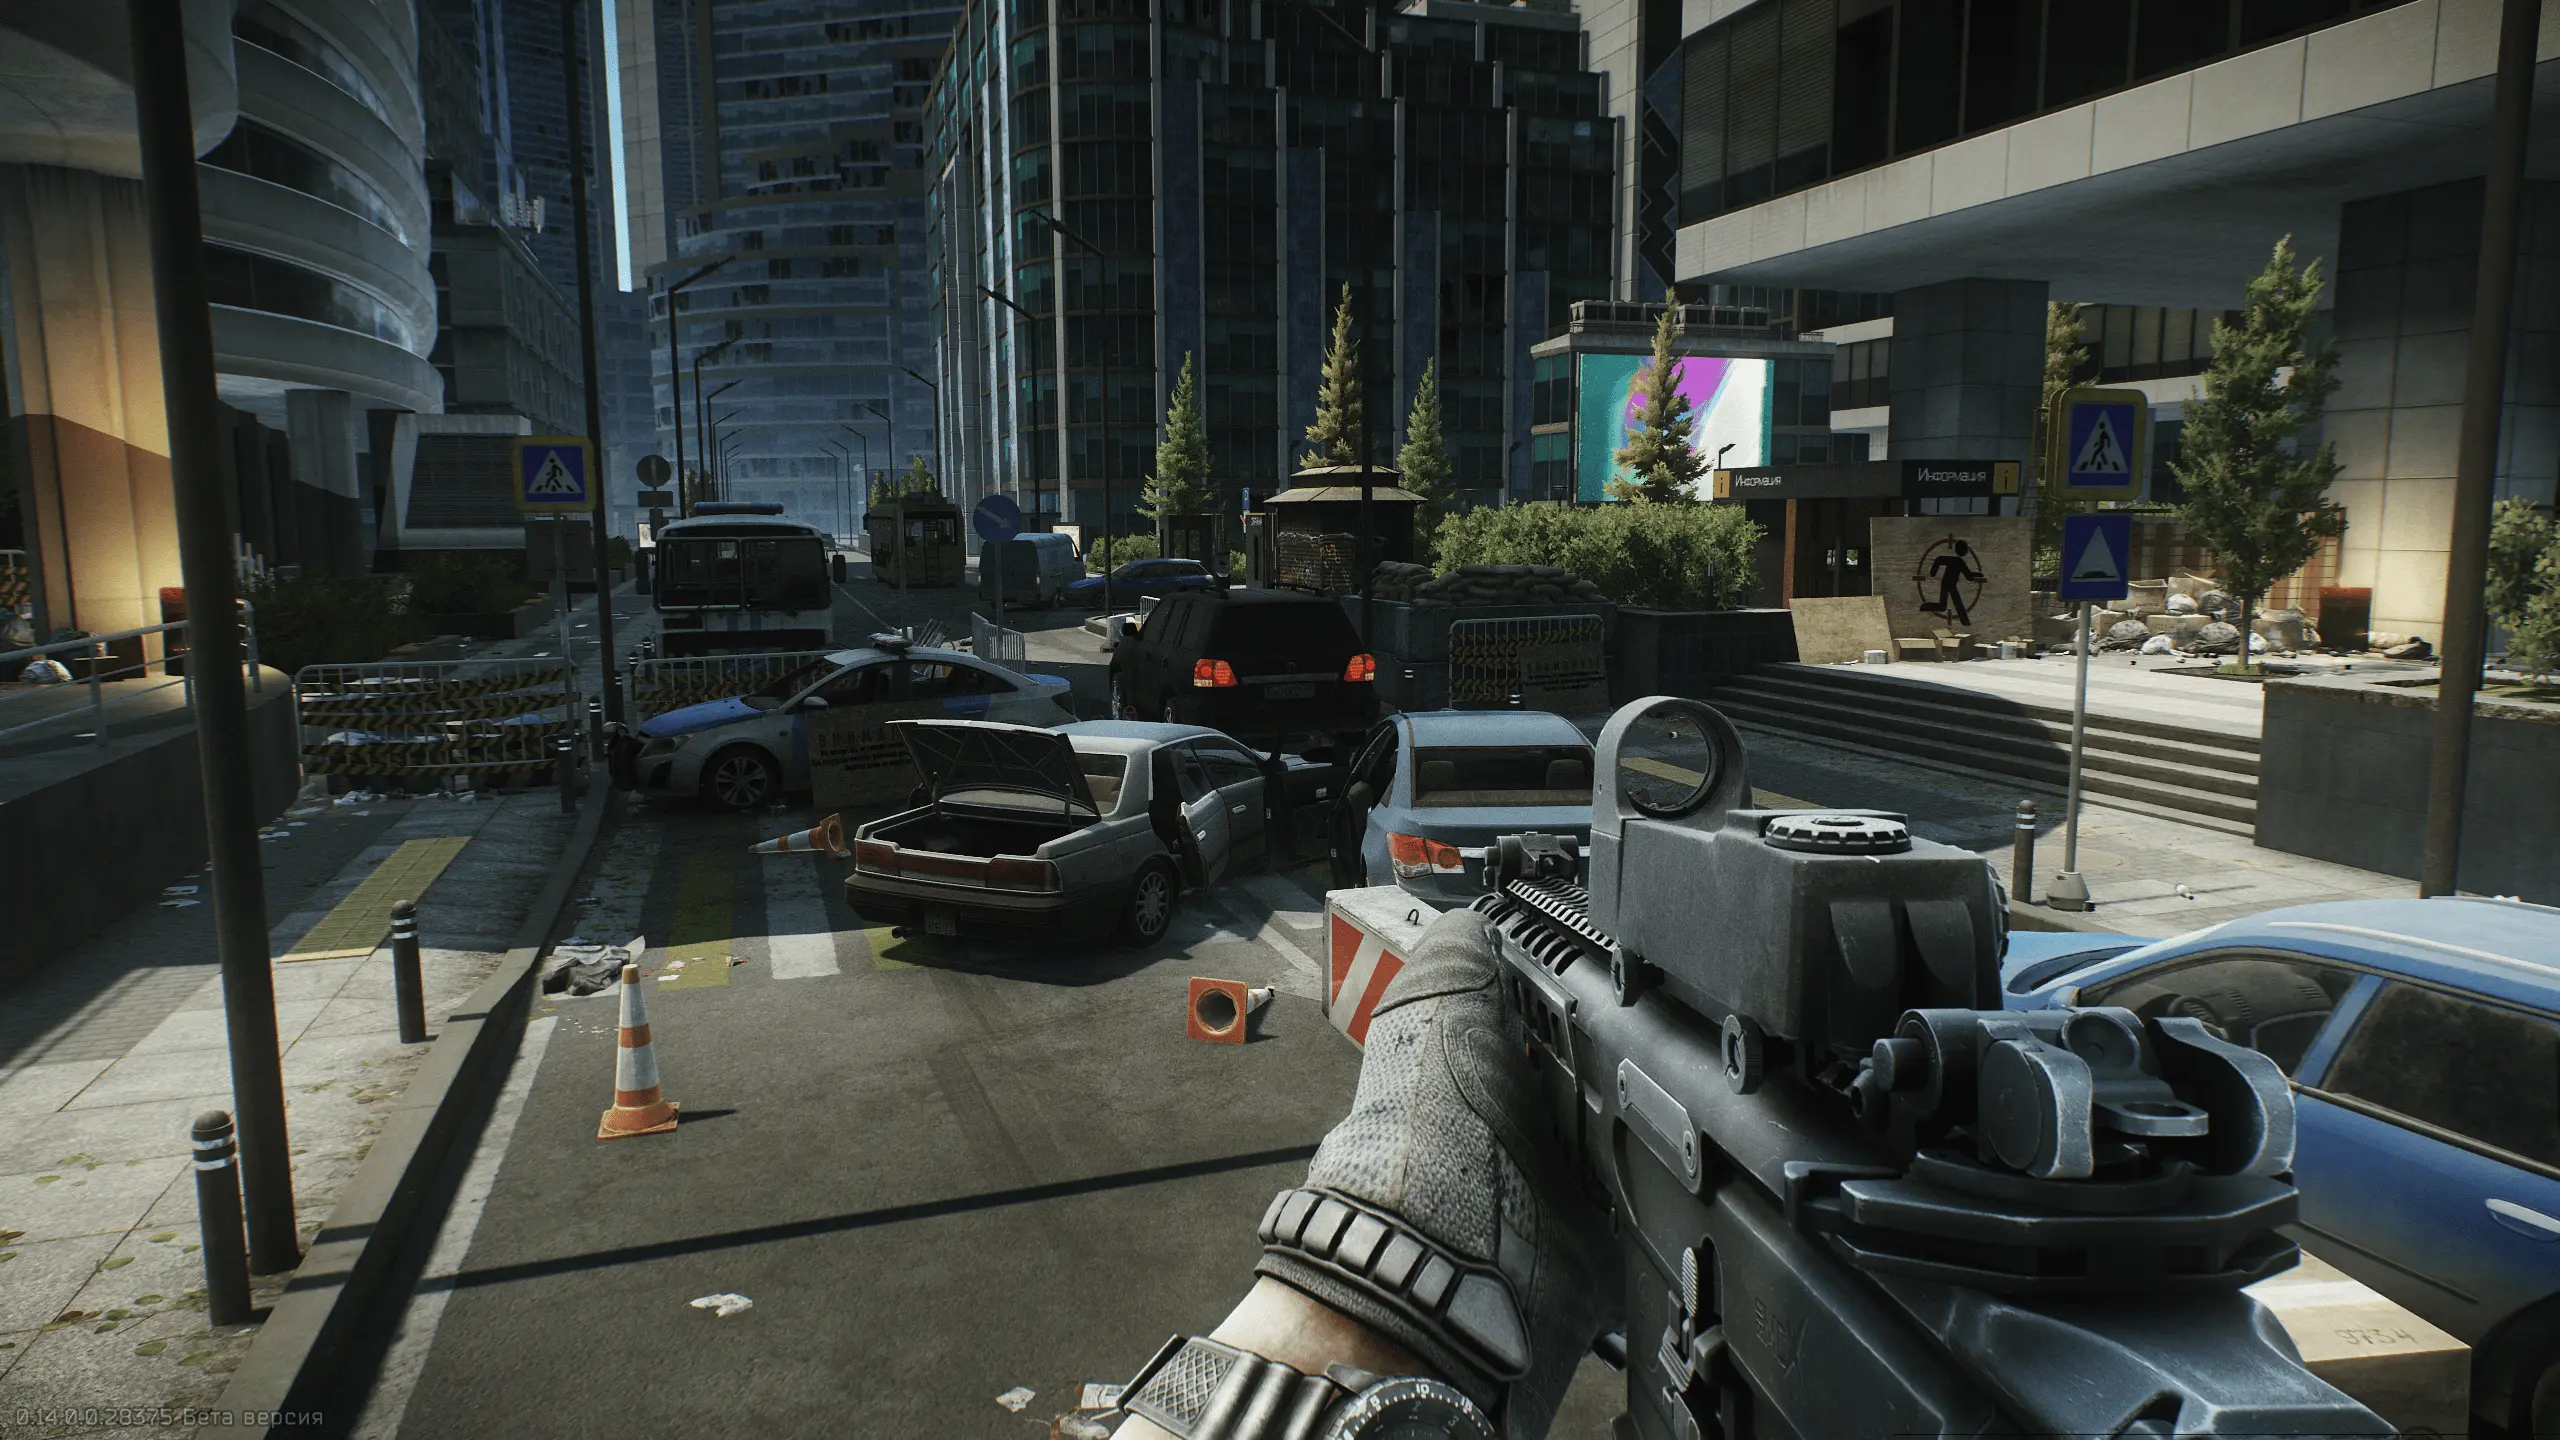
The SUV extract for this quest is called the Police Checkpoint. You’ll find it at the end of the road between the Terragroup building and the Empire building. Stand at the Terragroup main entrance, and look to the right side. There you’ll see the black SUV with glowing rear lights, marking your exit.
This quest requires you to locate the Emercom Station, which doubles as an extraction point.
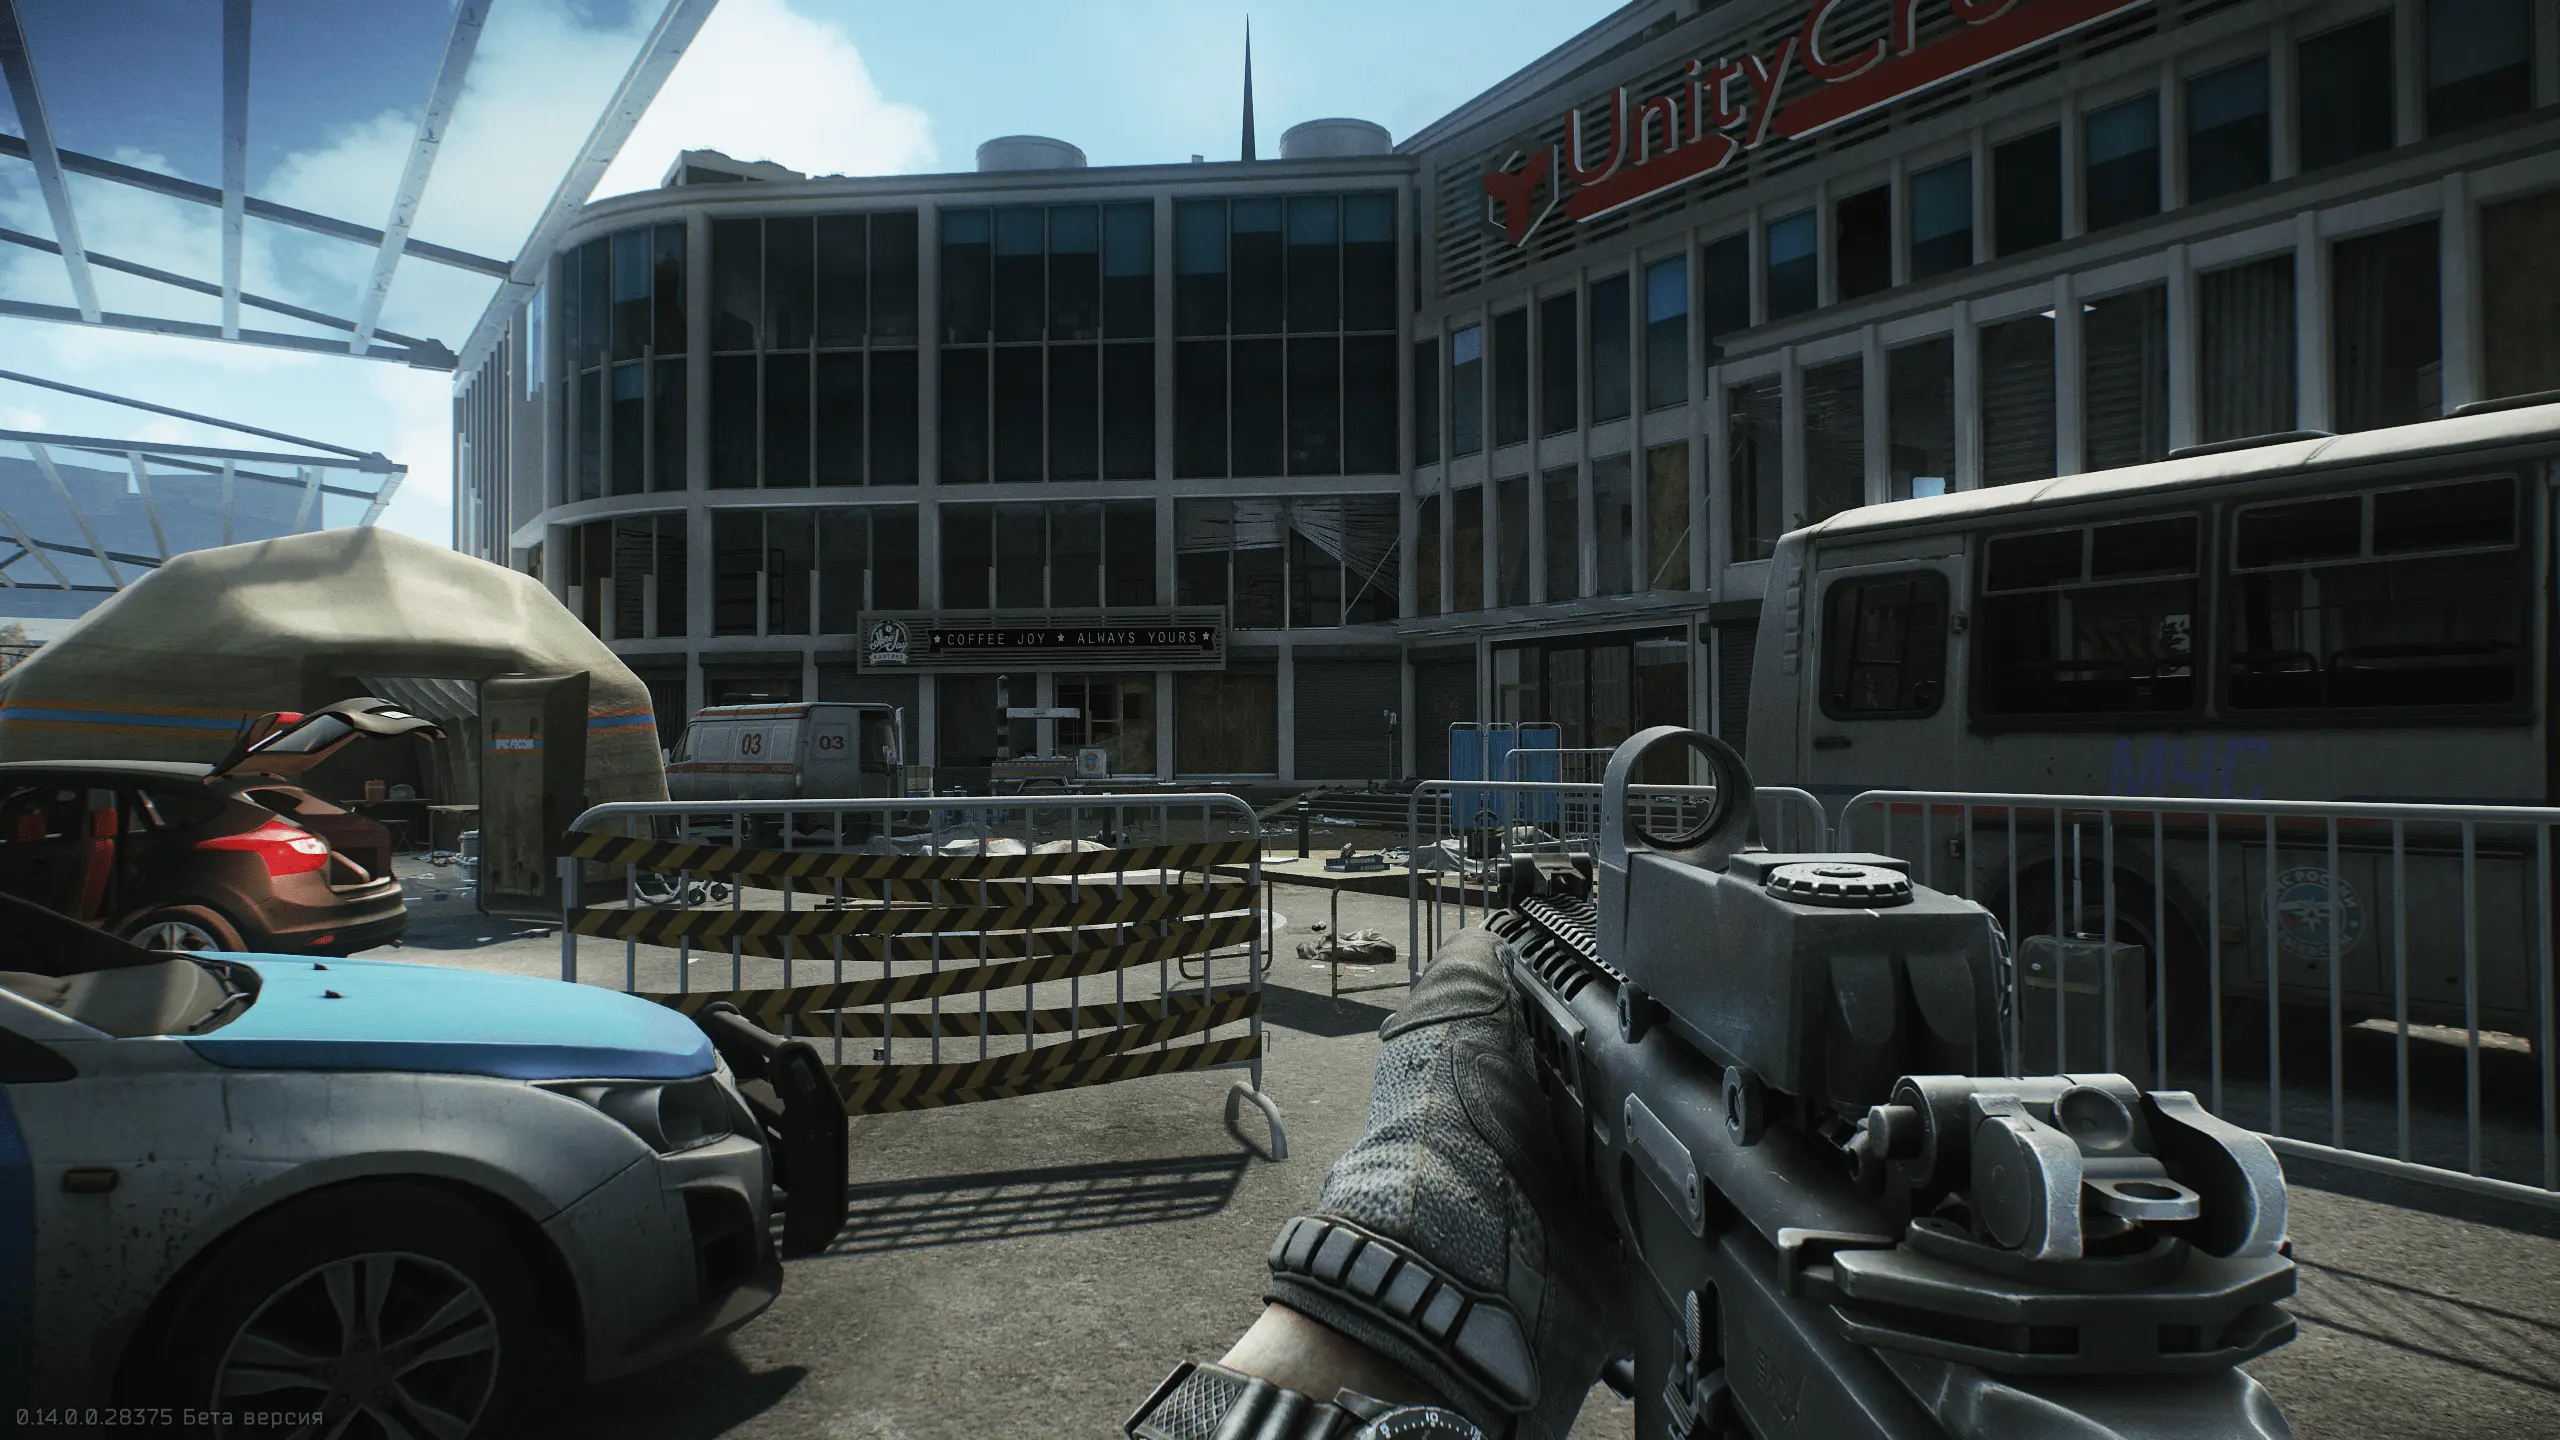
To find it, head behind the Skyside building, directly across from the Terragroup entrance. Face the Terragroup building, then turn left and follow the street. At the end, turn left again until you spot the Unity Credit Bank on your right. The Emercom checkpoint is in the parking lot just in front of the bank. Approaching the location will complete the objective. To use this extraction, go near the bank’s entrance—look for the body lying to the left of the door.
The second part of the quest requires you to hand over 3 medical items. You can loot these or take them off other players. To find them yourself, check the following:
There aren’t many hidden stashes on the Ground Zero map, so you should easily find enough items to complete the quest.
This mission puts you in firefights. Fortunately, players here won’t have top-tier gear, so you’ll be on more even footing. If you’re hunting PMCs, your best bet is to camp or patrol quest-related areas, since other players will also be heading there.
For Scavs, check these likely spawn zones:
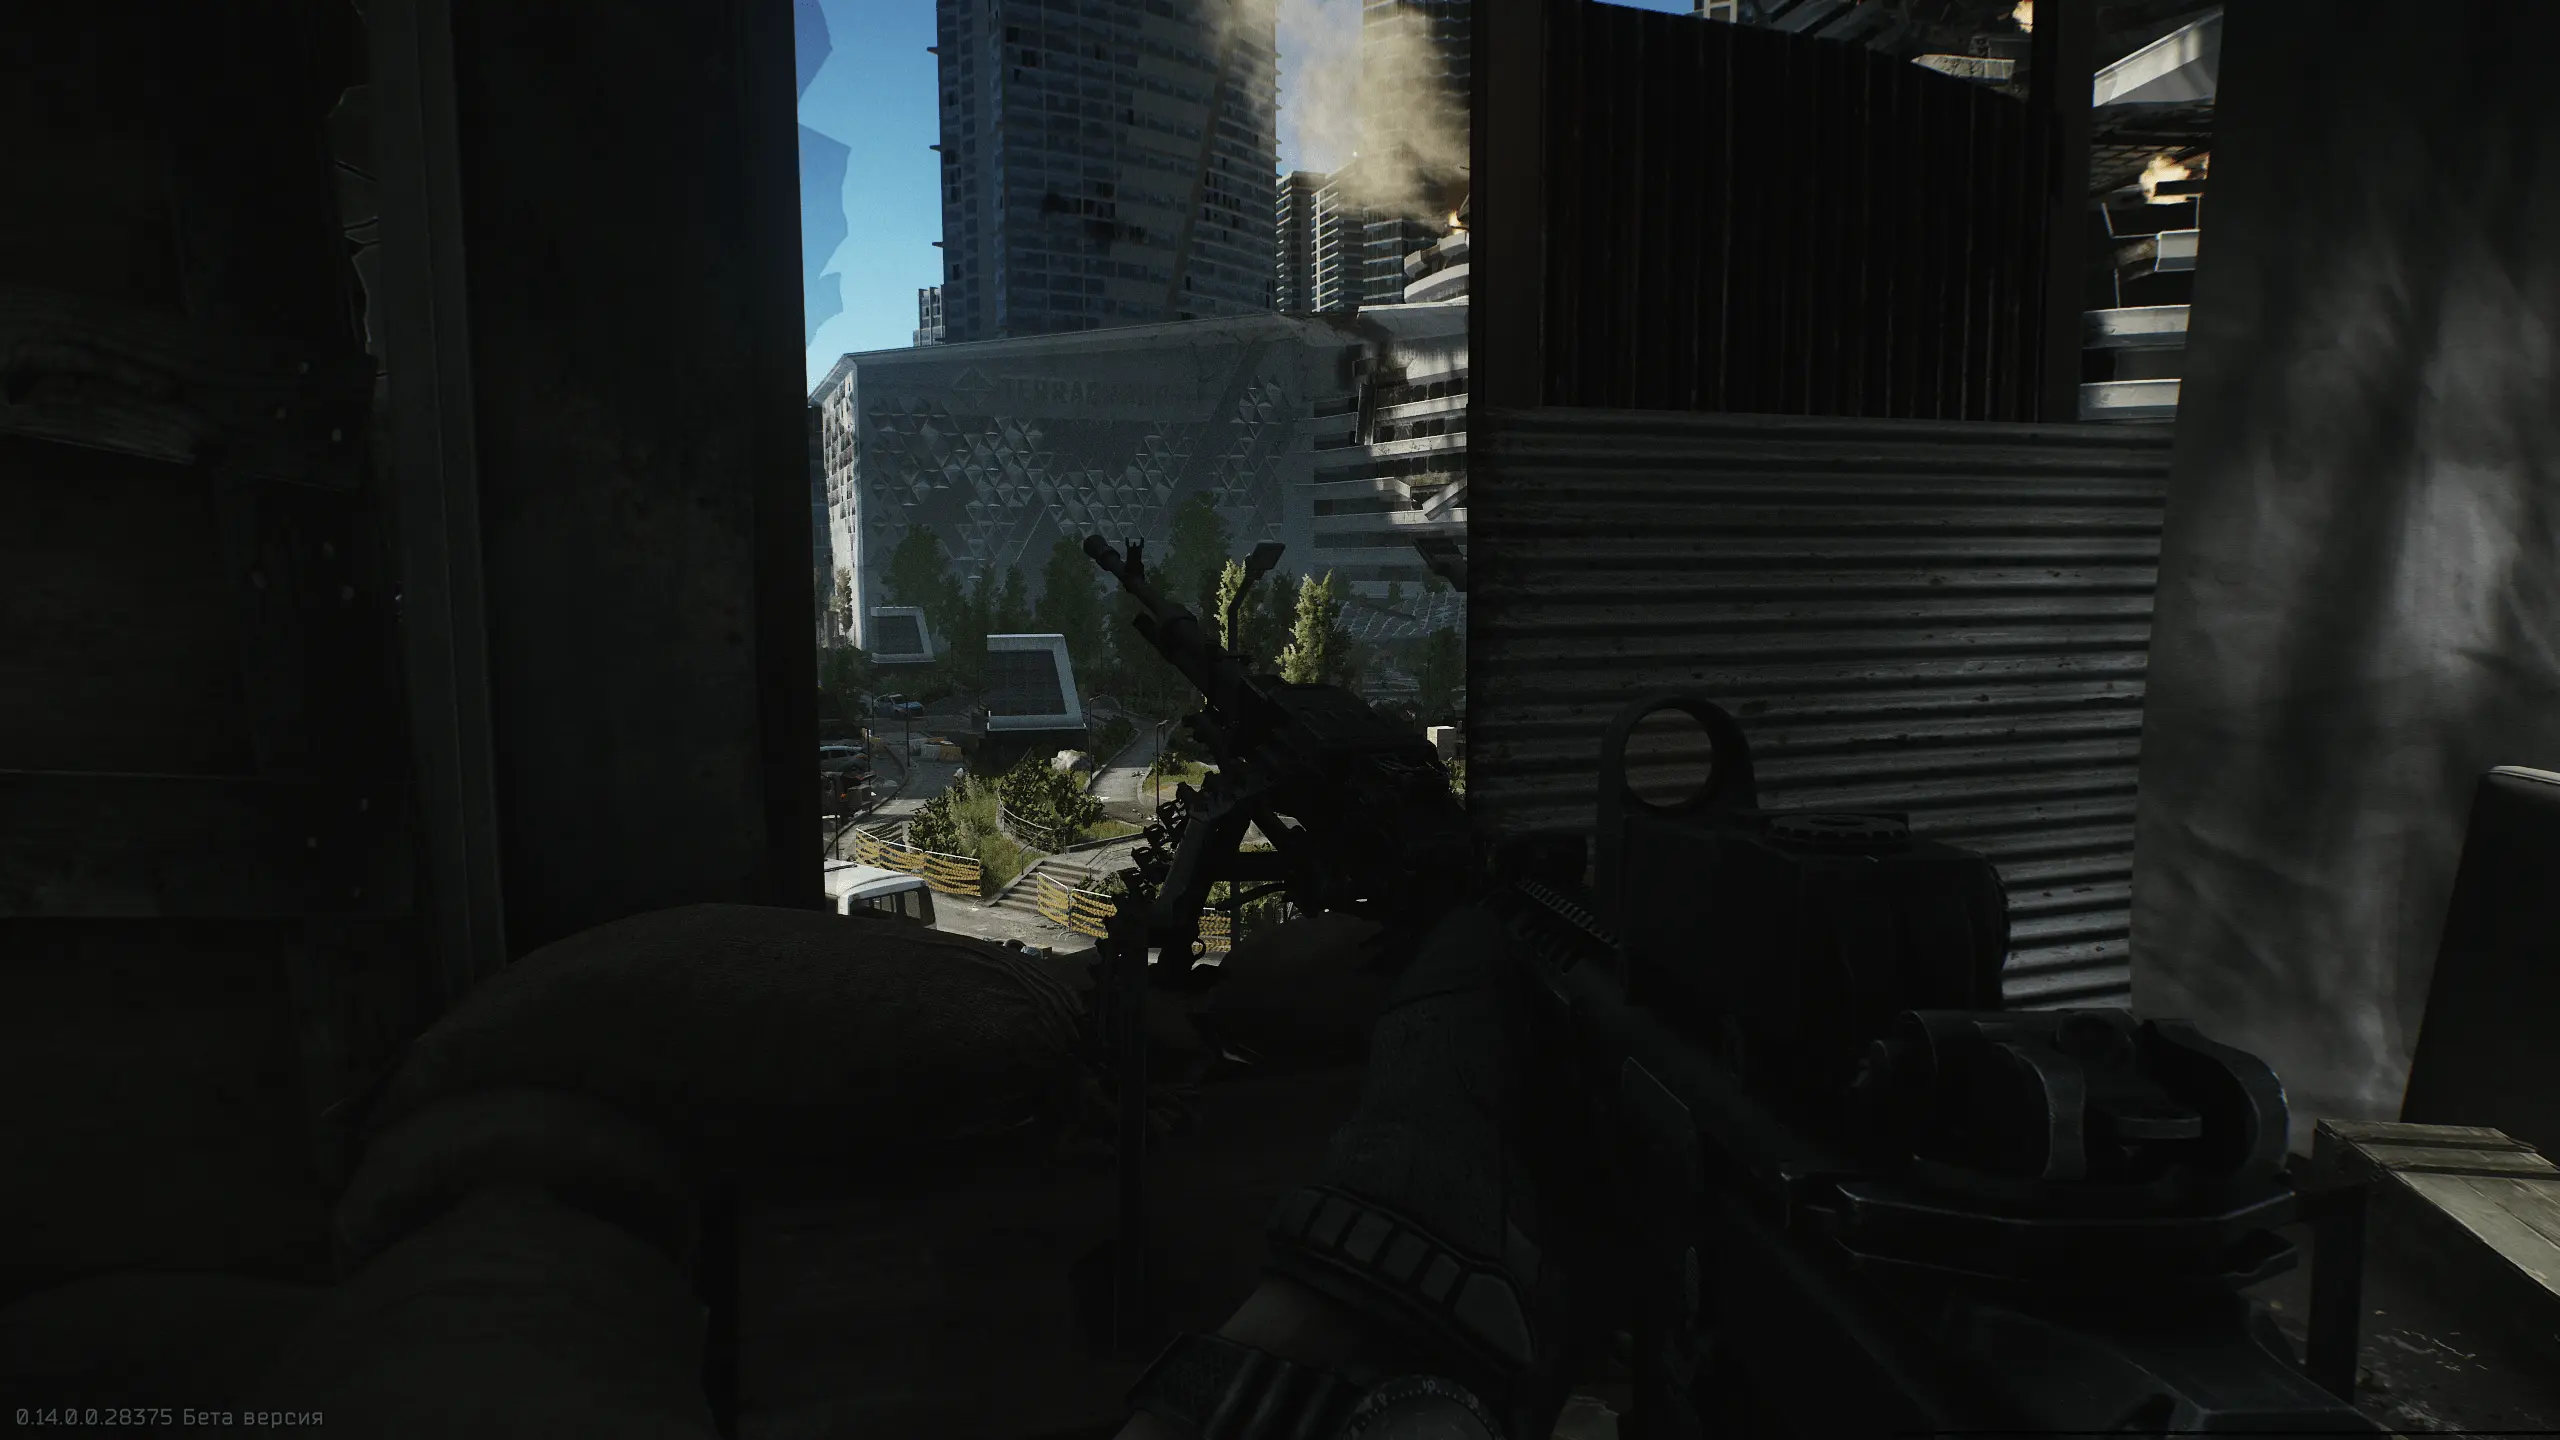
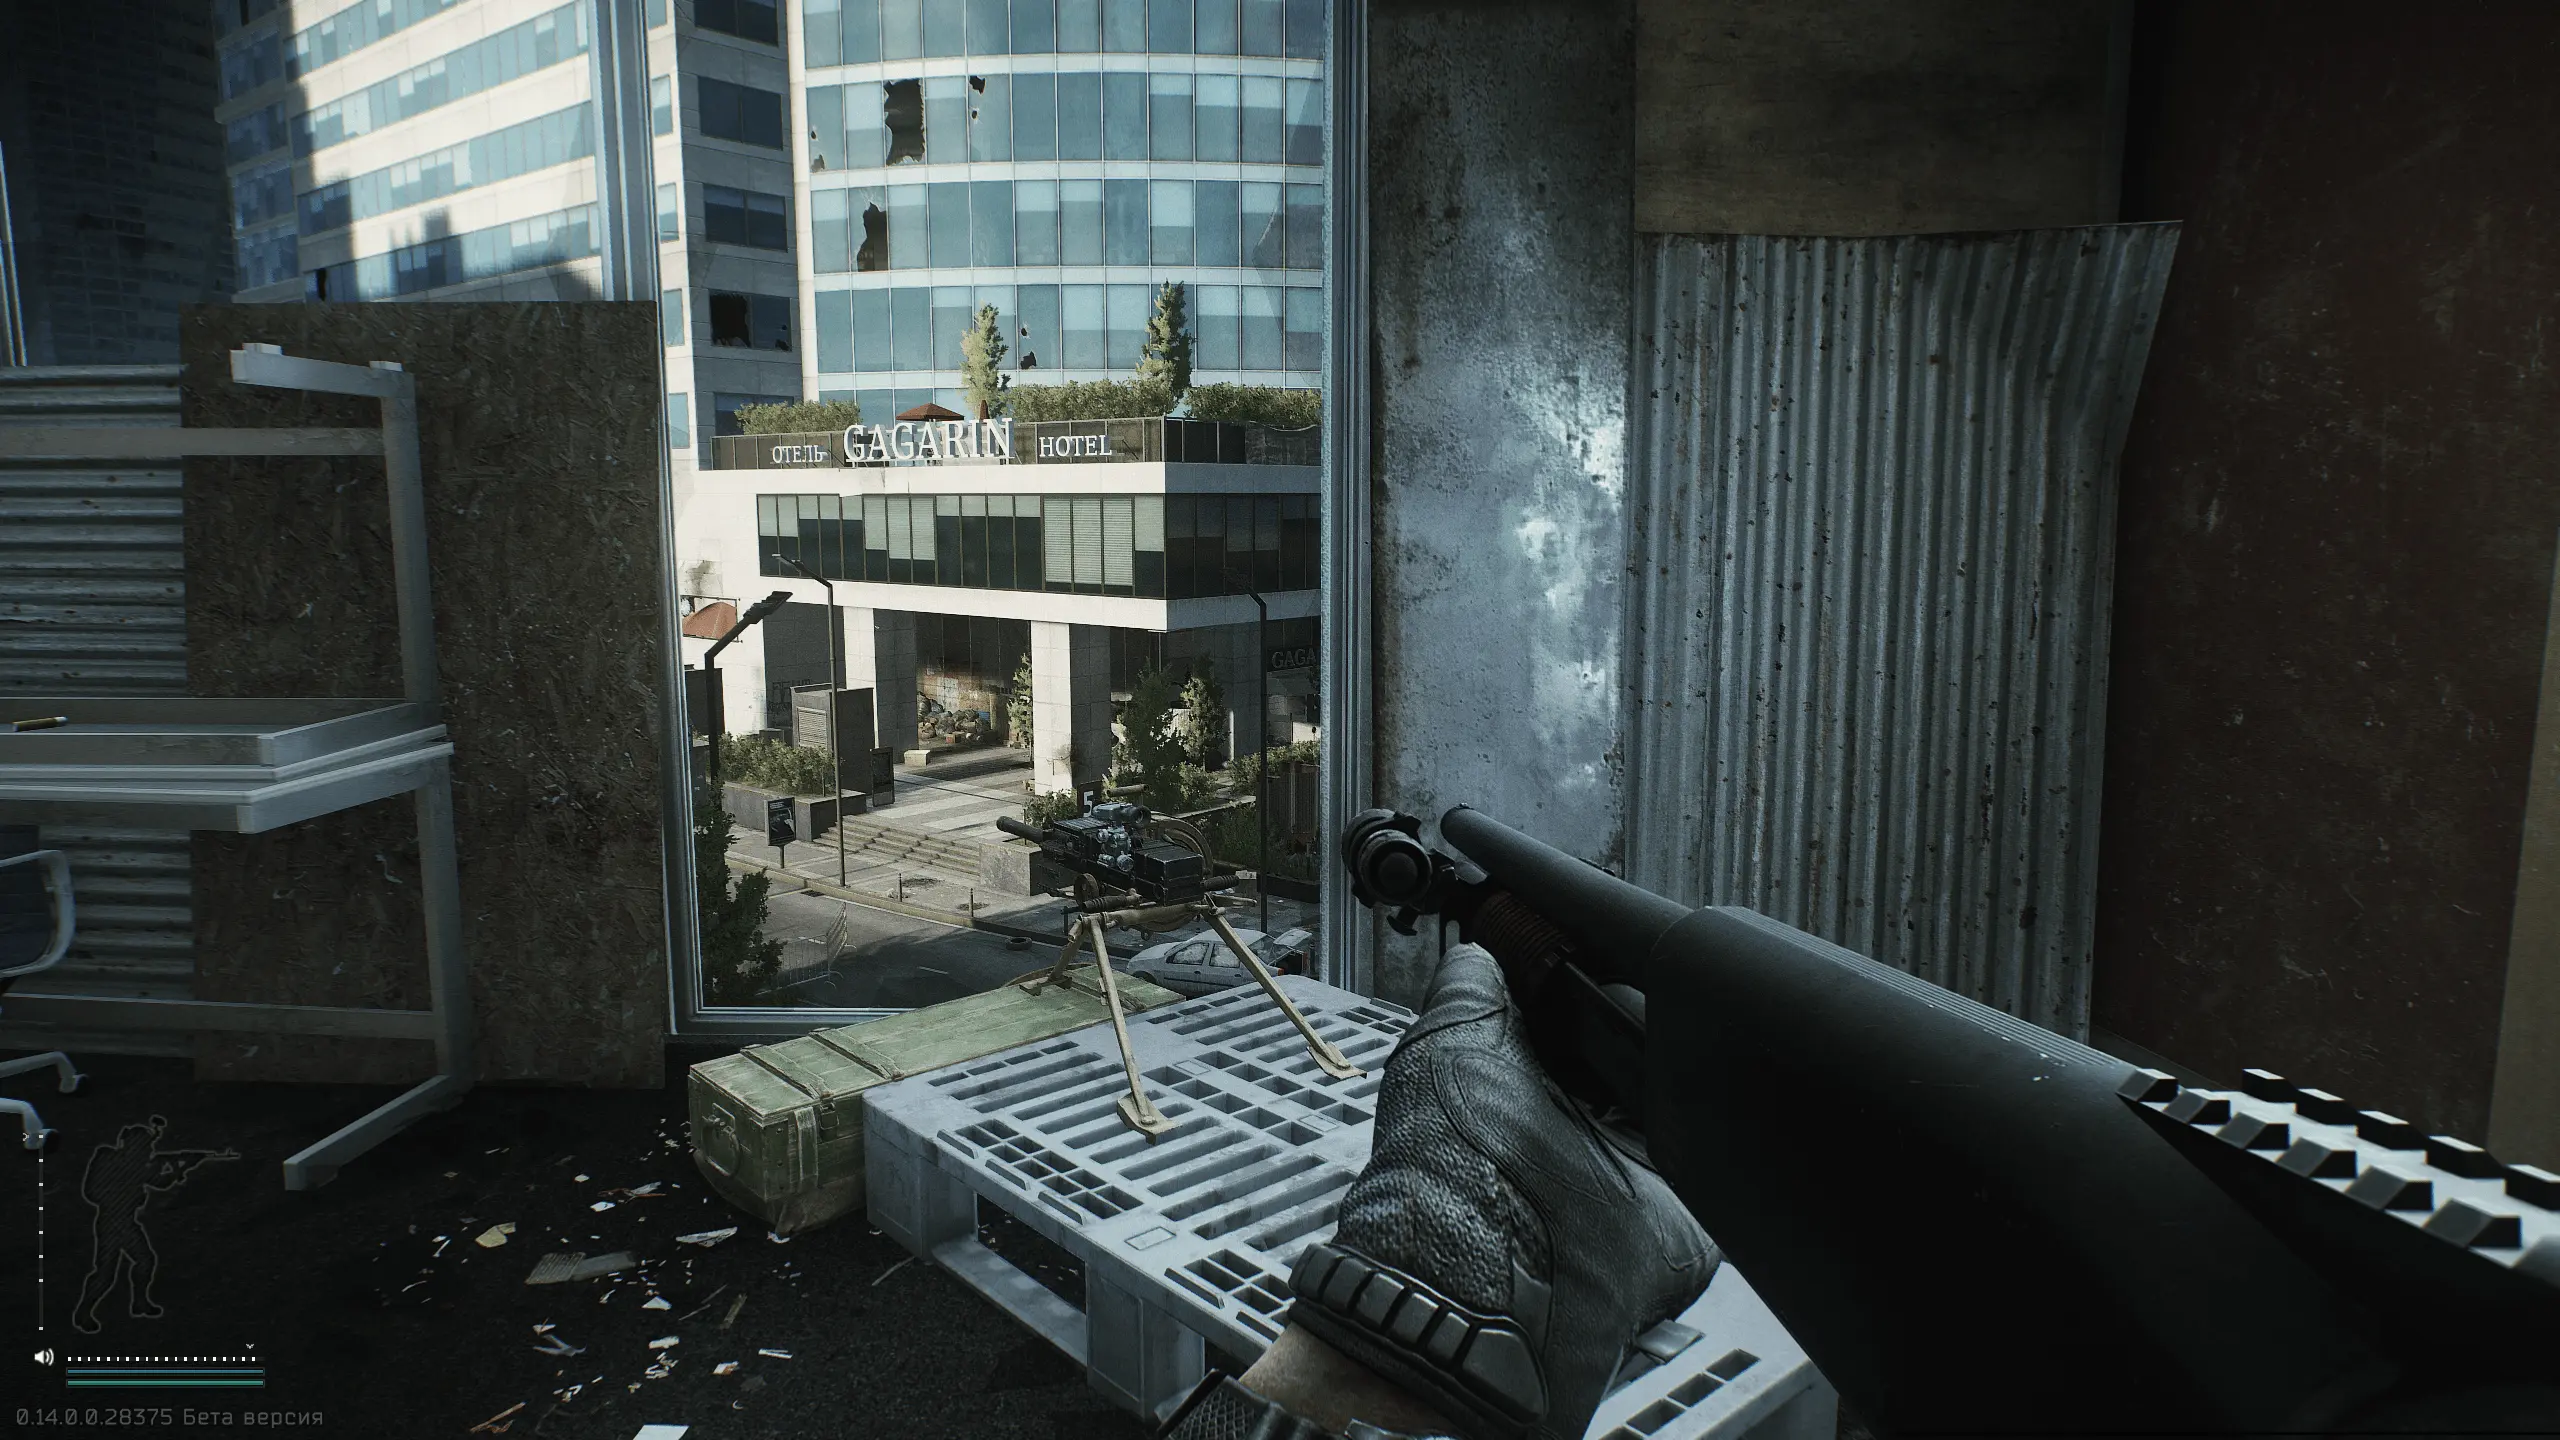
This quest also requires visiting two stationary weapon emplacements:
For this quest, head into the Terragroup building. You’ll need to complete several steps:
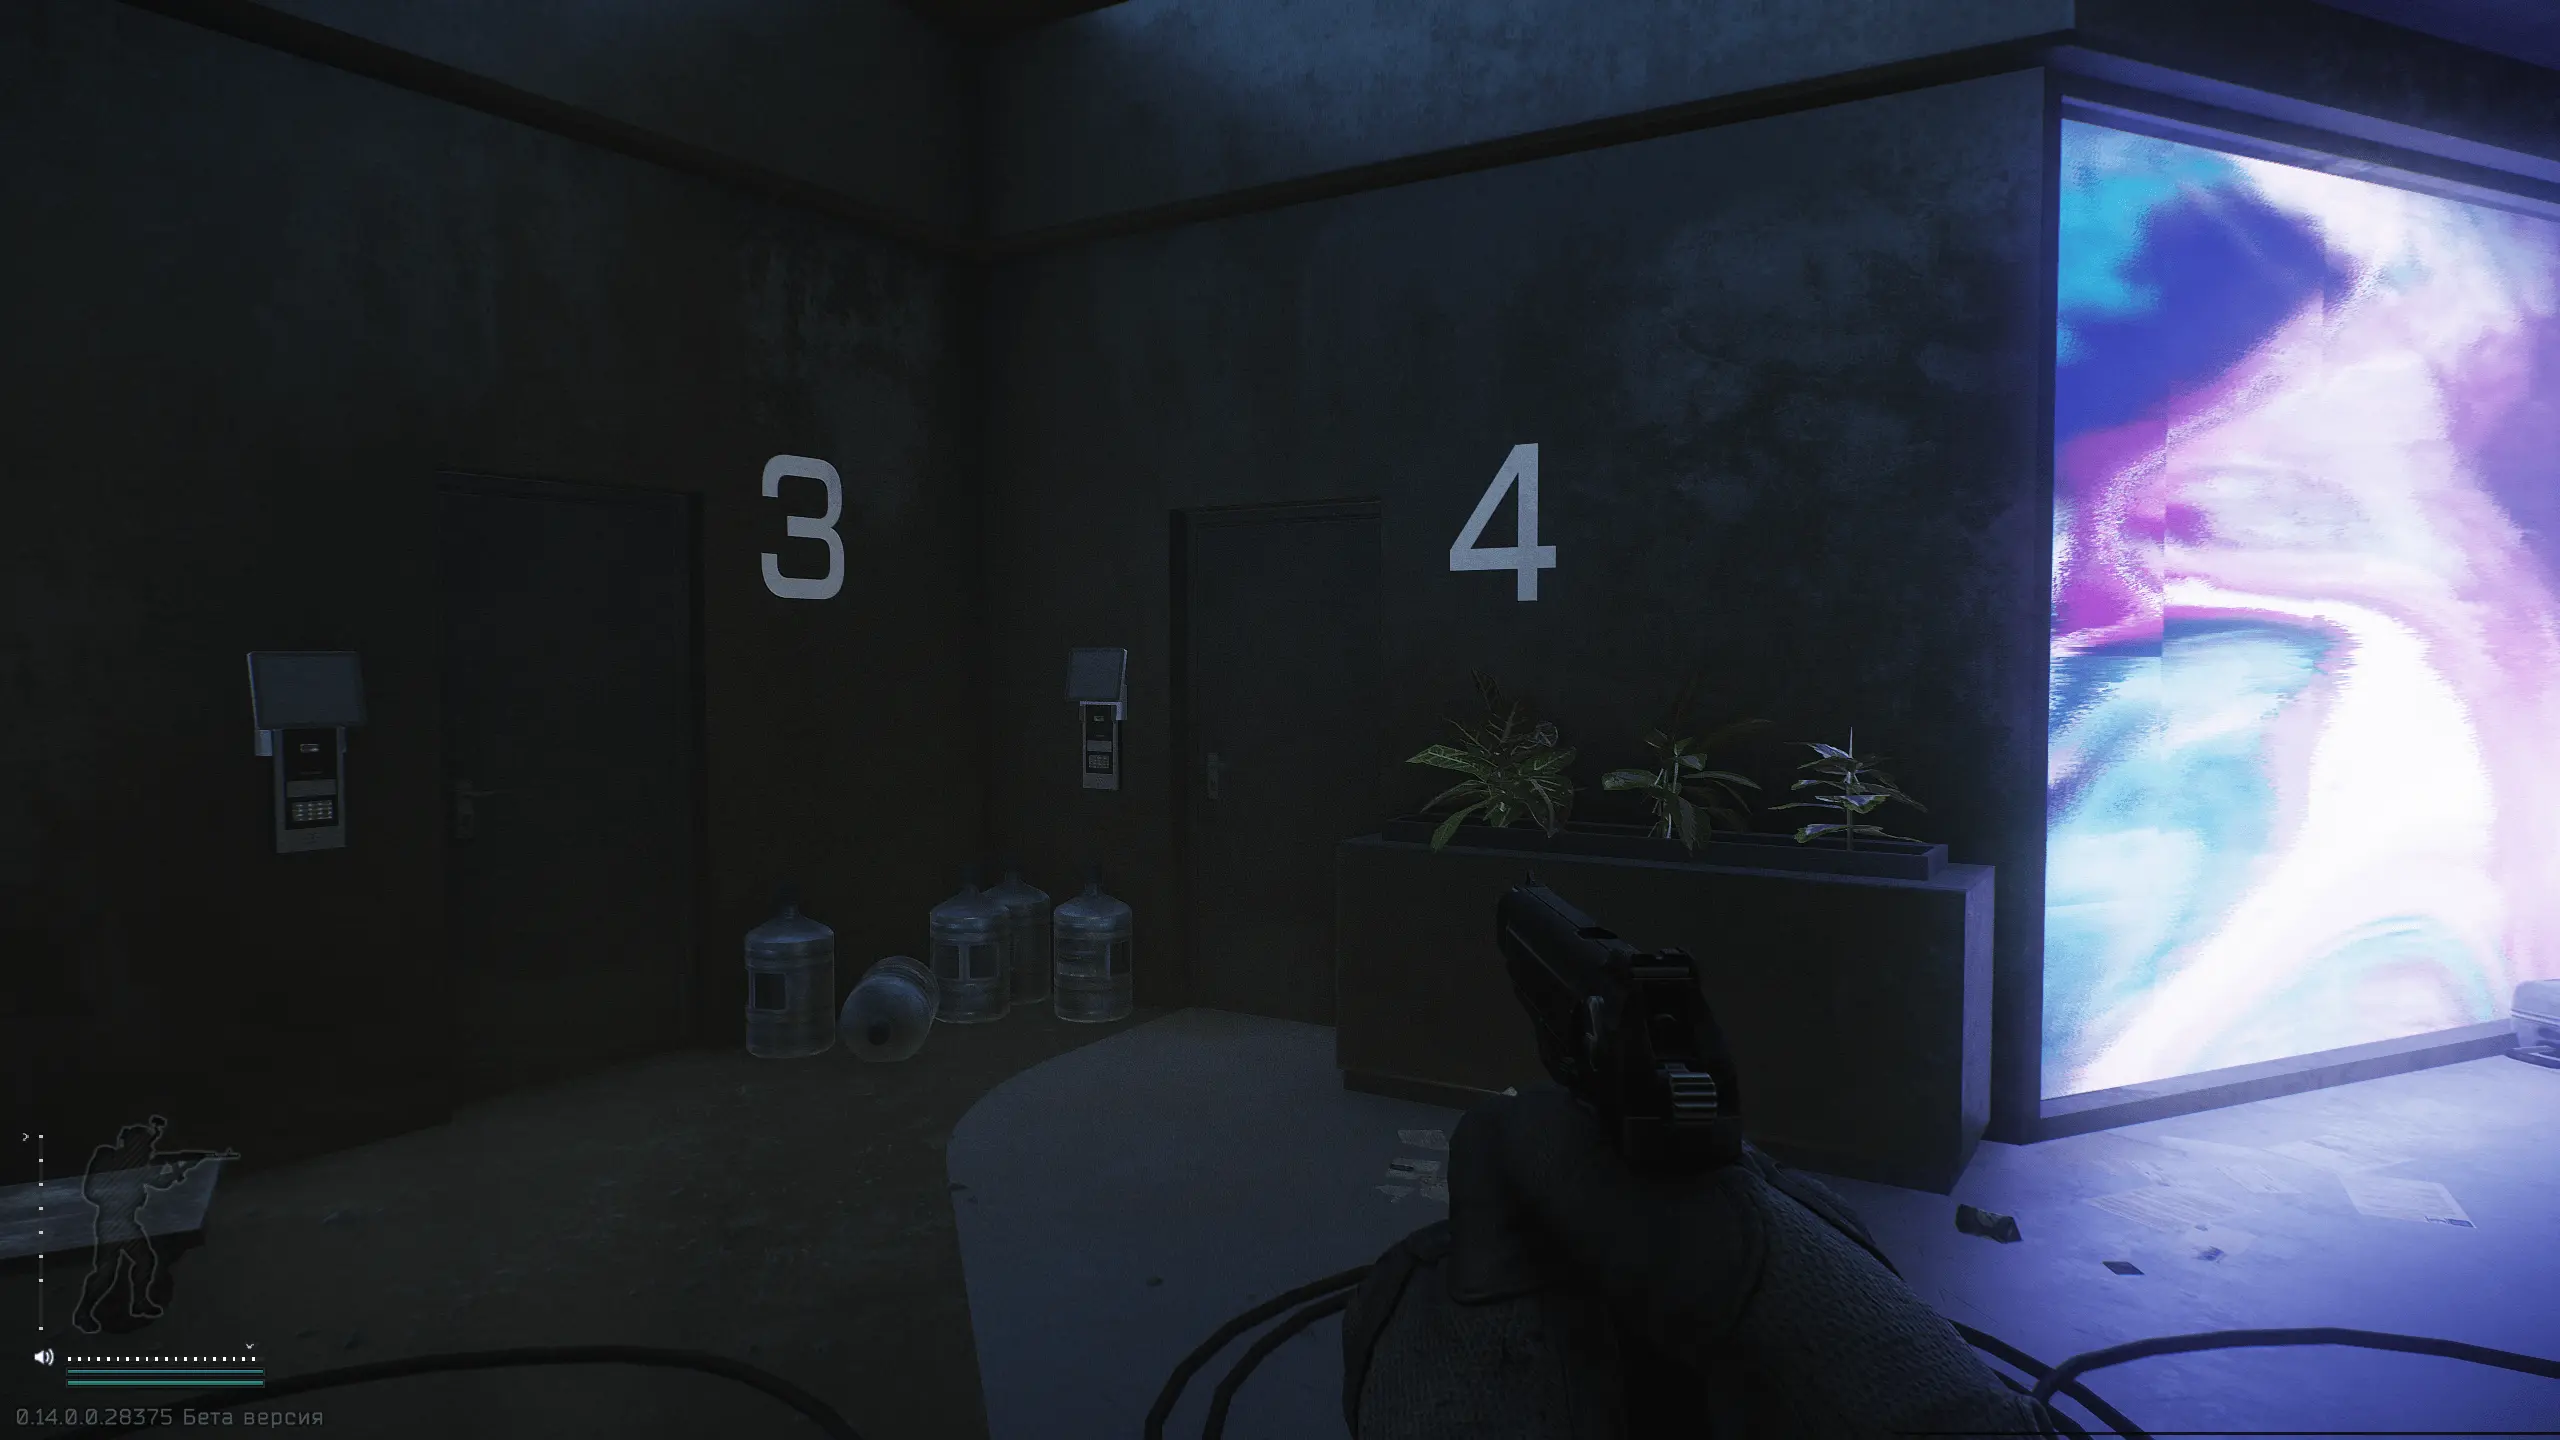

Tip: You can skip the key by entering office 3 (the cafeteria). Climb onto the windowsill, exit through the window, and cross to office 4. Smash the glass with your knife to enter. Remember, you’ll need to exit the same way since the door won’t unlock from inside.
This one is straightforward. Locate ASAP Winery, which sits near the Skyside building, just across from the Terragroup complex.

Buy EFT Roubles
Stock up on EFT roubles and gear up now!
Extraction is how you survive raids and bring your loot home. Your available exits depend on spawn location, but you’ll usually have to cross the Ground Zero map to escape. The exits include both regular and conditional ones. Two notable examples are:
| Extraction | Requirements | Notes |
|---|---|---|
| Nakatani Basement Stairs | Available based on your spawn point | Nakatani building is situated on the edge of the map. Inside, you will find the lobby with elevators, and at the end, there will be stairs. Use them to go down to find the extraction. |
| Police Cordon V-Ex | 5000 Roubles per player, Maximum of 4 players | The exit is to the right side of the Terragroup entrance. Look for the black SUV parked on the road. |
| Emercom Checkpoint | Available based on your spawn point | The exit is behind the Skyside in the Unity Credit Bank |
| Mira Ave | Use either: - Handheld RSP-30 green flare - Signal pistol fired 26x75mm green flare | Turn around, facing the entrance of the Terragroup, and use the main road to go down the street and then turn right. You’ll see signs saying that you need to use the flair. |
| Scav Checkpoint (Co-op) | Scav + PMC | This exit requires at least two players, one has to be a Scav and the other PMC. This exit is located on the opposite side of the Emercome Checkpoint exit. |
If you learn your way around the Terragroup building, you’ll be able to find your extraction routes without much trouble.
The map features 5 extraction points, though you won’t always have access to all of them. Which exits you can use depends on your spawn location and faction. You can always confirm your active exits by checking the in-game extraction list.
The AGS grenade launcher can be found inside the Capital building on the second floor, positioned in one of the offices. The Utyos heavy machine gun is located in the Empire building, also on the second floor, overlooking the surrounding area.
You’ll find the scientist’s body on the ground floor of the Terragroup building. Head past the lobby to a hallway blocked with debris—this is where the key is located.
Yes, the paid extract is at the Police Checkpoint. To use it, you must pay 5000 rubles and wait for 60 seconds by the black SUV before extraction is complete.
This location is restricted to PMC players under level 20. However, Scavs can enter and play on the map without any level restrictions.
The Ground Zero map is designed as the introductory battleground for Escape from Tarkov. It introduces players to their very first quests, which are relatively simple by Tarkov’s standards but can still be confusing without guidance. If you’re unfamiliar with the layout, quest objectives may seem overwhelming at first. That’s why this Gamer Choice guide exists—to help you master the basics and confidently complete your early objectives. Understanding extractions is equally important, as they dictate your survival. With this walkthrough, you now have the knowledge to make your first raids on the Ground Zero map far less stressful and much more rewarding.