Digital Aura Portal - FZCO Building A1, Dubai Digital Park, Dubai Silicon Oasis, Dubai, United Arab Emirates Premises Number 72647 - 001 Business registration number: 70647
The Holy Priest is one of the most straightforward healing specializations in World of Warcraft. This spec is easy to learn and highly effective across all types of content. In this WoW The War Within Holy Priest guide, we’ll walk you through mastering the intricacies of the spec, including which talents and abilities to prioritize, the best Holy Priest builds, and the optimal strategies for healing your allies while staying alive in battle.
Table of Contents
Holy Priest Overview
Holy Priest is a fantastic reactive healer, especially suited for healing large groups and raids. With a response to almost all damage types, there is always a tool on hand to deal with the situation and keep you thinking while you play.
Raid healing as a Holy Priest revolves around the chosen talents and the two Holy Words, Holy Word: Sanctify and Holy Word: Serenity. Outside of these, the bulk of the healing comes from the Mana-efficient Prayer of Mending and Circle of Healing,, alongside the variety of "filler" spells used to reduce the cooldown of our burst-healing Holy Words. Talenting into Holy Word: Salvation gives Holy Priest a second raid cooldown, which can be invaluable to your healing team.
Holy Priest Strengths and Weaknesses
Strengths
Unique cooldown-based healing style providing regular bursts of healing.
Powerful raid cooldowns.
Excels at reactive raid healing healing.
Good single target and AoE damage potential, but only when healing is not required.
Weaknesses
Low single target sustained throughput.
Many abilities to track.
Poor damage compared to most other healers.
No interrupt.
Mediocre group healing in situations that force a large spread.
Holy Priest Basic Gameplay
Holy Priest is classed as a reactive healer, meaning you will primarily be reacting to damage your allies take and then cast the appropriate spells from your toolkit to respond to that damage. While this healing style does make Holy Priest one of the easier healers to pick up, getting your head around the number of healing spells available can take some time.
Holy Priest Changes in Patch 11.2
Patch 11.2 brings several minor updates to Holy Priest, focusing on healing balance and mana management:
Divine Hymn: Healing increased by 100% in 5-man groups, but now diminishes more rapidly beyond 5 targets.
New tier set bonuses were introduced in Patch 11.2, tied to Hero Talents. These enhance your existing rotation without altering gameplay:
Oracle 2pc: Casting Prayer of Mending heals your target for 1400% of Spell Power.
Oracle 4pc: Casting Premonition of Piety or Premonition of Solace grants 2 stacks of Premonition of Insight at 100% effectiveness. Consuming a stack increases your Haste by 1.0% for 10 sec, stacking.
A new cloak, Reshii Wraps, has been added in Patch 11.2, granting a passive healing benefit.
Holy Priest Leveling Guide for The War Within
Holy Priest Leveling Playstyle
While Holy Priest is fully capable of leveling, most Priests prefer to level as Shadow due to its superior damage output, which helps speed up questing significantly. However, in Dungeons and PvP Battlegrounds, Holy offers a refreshing change of pace and excels at keeping your group alive.
Best Leveling Gear for Holy Priest
Gearing as a leveling Holy Priest is fairly straightforward — prioritize Intellect as it greatly increases both your spell damage and healing. This usually means choosing gear with the highest item level available. Secondary stats are much less impactful while leveling and can be mostly ignored.
Your weapon also plays a key role by contributing Intellect. Whether it's a staff or a main-hand/off-hand combo, always aim for the option that provides the most total Intellect.
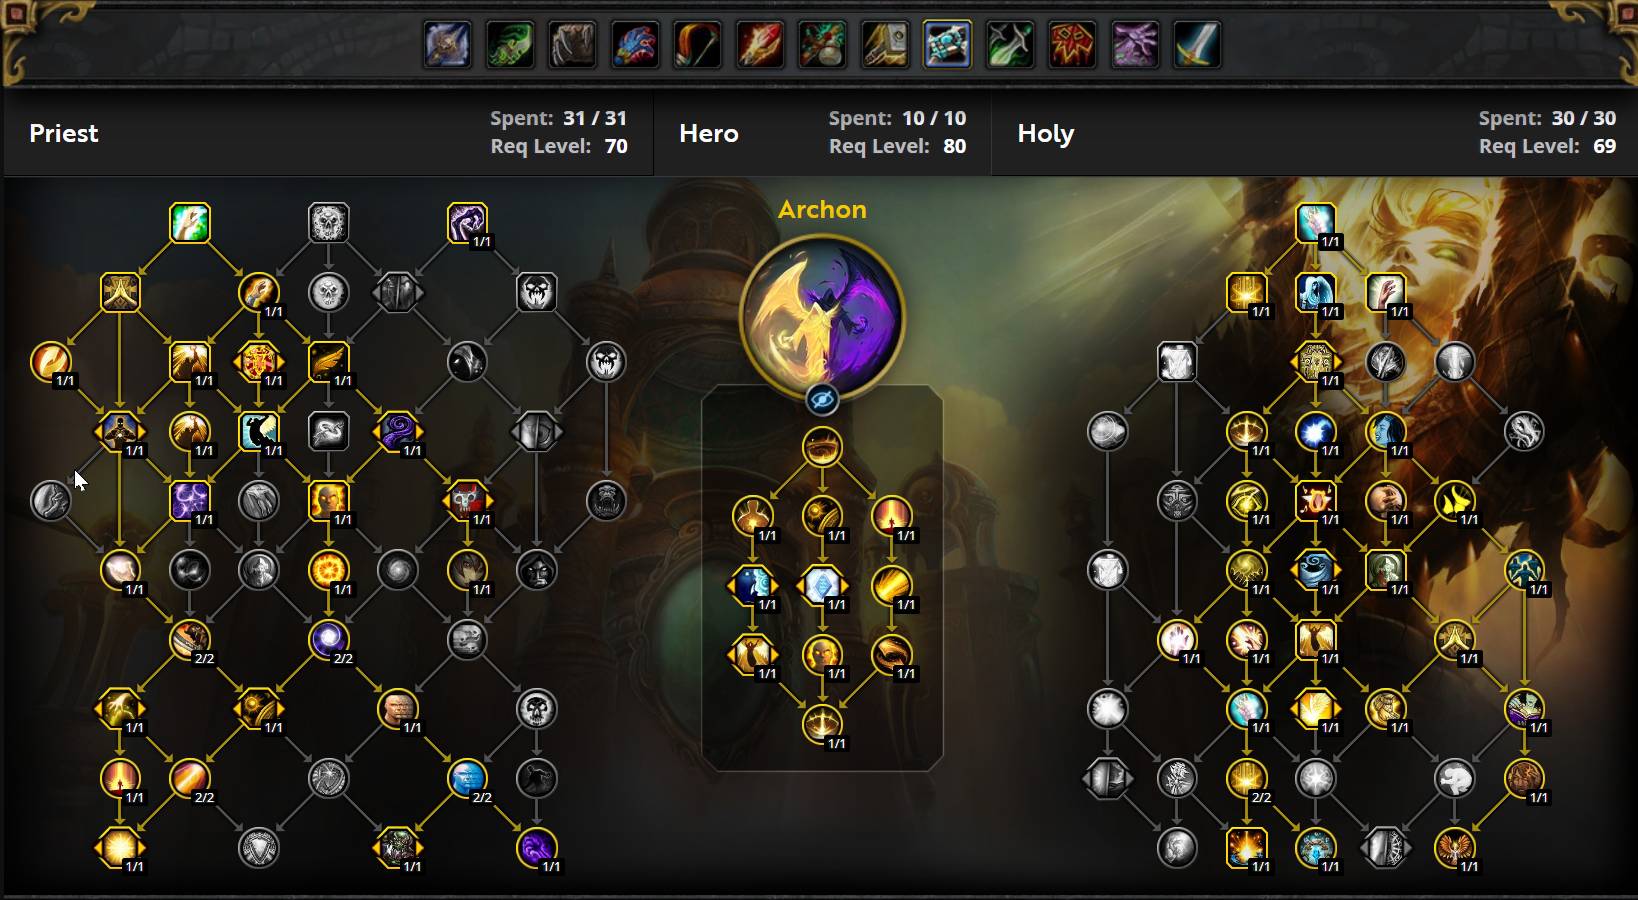
Best Hero Talents for Holy Priest in The War Within
Raiding Hero Talents for Holy Priest
Archon
Archon is a very straightforward and easy-to-use talent, with a focus on enhancing your Halo casts. The extra, stronger Surge of Light procs significantly improve your triage healing potential. Additionally, the increased healing during Apotheosis boosts your ability to respond to heavy raid damage.
Oracle
Oracle introduces a new ability, Premonition, which can grant various beneficial buffs.
Premonition of Insight is the most interactive, reducing the cooldown of your next three spell casts.
While Premonition can be a lot to manage, properly utilizing these buffs throughout an encounter has the potential to outperform Archon.
Holy Priest Healing Stat Priority
Raids
When raiding, you want to use your Mana pool flexibly to counteract deadly damage throughout a long fight. Efficient Mana usage is of paramount importance.
Intellect
Critical Strike = Mastery
Versatility >= Haste
Dungeons
When healing dungeons, you want to maximize your throughput in short fights. Since you can drink quite often, raw throughput stats are more important. Damage-reducing stats also gain value, especially in high Mythic keystone dungeons where survival is key.
Intellect
Critical Strike = Haste
Versatility
Mastery
Note about Leech and Avoidance
While stat preference lists are helpful, higher item level gear generally provides better upgrades due to more Intellect and total stats. The exception is gear with tertiary stats like Leech and Avoidance, which should be prioritized unless the item level difference is around 6 or more.
Getting a Better Understanding of Holy Priest Stats
Leech: Passively self-heals for a percentage of healing/damage from your spells. It scales well and provides free healing that would otherwise cost Mana.
Avoidance: Reduces incoming AoE damage. Its value depends on the encounter and is crucial for surviving extreme damage, especially in high keys.
Intellect: Your primary stat. Increases Spell Power, thus boosting healing output. Always look for Intellect on upgrades.
Mastery (Mastery: Echo of Light) places a HoT on the target for a percentage of the initial heal over 4 seconds. Successive casts stack.
Critical Strike: Doubles your heals’ effect and synergizes with Mastery.
Haste: Reduces cast time and global cooldown. Also shortens cooldown on Prayer of Mending and increases Renew healing via additional ticks.
Versatility: Increases all healing and damage done, and reduces all damage taken.
Speed: Slightly improves movement speed, useful for dodging mechanics and repositioning.
Stat Gain Per Rating
To gain 1% benefit from each stat, you need different rating values. Some stats naturally scale better than others before diminishing returns apply:
Critical Strike: 700 rating per 1%
Versatility: 780 rating per 1% healing/damage increase, 0.5% damage reduction
Mastery: 732 rating per 1%
Haste: 660 rating per 1%
Leech: 1020 rating per 1%
Avoidance: 544 rating per 1%
Speed: 162.5 rating per 1%
Holy Priest Healing Rotation, Cooldowns, and Abilities
Holy Priest Raid Rotation
Raid healing is primarily focused on group healing and priority triage on targets that may be in danger of death. The next section outlines the priority you should follow in raids. You should not cast a spell that will mostly overheal, so keep this in mind as you work through the priority list and skip an item if there is likely to be significant overheal.
Lightwell near allies, usually between melee and ranged.
Halo immediately before, or more than 60 seconds before Apotheosis.
Your general goal while healing is to cast as many short-cooldown spells as possible. Holy Word: Serenity, Holy Word: Sanctify, Renew, and Prayer of Mending, despite all having cooldowns, should be treated as rotational abilities and used as soon as they are available.
Some tips for utilizing your chosen talents:
Lightwell should be placed near clumps of allies. Be aware of encounter mechanics that require movement, and reposition the Lightwell as needed to ensure all charges are used.
With Archon, Halo should be paired with major cooldowns whenever possible. See the cooldowns section below for more on optimal usage.
Dungeon healing is primarily focused on regularly casting your short-cooldown spells and using Flash Heal to heal multiple allies at once through the Trail of Light talent. Much of your decision-making will depend on incoming damage and the cooldowns you have available. It’s generally better to use your cooldowns early and often rather than saving them for uncertain future situations.
Below is the priority you should follow in dungeons. Avoid casting spells that would result in significant overhealing — skip steps in the list if necessary:
Divine Hymn just before large amounts of group-wide damage.
Lightwell near allies, usually between melee and ranged.
While the set bonus doesn't alter your playstyle, it rewards good execution. The more you are in Apotheosis and the more Holy Words you cast during Apotheosis, the greater the benefit you will gain from the Tier. There's no need to track either Insurance! or Bankroll, as both will passively increase your healing as long as you follow your rotational priority correctly.
Holy Priest Healing Gems and Consumables
Best Gems for Holy Priest
We suggest using Elusive Blasphemite instead of Insightful Blasphemite, as the value from the Insightful gem is quite small. The added bonus from increased movement speed is much more impactful to our throughput and survival, even though it does not stack with Angelic Feather. If you do not want the additional movement speed, Insightful Blasphemite is still a perfectly good replacement.
Tempered Potion is your recommended potion for burst healing throughput when mana potions will not be required, as it shares a cooldown with mana potions.
Invigorating Healing Potion acts as your healing potion. Each use incurs a 5-minute cooldown, but multiple can be consumed in an extended boss fight. In addition, a Warlock's Healthstone does not share a cooldown with other healing consumables.
Due to the large number of trinkets available, only those considered B-Tier or higher have been listed. If you don't see a trinket listed above, you can presume it is C-tier or lower.
You can view a complete list by importing your character into the QE Live tool and selecting Trinkets.
The War Within Season 3 Tier Set for Holy Priest
Season 3 Tier Set for Holy Priest
The Tier Set consists of 5 items, all part of the Eulogy to a Dying Star set. The bonuses for Season 3 primarily offer passive effects that don't significantly alter gameplay.
Although the bonuses don’t change your core rotation, they reward effective play. For Archon, continue prioritizing Halo during heavy healing phases to maximize Holy Word efficiency. For Oracle, focus on using Premonition of Insight procs efficiently with Prayer of Mending.
Addons for Holy Priest
Generic Addons for Priests
Weak Auras
Xaph's Priest Weakaura Package
Publik's Holy Priest Auras
Clique
Boss Mods
Deadly Boss Mods
BigWigs
Method Raid Tools
Parrot or Mik's Scrolling Battle Text
Details!
Specific Addons for Holy Priests
Currently, no additional addons are needed to play this specialization to its full potential.
WeakAuras for Holy Priest
WeakAuras is an essential tool for Holy Priest and Healers, offering unparalleled customization to enhance your gameplay. Rather than focusing on specific examples, we recommend exploring Wago.io, where you’ll find an extensive library of WeakAuras to suit your needs.
If you are unfamiliar with WeakAuras, it is an incredibly powerful and widely-used AddOn that allows you to create custom displays for nearly everything in the game. This includes tracking buffs, debuffs, cooldowns, Focus, resources, and much more.
To import a WeakAura, visit Wago.io and select one that fits your preferences. Click the "Copy WeakAura Import String" button to copy it to your clipboard. Next, log into the game and type /wa in the chat box to open the WeakAuras interface. Navigate to the "Import" section, press Ctrl+V to paste the copied string, and click "Import". You’re ready to go!
Mastering WeakAuras and customizing it to your playstyle is highly recommended for any serious raider. With countless options available on Wago.io, you can tailor your interface to optimize your performance and focus on what truly matters in combat.
Symbol of Hope is a channeled ability that restores Mana to nearby healers based on their missing Mana. To maximize its effectiveness:
Use it when most healers are low on Mana (around 20%).
Plan ahead to find a time when you can channel the full duration without interruption.
In some cases, your raid leader may ask you to use it as a group-wide defensive cooldown reset, reducing allies’ personal defensive cooldowns. This might minimize its Mana return for you but provide significant utility to the group.
Why is my /cancelaura Macro for Spirit of Redemption Not Working?
There has been an internal change to how /cancelaura macros function, which prevents it from working with Spirit of Redemption. To cancel Spirit of Redemption, use the following macro instead:
#showtooltip Spirit of Redemption
/cancelform
What Stats Are Good for Holy Priest?
The best secondary stats for Holy Priest vary slightly based on the content you’re doing:
Mastery, Critical Strike, and Versatility are all close in value.
Leech is a valuable stat if you can get it as a proc on gear.
For a deeper dive into stat preferences and theorycrafting, check the dedicated stats page or simulations resources.
How Can I Sim my Holy Priest?
Unfortunately, reliable simulators for healing do not exist. Instead, healing performance is modeled through tools that compare talents, trinkets, and other customization options. These tools rely on theoretical data and practical testing to help guide gear and talent choices.
Is Power Word: Shield Worth Casting as a Holy Priest?
Similar to Renew, Power Word: Shield should rarely be used due to its low healing efficiency for the Mana cost. However, it can be invaluable in clutch situations to save someone on the brink of death. The immediate shield might mean the difference between life and death, so it’s worth sacrificing some Mana efficiency in emergencies.
What Talent Build Do I Use Now?
With the The War Within talent tree, Holy Priest talent builds are situational:
Dungeons: Fewer options, with a more straightforward build.
Raids: Many viable talents, each suited to specific scenarios.
Refer to the talent discussion page for detailed information about optimal builds for each type of content.