


+15 More
Digital Aura Portal - FZCO
Building A1, Dubai Digital Park, Dubai Silicon Oasis, Dubai, United Arab Emirates Premises Number 72647 - 001
Business registration number: 70647
gamer-choice.com © 2026
Digital Aura Portal - FZCO
Building A1, Dubai Digital Park, Dubai Silicon Oasis, Dubai, United Arab Emirates Premises Number 72647 - 001
Business registration number: 70647
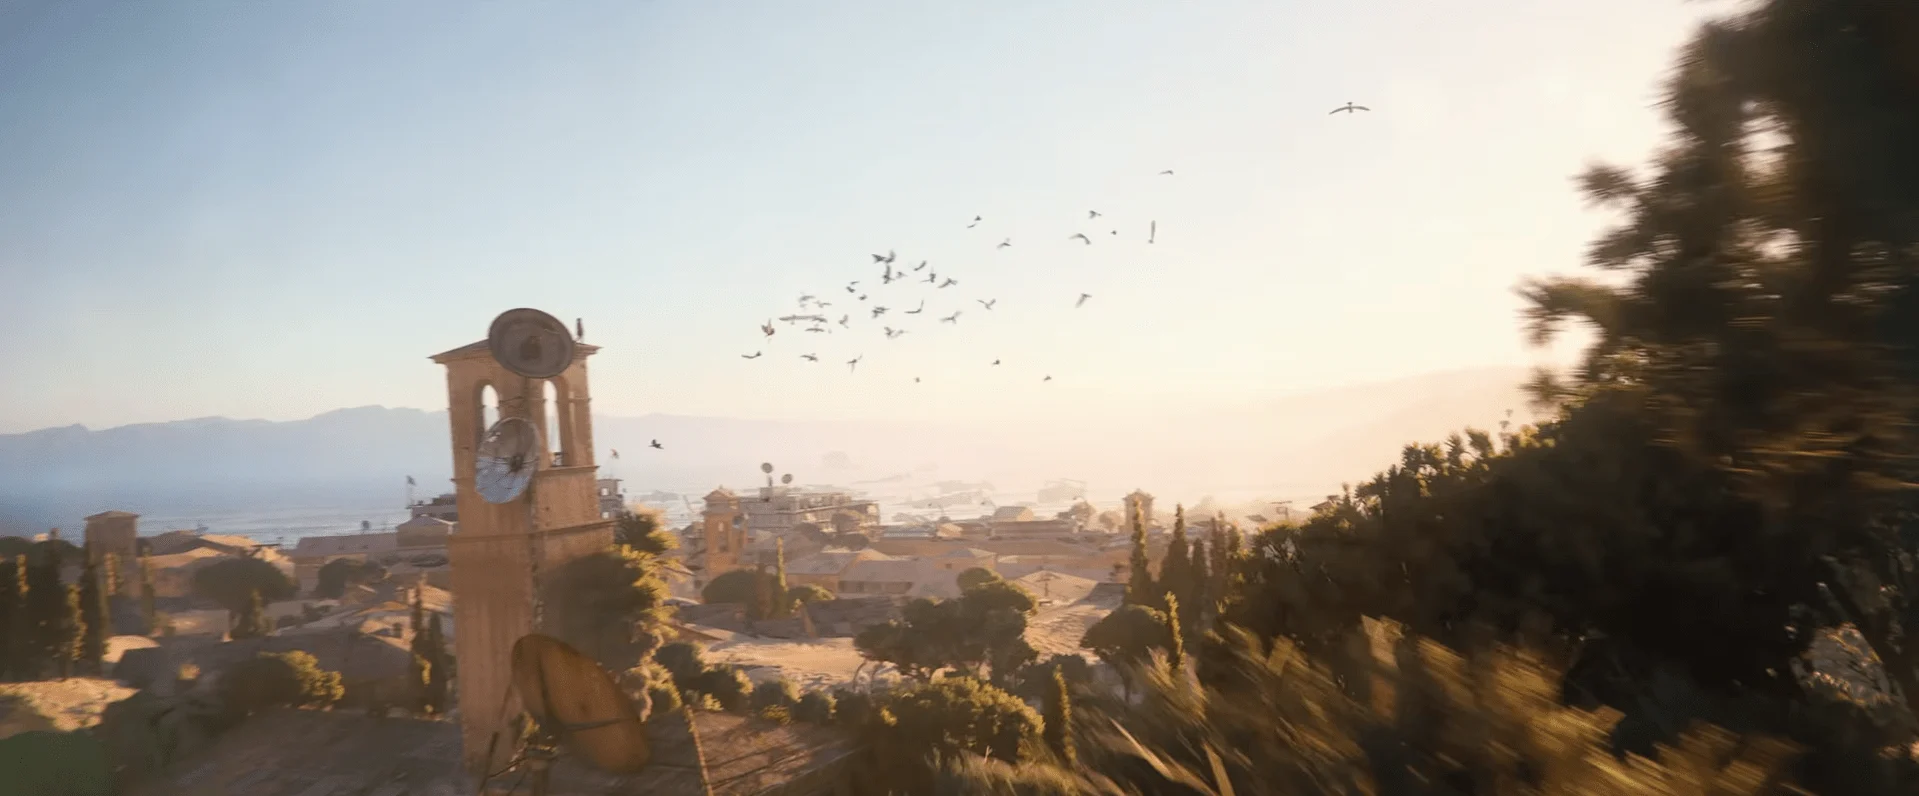
It’s no secret that ARC Raiders takes place in post-apocalyptic Italy, and nowhere is this more obvious than on the Buried City map. This location looks like a once-bustling urban district—possibly even downtown—that has been swallowed by massive sand dunes. Some streets and buildings remain partially exposed, while others are completely submerged, with entire skyscrapers buried beneath the sand. The Buried City is one of the most dangerous environments in the game. The southern section is packed with hostile ARCs, including Rocketeers and Bombardiers, while the northern side attracts raiders due to its high-value loot zones. Since the Buried City offers some of the best areas to farm specific types of loot, it’s worth breaking everything down in detail.
If you want to secure all the valuable rewards from this map without unnecessary risk, try our Buried City Map Boost from Gamer Choice. It’s a fast and reliable way to obtain essential items from the Buried City without needing to engage in PvP encounters.
Read our other ARC Raiders Map guides:
Buy ARC Raiders Boosts
Get gear, XP, and progression fast with ARC Raiders boosts!

Let’s kick things off with our Buried City raid guide. Every map in ARC Raiders introduces a unique gameplay twist, and Buried City is no exception. Before the release of Stella Montis, this was considered the primary PvP-focused map. But what exactly gives the Buried City that reputation? Let’s break it down:
Even after Stella Montis was introduced, the Buried City remains heavily PvP-oriented. If you’re not confident in gunfights, it’s best to move slowly after spawning. Waiting until around the 15-minute mark can help, as most player spawns will have already entered the raid by then.
The Buried City is one of the best maps in ARC Raiders for farming targeted loot. Nearly every loot category in the game can be found here. However, trying to loot everything in one run is a mistake—you’ll become overencumbered very quickly. For efficient farming, focus on specific locations during each raid. Here are the best places to loot in the Buried City:
Overall, the Buried City has one of the most evenly distributed loot tables in the game. Even white loot zones can yield solid rewards, and many unmarked areas contain hidden loot. Combined with well-placed Metro Entrances, looting here is surprisingly safe—despite the constant presence of other raiders.

The optimal loot path in the Buried City differs from other maps. On most locations, you can follow a fixed route without much adjustment. In Buried City, frequent firefights mean you’ll often need to adapt on the fly. Still, there’s one loot path we consistently prefer, as it offers a strong mix of weapons, mechanical materials, and healing items.
This route starts at Plaza Rosa and ends at the Hospital. Depending on your spawn point, you may need to approach the path from a different angle before merging into it. Here’s our recommended Buried City loot route:
Once you’re done looting, extract from the lowest floor of the Hospital. If you started your run there instead, exit through Plaza Rosa. This route is extremely profitable but also one of the most dangerous paths in the Buried City, with frequent ARC encounters and player fights.
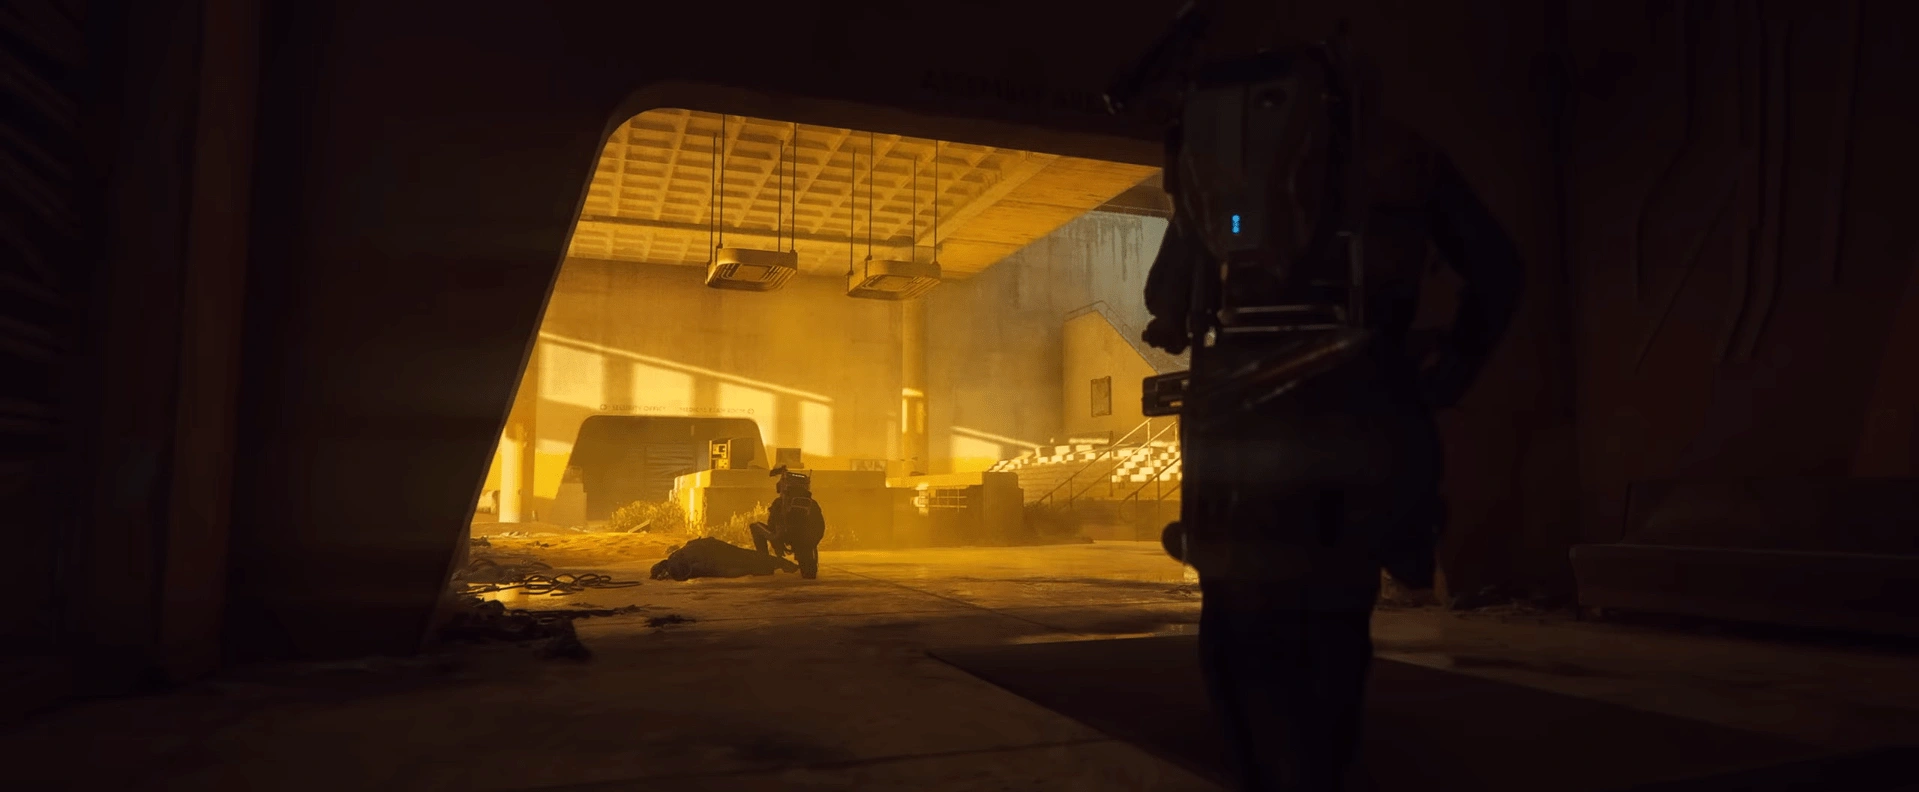
The Buried City is densely populated with ARCs. Since the map itself isn’t very large, combat is almost unavoidable. Here are the most common enemies you’ll encounter:
| ARC | Location |
|---|---|
| Rocketeer | Usually, two of them spawn, one near the Hospital and another near the Piazza Arbusto. |
| Bombardier | Potentially, three of them may spawn. One is in the Old Town, another one is in the Marano Park, and the last one always spawns on the rooftop of the Parking Garage. |
| Bastion | Has a chance of spawning near the Marano Park and the Old Town. Sometimes it spawns right outside of the Research, across the road to the Parking Garage. |
| Leapers | They can spawn in the southern part of the map, then near Marano Park, and closer to the Town Hall. |
| Wasps, Hornets, and Snatchers | All around the map. |
| Pops and Fireballs | Inside buildings, especially tall ones. |
The southern section of the Buried City is especially crowded with drones. Moving slowly and sticking to the outskirts can help you avoid unnecessary engagements. Sprinting through open areas is rarely a good idea here.
The Buried City features several strong extraction options, all of which operate through Metro Stations rather than traditional exits. There are four extraction points in total, each accessible through marked Metro Entrances. Be cautious, as these entrances are common camping spots. Raiders can enter the train from both sides, so always clear the area before calling extraction.
Unlike other maps, Raider Hatch Keys have very limited usefulness in the Buried City.

Buy ARC Raiders Coins
Secure ARC Raiders Coins fast and upgrade your loadout!
The most efficient route starts at Plaza Rosa, moves through the Red Tower, continues to the Pharmacy near Piazza Arbusto, then branches to either Town Hall or Space Travel before finishing at the Hospital. From there, extracting at the Northern Station is usually the best option.
The strongest loot zones are the Hospital, Research Building, Space Travel complex, and Town Hall, as they consistently spawn high-value items, crafting materials, and useful consumables.
Not really. Buried City is challenging for new players, but it plays an important role in progression by teaching core PvP mechanics and how to survive against aggressive ARCs.
It can vary from raid to raid, but the Eastern Station is usually the safest choice. The Northern Station can also work well, especially if nearby areas are already cleared.
That wraps up our Buried City map guide. This location offers one of the most tactical and methodical experiences in ARC Raiders, with a much slower pace than most other maps. Mastering the Buried City can lead to some impressive outplays, but it demands patience and awareness. Stay cautious—the combination of dangerous ARCs and aggressive players makes this map just as deadly as Stella Montis.