


+15 More
Digital Aura Portal - FZCO
Building A1, Dubai Digital Park, Dubai Silicon Oasis, Dubai, United Arab Emirates Premises Number 72647 - 001
Business registration number: 70647
gamer-choice.com © 2026
Digital Aura Portal - FZCO
Building A1, Dubai Digital Park, Dubai Silicon Oasis, Dubai, United Arab Emirates Premises Number 72647 - 001
Business registration number: 70647
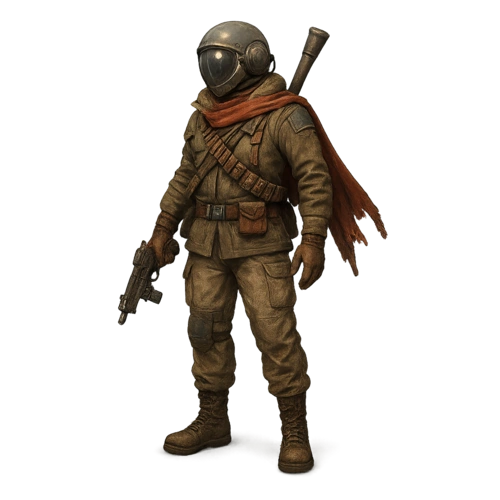
Stella Montis map is the latest major addition to ARC Raiders, and it immediately stands out as one of the most complex and rewarding environments in the game. Stella Montis is a massive, multi-floor location packed with rare loot, tight corridors, and relentless enemies. The payoff is well worth the risk, as you can consistently find rewards here that simply do not spawn anywhere else. Epic loot is surprisingly common, and the map is also a hotspot for intense PvP encounters. If you enjoy chaotic fights and high-risk runs, Stella Montis delivers. Time to let that Il Toro talk.
And if you feel like you’re undergeared, underprepared, or lacking the confidence to farm Stella Montis efficiently, you can always check out our ARC Raiders Stella Montis Raid Boost on Gamer Choice. Our pros can help you secure the loot you’re after—and more—without unnecessary losses.
Read our other ARC Raiders Map guides:
Buy ARC Raiders Boosts
Get gear, XP, and progression fast with ARC Raiders boosts!

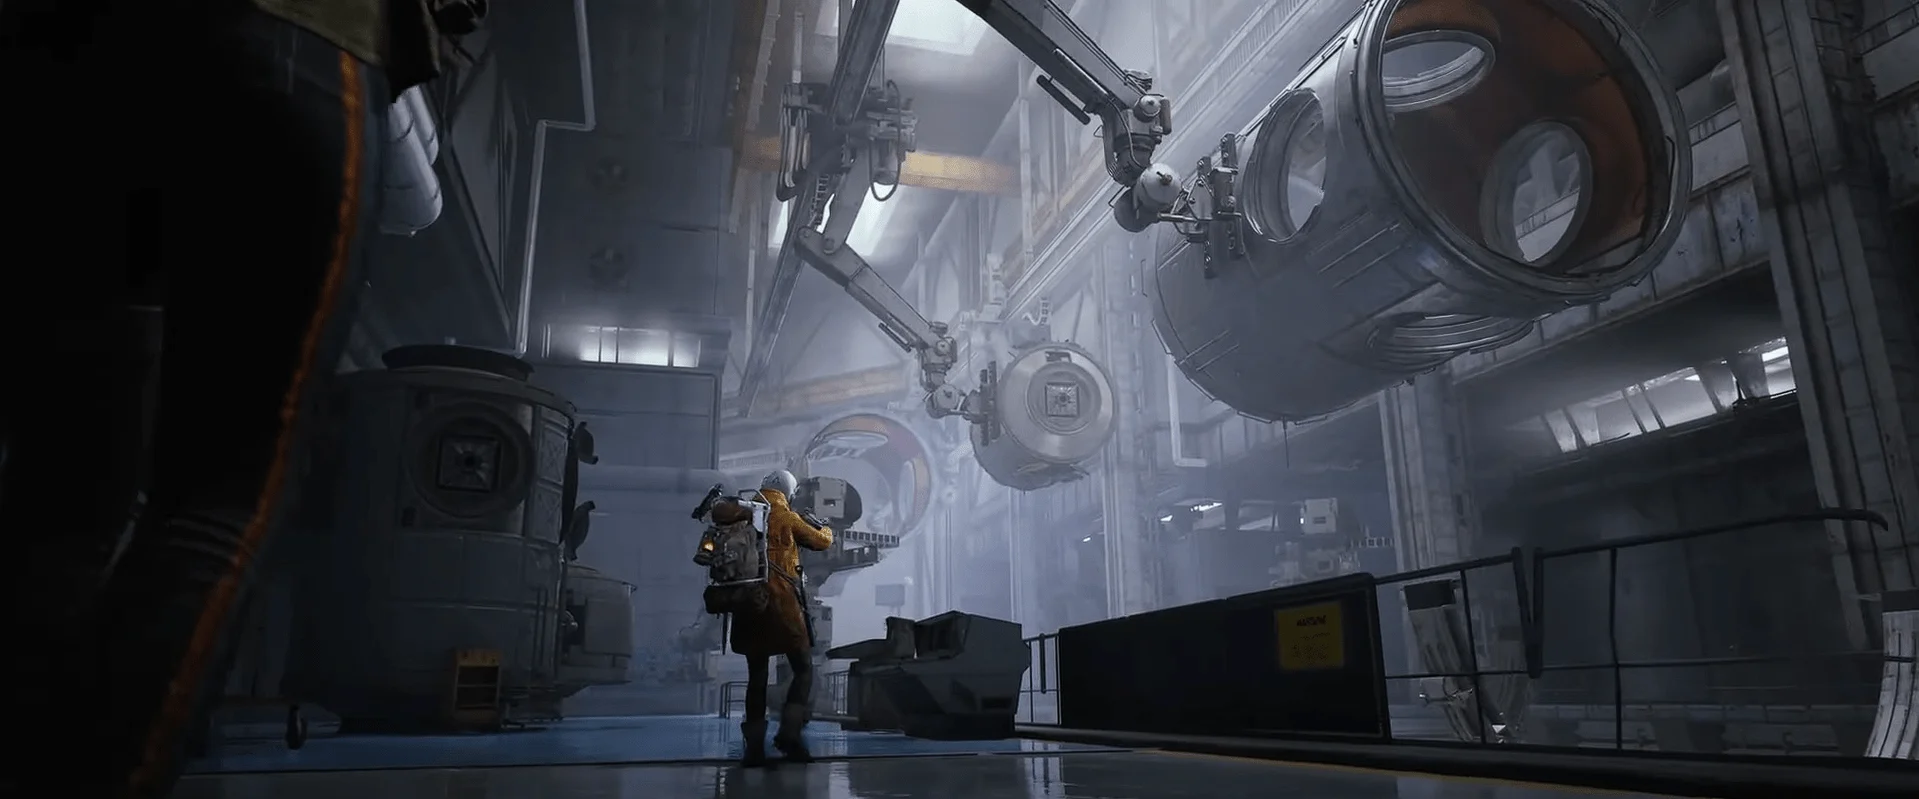
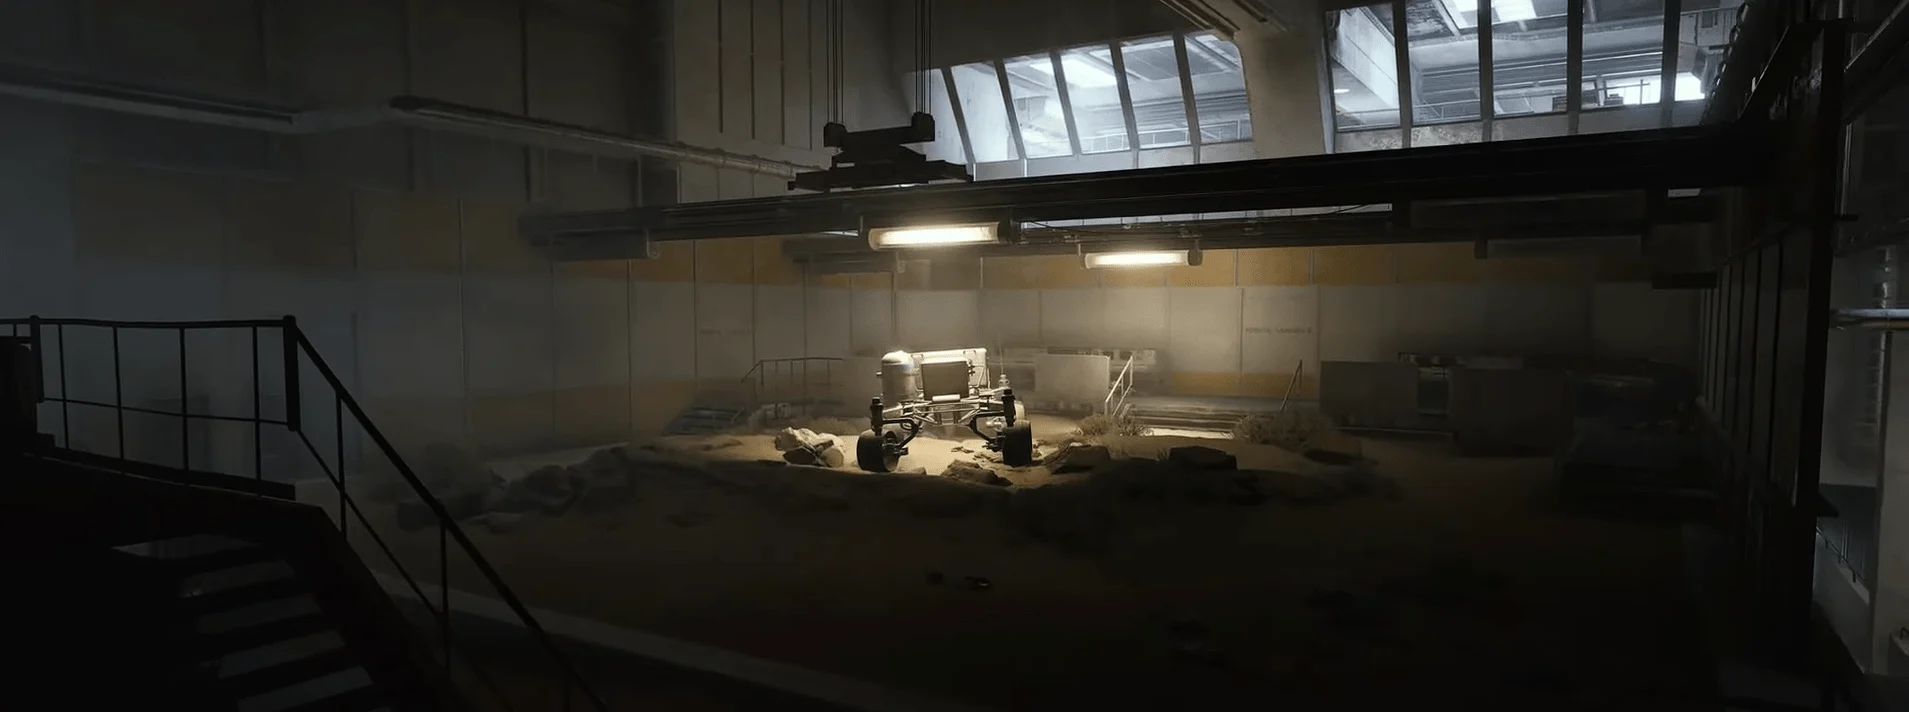
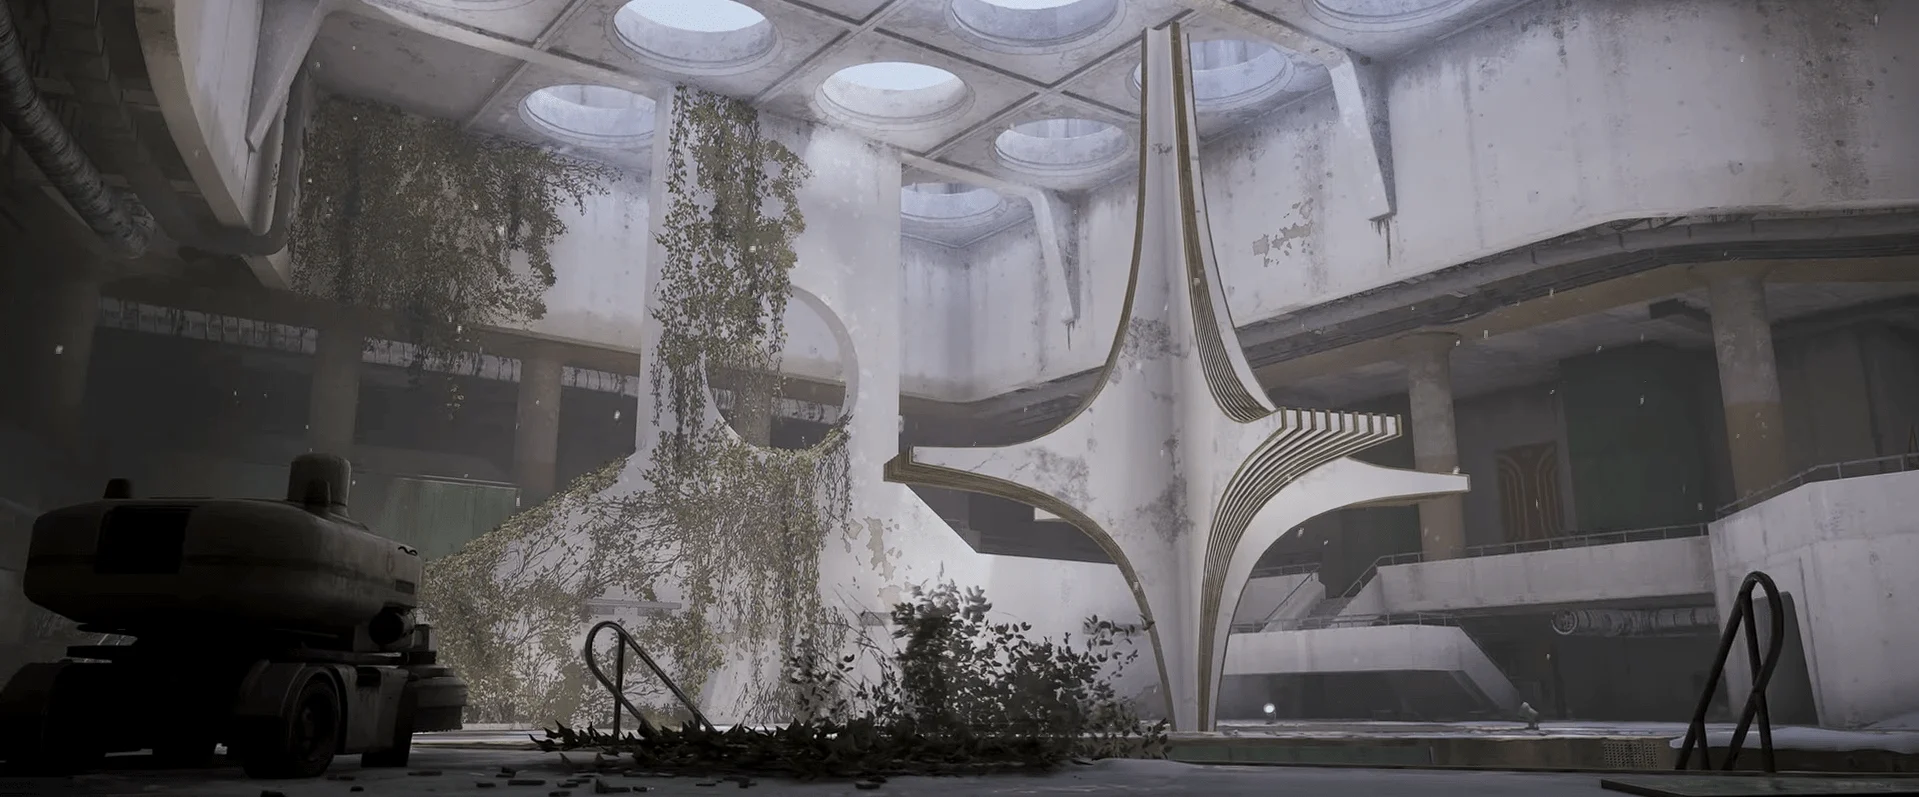
Stella Montis is a full-blown labyrinth. From a visual standpoint, it strongly resembles environments from games like Control and Destiny 2. The map is incredibly fun to explore, and it’s clear that a lot of thought went into its verticality and layout. However, several design choices make Stella Montis feel very different from other ARC Raiders maps:
Individually, these changes may not seem drastic. Combined, however, they significantly alter the flow of gameplay. Stella Montis feels far more dangerous overall. Enemy encounters happen constantly, ARCs are hidden around every corner, and the darkness makes it easy to miss threats until it’s too late.
Stella Montis is overflowing with valuable loot, which can be overwhelming at first. You’ll often find yourself forced to leave items behind simply because your inventory is full. To maximize efficiency, it’s best to prioritize specific materials or items each run. Solo play is usually optimal unless your squad is farming the same resources.
Even when running solo, Stella Montis remains extremely PvP-heavy. Trying to negotiate or spam “Don’t shoot” rarely works here. Fortunately, you don’t need to enter red or yellow zones to find good loot. While high-tier items are more common there, the outskirts of Stella Montis can still be very rewarding—especially if you want to avoid constant PvP pressure.
Below are the best places to loot on Stella Montis:
That wraps up the best looting locations on Stella Montis. One of the biggest advantages of this map is how close many high-value areas are to each other. You can load in, loot quickly, and extract efficiently—especially if you have Raider Hatch Keys. Crafting during a raid is also quite manageable here.
Stella Montis introduces a new style of extraction point, similar to those found on Blue Gate, but oriented sideways. The primary extraction method involves Metro Stations, much like the Buried City. There are three main extraction points on Stella Montis:
Because Stella Montis is so PvP-focused, bringing a Raider Hatch Key is strongly recommended. Raider hatches are well-positioned near key loot zones, and there are three on the map:
Given how intense PvP is on Stella Montis, hatch extractions are invaluable. The map is also excellent for farming Sensors and Advanced Electrical Components, which can be crafted either at home or mid-raid if you’ve invested in the Survival skill tree.
There are numerous efficient loot routes on Stella Montis. Unlike other maps, spawn points are very close to looting zones, meaning your optimal path depends heavily on where you start. Below is a table outlining the best loot paths:
| Spawn Name | Loot Path | Description |
|---|---|---|
| Assembly Spawn | Medical Research → Loading Bay Extraction OR Assembly Workshops → Assembly Workshops Hatch. | If you spawn on Assembly, there’s almost a 100% chance you’ll face other players. Medical Research is more PVP-heavy than Workshops, but Workshops have a player spawn on the eastern side of it. If you spawn in late, we recommend going to Medical Research. |
| Assembly Workshops Spawn | Assembly Workshops → Assembly Workshops Hatch OR Assembly Workshops → Medical Research → Loading Bay Extraction. | If you spawn in late, your best bet is to hope that there are players looting Assembly Workshops still. Usually, they’re filled with loot, and there’s a low chance players from the Lobby will come here. |
| Lobby Northern Spawn | Lobby → Cultural Archives or Assembly Area → Lobby Extraction or Raider Hatch. | One of the two Lobby spawns. If you spawn in here, check the left side when running out to the Lobby. Chances are, other players will be going up from the Lobby Metro spawn. Don’t loot until you're sure you’re safe. |
| Lobby Metro Spawn | Upper Lobby → Lobby Extraction OR Lobby Area → Cultural Archives → Eastern Tunnel Hatch/Airshaft | If you spawn in here, you’re in a worse position than the other Lobby spawn. You need to get to the other spawn ASAP and try to clear any raiders there. After that, loot the Lobby and extract. |
| Loading Bay Spawn | Medical Research → Assembly Workshops → Raider Hatch OR Sandbox → Seed Vault → Eastern Tunnel Hatch/Airshaft. | The best spawn you can wish for. It has a quite convenient route with some of the best loot. It’s also pretty safe. |
| Seed Vault Spawn | Seed Vault → Sandbox → Loading Bay Extraction OR Seed Vault → Cultural Archives → Eastern Tunnel Hatch/Airshaft/Lobby Extraction. | Another great spawn. Lets you cover a lot of ground and offers many options for loot paths and extraction. If you spawn in late, be ready for a shootout. |
While these routes are efficient in theory, real raid conditions may force you to adapt. Heavy ARC presence or unexpected PvP fights can make certain paths too risky. Always assess the situation, monitor your resources, and decide whether pushing forward is worth the danger.

Buy ARC Raiders Items
Get Weapons, Blueprints, and Keys in ARC Raiders
Stella Montis introduces a new enemy exclusive to this map: the Shredder. This ARC relentlessly pursues players and has firepower comparable to a Rocketeer. Fortunately, it cannot shoot vertically and only fires in straight lines. Once alerted, it unleashes devastating shotgun bursts.
In addition to Shredders, Stella Montis features many familiar enemies:
Although Bombardiers, Leapers and Rocketeers are absent, the confined spaces make combat far more dangerous. A single missed shot against a Pop or Fireball can easily end your run and cost you valuable loot.
The optimal route largely depends on your spawn location. In most cases, a strong and efficient path is Medical Research → Assembly Workshops, while Sandbox → Seed Vault can also work if you want to avoid early PvP pressure.
Assembly Workshops, Medical Research, and the Cultural Archives consistently offer the highest-value loot, including rare materials, Epic drops, and valuable Old World items.
Force the Shredder to fire by baiting its attack, then immediately take cover. Once the burst ends, step out and unload shots into its body. High-penetration weapons are strongly recommended, as it can soak up a lot of damage.
No. Stella Montis is extremely punishing for new players due to heavy PvP activity, dangerous enemy density, and limited access to healing materials. Only attempt it with solid gear and experience.
The Airshaft Extraction is the safest option. Located between Sandbox and the Seed Vault, it limits enemy approaches to just two corridors, making it much easier to defend during extraction.
Stella Montis is an excellent first update that shows the developers are willing to push ARC Raiders in bold new directions. The map transforms familiar gameplay into something far more tense and intimate. With its vertical layout, dense PvP, and unique loot opportunities, Stella Montis has many secrets still waiting to be uncovered. Jump in, explore, and take the risk.
As always, more guides are on the way. If you’re curious about how to deal with Matriarch—a new boss fight similar to Queen—we’ll be covering that soon. Stay tuned for more Stella Montis and ARC Raiders guides.