Digital Aura Portal - FZCO Building A1, Dubai Digital Park, Dubai Silicon Oasis, Dubai, United Arab Emirates Premises Number 72647 - 001 Business registration number: 70647
Welcome to The War Within Subtlety Rogue Guide! This comprehensive guide is designed to cover everything you need to know about Rogue mechanics, helping you improve your skills and enhance your overall gameplay experience. We hope you’ll find plenty of useful information below. Without further delay, let’s dive into the world of the Subtlety Rogue!
Table of Contents
Subtlety Rogue Overview
Subtlety Rogues revolve around burst damage windows by combining Shadow Dance, Symbols of Death, Flagellation and Shadow Blades whenever possible for maximum burst; however, this means that damage outside of these cooldowns is fairly low. Like other Rogue specializations, Subtlety has one of the best defensive kits in the game.
Subtlety Rogue Strengths and Weaknesses
Strengths
Exceptional burst damage.
Fast-paced during cooldowns.
Good single target damage with priority damage focus in AoE situations.
Very good mob control through spells like Kidney Shot and Blind.
Due to Combo Point spenders reducing the cooldown of Shadow Dance, losing uptime can impact DPS.
Subtlety Rogue Basic Gameplay
Subtlety Rogue is a spec that deals with multiple different resources and a bunch of cooldowns, which may seem daunting to a new player trying to pick up the spec. Understanding the core concept of the specialization makes it quite a bit simpler, which is that the goal is to stack as many cooldowns as possible to deal massive burst damage.
Patch 11.2 does not include any Subtlety-specific changes—check Patch 11.1 for the most recent updates. However, new tier sets and trinkets in this patch do impact our rotation slightly. The tier set has different effects depending on your chosen Hero Talent: Trickster gains additional casts of Coup de Grace, while Deathstalker benefits from longer and improved Symbols of Death.
Additionally, a new legendary cloak, Reshii Wraps, must be obtained to complete the raid. While this cloak does not alter Rogue gameplay, it adds unique raid and zone effects along with a stylish appearance.
Subtlety Rogue Leveling Guide for The War Within
The general rule, even at max level, is to always equip the higher item level piece. The exception to this is that you need a dagger in your mainhand. Rings, necklaces, and certain trinkets can also be exceptions, as they lack primary stats, and some trinket effects can outweigh the benefit of more primary stat. While leveling, it's generally better to equip the highest item level gear you have access to.
Subtlety Rogue War Mode Talents for Leveling
In this section, we will rank the best PvP talents for leveling and solo or small group PvE content. Below is a ranking of Subtlety Rogue-specific PvE talents.
Subtlety Rogue PvP Talents for Leveling
Maneuverability – Sprint has a 50% reduced cooldown and duration.
Dagger in the Dark – While Stealth is active, you apply a debuff to nearby enemies, causing them to take an additional 5% damage from your next Shadowstrike. This stacks up to 8 times. Though not particularly significant, it provides a small damage boost.
Death from Above – A finishing move that leaps you into the air and casts an Eviscerate dealing 10% more damage.
The third choice doesn’t matter much as none of the options provide significant benefits for PvE scenarios. Choose whichever feels most suitable.
Enabling War Mode provides several benefits for outdoor content:
PvP talents are active in the open world.
+10% World Quest rewards at max level.
+15% experience while leveling.
Earn Conquest Points for weekly gear rewards.
For both leveling and PvE content, enabling War Mode is generally recommended to maximize rewards and efficiency. However, this also opens you up to open-world PvP, and the risk of being "ganked" by enemy players exists while questing or leveling.
Subtlety Rogue War Mode Talents
Below are recommended PvP talents for solo and small-group PvE play as a Subtlety Rogue. These are chosen based on their usefulness in leveling and open-world content rather than PvP effectiveness.
Dagger in the Dark – While in Stealth, nearby enemies gain a stacking debuff, increasing damage taken from your next Shadowstrike by 5% per stack (up to 8). Slight but consistent damage boost.
Third Slot (Situational) – Choose based on preference or utility. Options include:
These talents offer utility or defensive advantages but have limited use in boosting PvE damage.
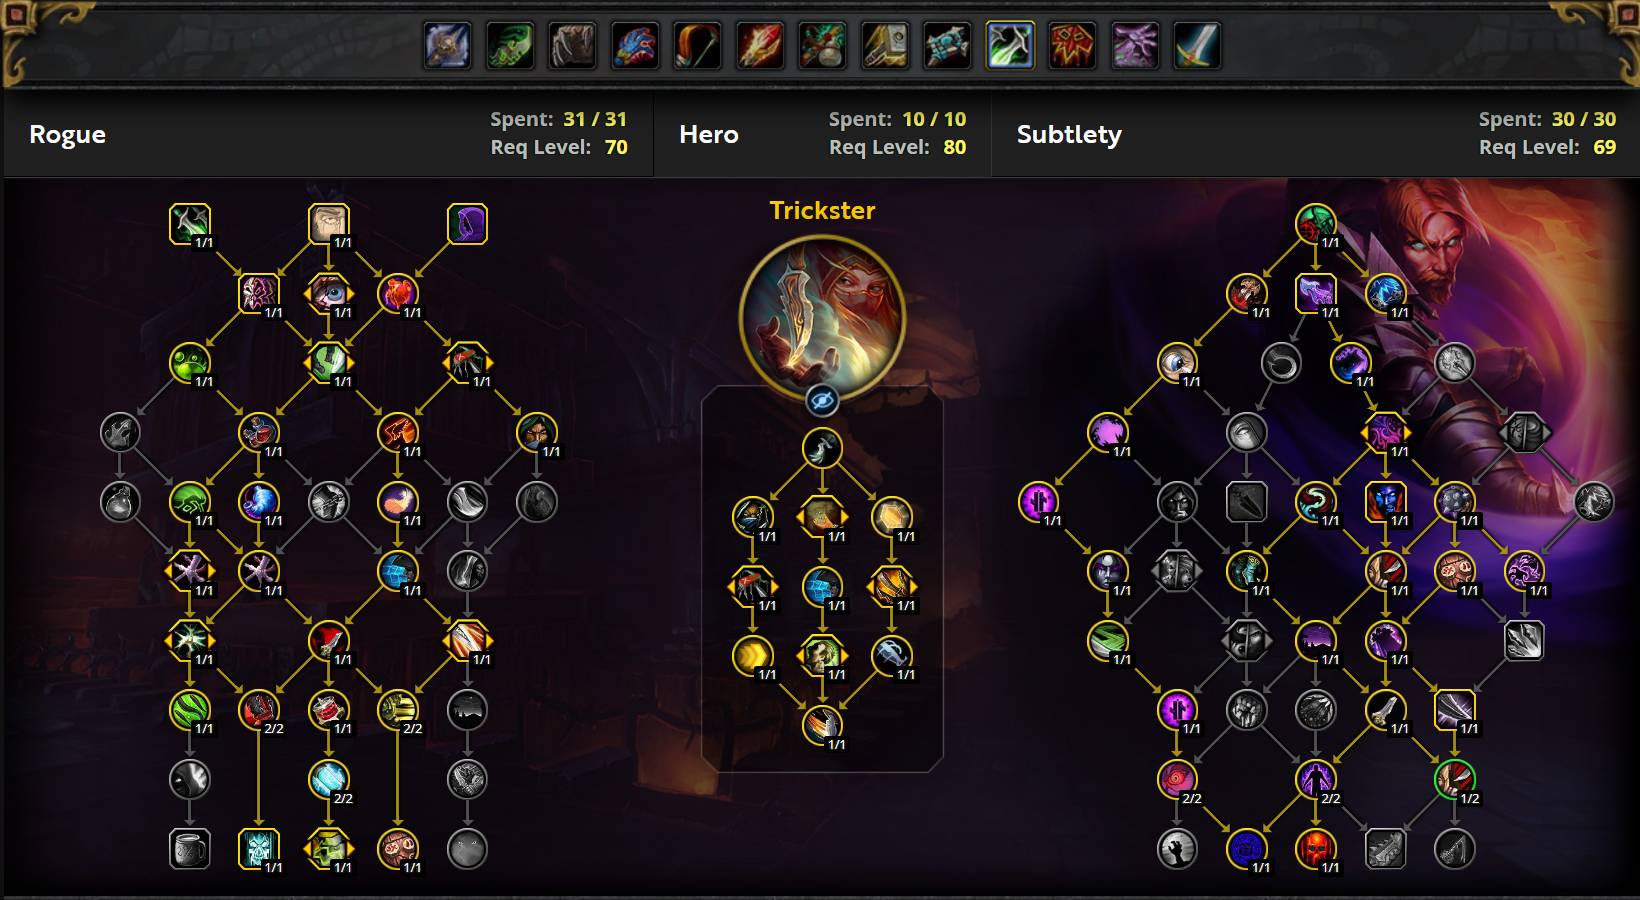
Best Hero Talents for Subtlety Rogue in The War Within
Trickster
Trickster revolves around triggering a proc called Unseen Blade, which deals significant damage when it activates. It starts with a 20-second internal cooldown, but several talents in the tree allow for extra procs and cooldown reduction under specific conditions.
This proc also applies a debuff that increases all damage you deal to the target and removes their ability to parry your (and your allies’) attacks. Another highlight is its natural cleave, provided by Nimble Flurry, helping mitigate Subtlety’s traditional weakness in cleave scenarios.
TL;DR: The best burst option — and we love burst damage.
Deathstalker
Deathstalker adds Plague damage — counted as both Shadow and Nature — to your kit by enhancing various abilities and introducing minor rotational changes. Its core mechanic involves applying Deathstalker's Mark and maintaining it with Darkest Night, which boosts Energy regeneration and direct damage. You’ll generally want to consume the Darkest Night buff immediately.
TL;DR: Considered the “sustained damage” option.
Deathstalker performs decently in multi-target situations but relies heavily on Rupture spreading and letting DoT damage tick. It's a fine option for AoE and Mythic+ content if you prefer it, but Trickster remains the stronger recommendation overall.
Subtlety Rogue DPS Stat Priority
The Basics of Stats for Subtlety Rogue
Subtlety Rogue's stat priority generally comes down to: Mastery and Versatility are good, while the others are less desirable. This holds true in both single-target and multi-target scenarios. That said, we recommend not stressing too much about static priorities — simming your gear is the best and most accurate way to determine what's optimal for your character.
Mastery
Versatility
Critical Strike
Haste
Subtlety Rogue Stat Explanations
Agility is your primary stat and should be prioritized on all upgrades. It increases your Attack Power, directly affecting the damage of all your abilities.
Mastery increases the damage of your combo point finishers through Mastery: Executioner.
Critical Strike increases the chance for your abilities to critically hit. Critical hits deal double damage by default, and some effects further enhance crit damage.
Versatility provides a flat increase to all damage dealt and reduces all damage taken.
Haste increases your Energy regeneration, Rupture tick rate, and attack speed. Faster attacks also generate extra Combo Points via Shadow Techniques.
Subtlety Rogue DPS Rotation, Cooldowns, and Abilities
Welcome to the Rotation page for Subtlety Rogues. Here, you'll find everything you need to know about optimizing your performance in both Raiding and Mythic+ content.
Subtlety Rogue is built around a 90-second cycle. Every 90 seconds, you’ll aim to line up Flagellation with Shadow Blades, your on-use trinket, along with two uses of Symbols of Death, Shadow Dance, and Secret Technique. Maximizing these burst windows is the key to mastering Subtlety Rogue gameplay.
If you’re a returning player, be aware that the supercharged combo points from Supercharger do not function like the old Echoing Reprimand. It now buffs any finisher you perform with +3 combo points. Continue to follow the “6 or more” rule, even when you have supercharged combo points.
For Trickster, the rotation remains the same on 2-6 targets as it is on a Single-Target. This is due to Nimble Flurry. The only difference is that instead of building combo points with Backstab outside of Shadow Dance, you build with Shuriken Storm.
If you are a returning player, note that the supercharged combo points from Supercharger do not work in the same way as old Echoing Reprimand. It buffs any finisher you use with +3 combo points, so continue following the 6 or more rule listed above, even when you have supercharged combo points. These supercharged combo points do not expire, but they reset to 2 whenever you pull a raid boss or start a Mythic+ keystone.
Important Notes for Subtlety Rogue
Combo Points and Energy
As a Rogue, most of your abilities need Energy to be used. Your Energy bar has a default capacity of 100 Energy and refills at a rate of 10 Energy per second. With Vigor, we have 200 Energy. Your Energy regeneration is increased by:
Melee Haste (Haste on items + Haste-enhancing buffs).
The Relentless Strikes passive, which guarantees your finishers restore 6 Energy per Combo Point.
The way Subtlety Rogue currently plays, there is no need to manage or think about your energy. Outside of Symbols of Death, there will not be enough energy to cast a spell every single global, and that is completely fine and normal. Conversely, when Symbols of Death is up, you can spam all of your globals thanks to the extra combo points you generate and spend via the passive from Relentless Strikes.
Shadow Dance
Shadow Dance is your "bread and butter" cooldown, and your damage output relies heavily on proper usage. Shadow Dance has 1 charge, or 2 when talented into Shadow Dance, each with a 1-minute recharge. However, the passive Deepening Shadows ensures that they will be available much more often than that. Each Combo Point spent will reduce the cooldown of Shadow Dance by 0.5 seconds when talented into Deepening Shadows.
You should aim to cast Shadow Dance when Symbols of Death is up, as that makes it so energy will not be an issue and stacking cooldowns together is always more efficient than using them separately.
You want to cast Shadow Dance and Symbols of Death often as you can, while still being able to cast two of each during Shadow Blades. Since Shadow Dance's cooldown is reduced by spending combo points, there is no rigid cast sequence, as it will vary depending on your luck with Shadow Techniques procs and how much you actually get to hit the boss. On a dummy-style fight, you could expect the cadence of Shadow Dance and Symbols of Death casts to be something like this though:
Some of your personal buffs benefit from Pandemic, a mechanic that allows you to refresh early without penalty as long as the buff has less than 30% of its maximum duration remaining. The current timer will be added to the newly refreshed full-duration buff, allowing for a new buff longer than the maximum duration. Rupture can be safely refreshed at 8.4 seconds and Symbols of Death at 3 seconds.
The Pandemic timing from Rupture is based off of your current Combo Point value, rather than the duration of the original Rupture. So, if you had a 2 Combo Point Rupture on the target, and refresh with a 5 Combo Point Rupture, the Pandemic value would be treated as a 5 Combo Point Rupture instead.
Resource Management
The key resources of Subtlety are Energy, Combo Points, Symbols of Death charges, and Shadow Dance charges. The main goal of resource management is to minimize overflow and wastage of these resources. Often times, these resources will be at odds with each other; aiming for perfect Combo Point management may result in Energy cap, immaculate Energy management may result in Shadow Dance charge overflow, and so on. Perfect resource management is impossible, and therefore, becoming a seasoned Subtlety veteran is learning which compromises to make. Listed below is the priority of resources to help you minimize wastage:
While wastage is bad, not being able to use two charges of either Shadow Dance or Symbols of Death during your Flagellation window is worse than wasting a couple of seconds of Shadow Dance cooldown reduction by sitting at two charges when Flagellation is coming up very soon.
Shadow Dance and Symbols of Death are some of the least rigid cooldowns in the game currently, as they allow for a variety of different usages depending on the player's interpretation of the current situation. As mentioned earlier in the guide, it is imperative to time your Shadow Dance well without compromising on being able to use two of them during your Flagellation window.
Subtlety Rogue DPS Gems and Consumables
Best Gems for Subtlety Rogue in The War Within
You should use Culminating Blasphemite in one socket. The effect from it is not strong enough to warrant using gems without versatility or mastery for Subtlety. Therefore, you should have one Masterful Sapphire and fill the rest of your slots with Versatile Onyx.
Remember that you can use Magnificent Jeweler's Setting to add up to two socket slots to your rings and amulet, as well as S.A.D. from your Great Vault for your Helmet, Wrists, and Waist.
There are a number of good trinkets available for Subtlety Rogue in Season 3. As we are a very heavy burst class lets start with looking at the available On-use options:
Unyielding Netherprism — This trinket is extremely powerful for Subtlety as it provides a very large damage boost when used. If you need to hold your cooldowns briefly, you can gain even more from its active effect. However, it is not worth delaying Flagellation specifically for additional stacks—just use it naturally alongside Shadow Blades. The downside is that you lose built-up stacks if you die, and you won’t have its active effect at the start of a fight. Despite this, the payoff later in the encounter makes it worthwhile.
Araz's Ritual Forge — This trinket has a 2-minute cooldown, which doesn’t align well with Shadow Blades’ 90-second cooldown. Still, it is very strong as it grants a large amount of Agility. Instead of delaying Shadow Blades by 30 seconds, it is better to hold the trinket and use it with every other Shadow Blades, effectively giving it a 3-minute cooldown. Overall, this trinket is stronger than Unyielding Netherprism on short fights (under 5 minutes) but weaker on longer ones.
Other Options — Alternatives include Lily of the Eternal Weave and Cursed Stone Idol. While they may look strong at first, their tuning is weaker compared to raid trinkets, making them less effective overall.
Passive Trinkets — For a secondary passive trinket, the options listed below are always reliable. That said, most passive trinkets are solid, so a higher item-level alternative might outperform those mentioned here.
For your secondary passive trinket these trinkets listed below are always solid choices, but most passive trinkets are pretty solid so if you have something else at a higher ilvl it might be stronger than the ones listed here.
Improvised Seaforium Pacemaker - Provides a solid amount of crit on a 60 second cooldown, which does not always line up with our Shadow Blades but when it does it is strong.
Void-Touched Fragment - An insanely strong mastery proc that is very random, insanely good if it procs during Shadow Blades and not very good if it procs outside of it.
The War Within Season 3 Tier Set for Subtlety Rogue
If given a choice, try to prioritize the Helmet, Shoulder, Chest, and Legs slots for this. However, getting the Gloves to complete one of the bonuses is still better than any other gearing choice.
Addons for Subtlety Rogue
Generic Addons
ElvUI
Weak Auras
Boss Mods
BigWigs Bossmods
LittleWigs Bossmods
Deadly Boss Mods
Name Plates
Plater Nameplates
TidyPlates
Details
Extra AddOns
Mik's Scrolling Battle Text
Death Note
Doom CooldownPulse
Angry Assignments
WeakAuras for Subtlety Rogue
WeakAuras is an essential tool for Subtlety Rogue and DPS players, offering unparalleled customization to enhance your gameplay. Rather than focusing on specific examples, we recommend exploring Wago.io, where you’ll find an extensive library of WeakAuras to suit your needs.
If you are unfamiliar with WeakAuras, it is an incredibly powerful and widely-used AddOn that allows you to create custom displays for nearly everything in the game. This includes tracking buffs, debuffs, cooldowns, Focus, resources, and much more.
To import a WeakAura, visit Wago.io and select one that fits your preferences. Click the "Copy WeakAura Import String" button to copy it to your clipboard. Next, log into the game and type /wa in the chat box to open the WeakAuras interface. Navigate to the "Import" section, press Ctrl+V to paste the copied string, and click "Import". You’re ready to go!
Mastering WeakAuras and customizing it to your playstyle is highly recommended for any serious raider. With countless options available on Wago.io, you can tailor your interface to optimize your performance and focus on what truly matters in combat.
Subtlety Rogue Frequently Asked Questions
How Much Haste Should Subtlety Rogues Have? / Is There a Haste Cap?
Subtlety Rogues do not have a specific Haste cap or breakpoint. Haste remains valuable, but its priority depends on your playstyle and gear setup.
What Piece Is Better, X or Y?
The best way to determine if an item is an upgrade is to simulate your character. Gear choices depend on your current stats, trinkets, and talents, so there is no universal answer.
Use Raidbots to sim your character for the most accurate results.
WarcraftLogs can also help by showing what other top players are using for specific encounters.
How Much of X Stat Should I Have?
There is no fixed amount of any stat that you must reach.
General priority helps, but simming is always best.
It is better to have more total stats rather than focusing too much on “perfect” secondaries.
Even your worst stat in high amounts can be better than your best stat in lower amounts.
Does Our Stat Priority Change on Multi-Target?
Yes! Mastery increases in value, while Haste becomes slightly less important in AoE situations.
Mastery: Gains value as more of your damage comes from finishers in AoE.
Haste: Loses some impact as your resource generation speeds up naturally in multi-target fights.
Can I Use a Non-Dagger as My Off-Hand Weapon?
No, always use a dagger in your off-hand.
Shadow Techniques procs more often with a dagger because of its 1.8 attack speed.
Equipping a slower off-hand weapon (2.6 speed) reduces your Energy and Combo Point generation by roughly 8%.
Which Race or Racial Ability Is the Best for Subtlety Rogue?
Racial differences are minor, but if optimizing:
Horde: Orc is the best for DPS, and also strong in Mythic+.
Alliance: Mechagnome leads for DPS, while Dwarf excels in Mythic+. Pick a race based on personal preference or utility, as the DPS difference is small.